Table of Contents
Tired of pumpkin carving disasters? Want to create a jack-o'-lantern that's the envy of the neighborhood? The secret isn't just in your carving skills, it starts with planning! Using pumpkin carving ideas paper as your starting point is the key to unlocking incredible designs and avoiding frustrating mistakes. Forget freehand fails and embrace the power of pre-planning. This guide will walk you through everything from brainstorming initial concepts on paper, to seamlessly transferring those designs onto your pumpkin. We'll explore simple techniques for beginners and dive into advanced methods using paper stencils for truly intricate creations. Get ready to ditch the messy guesswork and elevate your pumpkin carving game. From sketching spooky faces to crafting elaborate scenes, let's transform your pumpkin into a masterpiece, one paper template at a time. So grab a pencil, some paper, and get ready to unleash your inner artist!
Brainstorming Pumpkin Carving Designs on Paper: A Creative Kickstart
Brainstorming Pumpkin Carving Designs on Paper: A Creative Kickstart
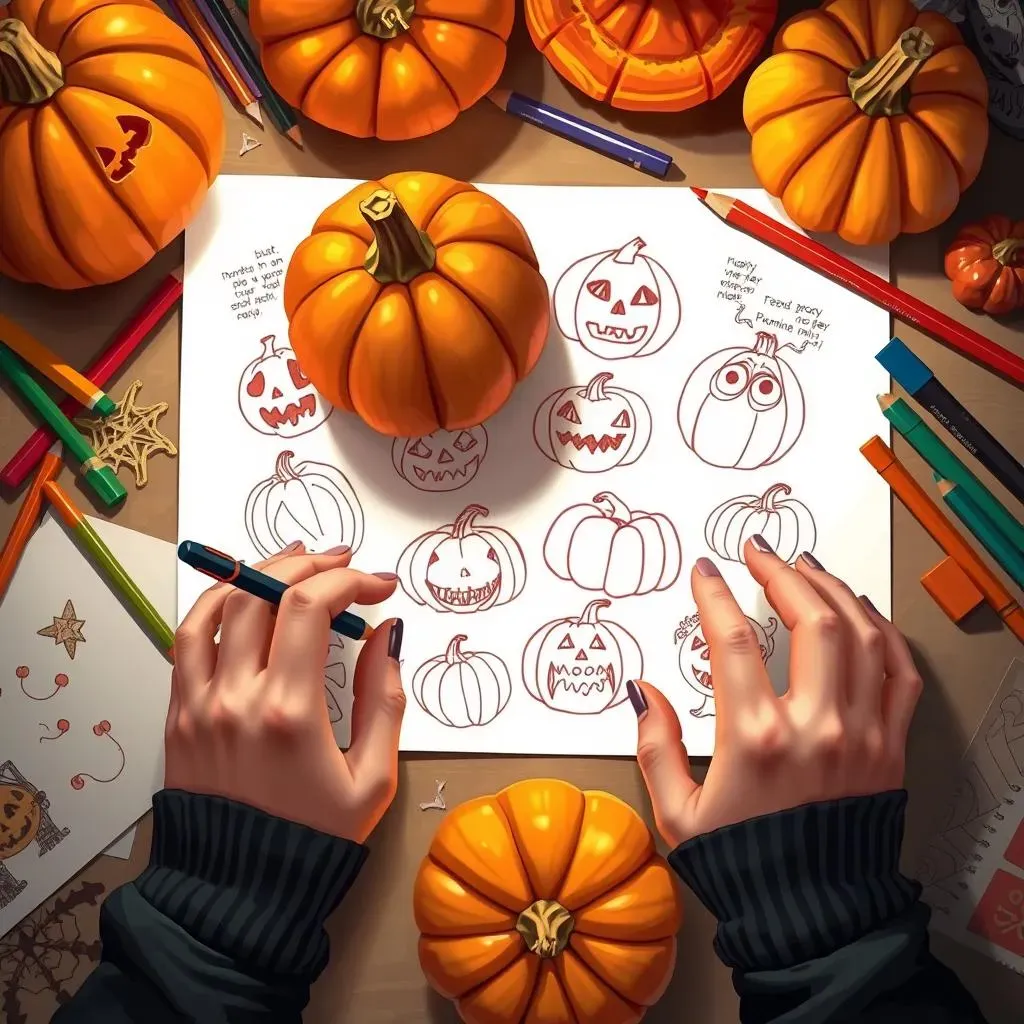
let's talk pumpkin brainstorming! Before you even think about touching that gourd, grab some paper and a pencil. This isn't just about doodling; it's about setting the stage for a killer carving. Think of it as your pumpkin design laboratory. Start with the basics: classic spooky faces are always a hit, but don't be afraid to get weird. Zombies, movie monsters, even abstract patterns – anything goes! The key is to get those initial ideas flowing. Don't worry about perfection at this stage; just sketch out different concepts and see what resonates.
Consider the shape of your pumpkin too. A tall, slender pumpkin might be perfect for a creepy, elongated face, while a round, squat pumpkin could become a funny, cartoonish character. Think about how the design will interact with the pumpkin's natural form. Are there any bumps or blemishes you can incorporate into your design? Embrace the imperfections! They can add character and make your pumpkin truly unique. Remember, this is your chance to experiment and explore different possibilities before committing to a final design.
Brainstorming Tip | Description |
|---|---|
Mind Mapping | Start with a central theme (e.g., "Halloween") and branch out with related ideas. |
Inspiration Boards | Gather images from magazines, online, or your own photos to inspire your designs. |
Sketch Variations | Once you have a basic idea, create multiple variations to explore different options. |
Don't underestimate the power of simple sketches. A few quick lines can capture the essence of a design and help you visualize the final product. And don't be afraid to ask for feedback! Show your sketches to friends and family and see what they think. A fresh perspective can often spark new ideas and help you refine your design. Brainstorming on paper is all about exploring possibilities and finding the perfect design to bring your pumpkin to life.
Think about the skill level required for each design. A super intricate design might look amazing on paper, but it could be a nightmare to carve in reality. Be honest with yourself about your carving abilities and choose a design that you can realistically execute. There's no shame in starting with a simpler design and gradually working your way up to more complex creations. The most important thing is to have fun and create a pumpkin that you're proud of.
From Paper to Pumpkin: Transferring Your Carving Ideas with Ease

From Paper to Pumpkin: Transferring Your Carving Ideas with Ease
Picking Your Transfer Method
Alright, you've got an amazing design sketched out, now it's time to get it onto that pumpkin! There are a few ways to do this, each with its own pros and cons. The simplest method is the freehand approach – if you're feeling confident, just grab a marker and start drawing directly onto the pumpkin. However, for more intricate designs, or if you're prone to mistakes (like most of us!), a more precise transfer method is key. Think of it like tracing – you're essentially creating a stencil on the pumpkin's surface.
Two popular transfer techniques are using carbon paper or creating a pounce pattern. Carbon paper is straightforward: tape your sketch to the pumpkin, slip the carbon paper underneath, and trace over your design. The carbon paper will leave a faint outline on the pumpkin. A pounce pattern involves poking holes along the lines of your design on paper and then transferring it to the pumpkin with chalk dust. We'll dive into both of these methods in more detail, so you can choose the one that best suits your style and the complexity of your design.
Before you start, make sure your pumpkin is clean and dry. Wipe it down with a damp cloth to remove any dirt or debris. This will help the transfer medium adhere properly and prevent smudging. Also, consider the lighting in your workspace. You'll need good lighting to see the design clearly as you transfer it. A well-lit space will make the whole process much easier and more enjoyable.
Carbon Paper Transfer: Step-by-Step
Carbon paper is a classic for a reason – it's simple, effective, and readily available. Here's how to use it to transfer your design:
- Print or redraw your design: Make sure it's the correct size for your pumpkin.
- Tape the design to the pumpkin: Position it where you want it.
- Insert carbon paper: Slip the carbon paper between the design and the pumpkin, carbon-side down.
- Trace the design: Use a pen or pencil to firmly trace over all the lines of your design.
- Remove the paper: Carefully lift the design and carbon paper to reveal the transferred image.
Pro Tip: Use small pieces of tape to secure the design and carbon paper in place. This will prevent them from shifting during the tracing process. Also, apply even pressure when tracing to ensure a clear and consistent transfer. If you're working with a curved surface, you may need to make small slits in the paper to help it conform to the shape of the pumpkin.
Pounce Pattern: A Traditional Technique
For a more traditional approach, try the pounce pattern method. This technique involves creating a perforated stencil of your design and then transferring it to the pumpkin using chalk dust.
Here's how to create and use a pounce pattern:
- Create your stencil: Lay your design on a thick piece of cardboard or foam board.
- Poke holes: Use a needle or awl to poke small holes along all the lines of your design, about 1/8 inch apart.
- Prepare your pumpkin: Tape the stencil to the pumpkin, ensuring it's securely in place.
- Apply chalk dust: Dip a small piece of cloth or cotton ball into chalk dust (you can use regular chalk and grind it into a powder).
- Pounce the chalk: Gently pounce the chalk dust over the stencil, allowing it to filter through the holes and onto the pumpkin.
- Remove the stencil: Carefully lift the stencil to reveal the transferred design.
The pounce pattern method is especially useful for intricate designs with lots of fine details. It allows for a very precise transfer and can be easily corrected if you make a mistake. Just wipe away the chalk dust and start over!
Transfer Method | Pros | Cons |
|---|---|---|
Carbon Paper | Simple, readily available | Can smudge, less precise for intricate designs |
Pounce Pattern | Precise, good for intricate designs | More time-consuming to create the stencil |
Advanced Techniques: Elevating Your Pumpkin Carving with Paper Stencils
Advanced Techniques: Elevating Your Pumpkin Carving with Paper Stencils
Precision Cutting with Stencils
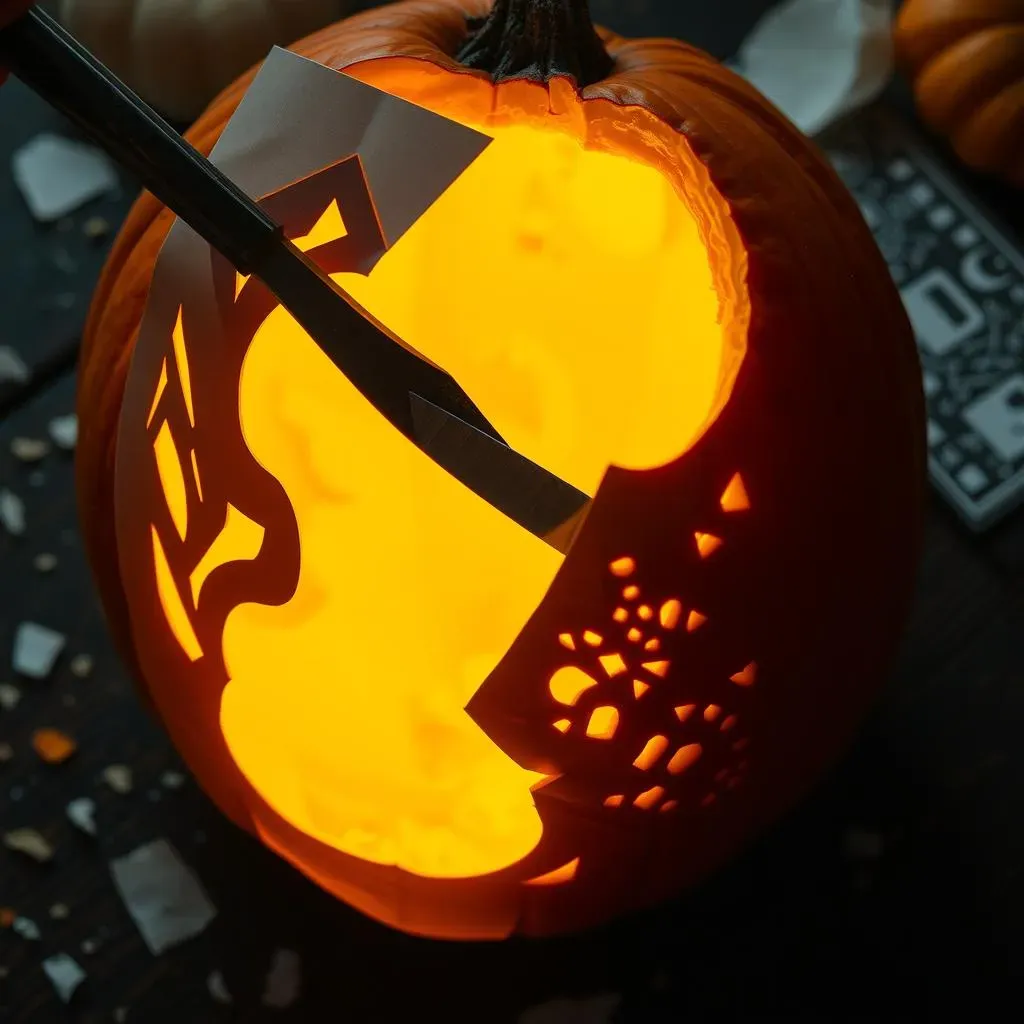
Ready to take your pumpkin carving to the next level? Paper stencils are your secret weapon! They allow for incredibly detailed and precise designs that would be nearly impossible to achieve freehand. The key here is choosing the right paper for your stencils. Thicker paper, like cardstock, is more durable and will hold its shape better, especially when working with intricate patterns. Avoid flimsy paper that can tear easily. Once you've selected your paper, carefully cut out your stencil using a craft knife or a pair of sharp scissors. Remember to work on a cutting mat to protect your work surface. Patience is key here – take your time and focus on clean, accurate cuts.
Consider using different types of blades for different parts of your design. A fine-point blade is ideal for delicate details, while a thicker blade is better for cutting through thicker paper or creating larger openings. Experiment with different techniques, such as layering stencils to create depth and dimension in your design. For example, you could use one stencil to create the basic outline of a character and then use another stencil to add details like eyes, nose, and mouth. The possibilities are endless! Remember to secure your stencil to the pumpkin using tape or pins before you start carving. This will prevent it from shifting and ensure a clean, accurate transfer of your design.
Layering and Shading with Stencils
Beyond simple outlines, stencils can be used to create incredible effects like layering and shading. Layering involves using multiple stencils, one on top of the other, to build up a complex design. This technique is perfect for creating depth and dimension in your pumpkin carving. For example, you could use one stencil to carve the background of a scene and then use another stencil to carve the foreground elements. Shading, on the other hand, involves using stencils to create areas of light and shadow on your pumpkin.
This can be achieved by varying the depth of your cuts or by using different sized holes in your stencil. For example, you could use a stencil with small, closely spaced holes to create a dark, shaded area and then use a stencil with larger, more widely spaced holes to create a lighter, more illuminated area. Experiment with different techniques to find what works best for you. Don't be afraid to get creative and push the boundaries of what's possible with paper stencils. With a little practice and imagination, you can create stunning pumpkin carvings that are sure to impress!
Beyond the Basic Jacko'Lantern: Unique Pumpkin Carving Ideas Using Paper Templates
Beyond the Basic Jacko'Lantern: Unique Pumpkin Carving Ideas Using Paper Templates
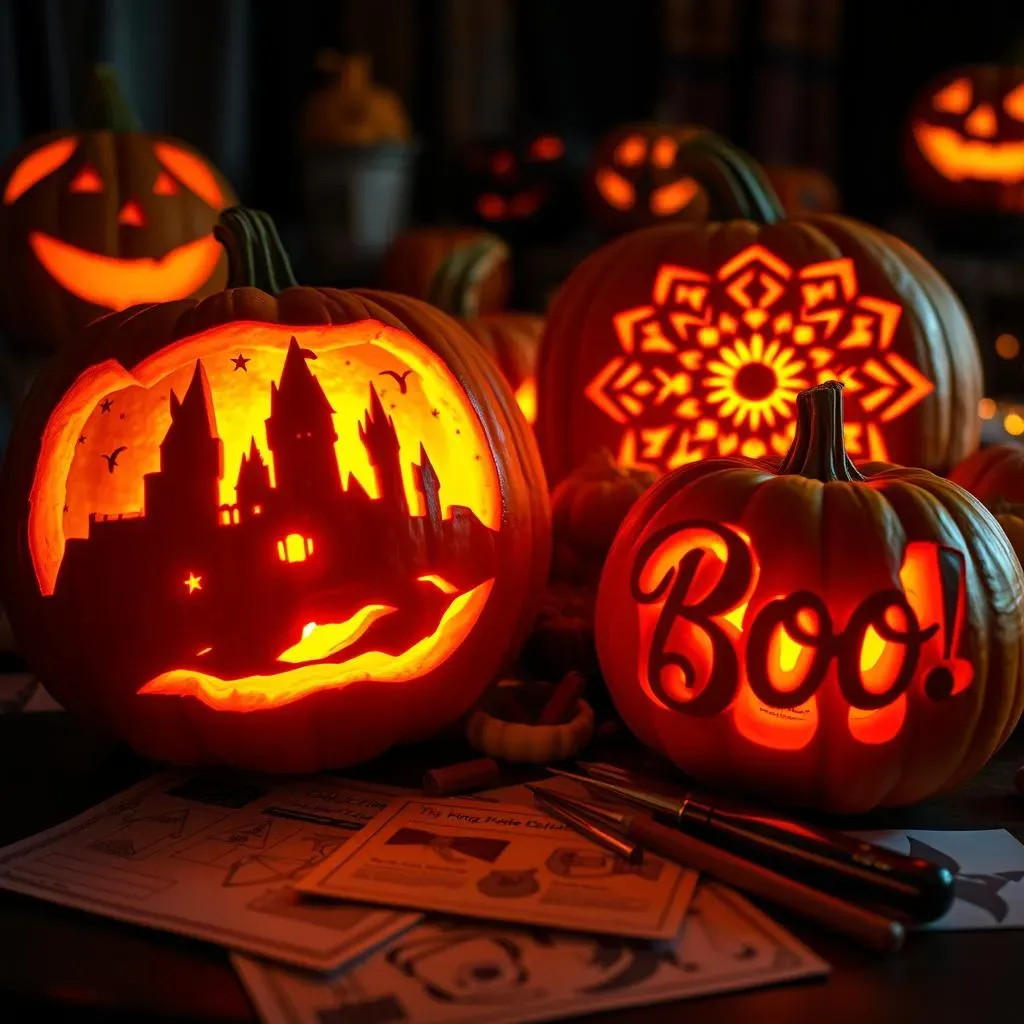
so you're bored with the same old triangle-eyed jack-o'-lantern? I get it! Let's ditch the cliché and dive into some seriously cool pumpkin carving ideas using paper templates. Think beyond the spooky face and consider turning your pumpkin into a work of art. Animals are always a fun option – owls, cats, bats, you name it! You can find tons of free templates online, or even create your own based on your favorite animal. Another idea is to carve a scene from a movie or book. Imagine a silhouette of Hogwarts against a starry night sky, or a spooky graveyard scene complete with tombstones and ghosts. Paper templates make these intricate designs surprisingly easy to achieve.
Geometric patterns are another great way to create a unique and eye-catching pumpkin carving. Think mandalas, Celtic knots, or even simple geometric shapes like triangles and squares. These patterns can be surprisingly effective, especially when combined with creative lighting. And don't forget about incorporating text into your design! Carve out a spooky message like "Boo!" or "Happy Halloween," or even a more elaborate quote from your favorite horror movie. Paper templates can help you create clean, crisp lettering that will really stand out. Remember, the key is to think outside the box and have fun with it! Don't be afraid to experiment with different designs and techniques until you find something that you truly love.
Speaking of templates, let's talk about where to find them. The internet is a treasure trove of free pumpkin carving templates, ranging from simple designs for beginners to complex patterns for experienced carvers. Websites like Pinterest, Etsy, and even your local craft store are great places to start your search. You can also create your own custom templates using photo editing software or even by hand-drawing your design onto paper. The possibilities are endless! Once you've found a template you like, simply print it out, tape it to your pumpkin, and start carving. It's that easy!
Unique Idea | Description | Template Source |
|---|---|---|
Movie Scene Silhouette | Carve a silhouette from a favorite movie (e.g., Nightmare Before Christmas) | Online image, create your own |
Geometric Mandala | Intricate geometric pattern for a mesmerizing effect | Pinterest, Etsy |
Spooky Text Message | Carve a Halloween-themed message (e.g., "Beware," "Enter If You Dare") | Create your own |
From Paper Dreams to Pumpkin Realities
So, you've journeyed from initial sketches to masterful pumpkin carvings, all thanks to the humble power of pumpkin carving ideas paper. Remember, the most impressive designs start with careful planning and a willingness to experiment. Whether you're tracing simple shapes or crafting intricate stencils, the techniques you've learned here will elevate your Halloween creations for years to come. Don't be afraid to push your creative boundaries, try new patterns, and most importantly, have fun! Now go forth and transform those pumpkins into spooky, spectacular works of art!