Table of Contents
Tired of the same old jack-o'-lantern grin? Ready to ditch the messy pumpkin guts and embrace a world of vibrant color and intricate designs? Then you've come to the right place! Forget basic triangle eyes and jagged smiles; we're diving headfirst into the exciting realm of pumpkin carving ideas painting. This isn't your grandma's pumpkin decorating guide. We're talking about taking your gourds from drab to fab with a mix of carving techniques and stunning paint jobs.
Elevate Your Pumpkin Game: Beyond Traditional Carving
Elevate Your Pumpkin Game: Beyond Traditional Carving
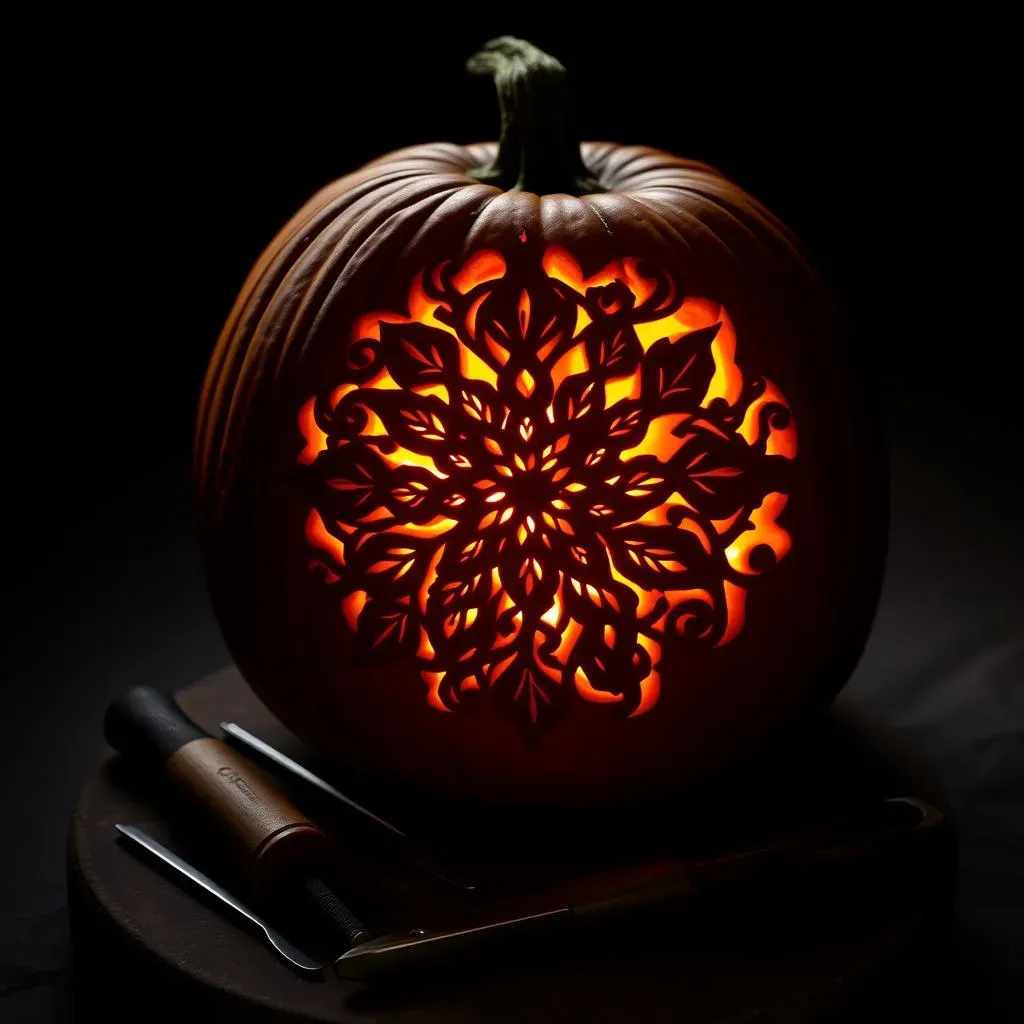
Ditch the Stencil: Embrace Freehand Carving
so you've carved a pumpkin or two in your day. Maybe you even used one of those flimsy stencils that come with the carving kit. But let's be honest, those pumpkins all end up looking the same, right? Time to ditch the stencil and embrace the freedom of freehand carving! Think of your pumpkin as a blank canvas, waiting for your artistic vision to come to life. Don't worry about perfection; the imperfections are what make it unique.
Start by sketching your design lightly onto the pumpkin with a washable marker. Then, using a variety of carving tools – from small saws to detail knives – carefully bring your design to life. Don't be afraid to experiment with different depths and angles to create shadows and textures. Trust me, once you go freehand, you'll never go back to stencils again.
The Power of Texture: Adding Dimension to Your Design
Carving isn't just about cutting shapes; it's about creating texture and dimension. Think about using different carving tools to achieve different effects. A small V-gouge can create fine lines and details, while a larger scoop can remove larger chunks of pumpkin to create dramatic shadows.
Consider incorporating elements like stippling (small dots) or cross-hatching (intersecting lines) to add depth and visual interest to your design. You can even use cookie cutters or clay sculpting tools to create unique textures on the surface of your pumpkin. The possibilities are endless!
Beyond the Jack-O'-Lantern: Unique Carving Concepts
Forget the typical spooky faces; let's think outside the box! How about carving a scene from your favorite movie or book? Or maybe a portrait of your pet? You could even try carving a mandala or an abstract design.
Another cool idea is to carve a pumpkin into a functional object, like a planter or a lantern. Get inspired by nature and carve leaves, flowers, or animals. The key is to let your creativity run wild and create something that truly reflects your personality.
Here's a list of unique carving concepts to spark your imagination:
- Movie or book scenes
- Pet portraits
- Mandalas or abstract designs
- Functional objects (planters, lanterns)
- Nature-inspired designs (leaves, flowers, animals)
Pumpkin Painting Ideas: A NoCarve Extravaganza
Pumpkin Painting Ideas: A NoCarve Extravaganza
Why Carve When You Can Paint? The Beauty of No-Carve Pumpkins
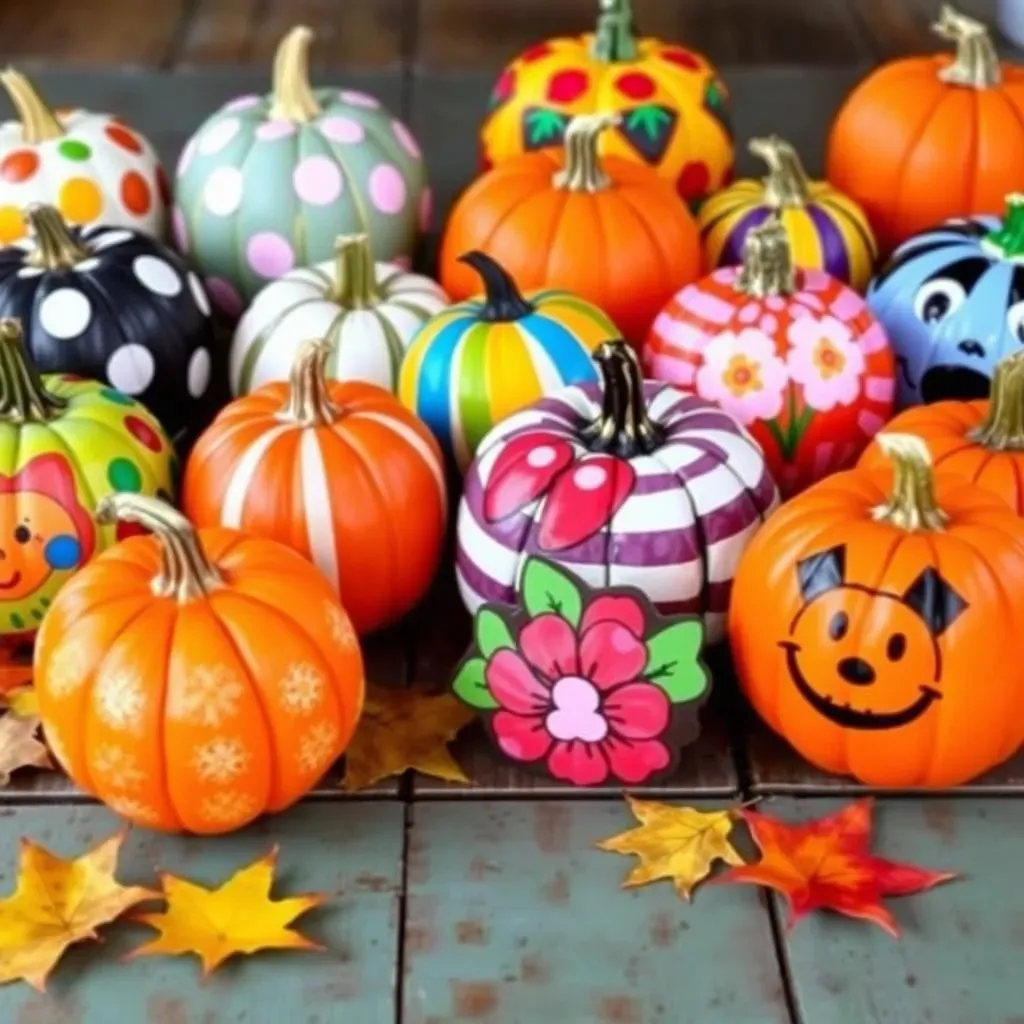
so maybe wielding a carving knife isn't your thing. Or perhaps you're looking for a safer, less messy alternative for the little ones. That's where the magic of pumpkin painting ideas comes in! Forget the sharp tools and sticky insides; painting allows you to unleash your creativity with a brush and a rainbow of colors. It's also a fantastic option for preserving your pumpkin longer, as carving can lead to faster decay. Plus, no-carve pumpkins are incredibly versatile – you can create intricate designs, bold patterns, or even whimsical characters with just a few strokes of a brush.
From Solid Colors to Intricate Designs: Painting Techniques to Try
The beauty of painting pumpkins is that you can keep it simple or go wild with your designs. A solid color base coat can create a clean, modern look, while intricate patterns like polka dots, stripes, or chevron can add a touch of fun and whimsy. For more advanced artists, consider trying your hand at detailed landscapes, portraits, or even optical illusions. Don't be afraid to experiment with different painting techniques, such as stenciling, sponging, or even splattering, to create unique textures and effects.
Painting Technique | Description | Best For |
|---|---|---|
Solid Color | Applying a single, uniform color to the entire pumpkin. | Modern, minimalist designs; base coat for more complex designs. |
Polka Dots/Stripes | Creating patterns using dots or lines. | Fun, whimsical designs; easy for beginners. |
Stenciling | Using a stencil to create precise shapes and designs. | Intricate patterns; lettering. |
Sponging | Applying paint with a sponge to create a textured effect. | Rustic, organic designs; backgrounds. |
Themed Pumpkins: Inspiration for Your No-Carve Masterpiece
Stuck for ideas? Look no further than themed pumpkins! From spooky Halloween themes to whimsical autumn scenes, there's a theme to suit every taste. Consider painting your pumpkin to resemble your favorite character from a movie or book, or create a pumpkin inspired by nature, such as a blooming flower or a colorful bird. You could even try a food-themed pumpkin, painting it to look like a giant donut, a slice of pizza, or a juicy watermelon. The possibilities are endless!
- Halloween Themes: Ghosts, bats, spiders, haunted houses
- Autumn Themes: Leaves, pumpkins, sunflowers, corn stalks
- Movie/Book Characters: Superheroes, villains, fairytale creatures
- Nature Themes: Flowers, animals, landscapes
- Food Themes: Donuts, pizza, watermelon, candy corn
Creative Pumpkin Carving Ideas Painting: Combining Techniques for Unique Designs
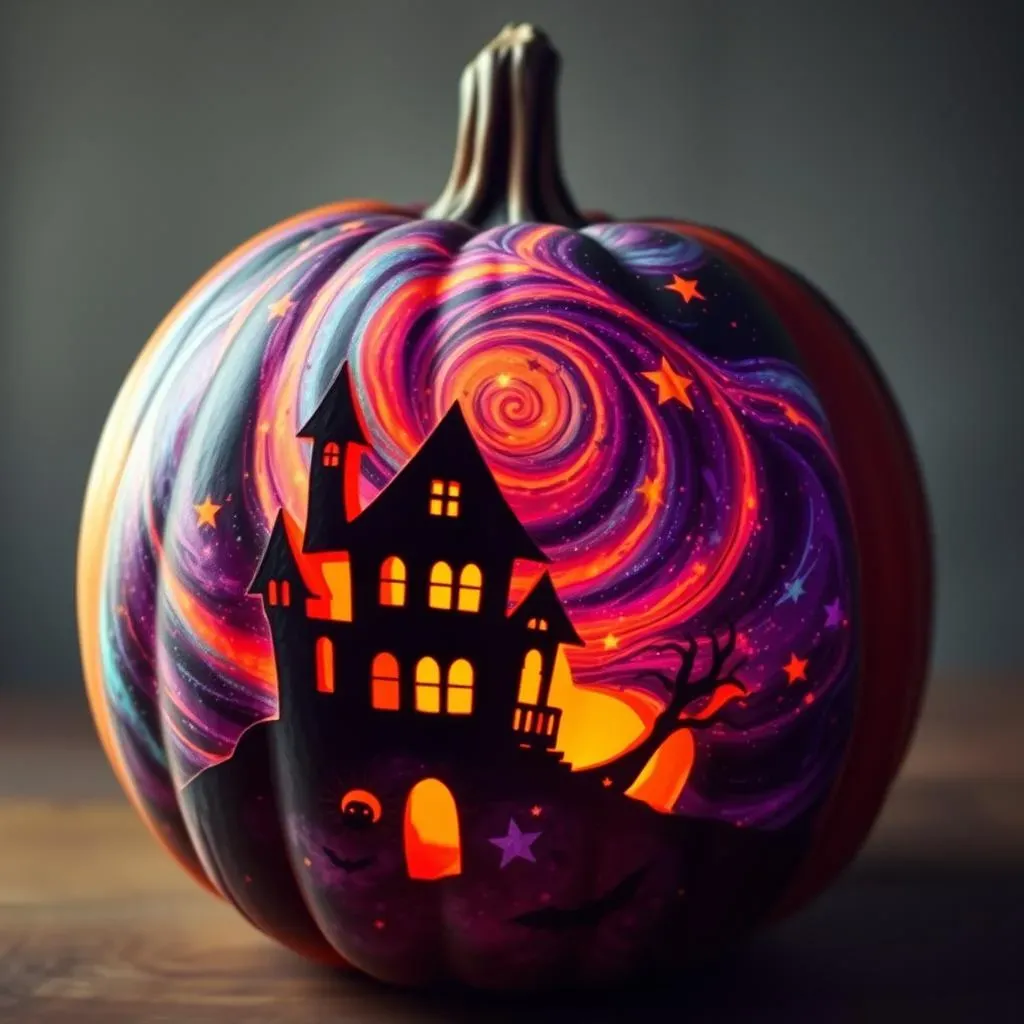
Creative Pumpkin Carving Ideas Painting: Combining Techniques for Unique Designs
The Best of Both Worlds: Marrying Carving and Painting
Alright, so you're intrigued by both carving and painting, but can't decide which to choose? Why not both! Combining carving and painting opens up a whole new dimension of creative possibilities. Think of carving as creating the underlying structure and texture, while painting adds color, detail, and personality. It's like sculpting a masterpiece and then bringing it to life with a vibrant palette.
For example, you could carve a simple outline of a flower and then paint the petals with intricate details and shading. Or you could carve a spooky silhouette and then paint the background with a swirling galaxy of stars. The contrast between the carved and painted elements will create a visually stunning effect that will truly set your pumpkin apart.
Techniques for Seamless Integration: Carve First, Paint Second
When combining carving and painting, it's generally best to carve your design first and then paint it. This allows you to use the carved areas as guidelines for your painting and ensures that the paint adheres properly to the pumpkin surface. Before you start painting, make sure to clean the carved areas thoroughly to remove any pumpkin debris or residue. You can use a damp cloth or a soft brush for this purpose.
Once the carved areas are clean and dry, you can start painting. Use a variety of brushes and painting techniques to create different effects. For example, you could use a small detail brush to paint fine lines and details, or a larger brush to blend colors and create smooth gradients. Don't be afraid to experiment and have fun with it!
Essential Supplies for Stunning Pumpkin Carving and Painting

Essential Supplies for Stunning Pumpkin Carving and Painting
Carving Tools: From Basic to Advanced
Alright, let's talk tools! If you're planning on doing any carving, you'll need more than just a flimsy kitchen knife. A good carving kit is essential, and it doesn't have to break the bank. Look for a kit that includes a variety of saws, gouges, and detail knives. These will allow you to create different shapes, textures, and depths in your design. For more intricate work, consider investing in some specialized carving tools, like a rotary tool with various attachments. These can be incredibly useful for creating fine details and smoothing out rough edges.
Don't forget about safety! Always use caution when handling sharp tools, and consider wearing gloves to protect your hands. It's also a good idea to work in a well-lit area to avoid accidents.
Paints and Brushes: Choosing the Right Colors and Tools
Now for the fun part: painting! When it comes to choosing paints, acrylics are your best bet. They're durable, water-resistant, and come in a wide range of colors. You can also use spray paint for a quick and easy base coat, but be sure to do it in a well-ventilated area. As for brushes, a variety of sizes and shapes is key. You'll want small detail brushes for fine lines and intricate details, as well as larger brushes for covering larger areas. Foam brushes are also great for creating smooth, even coats of paint.
Consider also investing in paint markers! They are great for adding small details.
Finishing Touches: Sealants, Stencils, and Embellishments
Once you've finished carving and painting your pumpkin, you'll want to protect your masterpiece with a sealant. This will help to prevent the paint from chipping or fading and will also help to preserve the pumpkin for longer. Look for a clear acrylic sealant that is specifically designed for outdoor use.
In addition to sealants, you can also use stencils to create more intricate designs. Stencils can be found at most craft stores, or you can even make your own. Simply trace the stencil onto the pumpkin and then paint or carve along the lines.
Finally, don't forget about embellishments! Add glitter, sequins, googly eyes, or any other fun decorations to give your pumpkin a unique and personalized touch. The possibilities are endless!
Essential Supplies Checklist:
- Carving kit (saws, gouges, detail knives)
- Acrylic paints
- Paint brushes (various sizes and shapes)
- Spray paint (optional)
- Sealant
- Stencils (optional)
- Embellishments (glitter, sequins, googly eyes, etc.)
- Washable markers
- Newspapers
- Paint Markers
StepbyStep Guide: From Pumpkin Prep to Painted Masterpiece
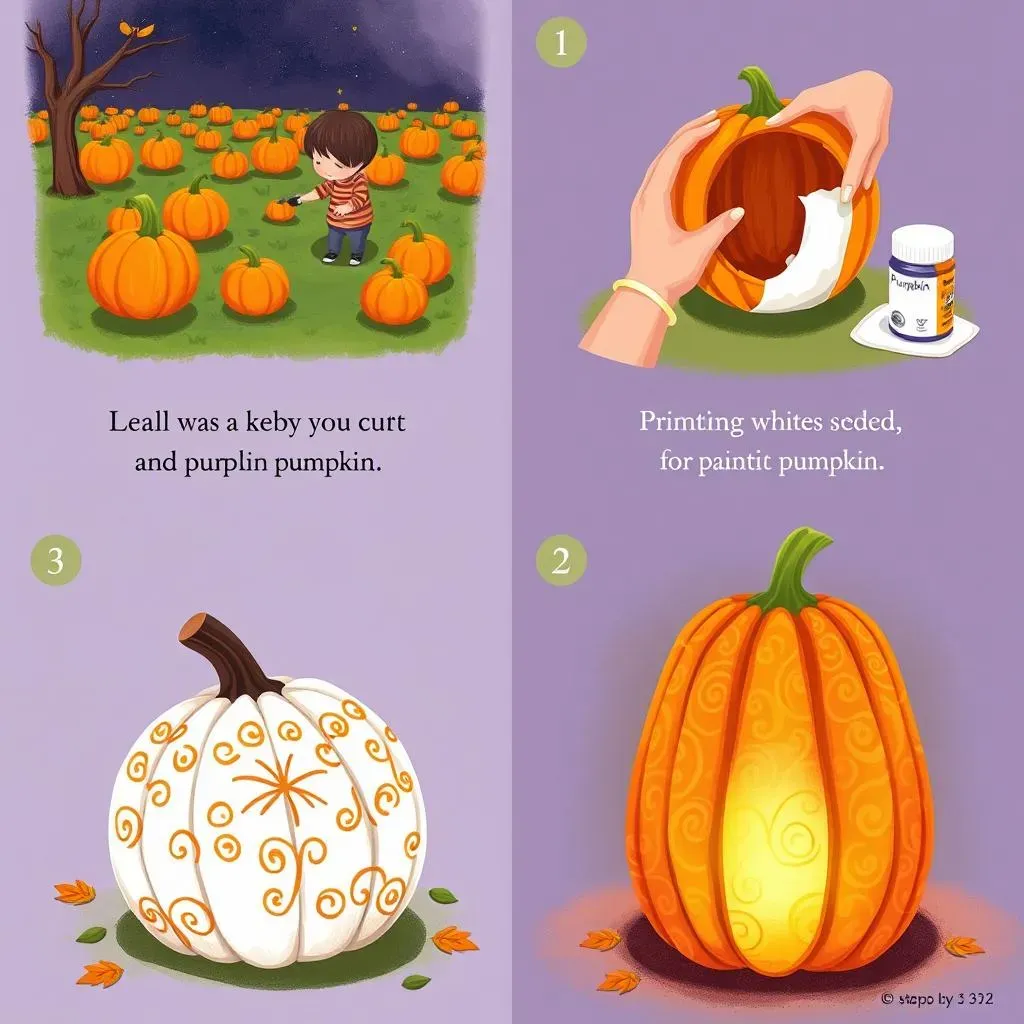
StepbyStep Guide: From Pumpkin Prep to Painted Masterpiece
Selecting Your Perfect Pumpkin: Size, Shape, and Surface
friend, first things first: you gotta pick the right pumpkin! Don't just grab the first orange orb you see. Take a good look at its size, shape, and surface. For carving, you'll want a pumpkin with a smooth, relatively flat surface. This will make it easier to transfer your design and carve clean lines. For painting, the surface is even more important. Look for a pumpkin with minimal blemishes, bumps, or bruises. The smoother the surface, the better your paint will adhere and the more professional your finished product will look. As for size, that depends on your design! A smaller pumpkin is great for a simple design, while a larger pumpkin offers more canvas for intricate artwork.
Give the pumpkin a gentle tap. A hollow sound indicates that the pumpkin is ripe and ready to go. Avoid pumpkins that feel soft or have any signs of rot. And don't forget to check the stem! A healthy, green stem is a sign of a healthy pumpkin.
Prepping Your Pumpkin: Cleaning, Gutting, and Priming
Alright, you've got your perfect pumpkin. Now it's time to get it ready for its makeover! Start by giving it a good wash with soap and water. This will remove any dirt, grime, or pesticides that may be on the surface. Rinse it thoroughly and let it dry completely. Next comes the fun part: gutting! Use a sturdy spoon or scoop to remove all the seeds and stringy pulp from inside the pumpkin. Scrape the walls clean to create a smooth surface for carving or painting.
If you're planning on painting your pumpkin, consider priming it first. This will create a smooth, even surface for the paint to adhere to and will also help to prevent the paint from soaking into the pumpkin. You can use a white or light-colored primer, depending on your design. Apply the primer in thin, even coats, and let it dry completely before painting.
Bringing Your Vision to Life: Carving, Painting, and Sealing
Now for the moment you've been waiting for: bringing your vision to life! If you're carving, carefully transfer your design onto the pumpkin using a washable marker or a stencil. Then, using your carving tools, slowly and carefully carve out your design. Remember to take your time and work in small sections. If you're painting, start by applying a base coat of your desired color. Let it dry completely before adding any details or patterns.
Once you're happy with your design, it's time to seal it. This will protect your masterpiece from the elements and help it to last longer. Apply a clear acrylic sealant in thin, even coats, and let it dry completely. And that's it! You've created a stunning pumpkin carving painting that will be the envy of the neighborhood.
Step | Action | Tips |
|---|---|---|
1. Select Pumpkin | Choose size, shape, and surface carefully. | Look for smooth surface for painting and hollow sound. |
2. Clean & Gut | Wash, rinse, and remove seeds/pulp. | Scrape walls clean for smooth surface. |
3. Prime (Painting) | Apply primer in thin, even coats. | Use white or light-colored primer. |
4. Carve/Paint | Transfer design and carve/paint carefully. | Take your time and work in small sections. |
5. Seal | Apply clear acrylic sealant. | Protect your masterpiece from the elements. |
Conclusion: Pumpkin Perfection Achieved
So, there you have it – a treasure trove of pumpkin carving ideas painting to ignite your creativity this season. From elegant painted patterns to intricate carved designs enhanced with color, the possibilities are truly endless. Remember, the most important ingredient is your imagination! Don't be afraid to experiment, try new techniques, and let your personality shine through. Whether you opt for a spooky masterpiece or a whimsical work of art, your uniquely decorated pumpkin is sure to be a showstopper. Now go forth, grab a pumpkin, and create something amazing!