Table of Contents
Halloween is just around the corner, and what's Halloween without a glowing jack-o'-lantern grinning from your porch? But let's face it, not all of us are master artists capable of freehand carving intricate designs into pumpkins. That's where pumpkin carving ideas outlines come to the rescue! Forget struggling with a wobbly knife and a vague idea – we've rounded up 26 free, easy-to-use stencils that will transform your pumpkin into a spooky masterpiece, even if your artistic skills are limited to stick figures. This article is your one-stop shop for creating the best jack-o'-lanterns on the block. We'll start by showing you how to use these stencils like a seasoned pro, from prepping your pumpkin to transferring the design. Then, we'll dive into our collection of 26 unique stencils, ranging from classic spooky faces to more creative designs like vampire ghosts and Day of the Dead skulls. Whether you're a beginner or a seasoned carver, there's a stencil here for you. Finally, we'll answer all your burning pumpkin carving questions, including tips on hollowing, alternative carving methods, and no-carve decorating ideas. So grab your carving tools and get ready to unleash your inner artist – Halloween is about to get a whole lot spookier!
Unleash Your Inner Artist: Easy Pumpkin Carving Ideas Outlines
Unleash Your Inner Artist: Easy Pumpkin Carving Ideas Outlines
so you're ready to dive into the world of pumpkin carving, but maybe you're not exactly Michelangelo with a paring knife, right? No sweat! That's where these easy pumpkin carving ideas outlines come in. Think of them as your artistic training wheels. Instead of trying to conjure up some elaborate design from scratch, you get a ready-made template to guide your every slice. It's like paint-by-numbers, but with more guts (literally!).
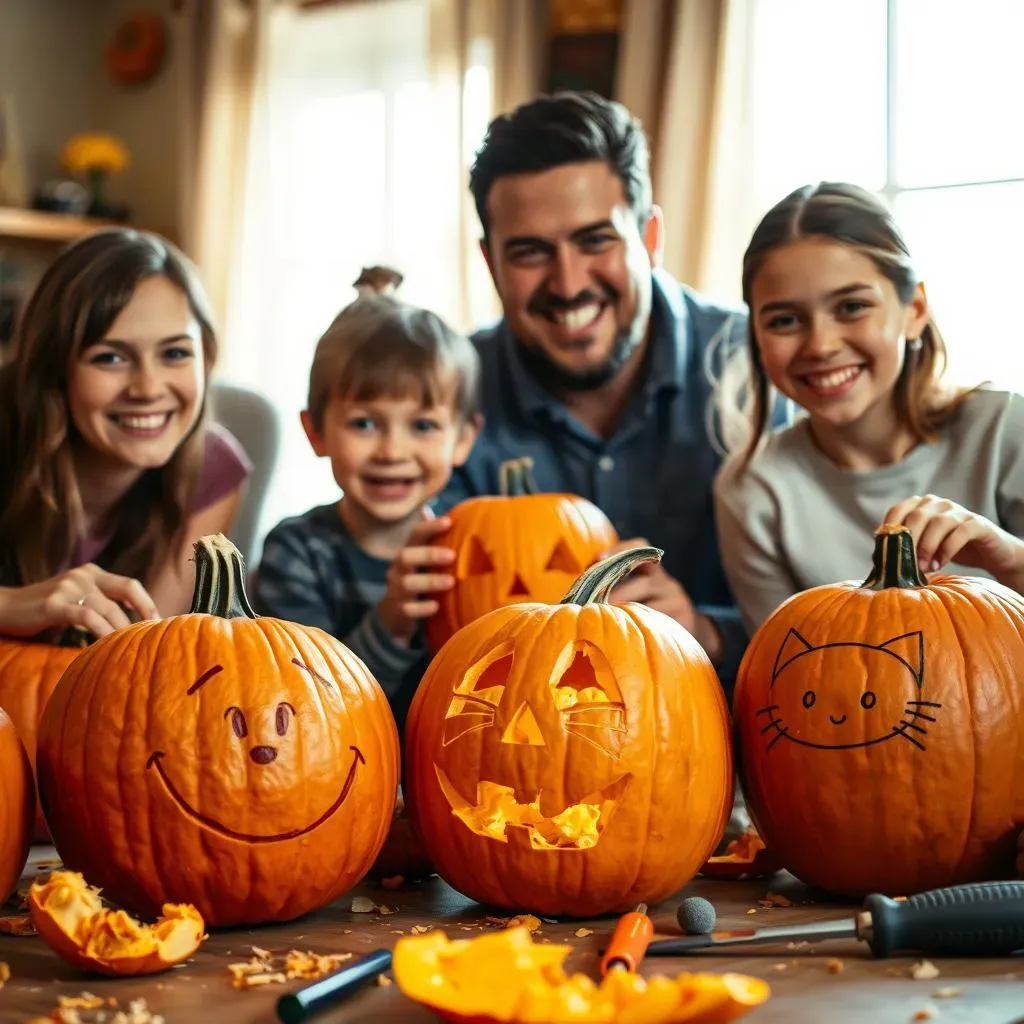
These stencils aren't just for the artistically challenged, either. Even if you're a seasoned carver, they can save you a ton of time and effort. Why spend hours sketching out a design when you can print one out in minutes? Plus, they're a fantastic way to get the whole family involved. Kids especially love tracing the outlines and helping scoop out the pumpkin guts (though maybe leave the sharp knife work to the adults!). So, whether you're aiming for a classic spooky face or something a little more unique, these outlines are your secret weapon for creating a jack-o'-lantern that'll be the envy of the neighborhood.
StepbyStep: How to Use Pumpkin Carving Stencils Like a Pro
StepbyStep: How to Use Pumpkin Carving Stencils Like a Pro
Alright, so you've got your stencil picked out – awesome! Now, let's get down to business. Using pumpkin carving stencils isn't rocket science, but a few key steps will make the whole process way smoother and ensure your jack-o'-lantern looks its best. Think of this as your pumpkin carving masterclass, condensed into a few easy steps.
First things first, you'll need to gather your supplies. We're talking a sharp carving knife (or a pumpkin carving kit), a large spoon or scoop, a bowl for the pumpkin guts, tape, a poking tool (an awl or even a sturdy skewer works), and of course, your chosen stencil. Oh, and don't forget a well-lit workspace – you don't want to accidentally carve off a finger!
Supply | Purpose |
|---|---|
Carving Knife/Kit | Precision cutting of the design |
Large Spoon/Scoop | Removing pumpkin seeds and pulp |
Tape | Securing the stencil to the pumpkin |
Poking Tool | Creating guide holes for carving |
Got everything? Great! Let's move on to the fun part: transforming that plain old pumpkin into a spooky work of art.
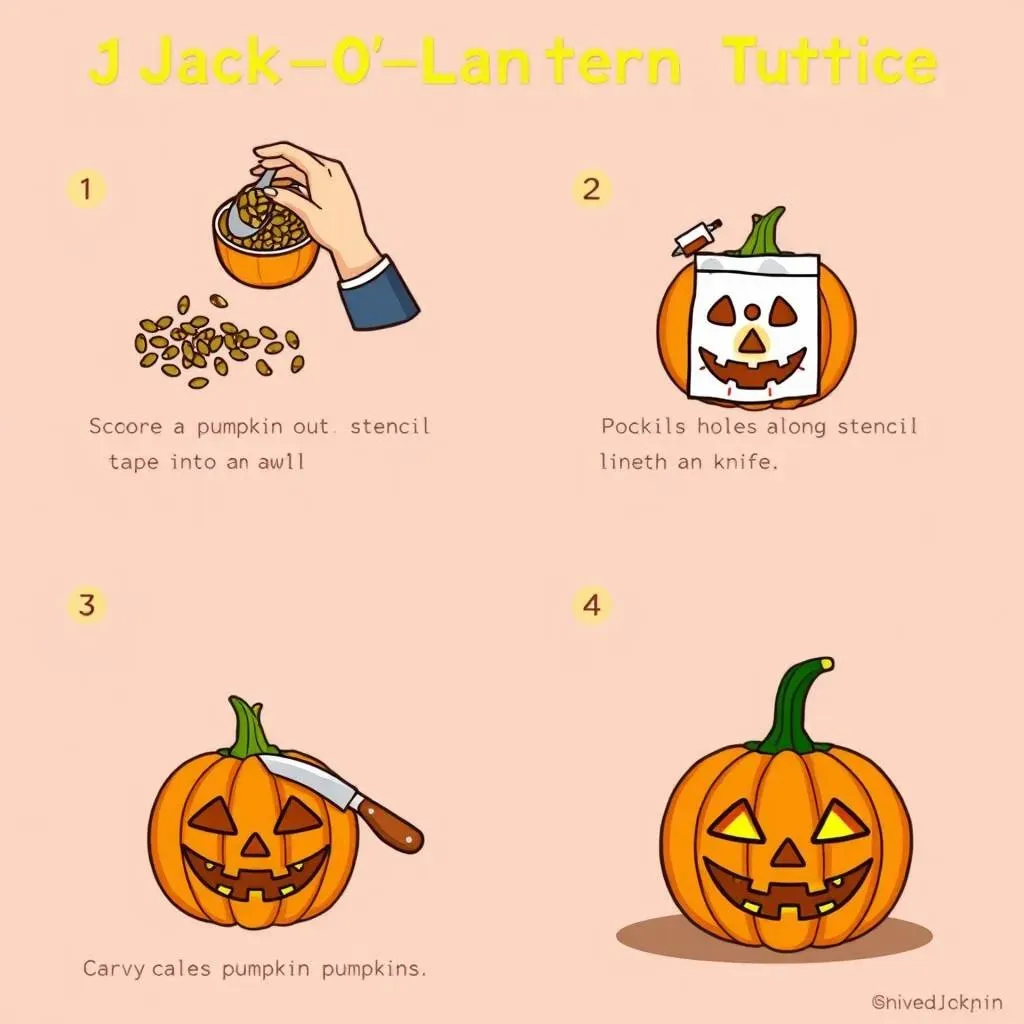
Step 1: Gutting Your Gourd
Before you even think about carving, you need to evict the pumpkin's innards. Cut a large circle around the stem (or on the bottom of the pumpkin, if you prefer – this can make it easier to place over a candle later). Make sure to angle your knife inwards so the lid doesn't fall in. Now, get your hands dirty and scoop out all the seeds and stringy pulp. A metal ice cream scoop works wonders for this! Scrape the inside walls clean for a smoother carving surface.
Pro Tip: Don't toss those seeds! Roasted pumpkin seeds are a delicious and healthy snack. Just rinse them, toss them with some oil and spices, and bake them until crispy.
Step 2: Stencil Application
Now for the stencil! Carefully tape the stencil to the front of your pumpkin, smoothing out any wrinkles. Use enough tape to keep it securely in place, especially around the edges of the design.
Next, grab your poking tool and start poking holes along the stencil lines. The closer together you poke the holes, the easier it will be to see the design when you remove the stencil. Think of it as creating a connect-the-dots for your carving knife.
Step 3: Carving Time!
Carefully remove the stencil. You should now have a dotted outline of your design on the pumpkin. Now comes the tricky part. Using your carving knife, carefully connect the dots, cutting along the lines created by the holes. It's best to use a sawing motion rather than trying to force the knife through the pumpkin skin.
Safety First: Always carve away from yourself, and never put your hand behind the knife blade. It's better to make small, controlled cuts than to try and carve everything in one go. If you're carving with kids, supervise them closely and consider using kid-friendly carving tools.
Step 4: Clean Up and Illumination
Once you've carved out all the pieces of your design, carefully push them out from the inside. Use your poking tool to help dislodge any stubborn bits of pumpkin. Finally, place a candle, LED light, or string of fairy lights inside your jack-o'-lantern and admire your handiwork!
And that's it! You've successfully used a pumpkin carving stencil to create a spooky and impressive jack-o'-lantern. Now, step back, admire your creation, and get ready to impress all the trick-or-treaters!
26 Free Pumpkin Carving Ideas Outlines: Stencils for Every Skill Level
26 Free Pumpkin Carving Ideas Outlines: Stencils for Every Skill Level
Classic Spooky Faces
let's kick things off with the classics! You can't go wrong with a traditional jack-o'-lantern face. Think simple triangles for eyes, a jagged mouth with a few missing teeth, and maybe a crooked nose. These are perfect for beginners or anyone who wants a quick and easy carving project. Plus, they're instantly recognizable and always a crowd-pleaser. For a little twist, try varying the shapes of the eyes or adding some extra "stitches" around the mouth. Remember, even a simple design can be super effective with a little creativity!
And if you're feeling extra ambitious, you can always try adding some shading by carving the pumpkin skin to different depths. This will create a more three-dimensional effect when the candle is lit. But honestly, even a basic spooky face will look awesome on your porch!
Ghosts, Witches, and Bats – Oh My!
Ready to branch out beyond the basic face? This is where things get really fun! We've got stencils for all your favorite Halloween creatures: spooky ghosts, wicked witches, and creepy bats. These are a great way to add some personality to your pumpkin display. Imagine a whole row of pumpkins, each with a different spooky character. Talk about a Halloween showstopper!
When carving these designs, pay close attention to the details. The shape of the witch's hat, the curve of the bat's wings, the folds in the ghost's sheet – these little things can make a big difference in the overall look. And don't be afraid to experiment with different carving techniques. For example, you could use a smaller knife to create finer details on the witch's face or use a poking tool to add texture to the bat's wings.
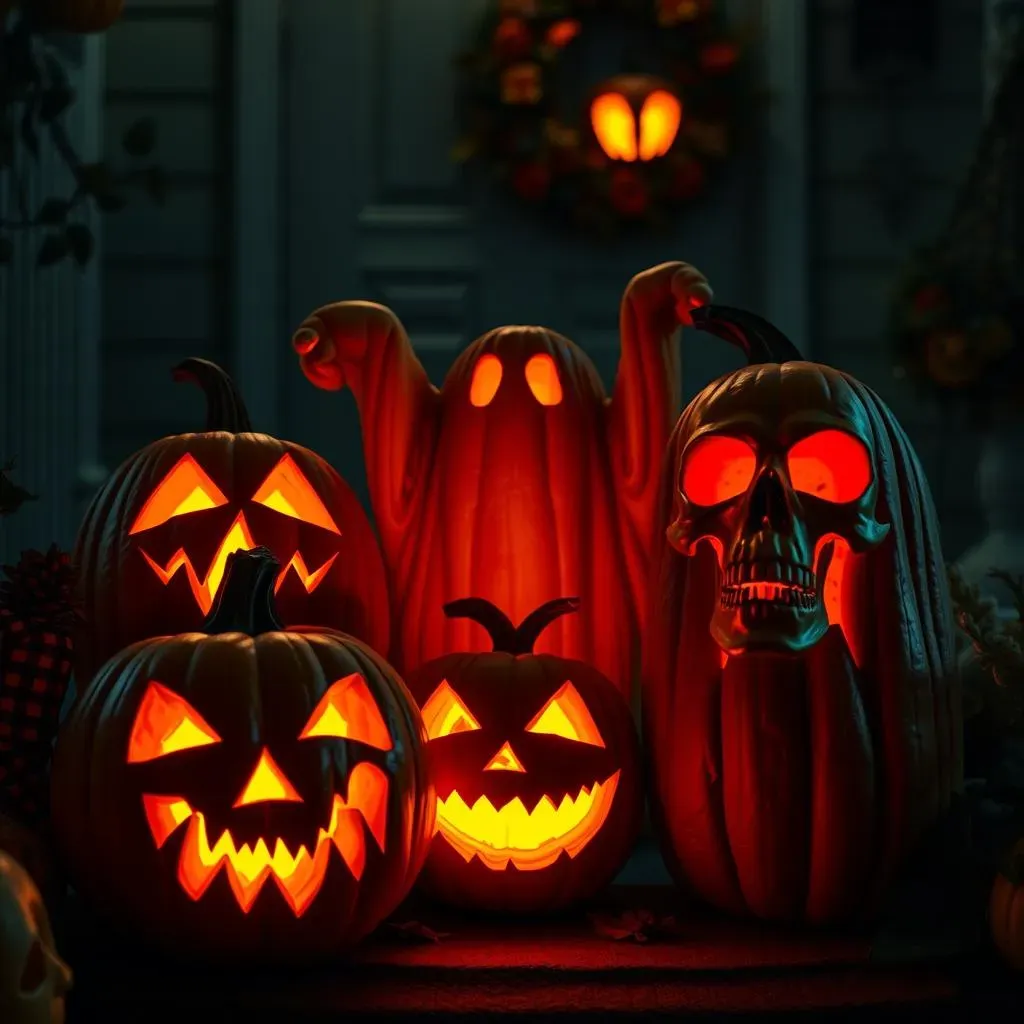
Skulls, Spiders, and Other Creepy Crawlies
If you're looking for something a little more edgy, why not try a skull or spider stencil? These designs are perfect for scaring the pants off your trick-or-treaters! A skull jack-o'-lantern is a classic symbol of Halloween, and there are tons of different skull stencils to choose from, from simple outlines to more detailed designs with intricate bone structures. And if you really want to creep people out, a spider stencil is the way to go. Just imagine a giant spider crawling across your pumpkin – *shivers*!
When carving these more complex designs, it's important to take your time and be patient. Use a sharp knife and make small, controlled cuts. And don't be afraid to ask for help if you're struggling. There are tons of online tutorials and videos that can guide you through the process.
Stencil Type | Skill Level | Spookiness Factor |
|---|---|---|
Classic Spooky Face | Beginner | Medium |
Ghost/Witch/Bat | Intermediate | Medium to High |
Skull/Spider | Advanced | High |
Pumpkin Carving FAQs: Tips, Tricks, and NoCarve Alternatives
Pumpkin Carving FAQs: Tips, Tricks, and NoCarve Alternatives
What's the best way to hollow out a pumpkin?
so you're staring at this giant orange orb and wondering how to get all that gooey stuff out, right? The key is a good, sturdy spoon or scoop. Some folks swear by ice cream scoops, but honestly, anything with a sharp edge and a comfortable handle will do. Scrape, scrape, scrape! Get all those seeds and stringy bits out. The smoother the inside, the better your carving will look. Don't be afraid to put some muscle into it – those pumpkin guts can be stubborn!
Also, consider cutting a hole in the bottom of the pumpkin instead of the top. It makes it easier to place the pumpkin over a candle or light later, and it prevents the top from collapsing if it's a heavy pumpkin. Just make sure your hole is big enough to fit your hand and your light source.
Tips for Making Stencils Last
Ever have a stencil rip halfway through carving? Ugh, the worst! To avoid that, print your stencils on cardstock instead of regular paper. It's way more durable and less likely to tear. You can also laminate your stencils for extra protection. If you're using a paper stencil, carefully tape it to the pumpkin, making sure it's smooth and wrinkle-free. And when you're poking holes, be gentle! No need to stab the pumpkin like you're auditioning for a horror movie. Small, controlled pokes are all you need.
Another trick is to use transfer paper. Print your stencil on regular paper, then trace over it onto transfer paper. Then, tape the transfer paper to the pumpkin and trace over the design again. This will leave a faint outline on the pumpkin, which you can then follow with your carving knife. This is especially helpful for intricate designs with lots of small details.
No-Carve Pumpkin Decorating Ideas
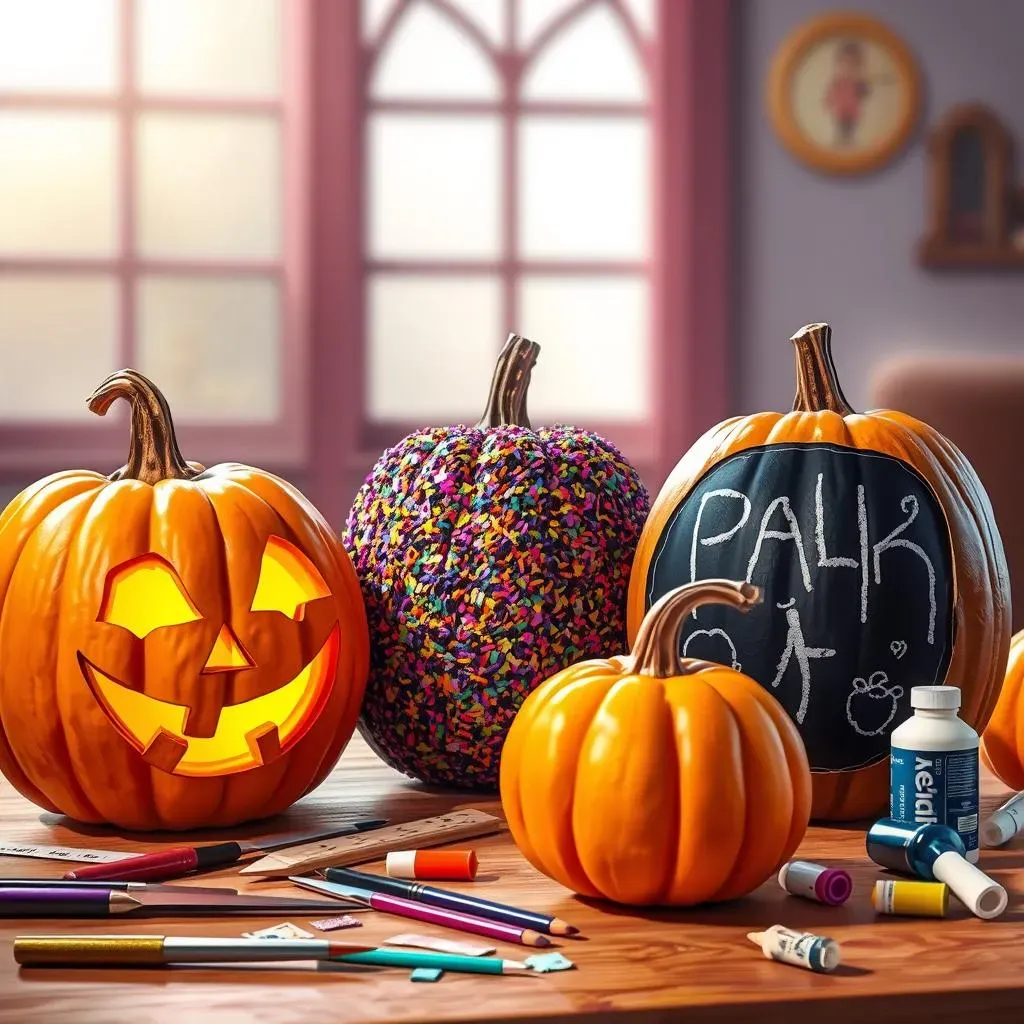
so maybe you're not into the whole carving thing. Or maybe you have little ones who aren't quite ready for sharp knives. No problem! There are tons of awesome no-carve pumpkin decorating ideas out there. Think paint, glitter, googly eyes, fabric scraps, yarn, and anything else you can get your hands on. The possibilities are endless!
One super easy idea is to paint your pumpkin with chalkboard paint and then draw spooky designs on it with chalk. You can change the design every day! Or, you could cover your pumpkin in glue and then sprinkle it with glitter for a dazzling effect. You could even use stencils and paint to create intricate designs without ever having to pick up a knife. No-carve decorating is a great way to get creative and have fun without the mess and danger of carving.
No-Carve Method | Materials Needed | Difficulty Level |
|---|---|---|
Painting | Paint, brushes, stencils (optional) | Easy |
Glittering | Glue, glitter | Easy |
Chalkboard Paint | Chalkboard paint, chalk | Easy |
Fabric/Yarn | Fabric scraps, yarn, glue | Medium |
Happy Carving: Making Your Pumpkin Dreams a Reality
So, there you have it! With these 26 pumpkin carving ideas outlines and a little bit of elbow grease, you're well on your way to creating some seriously impressive jack-o'-lanterns. Don't be afraid to get creative, experiment with different carving techniques, and most importantly, have fun! Whether you choose a classic spooky face or a more unique design, your glowing pumpkin is sure to be the star of your Halloween decorations. And remember, if carving isn't your thing, there are plenty of no-carve options to explore. Happy Halloween, and happy carving!