Table of Contents
Halloween is creeping closer, and what better way to celebrate than with some seriously spooky pumpkin carving? Forget the generic ghost faces; this year, we're diving headfirst into the delightfully villainous world of Oogie Boogie from "The Nightmare Before Christmas." If you're hunting for unique and ghoulishly fun pumpkin carving ideas Oogie Boogie, you've hit the jackpot.
Unleash Your Inner Villain: Creative Oogie Boogie Pumpkin Carving Ideas
Unleash Your Inner Villain: Creative Oogie Boogie Pumpkin Carving Ideas
Beyond the Basic Boogie: Textural Techniques
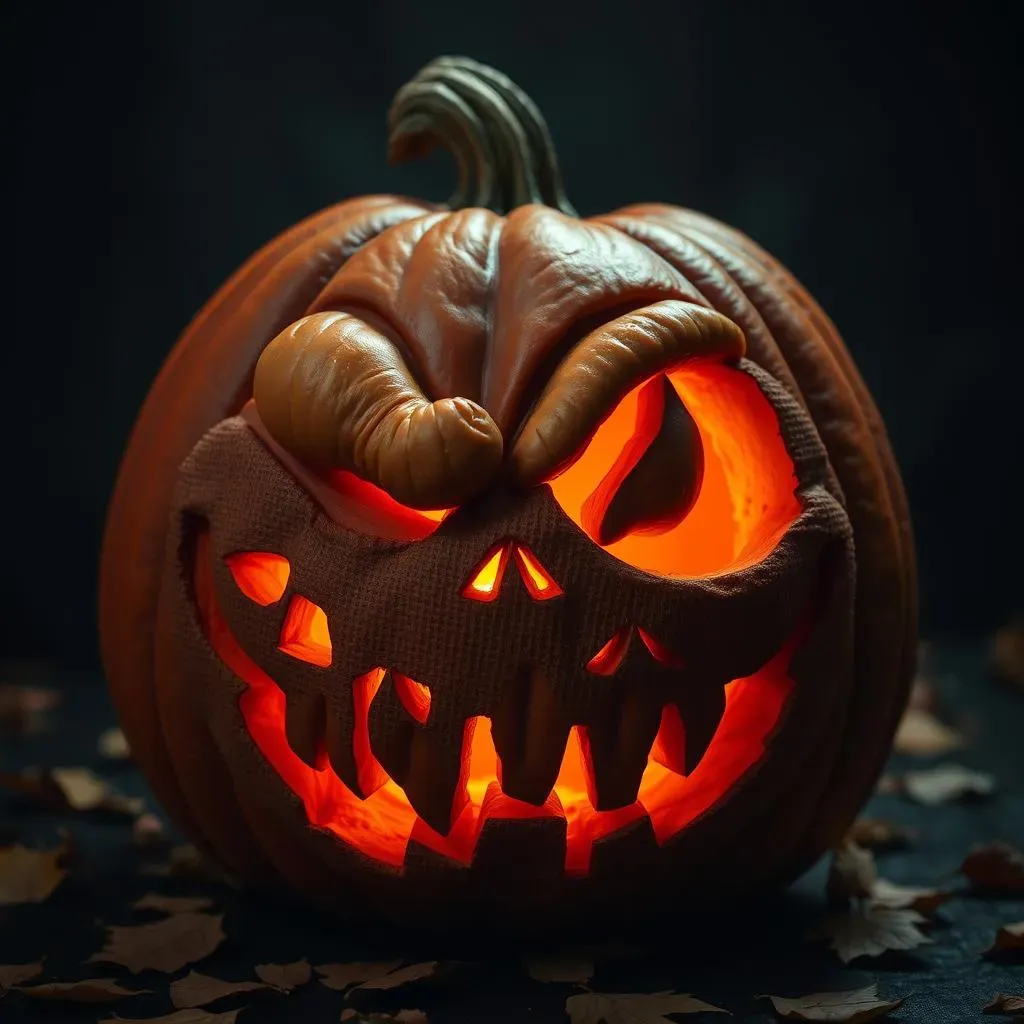
Alright, so you want to carve an Oogie Boogie pumpkin that'll truly stand out? Forget those simple, flat designs. We're going for texture! Oogie Boogie is all about that burlap sack look, so think about how you can replicate that on your pumpkin. Instead of just carving straight through, try using different depths to create a bumpy, uneven surface.
Use tools like loops or gouges to scrape away layers of the pumpkin skin, revealing the lighter flesh underneath. This will give you a fantastic shadowed effect. Don't be afraid to experiment! The more irregular and "imperfect" it looks, the more authentic your Oogie Boogie will appear. Think about using a wood-burning tool (carefully, of course!) to add even finer details and burn in those burlap-like lines.
Dimension and Depth: Making Oogie Boogie Pop
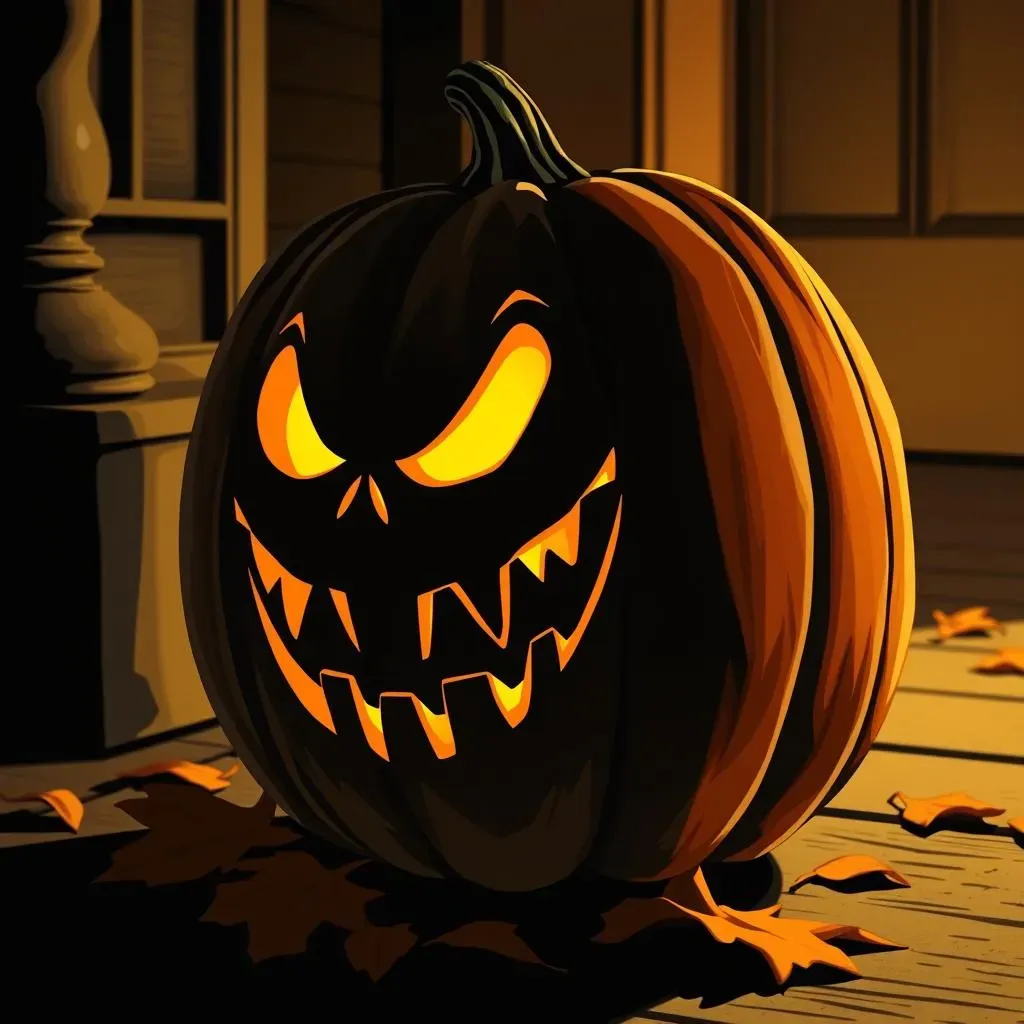
Now, let's talk about adding dimension. A flat, one-dimensional Oogie Boogie is just...sad. We want him to look like he's bursting out of that pumpkin! To achieve this, consider carving different elements at varying depths. Maybe his mouth is carved all the way through, creating a dark void, while his eyes are only partially carved, giving them a more subtle, sinister glow.
Also, think about adding some 3D elements. You could use skewers or toothpicks to attach small pieces of pumpkin that you've carved separately, creating protruding features like his eyebrows or the edges of his mouth. Get creative with it! The goal is to make your Oogie Boogie pumpkin a true work of art, not just another jack-o'-lantern.
Technique | Description | Effect |
|---|---|---|
Layered Carving | Carving at different depths to create shadows and highlights. | Adds visual texture and depth. |
Partial Carving | Removing only the outer layer of the pumpkin skin. | Creates a subtle, glowing effect. |
3D Elements | Attaching separately carved pieces to the pumpkin. | Adds physical dimension and makes the design pop. |
Free Oogie Boogie Pumpkin Stencils: Easy Patterns for All Skill Levels
Free Oogie Boogie Pumpkin Stencils: Easy Patterns for All Skill Levels
Alright, let's get practical. You've got the creative vision, now you need a stencil to make it happen. Luckily, the internet is overflowing with free Oogie Boogie pumpkin stencils for every skill level. Whether you're a newbie just starting or a seasoned pro looking for a challenge, there's a pattern out there for you. A quick search for "Oogie Boogie pumpkin stencil free" will bring up a ton of options.
Websites like Pinterest, DeviantArt, and even some craft blogs offer printable stencils that you can download and use. Look for stencils that match your skill level and the size of your pumpkin. Pro tip: start with a simpler design if it's your first time, and don't be afraid to modify a stencil to make it your own!
Once you've found your perfect stencil, print it out and carefully tape it to your pumpkin. Use a poking tool or an awl to poke holes along the stencil lines. This will transfer the design onto the pumpkin, giving you a clear guide for carving. Remember to take your time and be precise – the more accurate your stencil transfer, the better your final Oogie Boogie pumpkin will look! And hey, if you mess up a little, don't sweat it. Oogie Boogie is all about imperfections, right?
- Beginner: Simple outline of Oogie Boogie's face.
- Intermediate: Oogie Boogie with some burlap texture details.
- Advanced: Full-body Oogie Boogie with intricate details and bugs.
GlowintheDark Oogie Boogie: Elevate Your Pumpkin Carving with Lighting
GlowintheDark Oogie Boogie: Elevate Your Pumpkin Carving with Lighting
Choosing the Right Glow
so you've got your Oogie Boogie carved, but you want to take it to the next level? Let's talk lighting! Forget those boring tea lights – we're going for maximum spooky impact with glow-in-the-dark effects. You've got a few options here, each with its own pros and cons. First up, there are battery-operated LED lights. These are super convenient, safe, and come in a variety of colors. You can even find flickering LED lights that mimic the look of a real candle, adding an extra touch of creepiness.
Then there are glow sticks. These are a classic for a reason – they're cheap, bright, and easy to use. However, they don't last as long as LED lights, and you have to crack them to activate them. Finally, if you're feeling ambitious, you could try using glow-in-the-dark paint. This is a bit more advanced, but it can create some really cool effects, especially if you paint the inside of the pumpkin before carving.
Placement is Key: Light Up the Boogie
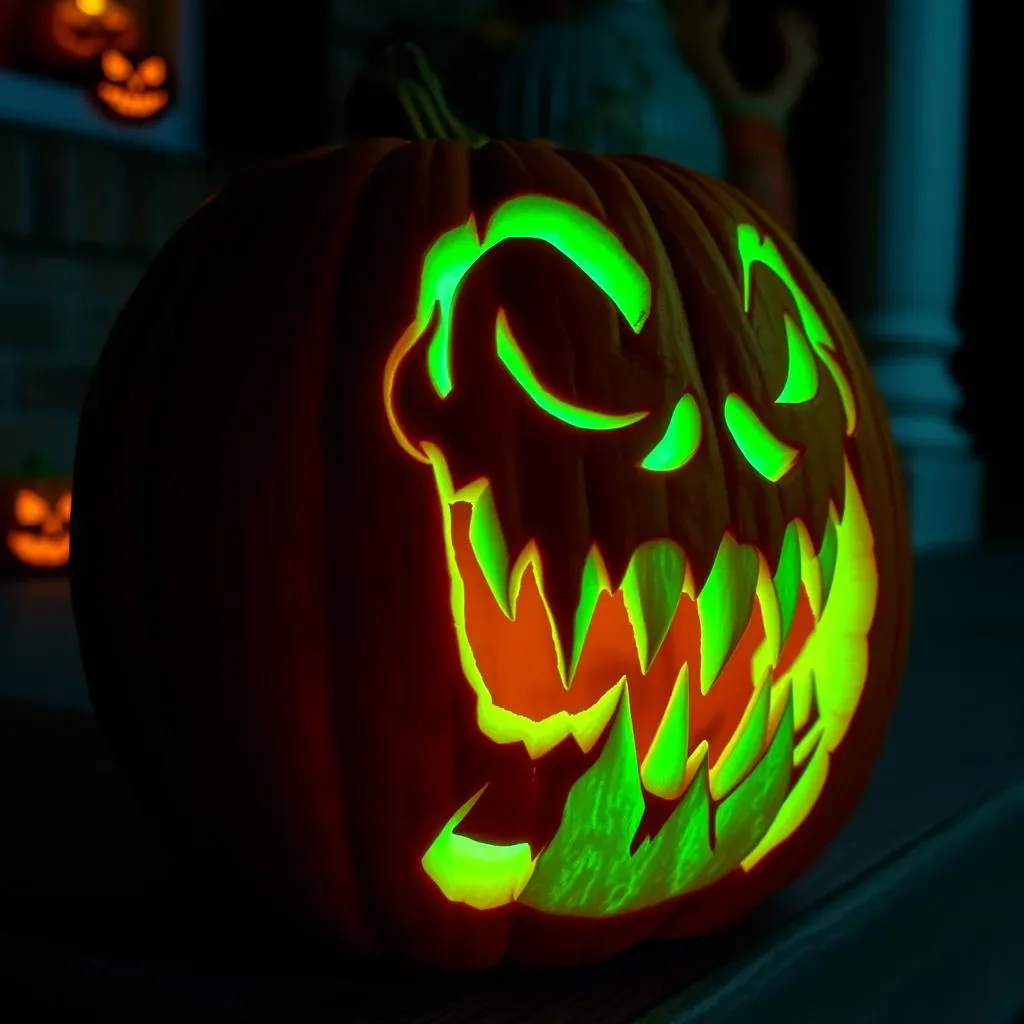
Alright, you've got your glow, now where do you put it? Placement is crucial for maximizing the spooky effect of your Oogie Boogie pumpkin. If you're using LED lights, try placing them inside the pumpkin, focusing on areas where you want the light to shine through the most. For example, you could put a light directly behind his mouth to make it look like he's emitting an eerie glow. Or, you could place lights behind his eyes to give him a menacing stare.
If you're using glow sticks, you can get creative and tape them to the inside of the pumpkin, arranging them in a pattern that highlights certain features. With glow-in-the-dark paint, focus on painting the carved areas to make them really pop. Remember, the goal is to create a dramatic and eye-catching effect that will wow your trick-or-treaters!
Lighting Option | Placement Tips | Best For |
|---|---|---|
LED Lights | Inside the pumpkin, behind key features. | Overall illumination and focused highlights. |
Glow Sticks | Taped to the inside, arranged in patterns. | Adding pops of color and outlining details. |
Glow-in-the-Dark Paint | Painted on carved areas. | Making specific details stand out. |
Safety First, Spooky Second
Before you get too carried away with your glow-in-the-dark Oogie Boogie masterpiece, let's talk safety. If you're using battery-operated lights, make sure they're securely fastened inside the pumpkin so they don't move around or fall out. Also, check the batteries regularly and replace them as needed to keep your Oogie Boogie glowing all night long. If you're using glow sticks, be careful not to break them accidentally, as the liquid inside can be irritating.
And if you're using glow-in-the-dark paint, make sure it's non-toxic and safe for use around children and pets. Remember, Halloween is all about having fun, but it's important to stay safe and responsible while you're at it! With a little planning and precaution, you can create a stunning glow-in-the-dark Oogie Boogie pumpkin that will be the highlight of your Halloween decorations.
Nightmare Before Christmas Pumpkin Carving: Beyond Oogie Boogie
Nightmare Before Christmas Pumpkin Carving: Beyond Oogie Boogie
Jack Skellington: The Pumpkin King Himself
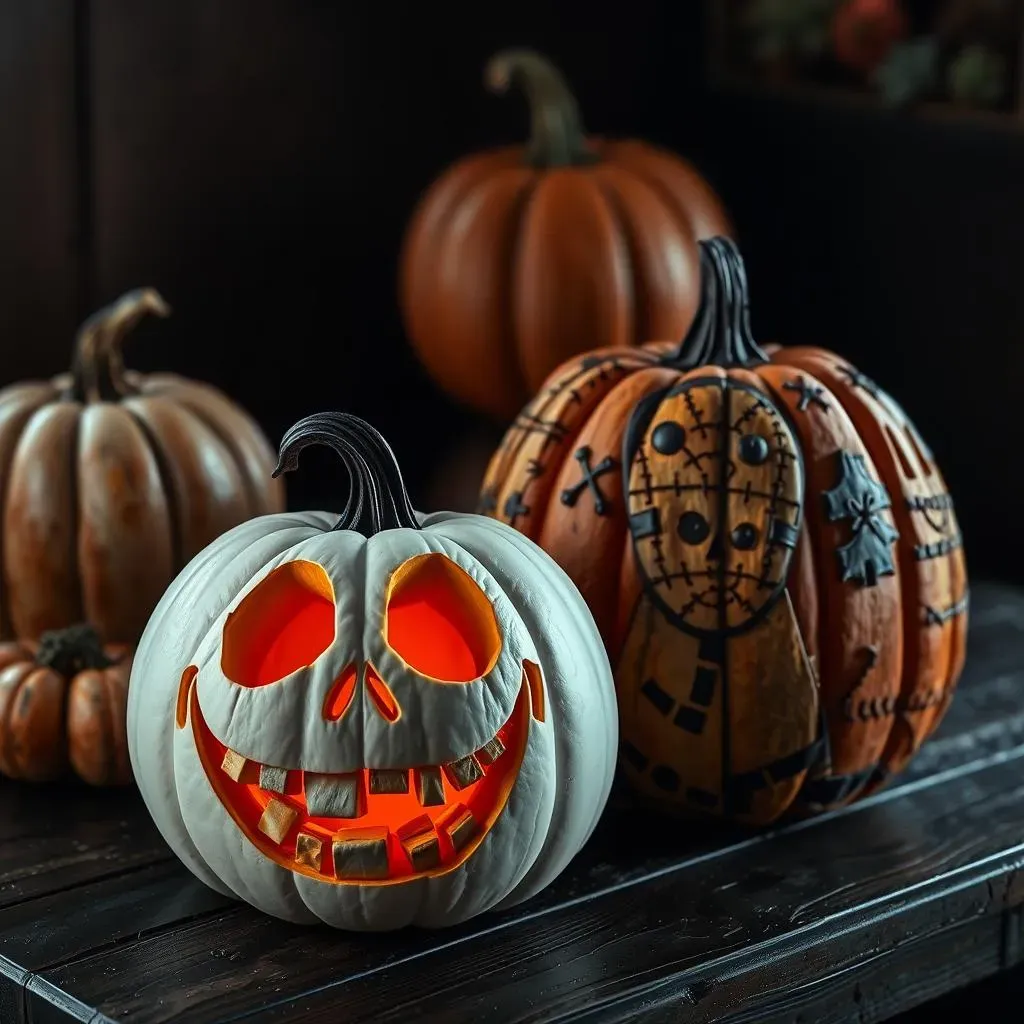
so you've conquered Oogie Boogie, but "The Nightmare Before Christmas" has a whole cast of characters ripe for pumpkin carving! Let's start with the Pumpkin King himself, Jack Skellington. Carving Jack offers a unique challenge: his iconic grin. You can go for a classic, wide-mouthed smile, or get creative with different expressions. Think about using thin, precise cuts to capture the delicate lines of his mouth and the hollows of his eyes. A dremel tool can be useful here to carve out the tiny details.
To really nail Jack's look, consider using a white pumpkin instead of the traditional orange. This will give you a closer match to his skeletal appearance. You can also experiment with different carving techniques to create texture and depth, just like we did with Oogie Boogie. And don't forget his bat bow tie! You can carve a separate bat shape and attach it to the pumpkin with toothpicks for an extra touch of detail.
Sally's Stitched-Together Style
Next up, we have the lovely Sally! Carving Sally presents a different set of challenges. Her stitched-together appearance is key, so think about how you can replicate that on your pumpkin. One option is to carve thin, jagged lines across the surface of the pumpkin, mimicking the look of stitches. You can then use a smaller tool to create tiny holes along these lines, adding even more detail.
Sally's patchwork dress also offers some great opportunities for creativity. You could carve different patterns and textures into each "patch," making your pumpkin a true work of art. And don't forget her signature red hair! You could use red paint or even attach some strands of yarn or fabric to the top of the pumpkin to complete the look. Just like with Jack, consider using a white pumpkin to better match Sally's complexion.
Character | Key Features | Carving Tips |
|---|---|---|
Jack Skellington | Grin, hollow eyes, bat bow tie | Precise cuts, white pumpkin, 3D bow tie |
Sally | Stitches, patchwork dress, red hair | Jagged lines, varied textures, paint or yarn for hair |
Oogie Boogie Pumpkin Decor: More Than Just Carving

Oogie Boogie Pumpkin Decor: More Than Just Carving
Setting the Stage: Oogie Boogie's Lair
so you've got your amazing Oogie Boogie pumpkin, but don't just plop it on the porch and call it a day! We need to create a whole spooky scene to really showcase your carving skills. Think about transforming your porch into Oogie Boogie's lair! Drape some burlap fabric around to mimic his sack-like appearance. Scatter some fake bugs and spiders around for extra creepiness. And don't forget the mood lighting! Use some green and purple spotlights to cast an eerie glow on your masterpiece.
Think about adding some DIY elements too. You could create some cardboard cutouts of dice or playing cards to represent Oogie Boogie's gambling obsession. Or, you could hang some strands of Spanish moss to create a swampy, otherworldly atmosphere. The goal is to transport your trick-or-treaters to the heart of Halloween Town!
Bringing the Bugs: Creepy Crawly Accents
What's Oogie Boogie without his bugs? Incorporating creepy crawlies into your decor is essential for capturing his essence. You can find bags of fake bugs at most party supply stores, or even make your own using craft materials. Scatter them around your pumpkin, drape them from the ceiling, or even glue them directly onto the pumpkin for a truly disgusting effect.
Consider using different types of bugs to add variety and visual interest. Cockroaches, spiders, beetles – the more the merrier! You could even create a "bug jar" filled with fake bugs and a battery-operated light to cast spooky shadows. Get creative and don't be afraid to go overboard – when it comes to Oogie Boogie, there's no such thing as too many bugs!
Sound Effects and Spooky Tunes
To truly immerse your trick-or-treaters in the world of Oogie Boogie, don't forget the sound effects! A spooky soundtrack can make all the difference in creating a truly terrifying atmosphere. Play some eerie organ music or the "Nightmare Before Christmas" soundtrack in the background. You can also find sound effect CDs or downloads online that feature creepy noises like creaking doors, howling winds, and, of course, the sound of bugs crawling.
Consider adding some interactive elements too. You could set up a motion sensor that triggers a spooky sound effect when someone approaches your Oogie Boogie pumpkin. Or, you could hide a small speaker inside the pumpkin and play a recording of Oogie Boogie's laugh. These little touches will add an extra layer of fright and delight to your Halloween decorations!
Decor Element | Description | Spooky Effect |
|---|---|---|
Burlap Fabric | Draped around the porch. | Mimics Oogie Boogie's sack-like appearance. |
Fake Bugs | Scattered around the pumpkin and surrounding area. | Adds a creepy, crawly element. |
Green and Purple Lighting | Spotlights or colored bulbs. | Casts an eerie glow. |
Spooky Sound Effects | Eerie music, creepy noises. | Creates a terrifying atmosphere. |
Oogie Boogie's Last Laugh: Mastering the Art of Spooky Pumpkin Carving
So, there you have it! From simple stencils to elaborate designs and eerie lighting effects, you're now armed with a cauldron full of pumpkin carving ideas Oogie Boogie. Remember, the goal isn't perfection, but to embrace the spooky spirit of Halloween and have some fun. Whether your Oogie Boogie pumpkin is a terrifying masterpiece or a charmingly lopsided creation, it's sure to bring a touch of frightful delight to your Halloween festivities. Now go forth and carve, and may your Halloween be filled with more treats than tricks!