Table of Contents
Halloween is creeping closer, and what's a spooky season without a grinning jack-o'-lantern on your porch? But who says pumpkin carving has to be all about terrifying ghouls and menacing monsters? This year, let's ditch the jump scares and embrace the lighter side of Halloween with some pumpkin carving ideas not scary! Whether you're a seasoned carving pro or a first-timer armed with a spoon and a dream, we've got a treasure trove of inspiration to make your pumpkin the star of the neighborhood.
Gear Up for Pumpkin Carving Fun
Gear Up for Pumpkin Carving Fun
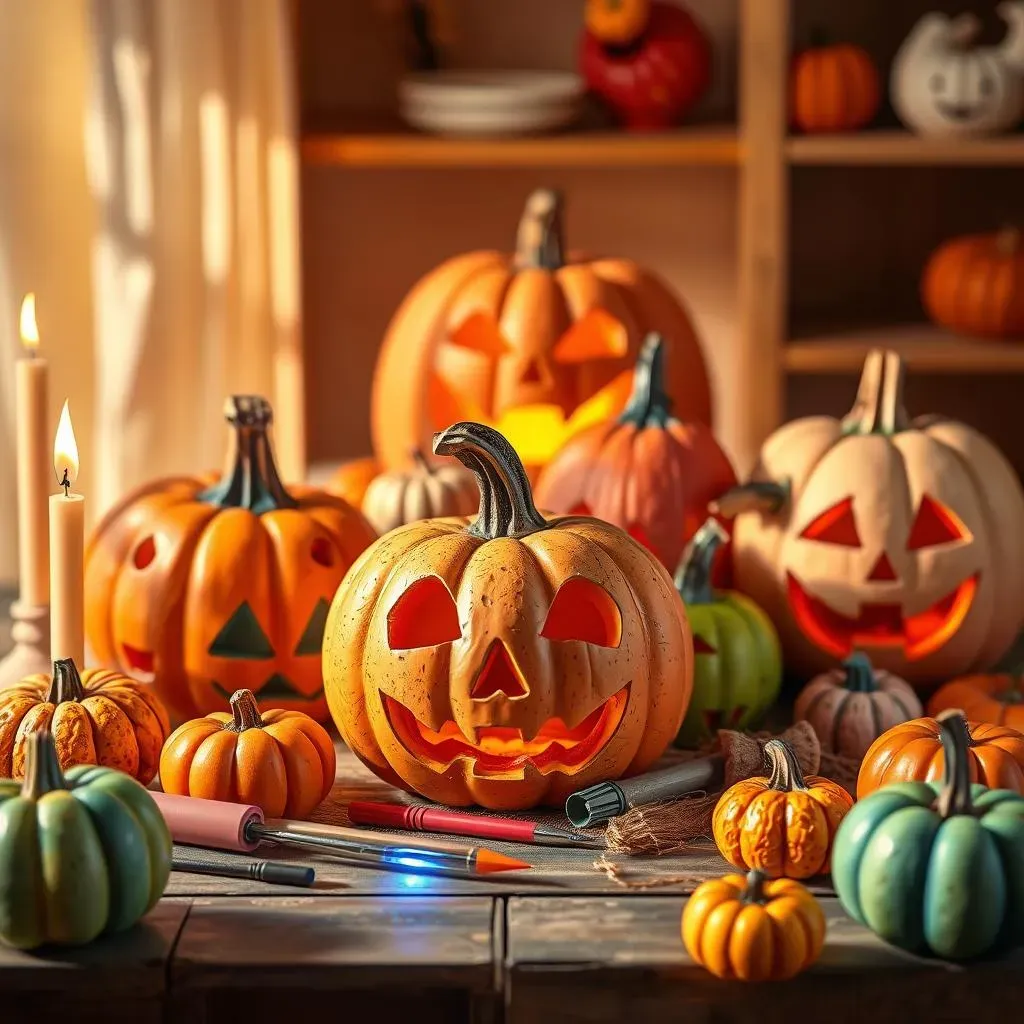
Alright, so you're ready to dive into the wonderful world of pumpkin carving! First things first, you'll need to gather your supplies. Think of it as prepping your artist's palette – the right tools make all the difference. Obviously, you need a pumpkin (or several!), but don't just grab the first one you see. Look for pumpkins with smooth, relatively flat surfaces; they're much easier to carve. Give it a tap – you want to hear a hollow sound, which means it's ripe and ready to go. Next up: tools. A good carving kit is your best friend here. It should include a variety of saws, scoops, and pokers. But don't underestimate the power of everyday kitchen utensils! Spoons, knives, and even cookie cutters can be surprisingly effective. And finally, lighting! Whether you're team candle or team LED, make sure you have something to illuminate your masterpiece once it's done.
And speaking of lighting, here is a comparison of the 2 most used lights:
Light Source | Pros | Cons |
|---|---|---|
Candles | Classic look, warm glow, adds a spooky ambiance | Fire hazard, requires supervision, burns out quickly |
LED Lights | Safe, long-lasting, various colors and effects | May not have the same warm glow as candles, requires batteries |
Easy Pumpkin Carving Ideas: Perfect for Beginners
Easy Pumpkin Carving Ideas: Perfect for Beginners
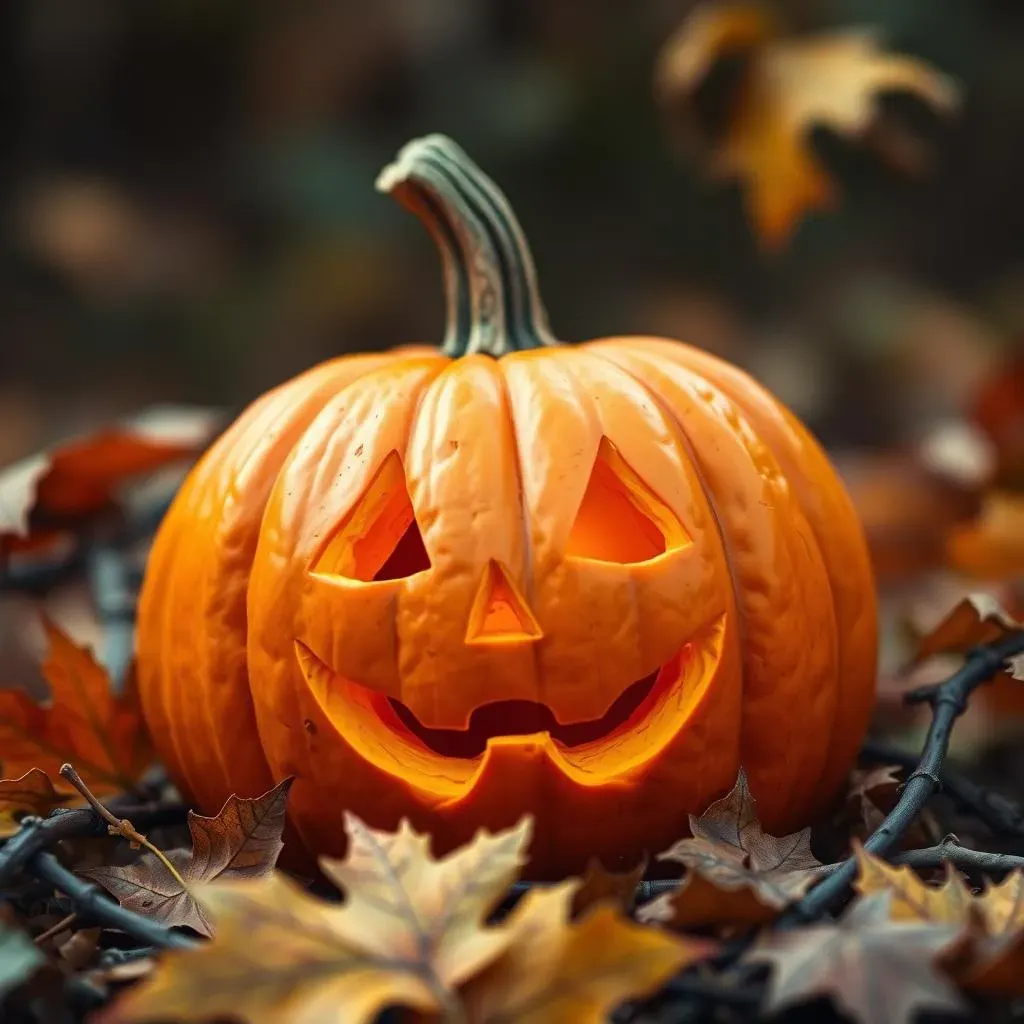
so you're new to the pumpkin carving game? No sweat! There are tons of easy pumpkin carving ideas that are perfect for beginners. Think simple shapes, basic faces, and anything that doesn't require intricate details. Start with a classic jack-o'-lantern face – triangles for eyes, a simple nose, and a toothy grin. You can even use stencils to trace the design onto your pumpkin before you start carving. Another great option is to carve out simple geometric patterns like stars, circles, or diamonds. These are super easy to do and look surprisingly cool when illuminated. Remember, it's all about having fun and getting creative, so don't be afraid to experiment!
Here are some awesome easy pumpkin carving ideas:
- Classic Jack-o'-Lantern: Timeless and always a hit.
- Simple Shapes: Stars, moons, or circles are easy to carve and look great.
- Silly Faces: Googly eyes and goofy grins add a touch of humor.
- Polka Dots: Use a drill or small knife to create a dotted pattern.
- Monograms: Carve your initials for a personalized touch.
Don't underestimate the power of cookie cutters! Simply press your favorite shapes into the pumpkin and trace around them with a knife. This is a fantastic way to create fun and festive designs without having to be a master artist. Also, consider using battery-operated tea lights instead of candles, especially if you have little ones helping out. They're much safer and last longer, so you can enjoy your pumpkin masterpiece for days!
Creative NoCarve Pumpkin Decorating Ideas
Creative NoCarve Pumpkin Decorating Ideas
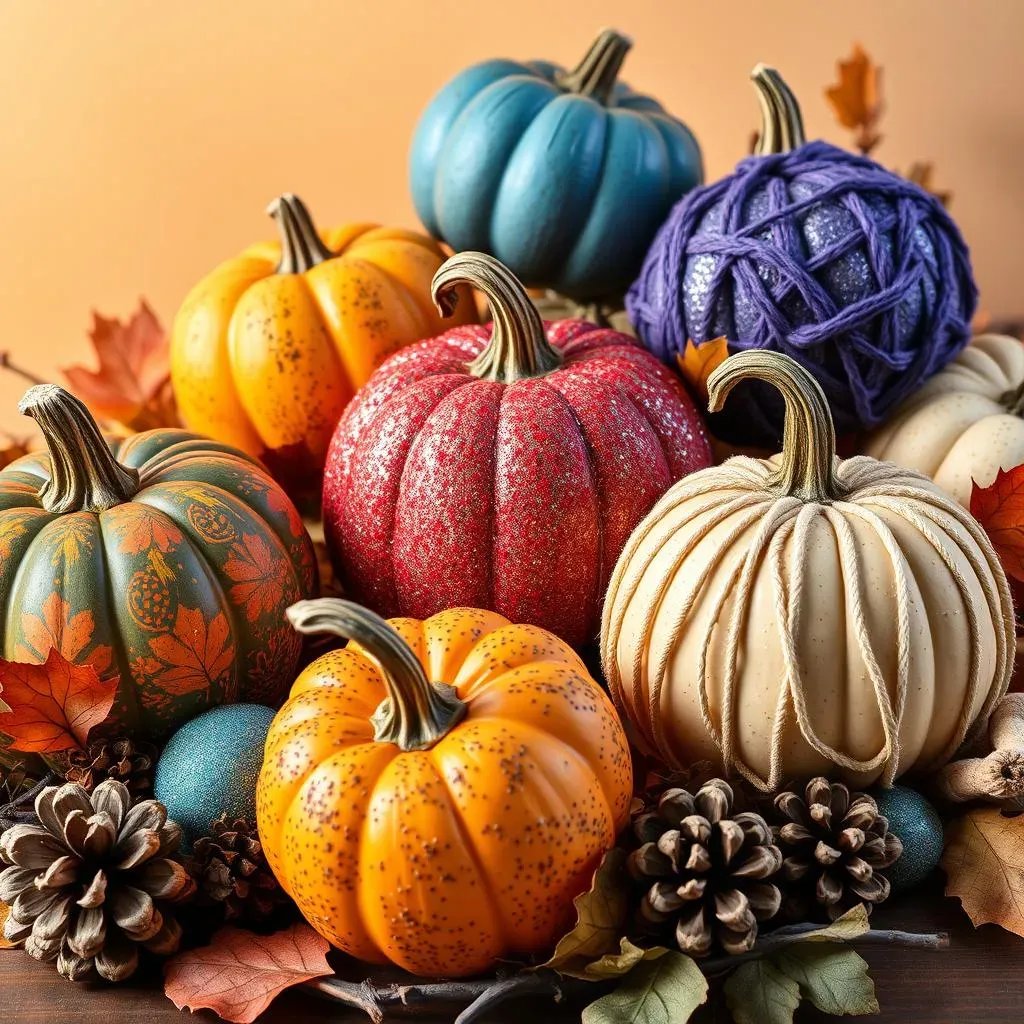
Alright, so maybe you're not into the whole carving thing, or perhaps you're looking for a way to involve the little ones without handing them a sharp knife. Fear not! Creative no-carve pumpkin decorating ideas are here to save the day! This is where you can really let your imagination run wild. Think paint, glitter, googly eyes, fabric scraps, yarn – anything and everything goes! One super simple idea is to paint your pumpkin with a coat of chalkboard paint. Once it's dry, you can use chalk to draw spooky faces, write Halloween messages, or even create a fun game of tic-tac-toe. Another fun option is to glue on colorful buttons, beads, or sequins to create a dazzling, eye-catching design.
And speaking of dazzling, here are some ideas on how to decorate your pumpkins:
- Paint it Up: Acrylics, watercolors, or even spray paint can transform your pumpkin.
- Glitter Glam: Add some sparkle with glitter and glue.
- Googly Eyes Galore: Create a silly monster with different sized googly eyes.
- Fabric Fun: Use fabric scraps to create patchwork designs or cute characters.
- Yarn Wrapped: Wrap your pumpkin in colorful yarn for a cozy look.
Don't forget about nature! Leaves, twigs, acorns, and pinecones can all be used to create rustic and charming pumpkin decorations. Simply glue them onto your pumpkin in a creative arrangement. You can even spray paint them gold or silver for a touch of elegance. If you're feeling extra crafty, try creating a pumpkin "creature" by adding pipe cleaner limbs, felt ears, and a pom-pom nose. The possibilities are endless! Remember, the goal is to have fun and create something unique, so don't be afraid to get a little messy and experiment with different materials and techniques.
Advanced Pumpkin Carving Ideas: Step Up Your Game
Advanced Pumpkin Carving Ideas: Step Up Your Game
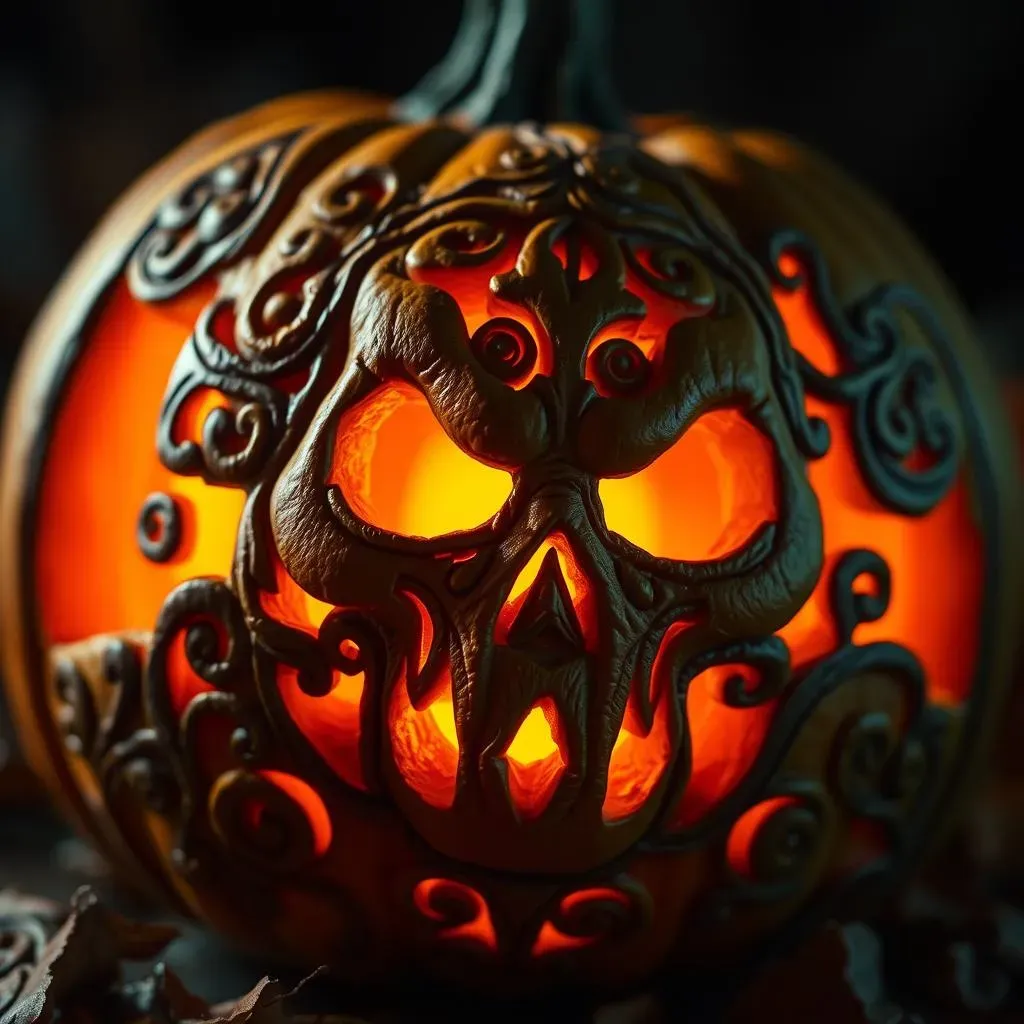
Ready to take your pumpkin carving skills to the next level? Then buckle up, because we're diving into the world of advanced pumpkin carving ideas! This is where you can really show off your artistic talents and create a pumpkin masterpiece that will leave everyone in awe. Forget simple triangles and basic grins – we're talking intricate designs, 3D effects, and mind-blowing details. Think elaborate portraits, complex patterns, and even entire scenes carved into your pumpkin. Of course, this level of carving requires some serious skill and patience, but the results are well worth the effort. Before we start, make sure you have a good quality carving kit with a variety of specialized tools, including fine-toothed saws, gouges, and detail knives. Trust me, these tools will make your life a whole lot easier!
Here are some advanced pumpkin carving ideas to inspire you:
- Detailed Portraits: Carve a likeness of your favorite celebrity or historical figure.
- Intricate Patterns: Create complex geometric or floral designs.
- 3D Effects: Use different carving depths to create a three-dimensional look.
- Movie Scenes: Recreate a scene from your favorite Halloween movie.
- Logos and Symbols: Carve your favorite sports team logo or a meaningful symbol.
Not Scary Pumpkin Carving Ideas: Displaying Your Masterpiece
Not Scary Pumpkin Carving Ideas: Displaying Your Masterpiece
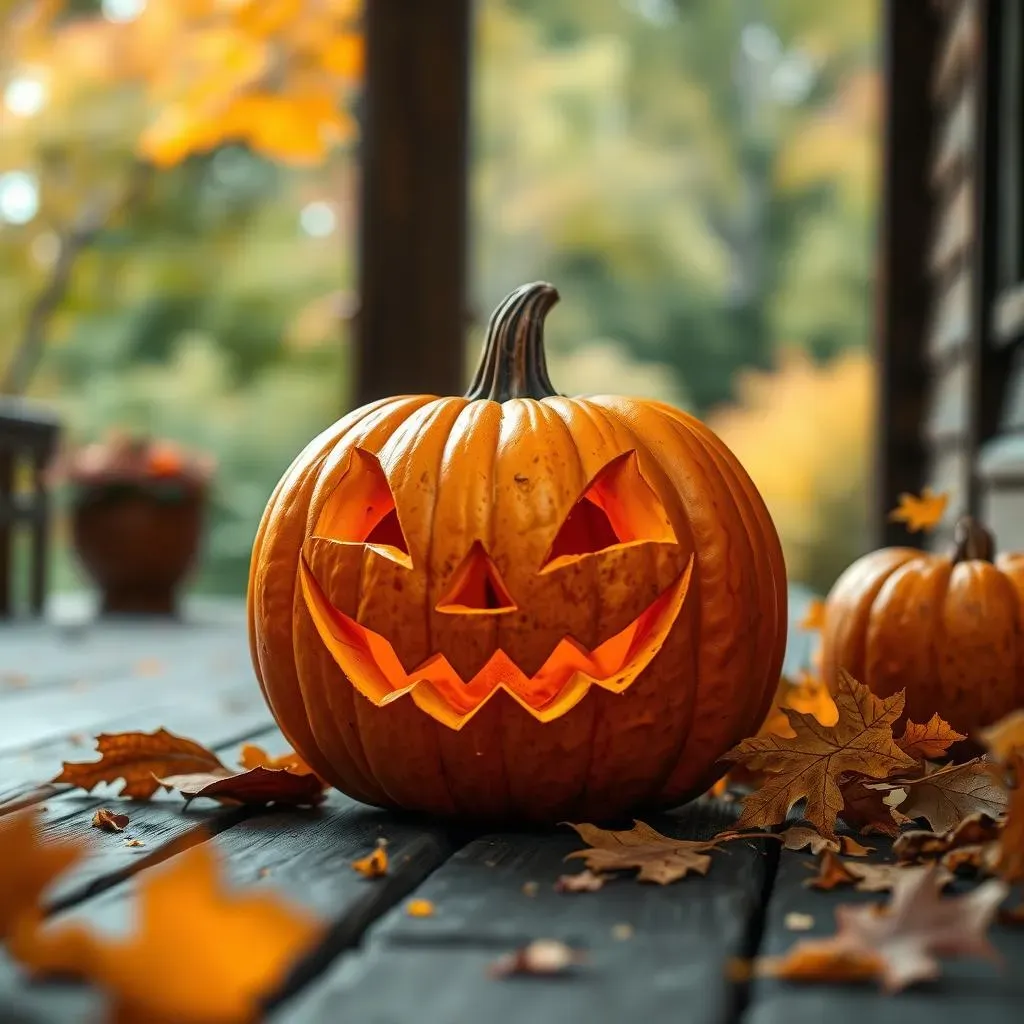
So, you've poured your heart and soul into creating the perfect not-so-scary pumpkin masterpiece. Now it's time to show it off! But where do you put it? And how do you make sure it lasts through Halloween night? First things first, consider your location. A well-lit porch is always a classic choice, but don't be afraid to get creative! A windowsill, a garden path, or even an indoor display can all be great options. Just make sure your pumpkin is protected from the elements, especially if you've opted for a carved design. Rain and wind can quickly ruin your hard work. Also, think about the overall ambiance you're trying to create. Do you want a warm and inviting glow, or a more dramatic and spooky effect? The type of lighting you use can make a big difference.
To help you out, here are some tips for displaying your masterpiece:
- Porch Perfection: A classic spot that's visible to everyone.
- Window Wonder: Place your pumpkin in a window for indoor/outdoor viewing.
- Garden Guardian: Add a touch of whimsy to your garden path.
- Indoor Illumination: Create a cozy Halloween display indoors.
- Light it Right: Use candles or LED lights to create the perfect ambiance.
To prolong the life of your carved pumpkin, try applying a thin layer of petroleum jelly to the cut surfaces. This will help to keep them from drying out and cracking. You can also soak your pumpkin in a bleach solution (1 tablespoon of bleach per gallon of water) for a few hours to kill any mold or bacteria that might be lurking. And if you're using candles, be sure to place them in a heat-resistant container and keep them away from flammable materials. Safety first, always! Most importantly, have fun with it! Displaying your pumpkin is all about showing off your creativity and spreading some Halloween cheer. So, don't be afraid to experiment with different ideas and create a display that's uniquely you.
Happy (and Not-So-Scary) Carving!
So there you have it – a mountain of inspiration to transform your pumpkins into delightful Halloween decorations! Whether you opted for a simple smiling face, a whimsical animal, or a dazzling no-carve design, the most important thing is to have fun and express your creativity. Remember to save those pumpkin seeds for a tasty roasted treat, and most importantly, enjoy the spooky season with your not-so-scary pumpkin masterpiece shining bright!