Table of Contents
Tired of the same old scary grins and goofy expressions staring back from your porch every Halloween? Year after year, the classic jack-o'-lantern face can feel a little…predictable. This year, let's break free from tradition and explore a world of pumpkin carving ideas not faces! We're diving headfirst into a treasure trove of creative concepts that will transform your pumpkin from a spooky cliché into a stunning work of art. Whether you're a seasoned carving pro or a complete beginner, there's something here for everyone. We'll cover essential tools and techniques to help you achieve flawless results, then unleash a torrent of inspiration with animals, objects, scenes, and even functional designs. Imagine a pumpkin transformed into a whimsical woodland creature, a cozy miniature house, or a glowing luminary casting enchanting shadows. Ready to ditch the predictable and embrace the extraordinary? Get ready to discover a whole new dimension of pumpkin carving, where imagination reigns supreme and the only limit is your creativity. Let's carve some memories – and pumpkins – that will truly stand out this Halloween!
Unleash Your Creativity: Unique Pumpkin Carving Ideas Beyond the Face
Unleash Your Creativity: Unique Pumpkin Carving Ideas Beyond the Face
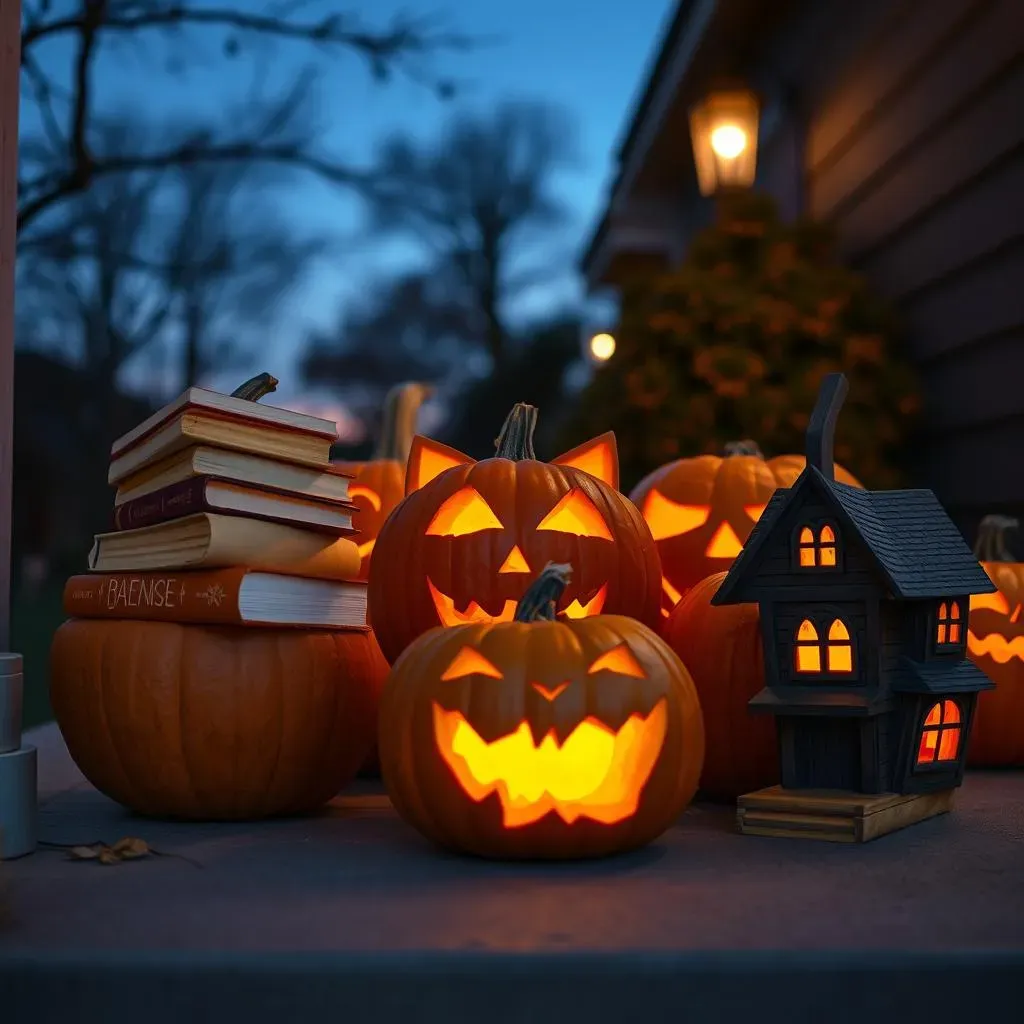
Alright, so you're ready to ditch the standard smiley face this year, huh? Awesome! Let's get those creative juices flowing. Forget everything you think you know about pumpkin carving – we're not just making jack-o'-lanterns, we're crafting miniature masterpieces. Think about your hobbies, your favorite animals, even your state! Anything is fair game. A friend of mine, total bookworm, carved a stack of books into her pumpkin last year. It was seriously impressive. Another friend is obsessed with her cat, so you can guess what she did.
The beauty of moving beyond faces is that you can really personalize your Halloween display. Instead of aiming for scary, you can go for whimsical, elegant, or even downright funny. Think about incorporating textures, patterns, and even using the natural shape of the pumpkin to your advantage. A tall, skinny pumpkin could become a spooky haunted house, while a round one could be transformed into a cute little pig.
Tools and Techniques: Essential Tips for Flawless Pumpkin Carving (No Faces Required!)
Tools and Techniques: Essential Tips for Flawless Pumpkin Carving (No Faces Required!)
Gather Your Arsenal: Essential Carving Tools
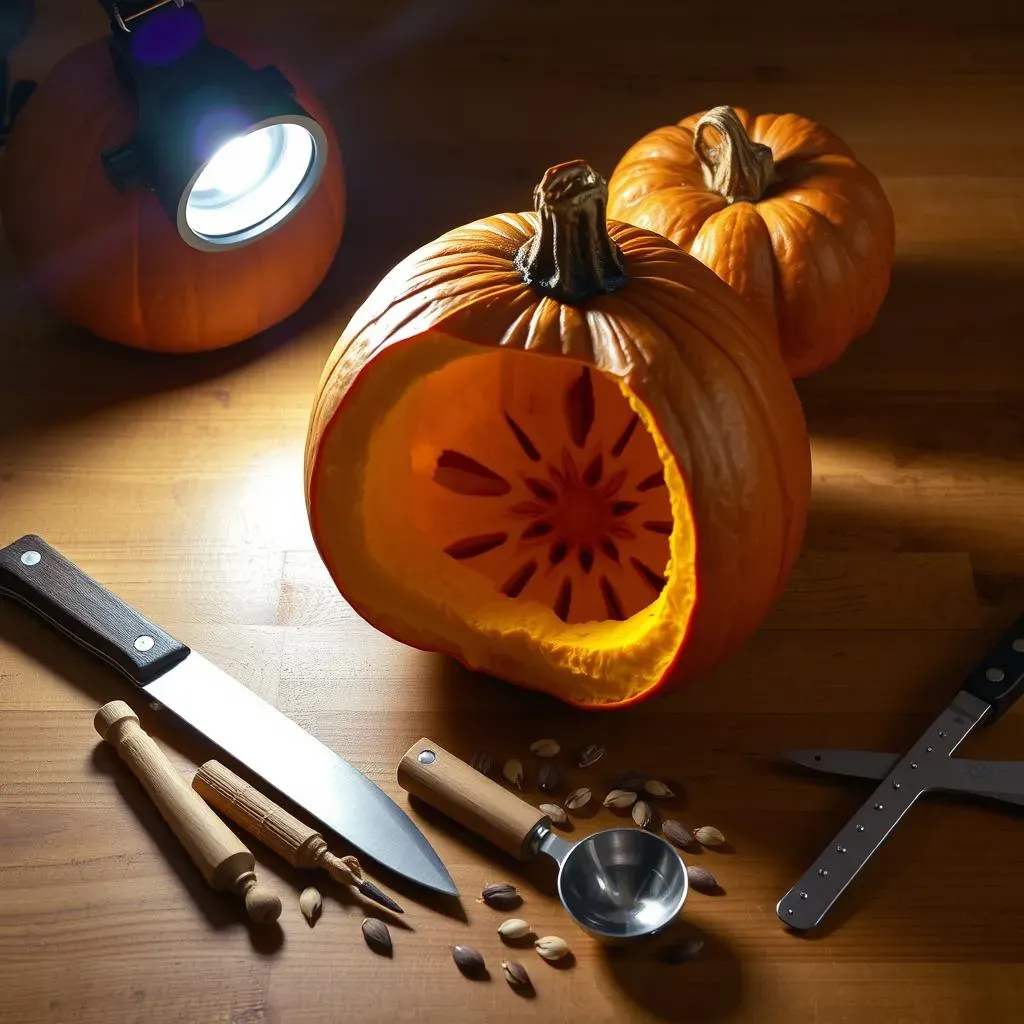
before we dive into the fun part, let's talk tools. You don't need to spend a fortune, but having the right equipment will make your life SO much easier. Forget that flimsy plastic knife that comes with the cheapo carving kits. We're going pro (sort of!). A good serrated knife is essential for cutting open the pumpkin and thinning out the walls. Then, invest in a set of carving tools with different shapes and sizes. These will allow you to create intricate details and clean lines. I personally love using those little wood carving gouges – they're perfect for creating textures and patterns.
Don't forget about scoops and scrapers! A sturdy metal scoop will help you remove all those stringy guts, and a scraper is perfect for thinning the pumpkin walls from the inside. And speaking of inside, lighting is key! A headlamp or a bright work light will allow you to see exactly what you're doing. Trust me, trying to carve in the dark is a recipe for disaster (and potentially a trip to the ER).
- Serrated Knife: For opening and thinning.
- Carving Tools: Gouges, saws, loop tools for detail.
- Metal Scoop: Guts be gone!
- Scraper: Thin those walls.
- Headlamp/Work Light: See what you're doing!
Prep Like a Pro: Pumpkin Selection and Gutting
Not all pumpkins are created equal! When you're picking out your canvas, look for a pumpkin that's relatively smooth, with minimal blemishes or soft spots. Give it a good thump – it should sound hollow. The stem should be sturdy and green, not dried out or brittle. And of course, make sure it sits flat! Nobody wants a wobbly pumpkin. I once spent hours carving a masterpiece only to realize it wouldn't stand up straight. Total heartbreak.
Gutting is the least glamorous part of the process, but it's crucial. Cut a large hole in the top or bottom of the pumpkin (I prefer the bottom – it's less visible). Then, grab your scoop and get to work! Scrape the insides clean, removing all the seeds and stringy bits. You want the walls to be about an inch thick for easy carving. Save those seeds for roasting later – they're delicious!
Transfer and Carve: From Idea to Reality
Now for the fun part! Before you start hacking away, it's a good idea to transfer your design onto the pumpkin. You can either draw it freehand with a marker, or use a stencil. There are tons of free stencils online – just search for "pumpkin carving stencils not faces." Tape the stencil to the pumpkin and use a poking tool to transfer the design. Once you have your outline, it's time to carve!
Start with the small details and work your way up to the larger areas. Use a sawing motion with your carving tools, and be patient! Don't try to force anything – let the tools do the work. If you're carving a complex design, it's helpful to work in layers. Carve the outlines first, then gradually remove more material to create depth and dimension. And remember, safety first! Always carve away from yourself, and never put your hand in front of the blade. A few years ago, I was so excited about a design that I nearly cut my finger off. Not fun.
Pumpkin Carving Ideas: Animals, Objects, and More for Stunning Fall Displays
Pumpkin Carving Ideas: Animals, Objects, and More for Stunning Fall Displays
Animal Kingdom Creations: From Furry Friends to Feathered Beasts
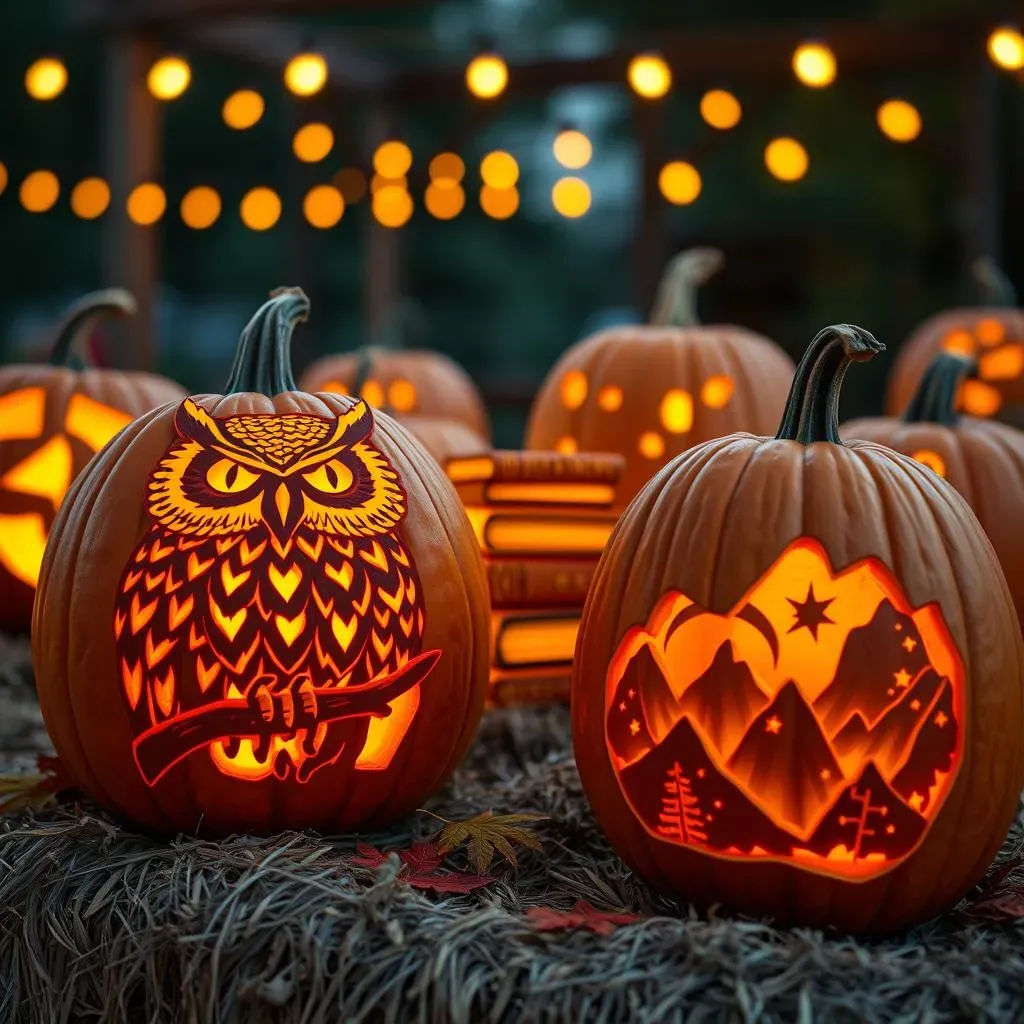
animal lovers, this is your time to shine! Forget the generic cat face – let's get specific. Think about your favorite animal and how you can translate its features onto a pumpkin. A majestic owl with piercing eyes? A playful squirrel with a bushy tail? A sleek black cat silhouette against the moonlight? The possibilities are endless! The key is to focus on the animal's defining characteristics. Use different carving techniques to create textures and patterns that mimic fur, feathers, or scales. I saw someone carve a super realistic-looking hedgehog last year, complete with individual spines. It was mind-blowing!
Consider the shape of your pumpkin when choosing your animal. A round pumpkin is perfect for a chubby little pig or a fluffy sheep, while a tall, skinny pumpkin could become a graceful giraffe or a slithering snake. Don't be afraid to get creative with the details! Use pumpkin seeds for eyes, stems for noses, and even carve out small holes to insert twigs for antlers or whiskers.
Object Lessons: Everyday Items Transformed
Who says pumpkins have to be scary or cute? Why not carve an object that reflects your personality or interests? A stack of books for the bookworm, a musical instrument for the musician, a coffee mug for the caffeine addict – the possibilities are truly limitless. Think about the shapes and textures of the object you choose, and how you can translate them onto the pumpkin's surface. A friend of mine carved a vintage camera onto her pumpkin last year, complete with intricate lens details. It was seriously impressive.
Consider using different carving techniques to create depth and dimension. Carve out the background to make the object pop, or use shading to create a sense of realism. You can also incorporate found objects into your design. Use buttons for knobs, wire for antennas, or even paint to add color and detail. The goal is to create a pumpkin that is both visually appealing and a reflection of your unique personality.
Object Category | Example Carving Ideas | Tips & Tricks |
|---|---|---|
Hobbies | Knitting needles, paintbrushes, sports equipment | Use real objects as templates for accuracy |
Food & Drink | Coffee mugs, cupcakes, slices of pizza | Incorporate different carving depths for texture |
Technology | Cameras, smartphones, video game controllers | Use stencils for precise details |
Scenic Wonders: Bringing Landscapes to Life
If you're feeling ambitious, why not carve an entire scene onto your pumpkin? Think about your favorite landscape – a mountain range, a forest, a beach at sunset – and try to capture its essence on your pumpkin. This requires a bit more skill and patience, but the results can be truly breathtaking. Start by sketching out your design on paper, then transfer it to the pumpkin using a stencil or freehand drawing.
Use different carving techniques to create depth and perspective. Carve the foreground elements in more detail, and gradually reduce the detail as you move towards the background. Use shading to create a sense of atmosphere and light. Consider adding small details like trees, clouds, or stars to enhance the scene. You can even use a drill to create tiny pinholes for stars that twinkle in the dark.
Functional and Festive: Creative Uses for Your Carved Pumpkins (That Aren't Just Faces)
Functional and Festive: Creative Uses for Your Carved Pumpkins (That Aren't Just Faces)
Pumpkin Luminaries: Casting a Warm Glow
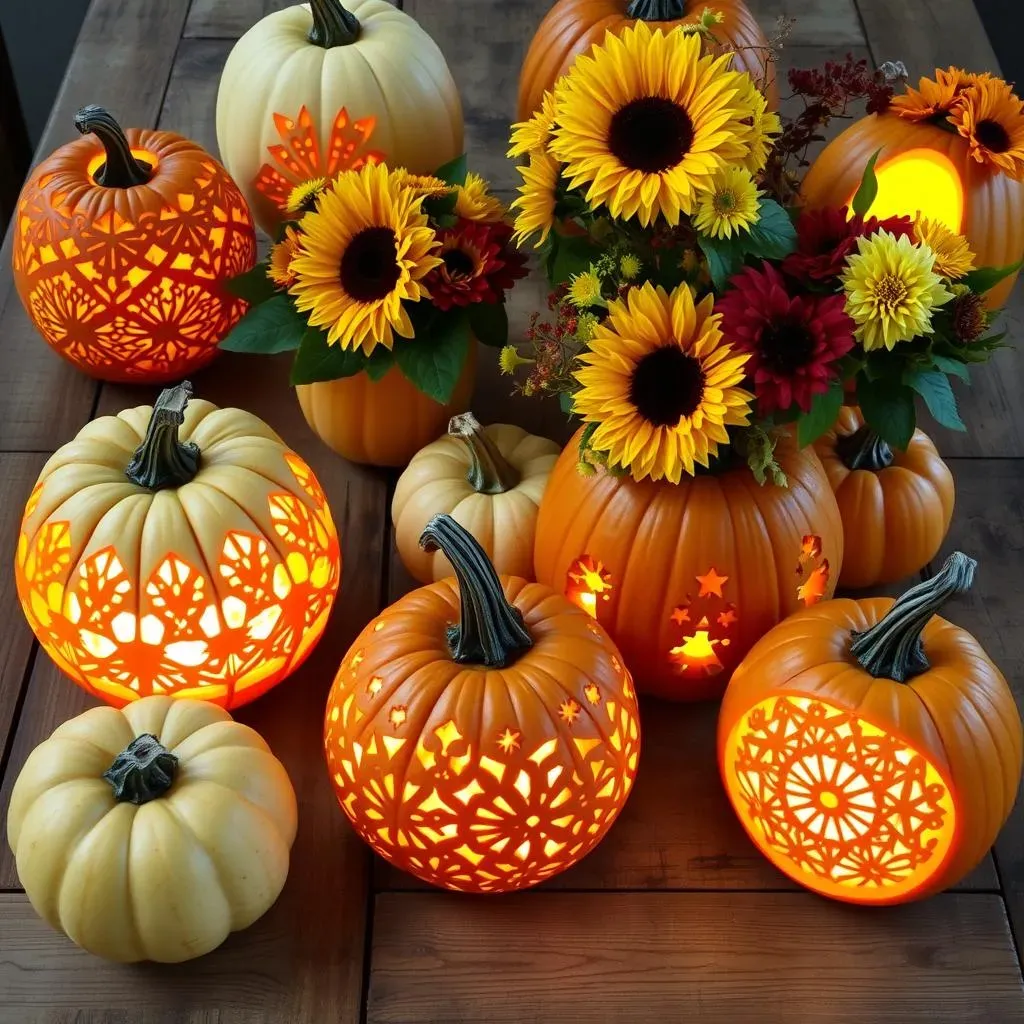
so you've carved this incredible pumpkin, but it's not a face. Now what? Let's turn it into a functional piece of art! One of my favorite things to do is create pumpkin luminaries. Instead of just plopping a candle inside, think about carving intricate patterns that will cast beautiful shadows. Geometric designs, floral motifs, even constellations – the possibilities are endless. I use a small drill to make tiny holes for a starry effect; it's seriously magical when lit up at night.
Consider using different sized candles or even LED lights to create varying levels of brightness. You can also group multiple luminaries together to create a stunning display. Imagine a pathway lined with glowing pumpkins, each casting its unique pattern of light. It's the perfect way to add a touch of enchantment to your Halloween décor. Just be sure to use battery-operated candles if you're placing them near flammable materials!
Pumpkin Planters and Vases: A Touch of Autumnal Beauty
Looking for a unique way to display your fall flowers? Turn your carved pumpkin into a planter or vase! This is a great way to repurpose a pumpkin that's starting to look a little sad. Simply hollow out the pumpkin (if you haven't already) and insert a plastic container or bowl to hold water. Then, arrange your favorite autumnal blooms inside. Think sunflowers, chrysanthemums, and colorful foliage.
For a more rustic look, leave the pumpkin uncarved and simply place a vase inside. Or, get creative and carve a simple geometric pattern around the base of the pumpkin. You can even use the pumpkin's stem as a natural handle. Imagine a centerpiece featuring a vibrant bouquet of flowers nestled inside a beautifully carved pumpkin. It's the perfect way to bring the beauty of autumn indoors.
Use | Description | Tips & Tricks |
|---|---|---|
Luminaries | Carve intricate patterns to cast beautiful shadows | Use LED lights for safety and longer life |
Planters | Display fall flowers in a unique and festive way | Insert a plastic container to hold water |
Vases | Repurpose pumpkins to create stunning centerpieces | Use the stem as a natural handle |
Preserving Your Masterpiece: Tips to Keep Your Pumpkin Carvings Not Faces Fresh Longer
Preserving Your Masterpiece: Tips to Keep Your Pumpkin Carvings Not Faces Fresh Longer
The Bleach Bath: Fighting Mold and Decay
Alright, so you've poured your heart and soul into this amazing non-face pumpkin carving. The last thing you want is for it to turn into a moldy, mushy mess before Halloween even arrives! The key to longevity is tackling the inevitable mold and decay. My go-to method? A bleach bath. Seriously, it works wonders. Mix one tablespoon of bleach per quart of water, and fully submerge your carved pumpkin for about 30 minutes. This will kill any existing mold spores and help prevent new ones from forming.
After the bath, pat it dry with a clean towel and let it air dry completely before lighting it up. You might be thinking, "Bleach? Won't that ruin the pumpkin?" Nope! The diluted bleach solution is safe for the pumpkin and won't affect its color or texture. I've been doing this for years, and it's saved countless carvings from an early demise. Trust me, a little bleach is a small price to pay for a long-lasting masterpiece.
Petroleum Jelly Power: Sealing in Moisture
Once your pumpkin is clean and dry, it's time to seal in the moisture. This will help prevent it from drying out and shriveling up. My secret weapon? Good old petroleum jelly. Apply a thin layer of petroleum jelly to all the exposed cut surfaces of your carving. This will create a barrier that prevents moisture from escaping and keeps the pumpkin looking fresh and plump.
Reapply the petroleum jelly every few days, especially if you live in a dry climate. This is also a great trick for preventing the edges of your carving from turning brown and crusty. I know it sounds a little strange, but it really works! Think of it like moisturizing your skin – you wouldn't let your face dry out, would you? Treat your pumpkin with the same care and it will reward you with a longer lifespan.
Preservation Method | Instructions | Frequency |
|---|---|---|
Bleach Bath | Submerge in 1 tbsp bleach/quart water for 30 mins | Once, after carving |
Petroleum Jelly | Apply a thin layer to all cut surfaces | Every few days |
Cool Storage | Store in a cool, dark place when not on display | Nightly |
Cool Storage: Extending the Lifespan
Finally, when you're not showing off your amazing pumpkin carving, store it in a cool, dark place. This will help slow down the decay process. A basement, garage, or even a refrigerator (if it fits!) are all good options. The key is to keep the pumpkin away from direct sunlight and warm temperatures. Heat is the enemy!
I usually wrap my pumpkins in plastic wrap before storing them in the fridge. This helps to retain moisture and prevent them from drying out. Just be sure to poke a few holes in the plastic wrap to allow for air circulation. And remember to take your pumpkin out of the fridge a few hours before you want to display it, so it can warm up to room temperature. With a little bit of care and attention, you can keep your non-face pumpkin carving looking fresh and festive for weeks to come!
Beyond the Face: A New Era of Pumpkin Carving Creativity
So, there you have it – a whole universe of pumpkin carving ideas not faces just waiting to be brought to life! From adorable animals to intricate patterns and even functional designs, the possibilities are truly endless. Forget the same old spooky grins and embrace the chance to express your unique style and creativity this Halloween. With a little imagination and the right tools, you can transform a simple pumpkin into a stunning masterpiece that will wow your neighbors and bring a touch of magic to your autumn décor. Now go forth, carve boldly, and let your pumpkin shine!