Table of Contents
Ready to turn your Halloween up a notch with some seriously fun pumpkin carving ideas minion style? If you're like me, you can't resist those goofy, lovable characters from Despicable Me. This year, let's ditch the same old scary faces and bring some Minion mayhem to your doorstep! I've gathered a treasure trove of inspiration, from simple stencils perfect for beginners to more elaborate designs that'll challenge even seasoned carving pros.
MustHave Supplies for Your Minion Pumpkin Carving Adventure
MustHave Supplies for Your Minion Pumpkin Carving Adventure
The Essential Toolkit: Carving Like a Pro
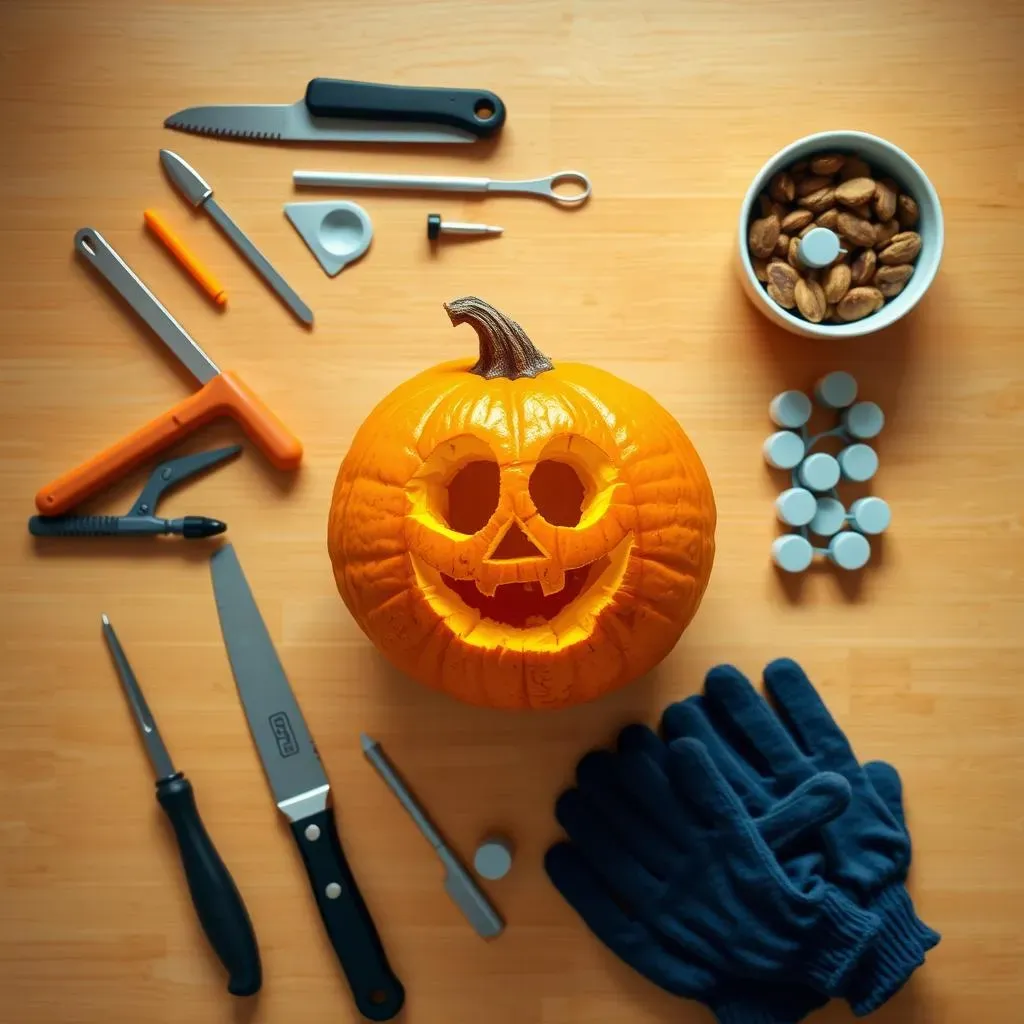
Alright, before we even think about wielding a knife (or saw!), let's gather our gear. You wouldn't want to be halfway through carving a hilarious one-eyed Minion and realize you're missing a crucial tool, right? First up, you'll need a good pumpkin carving kit. These kits usually come with various sized saws, scoops, and detail tools. If you're going the DIY route, a serrated knife and a sturdy spoon will do the trick, but trust me, the kits make life so much easier! And don't forget a bowl to hold all that pumpkin guts – nobody wants a sticky mess everywhere.
Beyond the basic carving tools, think about the details. A poking tool or awl is great for etching fine lines and details, especially for those intricate Minion goggles. A scraper can help thin out the pumpkin wall for a brighter glow. And lighting? Forget candles! Battery-operated tea lights or LED lights are safer and last longer, giving your Minion pumpkin that perfect, mischievous twinkle. Plus, they won't cook the pumpkin from the inside out!
Tool | Why You Need It | Alternative |
|---|---|---|
Pumpkin Carving Kit | Variety of saws and scoops for efficient carving | Serrated knife and sturdy spoon |
Poking Tool/Awl | Etching fine lines and details, especially for Minion goggles | Small Screwdriver |
Battery-Operated Tea Lights | Safe and long-lasting lighting | Candles (with extreme caution!) |
Safety First, Minions Later: Protecting Your Digits
safety briefing time! Carving pumpkins can be a bit dicey, especially with those sharp tools. So, let's avoid any Halloween horror stories involving sliced fingers, shall we? Invest in a pair of carving gloves – they'll protect your hands from accidental slips. And speaking of slips, make sure you have a stable work surface. A wobbly table and a sharp saw are a recipe for disaster. Clear your area, keep it well-lit, and take your time. Rushing is never a good idea when sharp objects are involved.
If you're carving with kids, adult supervision is a must. Let them help with scooping out the pumpkin guts (everyone loves that part, right?), but leave the actual carving to the grown-ups. Or, consider letting them decorate the pumpkin with paint, markers, or stickers instead of carving. That way, they can still get creative without any risk of injury. Remember, a safe carving experience is a fun carving experience!
Simple Steps to Carving the Perfect Minion Pumpkin
Simple Steps to Carving the Perfect Minion Pumpkin
Choosing Your Minion Design and Prep
Alright, you've got your tools, you're feeling safe, now it's time for the fun part: picking your Minion! Are you going for a classic one-eyed dude, a two-eyed goofball, or maybe even a purple evil Minion? Once you've chosen your design, find a stencil online or draw your own. Pro tip: simpler stencils are easier for beginners. Print it out and tape it to your pumpkin. Now, grab your poking tool and carefully poke holes along the stencil lines. This transfers the design onto the pumpkin, giving you a roadmap for carving.
Before you start hacking away, you've gotta gut the pumpkin. Cut a circle around the stem (or a hole in the bottom – your choice!) and pull it out. Then, get your hands dirty and scoop out all the seeds and stringy bits. Scrape the inside wall smooth for a nice, even surface. The cleaner the pumpkin, the better your Minion will shine!
Carving and Lighting Your Minion Masterpiece
Time to bring your Minion to life! Using your carving tools, carefully follow the poked lines, cutting out the stencil design. Start with the smaller, more intricate details first. It’s always easier to remove small pieces than to try and fix a big mistake. Take your time and don't be afraid to adjust the design as you go. Remember, it's all about having fun! Once you've carved out all the pieces, pop out any loose bits and clean up the edges.
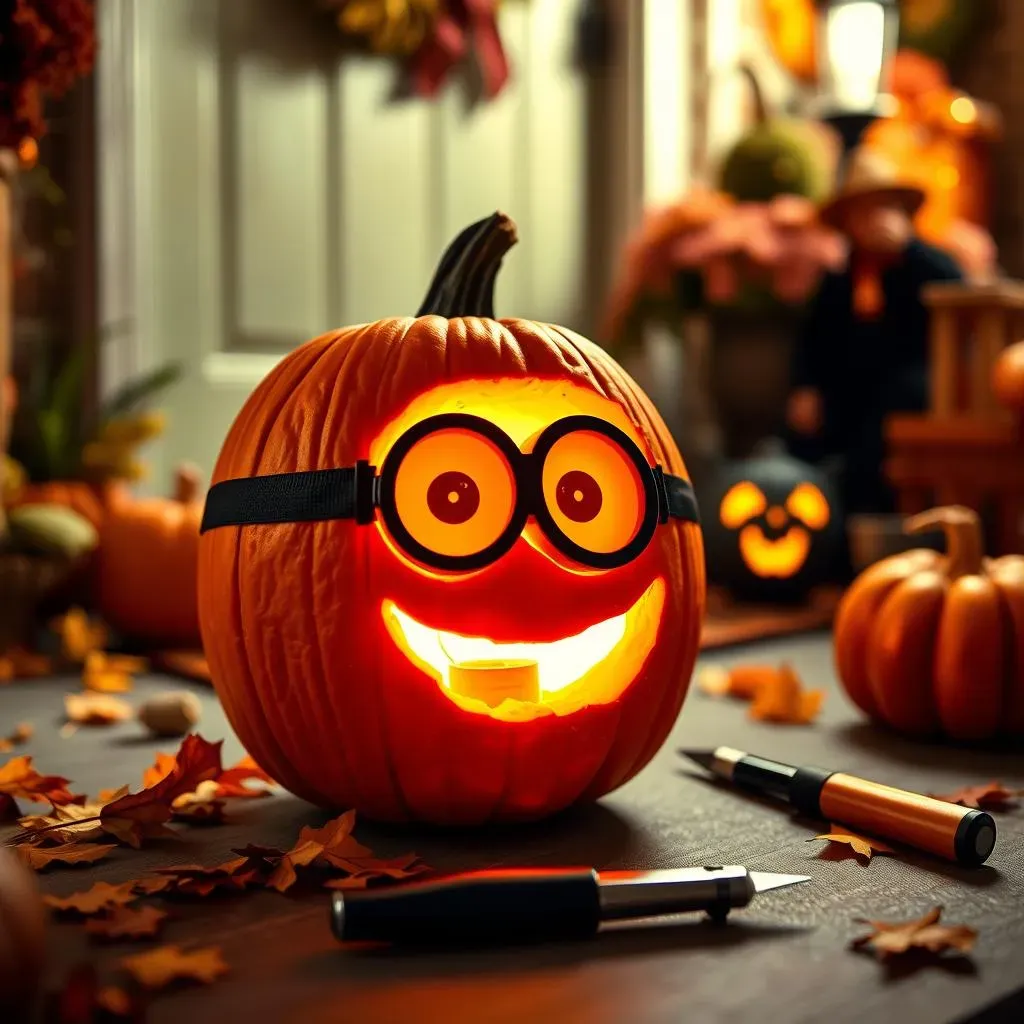
The grand finale: lighting! Place your battery-operated tea light or LED light inside the pumpkin and watch your Minion glow. If you want to get fancy, you can use different colored lights for different effects. A yellow light will give a classic Minion look, while a blue light could be cool for a "Frozen" Minion. Place your illuminated Minion on your porch, step back, and admire your handiwork. You've just created a Halloween masterpiece!
Gallery of Adorable Minion Pumpkin Carving Ideas
Gallery of Adorable Minion Pumpkin Carving Ideas
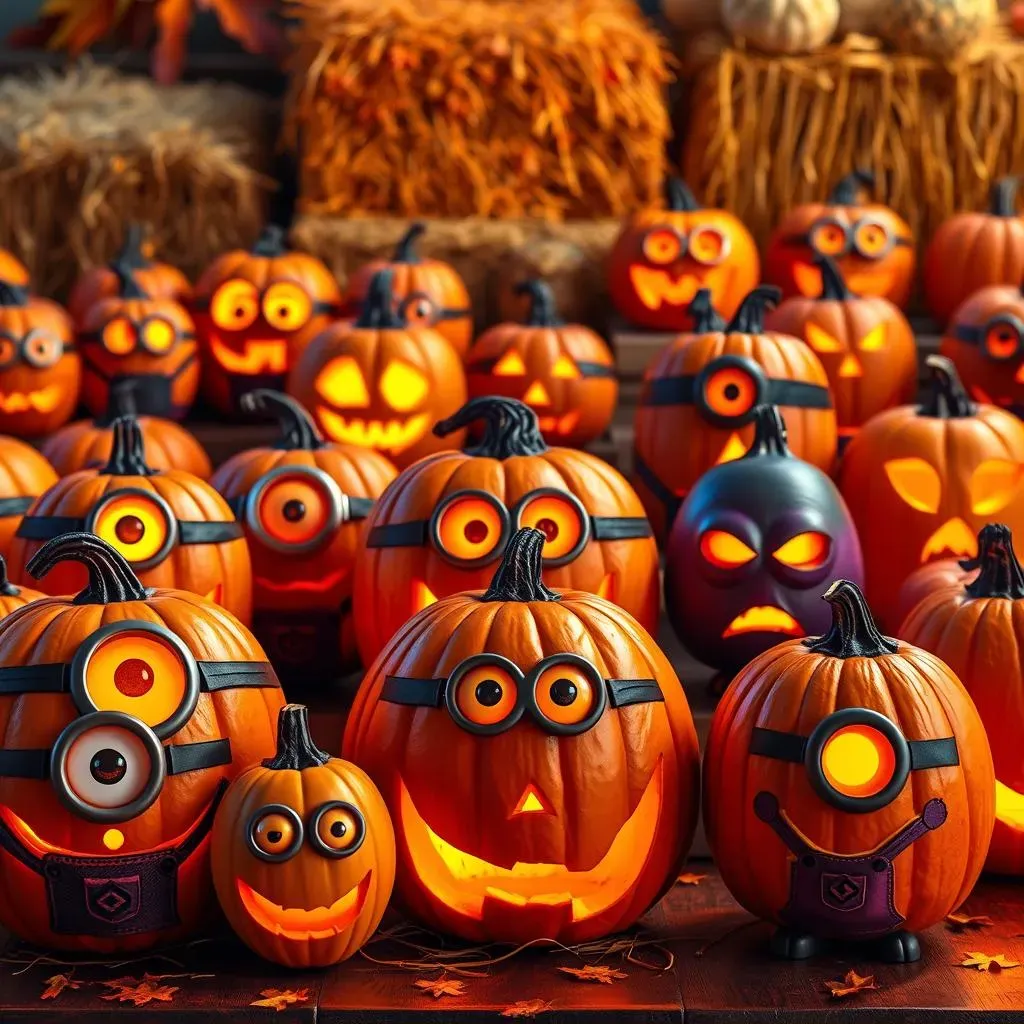
now for the eye candy! This is where you get to see the amazing possibilities of pumpkin carving ideas minion style. I've scoured the internet to bring you a gallery of some of the most adorable, hilarious, and downright impressive Minion pumpkins out there. We're talking everything from simple, classic designs that even the littlest carvers can handle, to intricate masterpieces that look like they belong in a museum. Get ready to be inspired!
Think of this as your Minion mood board. Whether you're looking for inspiration for your own carving, or just want to admire the creativity of others, you're sure to find something that makes you smile. Pay attention to the different techniques used, the ways people have incorporated different materials, and the overall vibe of each pumpkin. Are they going for cute and cuddly, or mischievous and menacing? Let these pumpkins be your guide as you embark on your own Minion carving adventure!
- Classic One-Eyed Minion: Simple, iconic, and always a crowd-pleaser.
- Two-Eyed Goofball: Double the eyes, double the fun!
- Evil Purple Minion: For those who like a little bit of villainy in their Halloween.
And remember, there's no right or wrong way to carve a Minion pumpkin. It's all about expressing your creativity and having fun. So, browse through the gallery, find a design that speaks to you, and get carving! And be sure to share your own creations with me – I'd love to see what you come up with!
Beyond Basic: Creative Minion Pumpkin Designs & Inspiration
Beyond Basic: Creative Minion Pumpkin Designs & Inspiration
Minion Mashups: Blending Worlds
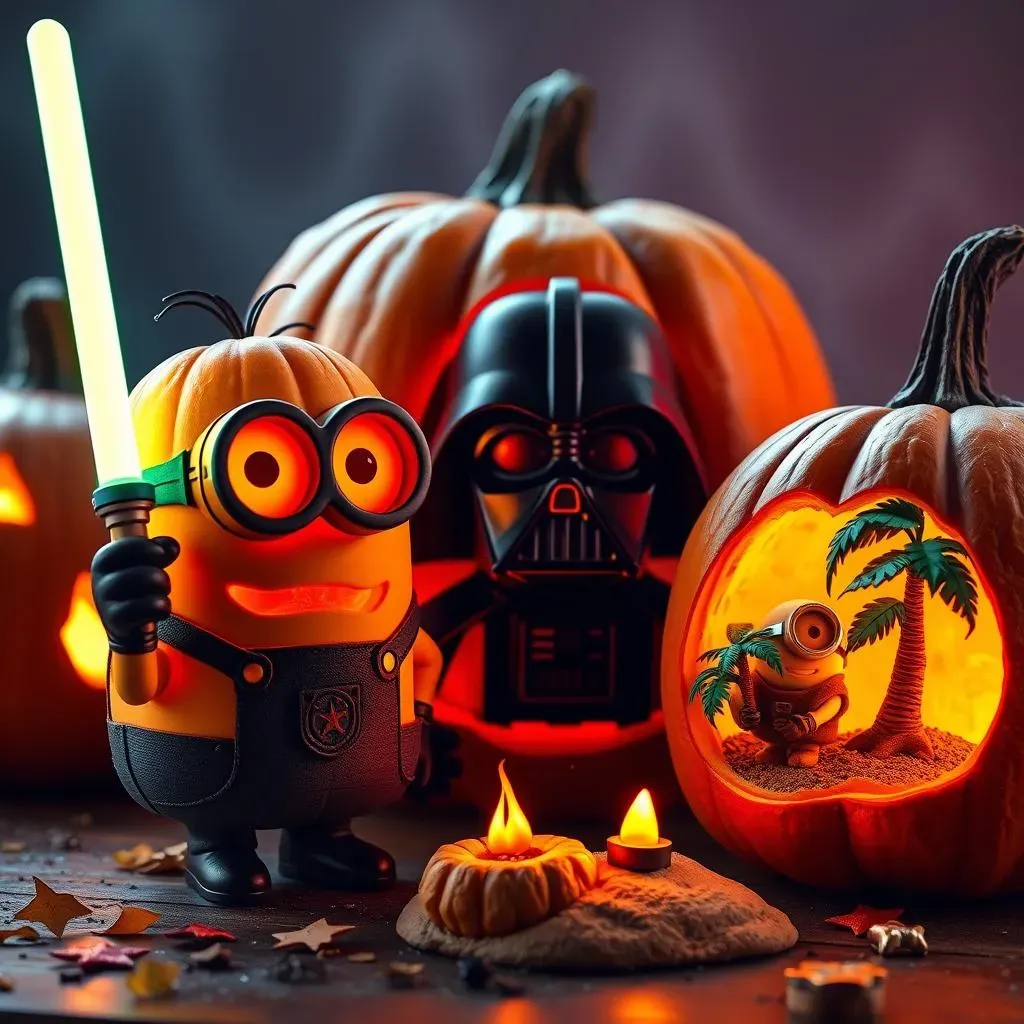
so you've mastered the classic Minion. Now let's crank up the creativity! How about mashing up your favorite Minions with other pop culture icons? Imagine a "Star Wars" Minion with a lightsaber carved into its pumpkin, or a superhero Minion sporting a cape and a tiny "M" emblem. The possibilities are endless! Think about your favorite movies, TV shows, or video games, and brainstorm ways to Minion-ize them.
Another fun idea is to incorporate different textures and materials. Use paint, glitter, or even fabric scraps to add extra details to your Minion. Create a Minion pirate with a tiny bandana and an eye patch made from felt. Or, give your Minion a rockstar makeover with a glittery guitar and a wild, spiky hairstyle made from pipe cleaners. It's all about thinking outside the box (or, in this case, the pumpkin!).
This is where you can really let your personality shine! Don't be afraid to experiment and try new things. The more unique and creative your Minion mashup, the more impressive it will be. And who knows, you might just start a new Halloween trend!
3D Minions: Taking Carving to the Next Level
Ready to really wow the neighborhood? Try creating a 3D Minion pumpkin! This involves carving multiple layers and using different techniques to create a more realistic and dynamic effect. Instead of just carving the outline of the Minion, you can carve out the details of its face, body, and clothing, making it pop off the pumpkin. This technique requires a bit more skill and patience, but the results are truly stunning.
One way to achieve a 3D effect is to use different carving depths. Carve some areas deeper than others to create shadows and highlights. This will give your Minion more dimension and make it look more realistic. You can also use different carving tools to create different textures. A small gouge can be used to create the wrinkles on a Minion's face, while a rasp can be used to create a rough, textured surface for its overalls.
If you're feeling really ambitious, you can even try creating a full-body Minion pumpkin. This involves carving the Minion's entire body out of the pumpkin, instead of just its face. This is a challenging project, but the end result is a truly impressive and unique Halloween decoration. Just be sure to use a sturdy pumpkin and to take your time. You don't want your Minion to fall apart before Halloween!
Minion Pumpkin Dioramas: Telling a Story
Want to create a truly unforgettable Minion pumpkin display? Consider building a Minion pumpkin diorama! This involves creating a scene around your Minion pumpkin, using other pumpkins, props, and decorations to tell a story. Imagine a Minion stranded on a desert island, surrounded by palm trees made from gourds and a tiny fire pit made from twigs. Or, picture a Minion working in a mad scientist's lab, surrounded by beakers, test tubes, and bubbling potions.
The key to creating a successful Minion pumpkin diorama is to think about the story you want to tell. What is your Minion doing? Where is it located? What are the other characters or objects in the scene? Once you have a clear idea of the story, you can start gathering your materials and building your diorama.
Don't be afraid to get creative with your materials. Use anything you can find around the house or in your backyard to create your diorama. Sticks, stones, leaves, fabric scraps, and even old toys can be used to create a unique and memorable scene. And remember, the more details you add, the more engaging your diorama will be. So, let your imagination run wild and create a Minion pumpkin diorama that will wow your neighbors and trick-or-treaters!
From Zero to Hero: Your Minion Pumpkin Carving Mission Accomplished!
So, there you have it! With a little planning, the right tools, and a dash of Minion madness, you're all set to carve a pumpkin that's guaranteed to bring smiles (and maybe a few mischievous giggles) to your neighborhood. Whether you stick to a simple stencil or unleash your inner artist with a complex design, remember that the most important thing is to have fun. Happy carving, and may your Halloween be filled with plenty of Minions!