Table of Contents
Ready to bring your love of Minecraft to life this Halloween? Forget the same old spooky faces – we're diving headfirst into the blocky world of pumpkin carving ideas Minecraft style! This guide is your ultimate resource for transforming ordinary pumpkins into pixel-perfect tributes to your favorite game. Whether you're a newbie just starting your Minecraft adventure or a seasoned pro who knows their way around a crafting table, we've got something for you.
Minecraft Pumpkin Carving: Easy Starter Designs
Minecraft Pumpkin Carving: Easy Starter Designs
Blocky Basics: Simple Shapes for Beginners
New to pumpkin carving or just want a chill Minecraft vibe? Start with the basics! Think simple geometric shapes that mimic the blocky aesthetic of the game. A large square with smaller squares inside can easily become a Minecraft window. Or try a simple pixelated heart – perfect for showing your love for the game. The beauty of Minecraft is its simplicity, so embrace that in your carving!
Don't be afraid to use stencils for these! Print out a basic shape, tape it to your pumpkin, and use a poking tool to create an outline. Then, carefully carve along the dotted lines. Remember, it’s better to start small and simple than to bite off more than you can chew (or carve!).
Iconic Symbols: Bringing Minecraft to Your Porch
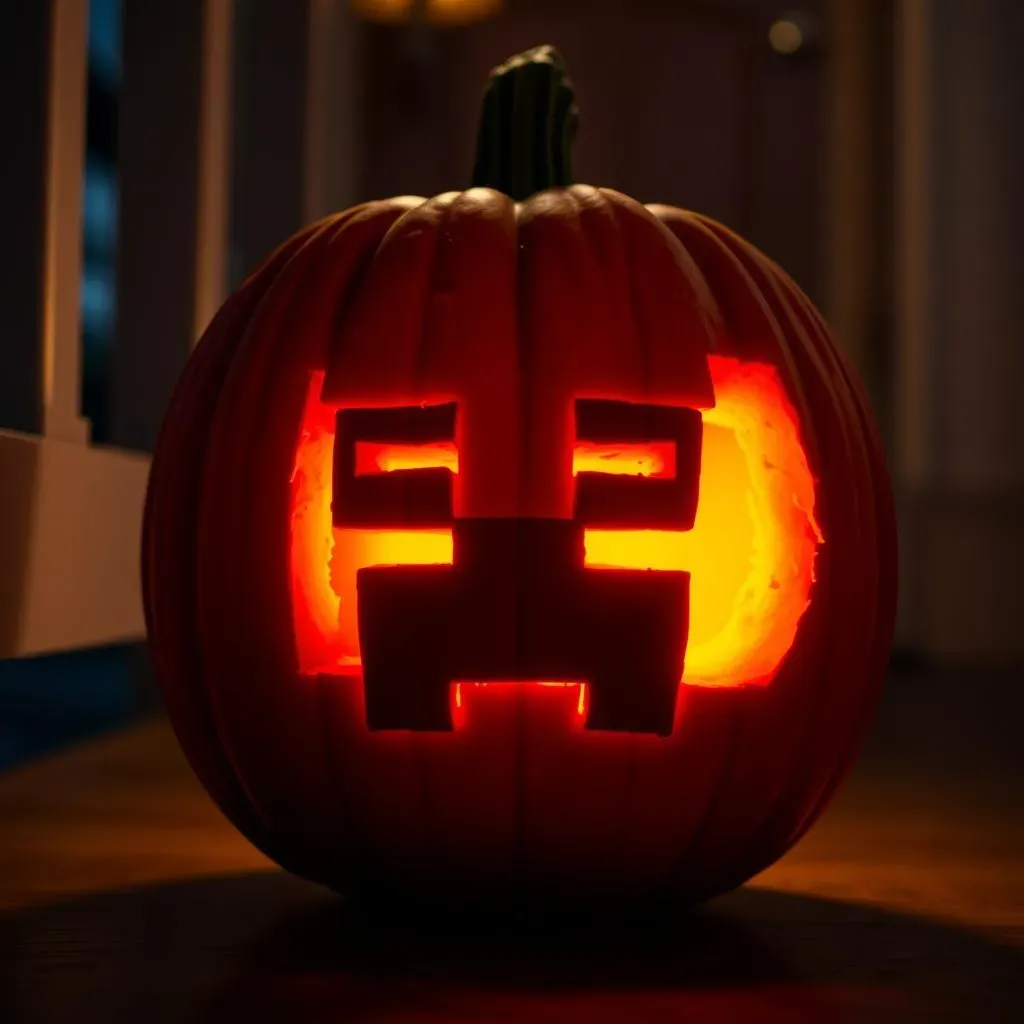
Ready to level up slightly? Let's tackle some iconic Minecraft symbols. The Minecraft logo itself is a great option, especially if you break it down into smaller, manageable sections. Creeper faces are another classic choice – their simple, pixelated design translates perfectly to pumpkin carving. You could even try a basic sword or pickaxe!
Remember, the key to easy carving is to keep the design relatively simple and avoid too many intricate details. Focus on clean lines and clear shapes. And don't worry if it's not perfect! Part of the charm of Minecraft is its slightly imperfect, blocky nature. Embrace the imperfections and have fun with it! If you have kids, get them involved! These simple designs are perfect for little hands to help with (under supervision, of course!).
Design | Difficulty | Tips |
|---|---|---|
Minecraft Window | Easy | Use a square stencil. |
Pixelated Heart | Easy | Simple shape, great for beginners. |
Creeper Face | Medium | Break down the face into smaller squares. |
Advanced Minecraft Pumpkin Designs: For the Dedicated Carver
Advanced Minecraft Pumpkin Designs: For the Dedicated Carver
Leveling Up: Intricate Character Carvings
Alright, you've mastered the basics, now it's time to unleash your inner artist! Let's tackle some more complex Minecraft characters. Think beyond the Creeper – how about a detailed Steve or Alex, complete with their signature tools? An Enderman's elongated limbs and mysterious eyes could also make for a striking, albeit challenging, design. Or, for a truly ambitious project, consider carving a mini-scene from the game, like a player battling a zombie or building a house.
These designs require patience, a steady hand, and a good set of carving tools. Invest in some fine-tipped saws and gouges to help you create those intricate details. And don't be afraid to use reference images! Print out a picture of your chosen character and keep it handy as you carve. Remember, it's all about taking your time and focusing on one small section at a time. Rome wasn't built in a day, and neither is a masterpiece Minecraft pumpkin!
Biomes and Blocks: Creating a Minecraft Landscape
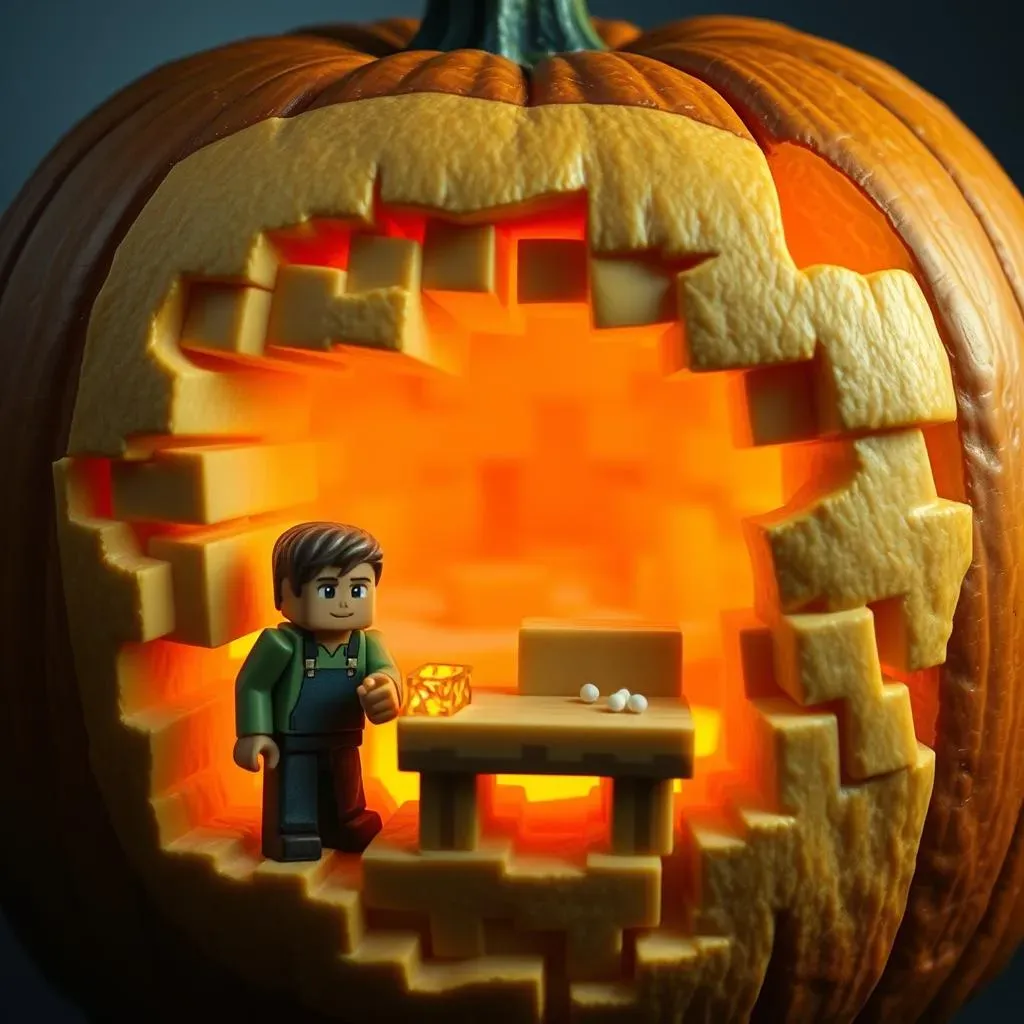
Want to go beyond characters? Try carving a whole Minecraft biome onto your pumpkin! Imagine a snowy tundra with an igloo, a lush forest with towering trees, or even a fiery Nether landscape complete with lavafalls. You can use different carving depths to create a sense of perspective and dimension. For example, carve the foreground elements deeper than the background elements to make them stand out.
Another cool idea is to carve different Minecraft blocks onto your pumpkin. A stack of cobblestone, a chest overflowing with loot, or even a crafting table could all make for unique and eye-catching designs. You can even combine blocks and characters to create a dynamic scene. For example, carve a player standing next to a crafting table, ready to build something amazing. The possibilities are endless!
When working on these more complex designs, it's essential to plan ahead. Sketch out your design on paper first, then transfer it to your pumpkin using a stencil or freehand drawing. This will help you avoid mistakes and ensure that your final result is exactly what you envisioned. And don't forget to have fun! Carving should be a relaxing and enjoyable process, so put on some music, grab a pumpkin spice latte, and let your creativity flow.
Design | Difficulty | Tools Needed | Tips |
|---|---|---|---|
Detailed Steve/Alex | Hard | Fine-tipped saws, gouges | Use reference images, be patient. |
Enderman | Medium-Hard | Thin knife for limbs, focus on eyes. | Plan the design beforehand. |
Minecraft Biome | Hard | Various carving tools, stencils | Use different depths for perspective. |
Minecraft Pumpkin Stencils: Free Templates for Perfect Pixels
Minecraft Pumpkin Stencils: Free Templates for Perfect Pixels
The Stencil Goldmine: Where to Find Free Minecraft Templates
Alright, so you're itching to carve a pixel-perfect Creeper, but your freehand skills are...questionable? No sweat! The internet is overflowing with free Minecraft pumpkin stencils just waiting to be downloaded and put to good use. A quick Google search for "Minecraft pumpkin stencils" will unearth a treasure trove of options, from simple character outlines to intricate biome designs. Sites like Pinterest and various fan-made Minecraft blogs are also excellent sources.
When choosing a stencil, consider your skill level and the size of your pumpkin. A super-detailed design might look amazing, but it'll be a nightmare to carve if you're a beginner. Start with something simple and gradually work your way up to more complex patterns. And don't forget to check the stencil's reviews or comments to see if other carvers have had success with it. Nobody wants to waste a perfectly good pumpkin on a stencil that's impossible to use!
Stencil Source | Type of Stencils | Difficulty Level |
|---|---|---|
Google Images | Various characters, logos, and blocks | Easy to Hard |
Wide variety of fan-made stencils | Easy to Medium | |
Minecraft Blogs/Forums | Unique and custom designs | Medium to Hard |
Stencil Success: Tips for Flawless Transfers
you've found the perfect stencil. Now what? The key to a flawless transfer is all in the preparation. First, print out your stencil at the correct size for your pumpkin. You might need to resize it in a photo editing program or adjust your printer settings. Next, carefully tape the stencil to your pumpkin, making sure it's smooth and wrinkle-free. You don't want any distorted pixels!
Now comes the fun part: transferring the design. There are a few different methods you can use. One popular option is to use a poking tool or a needle to poke holes along the stencil lines. This creates a dotted outline on your pumpkin that you can then follow with your carving tools. Another method is to use carbon paper to trace the design onto the pumpkin. Simply slip the carbon paper between the stencil and the pumpkin, and then trace over the stencil lines with a pen or pencil. Whichever method you choose, be sure to take your time and be precise. A little extra effort during the transfer process will pay off big time when you start carving!
Beyond Carving: Minecraft Pumpkin Decorating Ideas
Beyond Carving: Minecraft Pumpkin Decorating Ideas
Paint It Blocky: Minecraft-Inspired Pumpkin Art
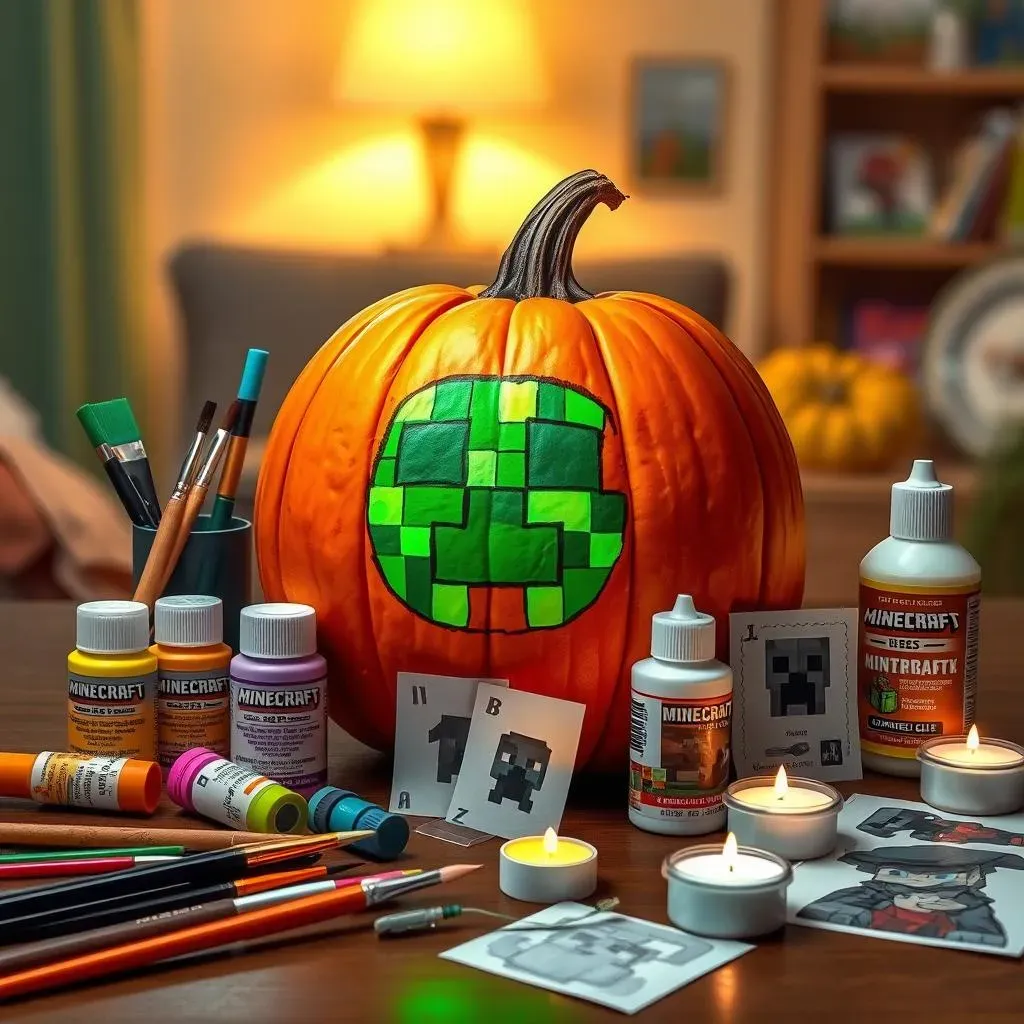
Alright, so maybe sharp objects and pumpkins aren't your thing. No problem! You can still bring the Minecraft magic to your doorstep with some creative painting. Grab some acrylic paints in classic Minecraft colors – greens, browns, blues, grays – and let your imagination run wild. You could paint a Creeper face, a pixelated landscape, or even just a bunch of colorful Minecraft blocks.
For a fun twist, try using glow-in-the-dark paint! This will make your Minecraft pumpkin creations really stand out at night. You can also add some extra details with markers or glitter. Just remember to seal your painted pumpkins with a clear coat of varnish to protect them from the elements. This will help your artwork last longer and prevent the paint from chipping or fading.
Decoration Idea | Materials Needed | Difficulty |
|---|---|---|
Painted Creeper Face | Acrylic paints, brushes, stencil (optional) | Easy |
Pixelated Landscape | Acrylic paints, brushes, sponges | Medium |
Glow-in-the-Dark Blocks | Glow-in-the-dark paint, brushes, stencils | Medium |
Stick It to 'Em: Decoupage and Minecraft Printables
Decoupage is a fancy word for gluing paper cutouts onto a surface, and it's a fantastic way to decorate your Minecraft pumpkins without any carving or painting skills required. Simply print out some Minecraft-themed images – characters, blocks, logos – and cut them out. Then, apply a layer of decoupage glue (like Mod Podge) to the back of each cutout and stick it onto your pumpkin. Once all the cutouts are in place, apply another layer of glue over the entire surface to seal everything in.
For a more textured look, try using different types of paper, like scrapbook paper or even fabric scraps. You can also add some embellishments, like buttons, beads, or glitter. This is a great way to personalize your Minecraft pumpkins and make them truly unique. Plus, it's a fun and easy activity for kids of all ages!
Light It Up: Illuminating Your Blocky Masterpiece
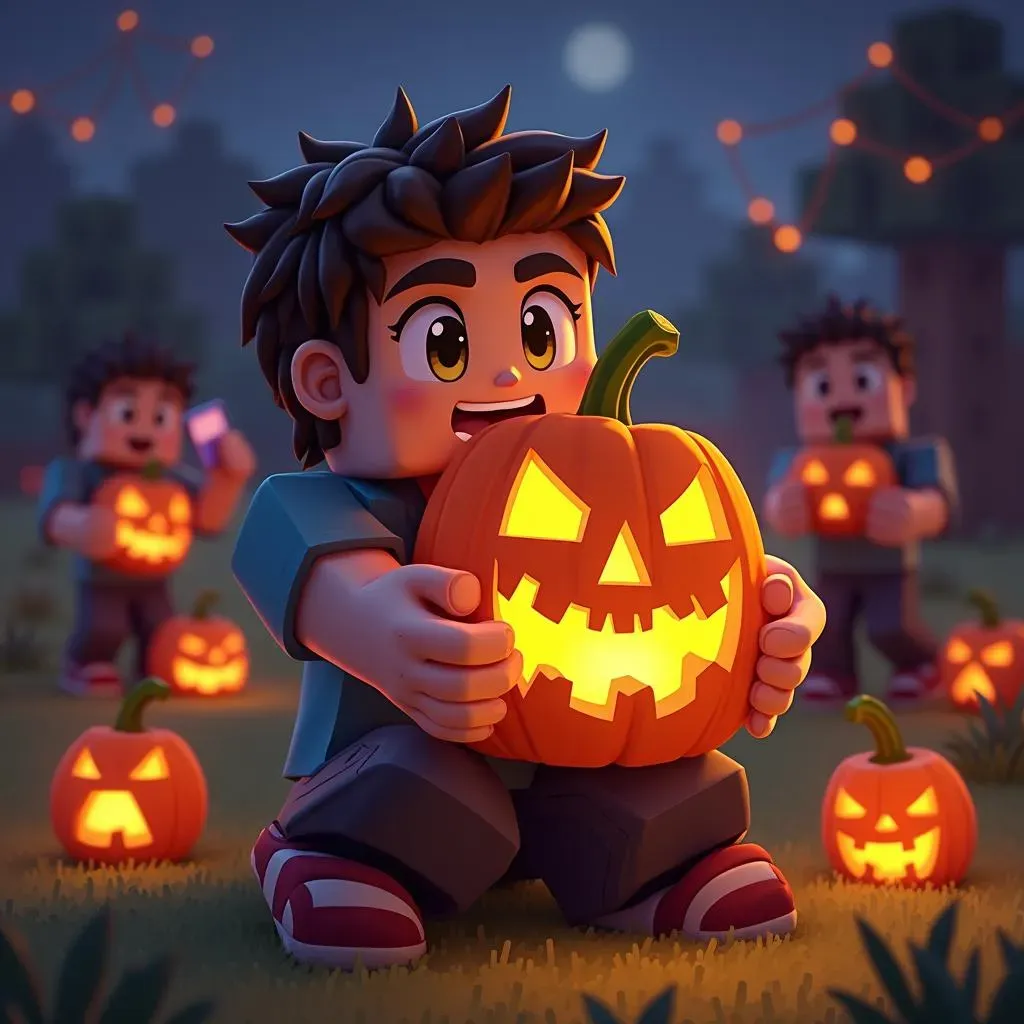
No Minecraft pumpkin is complete without some illumination! While traditional candles can work, they're not always the safest or most practical option. Instead, consider using battery-operated LED lights. These are much safer than candles, and they come in a variety of colors and styles. You can find flickering LED tea lights that mimic the look of a real candle, or you can opt for brighter, more colorful LED string lights to really make your pumpkin pop.
Another cool idea is to use a projector to display Minecraft images onto your pumpkin. This is a great way to create a dynamic and eye-catching display. You can project images of Creepers, Endermen, or even scenes from the game. Just be sure to position the projector correctly and adjust the focus so that the image is clear and sharp. With a little creativity, you can transform your Minecraft pumpkin into a stunning work of art!
Sharing Your Minecraft Pumpkin Creations & Finding Inspiration
Sharing Your Minecraft Pumpkin Creations & Finding Inspiration
Show Off Your Skills: Platforms for Sharing Your Art
You've poured your heart and soul (and a lot of pumpkin guts) into creating an epic Minecraft pumpkin masterpiece. Now it's time to show it off to the world! Thankfully, the internet is brimming with platforms where you can share your creations and bask in the admiration of fellow Minecrafters. Social media sites like Instagram and Twitter are great for quick shares, using hashtags like #MinecraftPumpkin, #Halloween, and #PumpkinCarving to reach a wider audience. Minecraft-specific forums and communities, like Reddit's r/Minecraft, are also excellent places to showcase your work and get feedback from dedicated fans. Don't forget about Pinterest! Pin your pumpkin photos to inspire others and drive traffic back to your own social media profiles or blog.
When sharing your photos, be sure to take clear, well-lit pictures that really highlight the details of your carving or decorating. Experiment with different angles and lighting to find the most flattering shot. And don't be afraid to add a little bit of personality to your captions! Tell the story behind your creation, share any challenges you faced, or simply express your love for Minecraft. The more engaging your content, the more likely it is to resonate with others and inspire them to create their own Minecraft pumpkin masterpieces.
Platform | Pros | Cons | Tips |
|---|---|---|---|
Large audience, visual focus | Can get lost in the noise | Use relevant hashtags, post high-quality photos. | |
Reddit (r/Minecraft) | Dedicated Minecraft community | Can be critical | Follow community guidelines, be open to feedback. |
Great for visual inspiration, drives traffic | Requires consistent pinning | Create eye-catching pins, link back to your website/social media. |
Inspiration Overload: Where to Find Ideas for Next Year
Feeling inspired by all the amazing Minecraft pumpkins out there? Awesome! Now it's time to start brainstorming ideas for next year's creations. The same platforms where you share your work are also great sources of inspiration. Spend some time browsing Instagram, Pinterest, and Minecraft forums, paying attention to the designs and techniques that catch your eye. Save your favorite images and create a mood board to help you visualize your next project.
Don't be afraid to experiment with different styles and techniques. Try combining carving with painting, decoupage, or other decorative elements. Look for inspiration beyond Minecraft itself. Draw inspiration from other video games, movies, or even nature. The more you explore, the more unique and creative your Minecraft pumpkin designs will become. And remember, the most important thing is to have fun! Carving should be a relaxing and enjoyable process, so don't put too much pressure on yourself to create the "perfect" pumpkin. Just let your creativity flow and see what you come up with!
Level Up Your Halloween: Minecraft Pumpkin Carving Complete!
So, you've journeyed through the blocky landscapes of Minecraft pumpkin carving and decorating! Whether you conquered a complex Creeper face or crafted a simple, stylish logo, you're now equipped to bring a unique, gaming-inspired twist to your Halloween festivities. Remember, the most important thing is to have fun and let your creativity shine. Share your masterpieces with the Minecraft community, inspire others, and get ready to enjoy the spooky season with a touch of pixelated awesome. Happy carving, and Happy Halloween!