Table of Contents
Halloween is creeping closer, and what better way to celebrate than with a perfectly carved pumpkin? But forget the generic spooky faces! This year, let's get monstrously creative with some **pumpkin carving ideas Mike Wazowski** style! If you're ready to ditch the traditional triangle eyes and toothy grins, you've come to the right place. We're diving headfirst into the world of Monstropolis to bring you a guide that will transform your ordinary pumpkin into the one-eyed wonder himself.
Gathering Your Monstrously Fun Supplies for Mike Wazowski Pumpkin Carving
Gathering Your Monstrously Fun Supplies for Mike Wazowski Pumpkin Carving
The Essential Toolkit for a One-Eyed Wonder
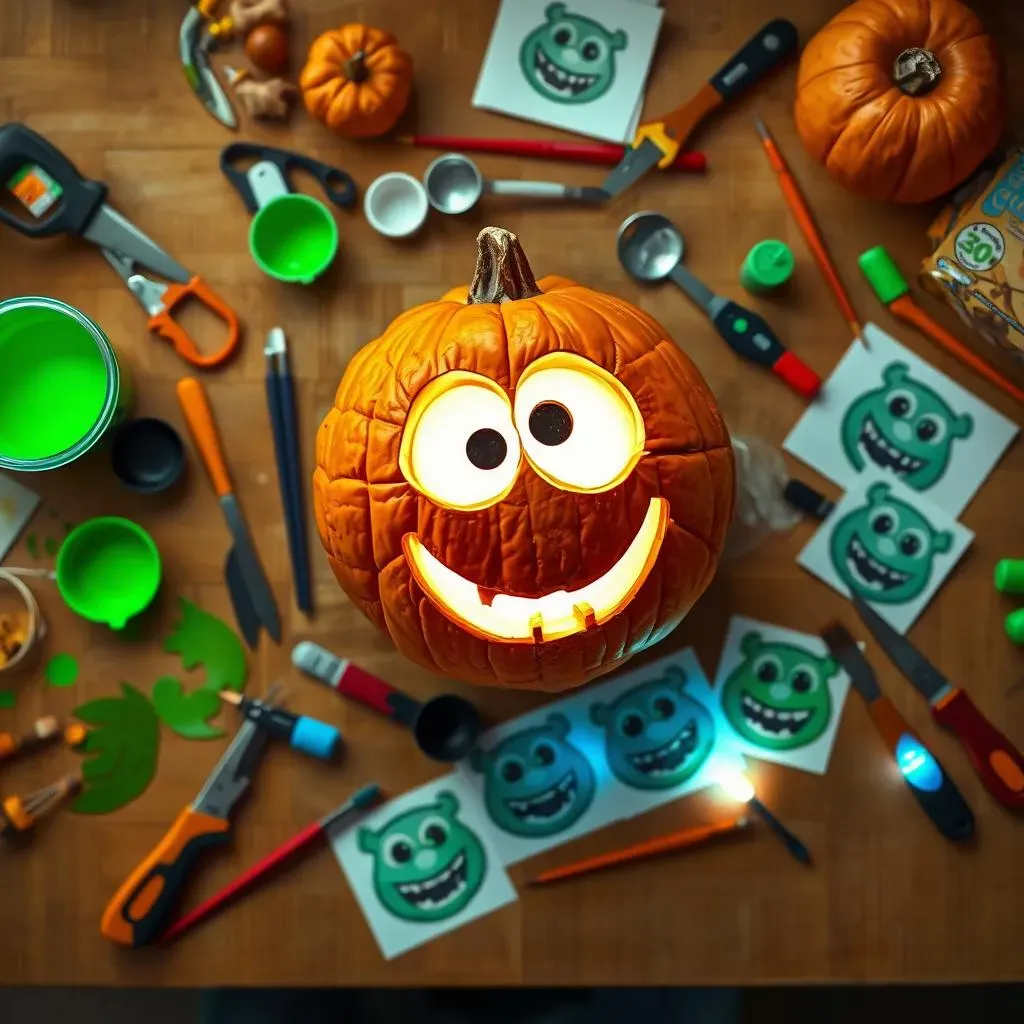
Alright, future pumpkin Picasso, before we even think about scooping out those guts, let's arm ourselves with the right tools. Carving a Mike Wazowski pumpkin isn't just about hacking away; it's about precision and a little bit of artistry. Think of it like prepping for a culinary masterpiece – you wouldn't try to bake a cake without the right ingredients, right?
First things first: you'll need a pumpkin, obviously! Look for one that's relatively smooth and has a good, round shape – Mike is all about that spherical physique. Next up, a proper carving kit is a must. Those flimsy plastic saws from the drugstore? Ditch 'em. Invest in a kit with sturdy tools, including various sized saws for both large cuts and intricate details. A scoop is essential for gutting your gourd, and a poking tool will come in handy for transferring your design. Trust me, having the right equipment makes all the difference between a masterpiece and a monstrous mess.
Beyond the Basics: Adding a Touch of Monstropolis Magic
so you've got the basics covered. But let's be honest, we're not aiming for "basic" here. We're channeling our inner Sully and adding a touch of Monstropolis magic to our carving arsenal. Think about how you want your Mike Wazowski pumpkin to look. Do you want him to be glowing green? If so, grab some green paint (acrylic works great) and a brush. Want to add some extra depth and dimension? Consider investing in some sculpting tools – they're perfect for creating subtle contours and details around Mike's iconic eye.
And don't forget about lighting! A simple tea light will do the trick, but for a truly spooky effect, consider using an LED light. You can even find color-changing LEDs to give Mike a vibrant, otherworldly glow. Finally, grab some stencils or print out a reference image of Mike to help guide your carving. Remember, practice makes perfect, so don't be afraid to experiment and have fun! After all, even a slightly wonky Mike Wazowski pumpkin is still a Mike Wazowski pumpkin.
StepbyStep: Transferring the Mike Wazowski Design to Your Pumpkin
StepbyStep: Transferring the Mike Wazowski Design to Your Pumpkin
Print and Poke: The Stencil Method for Mike Wazowski
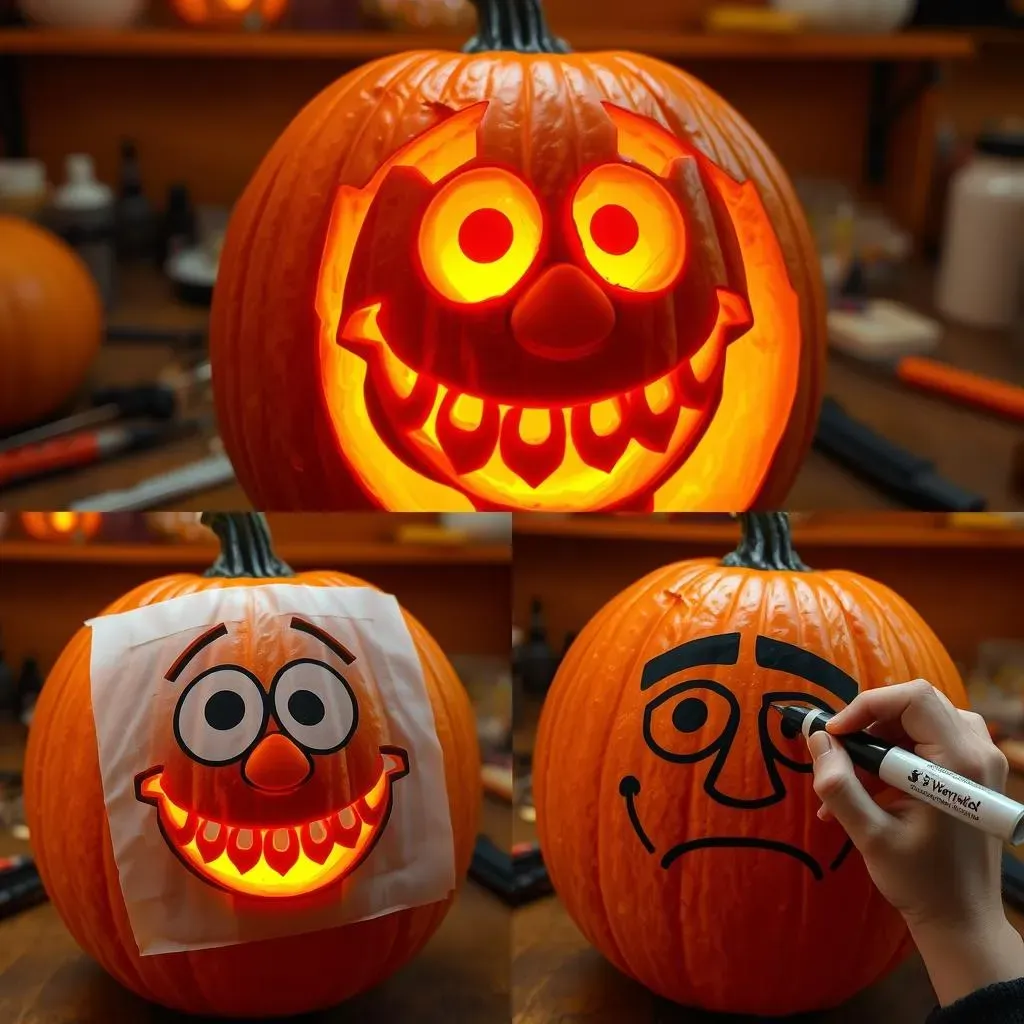
Alright, so you've got your pumpkin and your tools, now it's time to get that Mike Wazowski design onto your gourd. One of the easiest ways to do this is with a stencil. A quick search online will yield tons of free Mike Wazowski pumpkin carving templates. Find one you like, print it out, and grab some tape.
Carefully tape the stencil to your pumpkin, making sure it's smooth and secure. Now, using a poking tool (an awl or even a large needle will work), start poking holes along the lines of the stencil. The closer together you poke the holes, the more accurate your design will be. Think of it like creating a connect-the-dots masterpiece! Once you've traced the entire design, remove the stencil and you should have a dotted outline of Mike Wazowski on your pumpkin.
Freehand Finesse: Drawing Mike Wazowski Directly onto Your Pumpkin
Feeling a little more adventurous? Then ditch the stencil and try drawing Mike Wazowski directly onto your pumpkin! This method requires a bit more artistic skill, but it allows for greater customization and a truly unique carving. Grab a water-based marker (it's easy to wipe off if you make mistakes) and a reference image of Mike Wazowski.
Start by lightly sketching the basic shapes of Mike's face – his round head, his large eye, and his goofy grin. Don't worry about getting it perfect right away; just focus on capturing the overall proportions. Once you're happy with the basic sketch, start adding in the details, like his horns, his teeth, and the wrinkles around his eye. Remember, this is your Mike Wazowski, so feel free to add your own personal touch! Once you're satisfied with your drawing, you're ready to start carving.
Method | Difficulty | Customization | Tools |
|---|---|---|---|
Stencil | Easy | Limited | Stencil, tape, poking tool |
Freehand | Medium | High | Water-based marker |
Carving Your Mike Wazowski Pumpkin: Tips and Tricks for a Frightfully Good Finish
Carving Your Mike Wazowski Pumpkin: Tips and Tricks for a Frightfully Good Finish
Small Saw, Big Impact: Starting with the Details
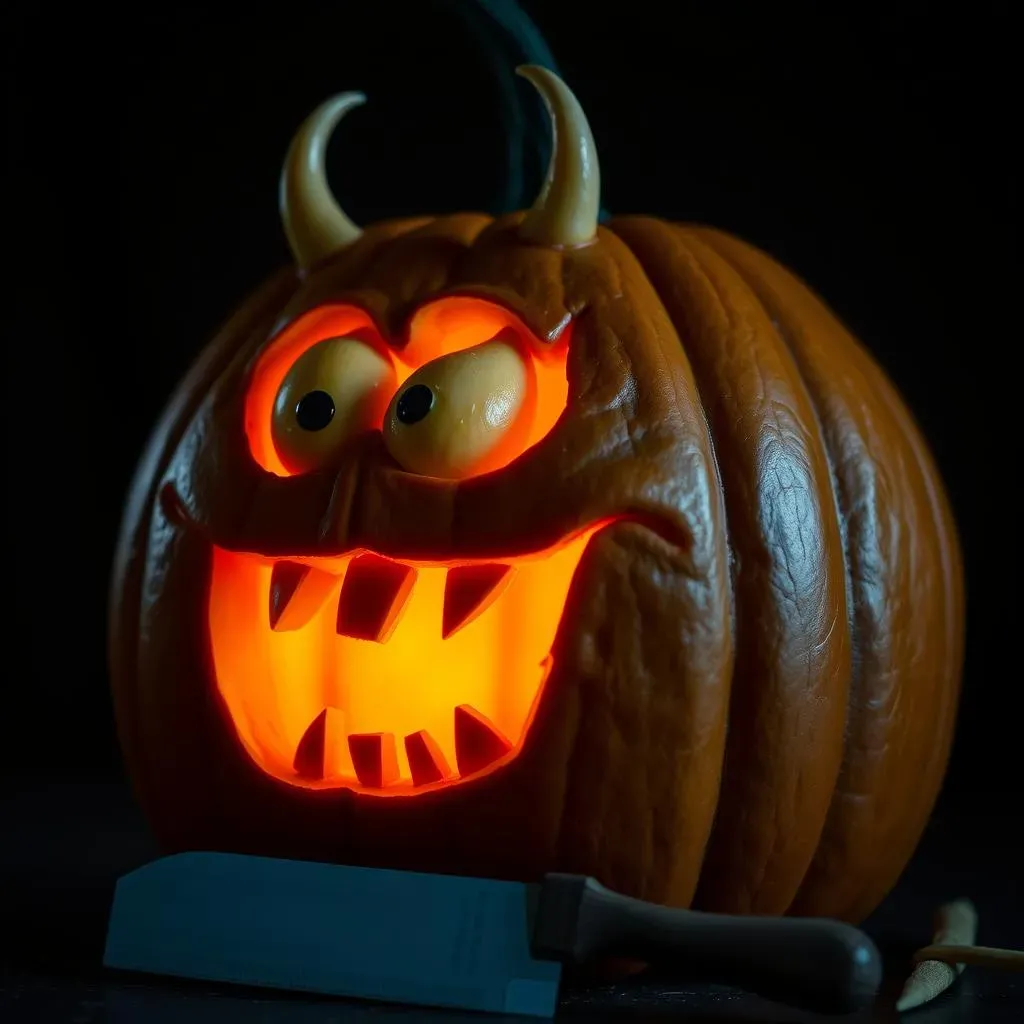
you've got your design transferred, and you're itching to start hacking away. But hold your horses! When it comes to **carving your Mike Wazowski pumpkin**, the key is to start small. Grab your smallest saw and focus on the intricate details first. Think about Mike's horns, the wrinkles around his eye, and that mischievous grin. These smaller features can be tricky, so it's best to tackle them while you still have a solid pumpkin to work with.
Imagine you're sculpting, not just cutting. Use gentle, controlled strokes, and don't be afraid to take your time. It's better to make a few small cuts than one big, irreversible mistake. And remember, patience is key! Carving a pumpkin is a marathon, not a sprint. So put on some tunes, grab a pumpkin spice latte, and get ready to unleash your inner artist.
Push, Don't Hack: Gentle Removal for Clean Lines
Now, when it comes to actually removing the carved sections, resist the urge to just yank them out. This can lead to jagged edges and a less-than-perfect finish. Instead, gently push the carved sections out from the inside of the pumpkin. Use your fingers or a small sculpting tool to carefully separate the flesh from the pumpkin skin. If a section is particularly stubborn, try scoring around the edges with your saw to loosen it up.
And here's a pro tip: if you accidentally carve too much, don't panic! You can use toothpicks to reattach the severed piece. Just break the toothpicks in half and insert them into the pumpkin flesh on either side of the cut. It's like pumpkin surgery! With a little patience and a steady hand, you can fix almost any carving mistake.
Beyond the Carve: Creative Ways to Customize Your Mike Wazowski Pumpkin
Beyond the Carve: Creative Ways to Customize Your Mike Wazowski Pumpkin
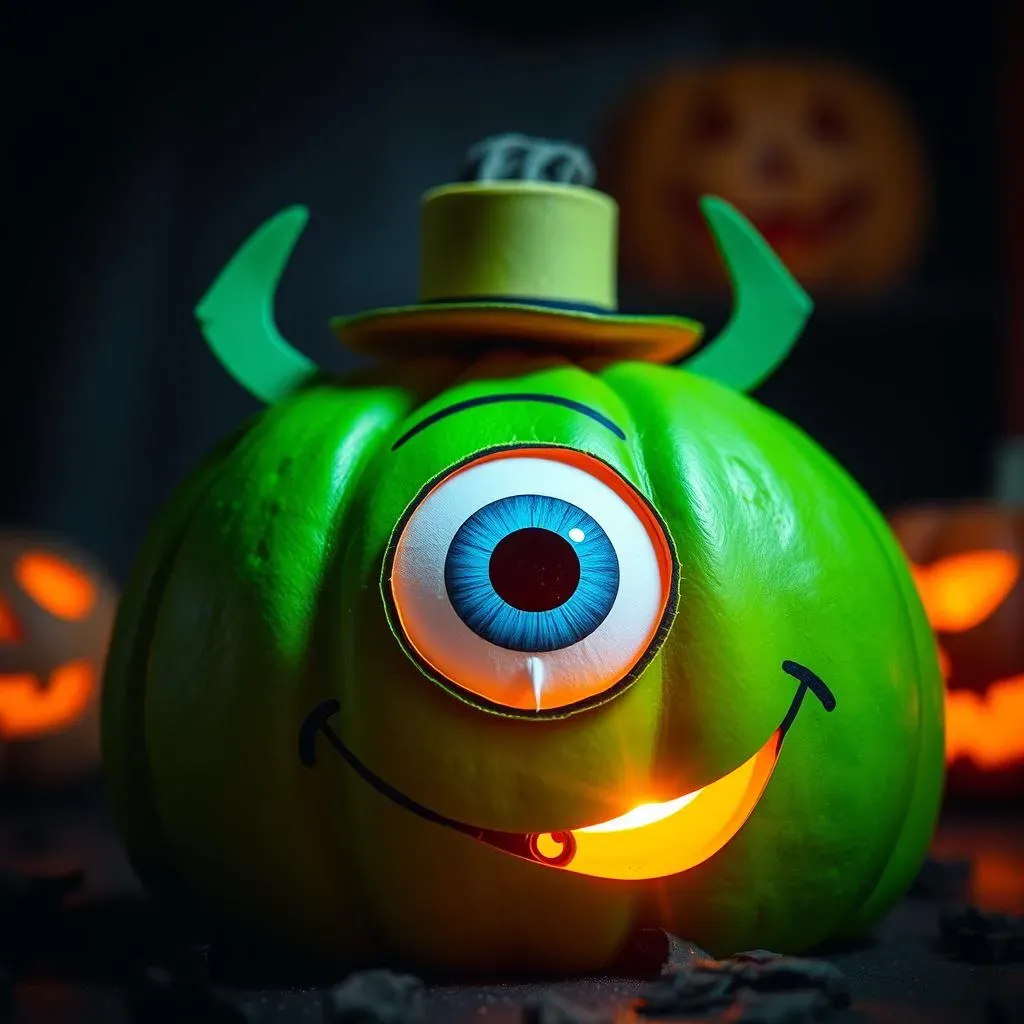
Going Green: Painting Your Pumpkin for a Monstrously Accurate Mike
so you've carved your Mike Wazowski pumpkin, but let's be honest, it's looking a little...pale. Mike is green, after all! Grab that acrylic paint we talked about earlier and get ready to give your pumpkin a monstrous makeover. Apply a few thin coats of green paint, allowing each coat to dry completely before applying the next. This will prevent the paint from cracking and ensure a smooth, even finish.
Want to add some extra dimension? Try mixing different shades of green to create highlights and shadows. A slightly darker green around the edges of Mike's face will give him a more realistic look. And don't forget about his eye! Use white paint to create the sclera (the white part of the eye) and then add a vibrant blue or green for the iris. A black marker can be used to create the pupil and add those signature Mike Wazowski details.
Adding Accessories: Horns, Hats, and Other Monstrous Touches
Why stop at just paint? Let's get those creative juices flowing and add some accessories to your Mike Wazowski pumpkin! One of the easiest ways to do this is by crafting some horns out of cardboard or construction paper. Simply cut out two horn shapes, paint them green, and attach them to the top of your pumpkin with toothpicks or glue. You can even add some texture to the horns by crumpling up the paper before painting them.
Feeling extra crafty? Try creating a miniature hat for Mike! A small top hat or even a baseball cap would look adorable perched on his head. You can use felt, fabric scraps, or even an old sock to create your hat. And don't forget about other monstrous touches! Add some googly eyes around the base of the pumpkin, or create a set of fangs out of white clay and attach them to his grin. The possibilities are endless!
Light It Up: Spooky Illumination for a Nighttime Scare
Your Mike Wazowski pumpkin is looking amazing, but it's not quite ready to face the darkness of Halloween night. It's time to add some spooky illumination! As we mentioned earlier, a simple tea light will do the trick, but for a truly eye-catching effect, consider using an LED light. Color-changing LEDs can create a vibrant, otherworldly glow, while flickering LEDs will add a touch of spooky ambiance.
Want to take it to the next level? Try drilling some small holes around Mike's eye to create a starry effect. The light will shine through these holes, creating a mesmerizing display. You can also use a flashlight to project a silhouette of Mike onto a nearby wall. Just be sure to place your pumpkin in a safe location, away from flammable materials. And always remember to extinguish candles properly before leaving your pumpkin unattended.
Customization | Materials | Effect |
|---|---|---|
Painting | Acrylic paint, brushes | Accurate color, dimension |
Accessories | Cardboard, paper, glue | Unique character, personality |
Lighting | LEDs, tea lights | Spooky ambiance, nighttime visibility |
From Monstropolis to Your Doorstep: A Mike Wazowski Pumpkin Carving Triumph
So, there you have it! You've successfully transformed a humble pumpkin into a tribute to everyone's favorite one-eyed monster. Remember, the most important thing is to have fun and let your creativity shine. Whether you followed our guide to the letter or added your own monstrous twists, you've created a unique piece of Halloween art that's sure to impress. Now, light up your Mike Wazowski pumpkin, place it proudly on your doorstep, and get ready to greet the trick-or-treaters with a touch of Monstropolis magic!