Table of Contents
Ready to power up your Halloween with some epic gourd art? Forget the generic ghosts and ghouls this year. We're diving headfirst into the Mushroom Kingdom with a treasure trove of pumpkin carving ideas Mario style! Whether you're a seasoned carving pro or a Goomba-stomping newbie, there's a design here to level up your jack-o'-lantern game.
Gathering Your Gear for a Mario Pumpkin Masterpiece

Gathering Your Gear for a Mario Pumpkin Masterpiece
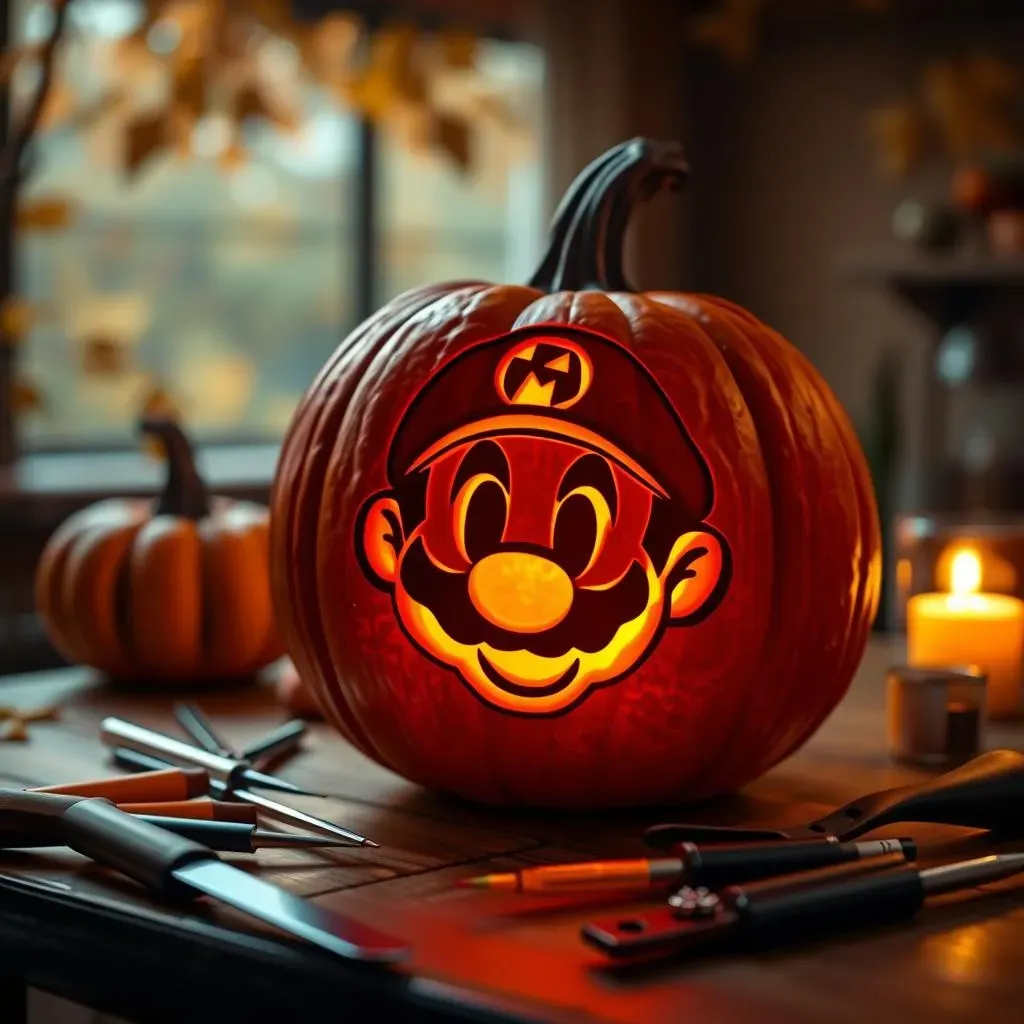
Alright, so you're ready to embark on this epic pumpkin carving quest? Awesome! But before you can transform that humble gourd into a pixel-perfect masterpiece, you'll need the right tools. Think of it like equipping Mario before a boss battle – you wouldn't send him in without a Super Mushroom, would you? Same goes for pumpkin carving. Having the right gear not only makes the process easier but also safer and way more fun.
First things first: the pumpkin itself! Look for one that's relatively smooth and has a sturdy stem. The smoother the surface, the easier it will be to carve those intricate Mario details. And a strong stem is crucial for carrying your masterpiece without any unfortunate accidents. Next, you'll need a good carving kit. Those flimsy plastic tools from the grocery store? Leave 'em for the Goombas. Invest in a decent set with various saws, scoops, and detail tools. Trust me, your fingers will thank you.
Beyond the basics, consider these essential items: a sturdy work surface (preferably one you don't mind getting messy), a good light source (natural light is best, but a bright lamp works too), and some paper towels for those inevitable pumpkin guts. Oh, and don't forget a bowl to collect the seeds for roasting later – waste not, want not, right? And lastly, for transferring your chosen Mario design, you'll need either a stencil, some tracing paper, or a steady hand and a marker.
- Pumpkin: Smooth surface, sturdy stem
- Carving Kit: Saws, scoops, detail tools
- Work Surface: Protect your table!
- Light Source: Illuminate your canvas
- Paper Towels: For easy cleanup
- Stencil/Tracing Paper/Marker: Transfer your design
With your gear assembled, you're one step closer to creating a pumpkin that would make even Bowser jealous. Next up, we'll dive into the world of stencils and templates, because let's face it, freehanding a perfect Mario portrait is a challenge even for the most skilled artists. Get ready to level up your carving game!
Stencil Secrets: Easy Mario Pumpkin Carving Templates
Stencil Secrets: Easy Mario Pumpkin Carving Templates
Finding the Perfect Mario Stencil
Alright, let's talk stencils. Unless you're some kind of pumpkin Picasso, a stencil is your best friend when it comes to carving a recognizable Mario character. The good news is, the internet is overflowing with free Mario pumpkin carving templates! A quick search for "Mario pumpkin stencils" will yield a treasure trove of options, from simple character outlines to more complex designs featuring multiple characters or intricate details. Sites like Pinterest, Etsy, and Play Nintendo often have great free or low-cost templates.
When choosing a stencil, consider your skill level and the size of your pumpkin. A super intricate design might look amazing, but it'll also be a pain to carve if you're a beginner. Start with something simpler, like a classic Mario head or a Super Mushroom. Also, make sure the stencil is appropriately sized for your pumpkin. A tiny stencil on a giant pumpkin will look a bit silly, while a massive stencil on a small pumpkin will be impossible to carve without losing detail. Print out a few different sizes to see what works best.
Here's a quick tip: look for stencils that have clear, well-defined lines. Faded or blurry stencils will be difficult to transfer and carve accurately. And don't be afraid to modify a stencil to suit your needs. If you want to add a little flair, feel free to embellish the design with your own details. Just remember to keep it simple and manageable, especially if you're new to pumpkin carving.
Transferring Your Stencil Like a Pro
you've got your stencil printed and ready to go. Now comes the slightly tricky part: transferring it onto your pumpkin. There are a few different methods you can use, depending on your preference and the materials you have on hand. One popular option is to use tracing paper. Simply place the tracing paper over the stencil, trace the design with a pencil, and then transfer the tracing onto your pumpkin.
Another method is to tape the stencil directly onto the pumpkin and use a poking tool (like an awl or a thick needle) to create small holes along the stencil lines. Once you've poked all the holes, remove the stencil and connect the dots with a marker. This method works well for simpler designs, but it can be a bit tedious for more complex ones. For a more modern approach, you can use a projector to project the stencil onto your pumpkin and then trace the design with a marker. This method requires a projector, of course, but it's a great way to get a perfectly sized and accurately transferred stencil.
No matter which method you choose, make sure to take your time and be careful not to damage the pumpkin. And remember, a little bit of patience goes a long way. Once you've successfully transferred your stencil, you're ready to start carving. Get ready to bring your Mario pumpkin to life!
Method | Pros | Cons |
|---|---|---|
Tracing Paper | Simple, inexpensive | Can be time-consuming |
Poking Tool | Good for simple designs | Tedious for complex designs |
Projector | Accurate, scalable | Requires a projector |
From Pixels to Pumpkins: Creative Mario Character Carving Ideas
From Pixels to Pumpkins: Creative Mario Character Carving Ideas
Mario's Many Faces: Classic Character Carvings
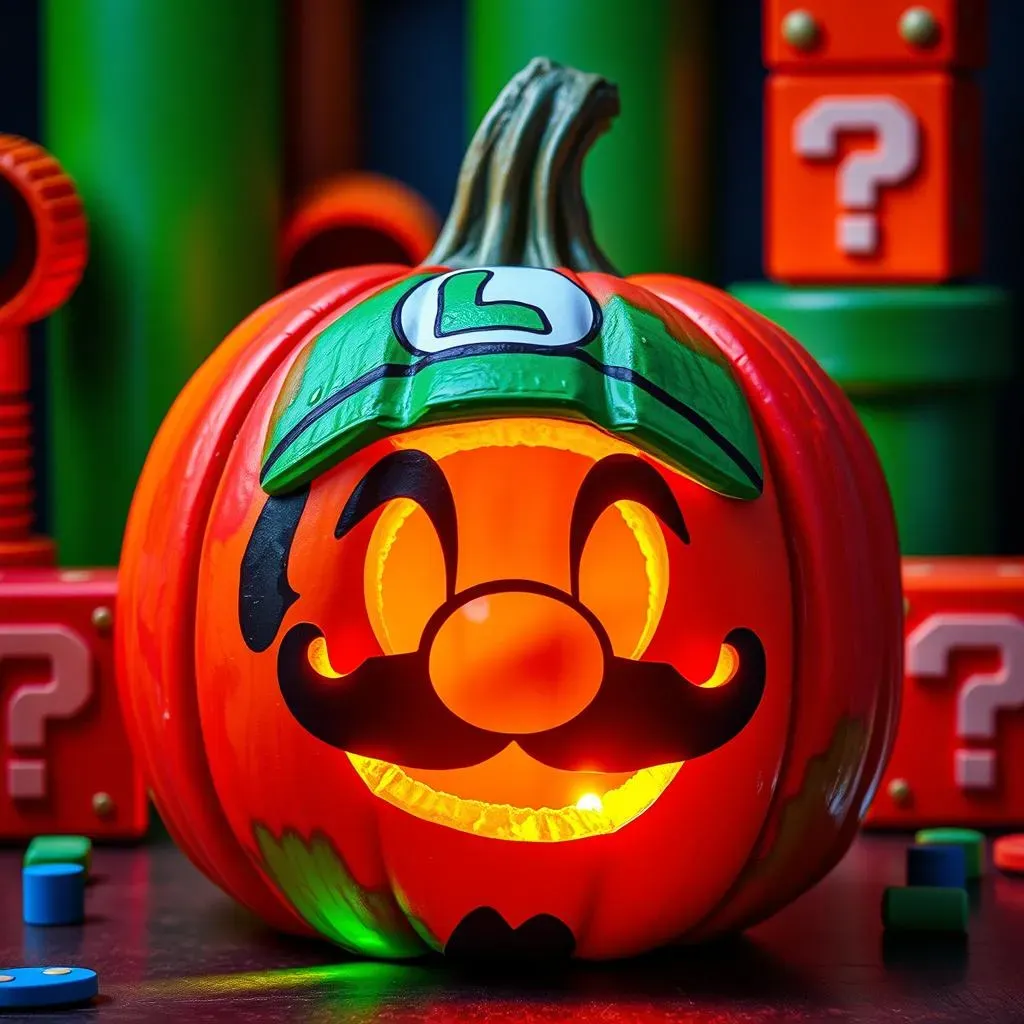
so you've got your pumpkin and your stencil. Now it's time to bring those 8-bit heroes to life! When it comes to pumpkin carving ideas Mario, you can't go wrong with the classics. Mario himself is an obvious choice, but don't forget his trusty sidekick Luigi! A simple side-by-side carving of the Mario Bros. is always a crowd-pleaser. Consider adding their iconic hats or mustaches for extra detail. You could even get creative and carve different expressions on their faces – a determined Mario and a slightly scared Luigi, perhaps?
But why stop there? The Mushroom Kingdom is bursting with memorable characters! Princess Peach, with her flowing locks and gentle smile, is a lovely addition to any pumpkin patch. And let's not forget the villains! Bowser, with his menacing grin and spiky shell, makes for a wonderfully intimidating jack-o'-lantern. You could even carve a group of Goombas marching across your pumpkin, or a sneaky Koopa Troopa hiding in the shadows.
Remember, simplicity is key, especially if you're new to pumpkin carving. Focus on capturing the essential features of each character – Mario's hat, Luigi's mustache, Bowser's horns. A few well-placed details can make all the difference. And don't be afraid to get creative with your lighting! A flickering candle inside a Bowser pumpkin can create an especially spooky effect.
Beyond the Main Crew: Exploring the Mushroom Kingdom
So, you've carved Mario, Luigi, Peach, and Bowser. What's next? Time to delve deeper into the Mushroom Kingdom for some more obscure, yet equally awesome, pumpkin carving ideas Mario! Think about the iconic power-ups: a Super Mushroom, a Fire Flower, or even a Starman. These symbols are instantly recognizable and relatively easy to carve. A Question Block, with its mysterious question mark, is another great option. You could even make it interactive by hiding a small treat inside!
Consider carving some of the less-famous characters from the Mario universe. Toad, with his mushroom-shaped head and cheerful demeanor, is a fun and quirky choice. Yoshi, Mario's loyal dinosaur companion, is always a hit with kids. And don't forget about the baddies! Piranha Plants, Bullet Bills, and Chain Chomps can add a touch of menace to your pumpkin display. You could even create a whole scene on your pumpkin, with Mario battling a Piranha Plant in a warp pipe.
The key is to think outside the box and embrace the weird and wonderful world of Mario. The more creative you get, the more unique and memorable your pumpkin will be. So go ahead, surprise your neighbors with a Chain Chomp jack-o'-lantern. They'll be talking about it for years to come!
Character/Item | Difficulty | Tips |
|---|---|---|
Super Mushroom | Easy | Use a circular stencil for the cap |
Fire Flower | Medium | Pay attention to the petal details |
Question Block | Easy | Make sure the question mark is centered |
Chain Chomp | Hard | Use a sharp knife for the chain links |
Adding a Modern Twist: 8-Bit and Pixel Art Pumpkins
Want to really impress your fellow gamers? Try carving a Mario-themed pumpkin using an 8-bit or pixel art style! This involves breaking down the characters and symbols into their most basic pixelated forms. It's a great way to create a retro-inspired jack-o'-lantern that's both stylish and nostalgic. Plus, it's often easier to carve than more detailed designs, as you're simply creating a series of squares and rectangles.
You can find plenty of 8-bit Mario templates online, or you can create your own using a pixel art editor. Simply choose your character or symbol, reduce it to a low resolution, and then use the resulting pixel grid as a guide for your carving. Consider using different depths of carving to create a sense of depth and dimension. Carving some pixels deeper than others can make your 8-bit Mario really pop!
This style is really eye-catching, and is a great way to show that you are in the know. Your carving will give off a vintage vibe that will be sure to catch attention. This will also show off your artistic capabilities!
Beyond the Carve: Painting and Decorating Your Mario Pumpkin
Beyond the Carve: Painting and Decorating Your Mario Pumpkin
Adding Color to Your Kingdom: Painting Techniques
Alright, so you've carved your Mario masterpiece, but why stop there? Let's add some color to your kingdom with some creative painting techniques! Painting your pumpkin can bring your characters to life and add a whole new level of detail to your design. Plus, it's a great option for those who aren't quite ready to wield a carving knife. The key is to use the right type of paint. Acrylic paints are a great choice, as they're durable, water-resistant, and come in a wide range of colors. Avoid using oil-based paints, as they can damage the pumpkin.
Before you start painting, make sure your pumpkin is clean and dry. Use a damp cloth to wipe away any dirt or debris. Then, lightly sketch your design onto the pumpkin with a pencil. This will give you a guide to follow as you paint. When painting, use thin, even coats. Avoid applying too much paint at once, as this can cause it to drip or crack. Let each coat dry completely before applying the next. For fine details, use a small brush and a steady hand. And don't be afraid to experiment with different colors and techniques! You could even add some glitter for a touch of sparkle.
Remember, painting is all about having fun and expressing your creativity. So go ahead, unleash your inner artist and transform your pumpkin into a vibrant Mario masterpiece!
Accessorize Like a Pro: Decorations and Embellishments
So you've carved and painted your Mario pumpkin, but it still feels like it's missing something? Time to accessorize! Adding decorations and embellishments can take your pumpkin from "meh" to "MARVELOUS!" Think about adding some 3D elements to your design. You could use craft foam to create Mario's hat, Luigi's mustache, or Bowser's horns. Simply cut out the shapes, paint them, and then glue them onto your pumpkin. You could also use pipe cleaners to create vines for a Piranha Plant or a chain for a Chain Chomp.
Another great option is to use LED lights to illuminate your pumpkin. You can find battery-operated LED lights at most craft stores. Simply place the lights inside your pumpkin to create a spooky and dramatic effect. Consider using different colored lights to match the theme of your design. Red lights for a Fire Flower, green lights for a Super Mushroom, and so on. You can also use stencils to create patterns of light on your pumpkin. Simply cut out a stencil from cardboard or paper, tape it to the outside of your pumpkin, and then shine a light through it. This will create a cool and unique effect.
Finally, don't forget about the environment around your pumpkin. Decorate your porch with Mario-themed items like warp pipes, question blocks, and even a cardboard cutout of Princess Peach. The more immersive you make the experience, the more impressive your pumpkin will be!
Decoration | Material | Tips |
|---|---|---|
Mario's Hat | Craft Foam | Use red paint and a white circle for the "M" |
Piranha Plant Vines | Pipe Cleaners | Twist green pipe cleaners together to create a vine effect |
LED Lights | Battery-Operated Lights | Use different colors to match the theme |
Protecting Your Masterpiece: Weatherproofing Tips
You've poured your heart and soul into creating the perfect Mario pumpkin, and now you want to make sure it lasts! Unfortunately, pumpkins are susceptible to the elements. Rain, wind, and even sunlight can damage your masterpiece. So, what can you do to protect it? One simple trick is to apply a sealant to the outside of your pumpkin. You can use a commercially available pumpkin sealant, or you can make your own by mixing equal parts of petroleum jelly and water. Apply the sealant with a brush or a cloth, and let it dry completely.
Another option is to keep your pumpkin indoors. This will protect it from the elements, but it will also shorten its lifespan. Pumpkins tend to rot more quickly indoors than outdoors. If you do keep your pumpkin indoors, make sure to place it in a cool, dry place away from direct sunlight. You can also try spraying your pumpkin with a bleach solution to kill any bacteria that might be causing it to rot. Mix one tablespoon of bleach with one quart of water, and then spray the solution onto the inside and outside of your pumpkin.
Finally, consider using a faux pumpkin instead of a real one. Faux pumpkins are made of plastic or foam, and they're much more durable than real pumpkins. Plus, they can be reused year after year! So, if you want a Mario pumpkin that will last forever, a faux pumpkin is the way to go.
Showcasing Your Super Mario Pumpkin Creations
Showcasing Your Super Mario Pumpkin Creations
Share Your Spooky Success: Social Media Showcase
You've put in the time, the effort, and maybe even a few pumpkin-related injuries to create your Super Mario pumpkin masterpiece. Now it's time to show it off to the world! Social media is your best friend here. Snap some well-lit photos of your pumpkin, both during the day and at night, and share them on platforms like Instagram, Facebook, and Twitter. Use relevant hashtags like #MarioPumpkin, #PumpkinCarving, #Halloween, #SuperMario, and #GamerHalloween to reach a wider audience.
Consider creating a short video showcasing your pumpkin from all angles. You could even add some Mario-themed music to the background for extra flair. Don't forget to tag Nintendo and other relevant gaming companies in your posts. You never know, they might just feature your creation on their official channels! Engage with other pumpkin carvers and share your tips and tricks. The Halloween community is a supportive and enthusiastic bunch, and they'll appreciate your creativity and dedication.
Remember, lighting is key! Use a good light source to illuminate your pumpkin and capture all the intricate details. Experiment with different angles and perspectives to find the most flattering shots. And don't be afraid to get creative with your captions! Tell the story behind your pumpkin, share your inspiration, and invite your followers to share their own Halloween creations.
Level Up Your Porch: Creating a Mario-Themed Display
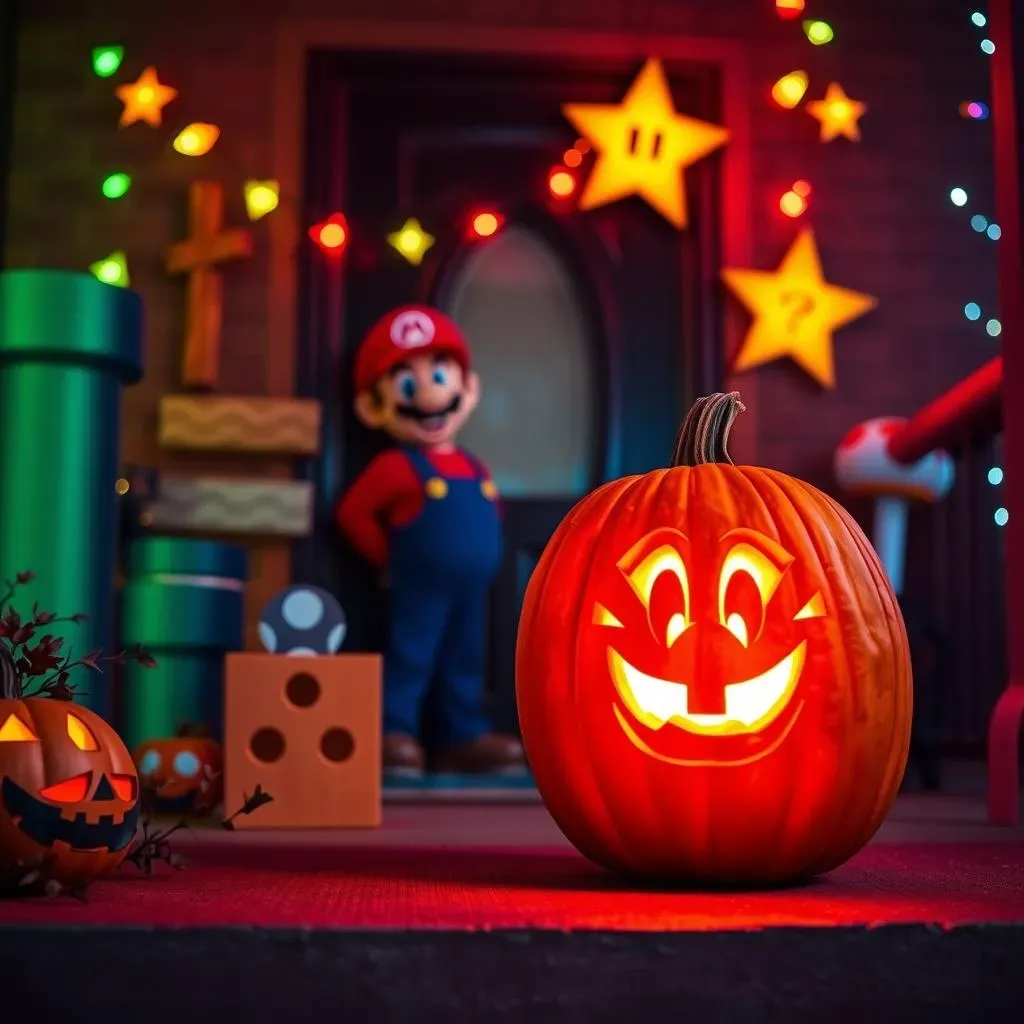
Why limit your Mario masterpiece to just one pumpkin? Transform your entire porch into a Mushroom Kingdom wonderland! Create a backdrop using cardboard cutouts of warp pipes, question blocks, and Super Mushrooms. Hang some star-shaped lights to add a touch of sparkle. Place your Mario pumpkin front and center, and surround it with other Mario-themed decorations. Consider adding some sound effects to complete the immersive experience. You could play the Super Mario Bros. theme song on a loop, or even add some sound effects from the game, like the coin collection sound or the Goomba stomp.
Don't forget about the lighting! Use colored lights to create a spooky and atmospheric vibe. Red lights for Bowser's lair, green lights for the Mushroom Kingdom, and so on. You could even use a projector to project Mario-themed images onto your house. This will create a truly unforgettable Halloween display. And remember, safety first! Make sure all your decorations are securely fastened and won't pose a tripping hazard to trick-or-treaters.
Go the extra mile and dress up as Mario or Luigi when greeting trick-or-treaters. This will add a fun and interactive element to your display. You could even give out Mario-themed candy or small toys. The more effort you put into your display, the more impressed your neighbors will be. Get ready to be the talk of the town this Halloween!
Display Item | Material | Tips |
|---|---|---|
Warp Pipe | Cardboard | Paint it green and add some details with black marker |
Question Block | Cardboard Box | Paint it yellow and add a white question mark |
Star Lights | String Lights | Hang them around your porch for a magical effect |
Community Carving Contests: Sharing the Fun and Winning Prizes
Want to take your Mario pumpkin carving skills to the next level? Consider entering a community carving contest! Many towns and cities host pumpkin carving contests during the Halloween season. These contests are a great way to showcase your creativity, meet other pumpkin enthusiasts, and potentially win some awesome prizes. Check your local community center, library, or online event listings to find a contest near you.
When entering a contest, make sure to read the rules and guidelines carefully. Some contests have specific themes or categories, so make sure your Mario pumpkin fits the criteria. Also, pay attention to the judging criteria. Is the contest judged on creativity, skill, originality, or overall appearance? Tailor your pumpkin to meet the judging criteria as closely as possible.
Don't be afraid to get competitive! Bring your A-game and create a pumpkin that will wow the judges. But remember, the most important thing is to have fun and enjoy the experience. Even if you don't win, you'll still have a fantastic Mario pumpkin to show off to your friends and family. So go ahead, unleash your inner competitor and carve your way to victory!
Game Over, But the Memories Last: Your Mario Pumpkin Masterpiece
And that's all, folks! You've successfully navigated the warp zone and emerged with a stunning Super Mario-themed pumpkin creation. Whether you chose a classic character carving, a vibrant painted design, or a combination of both, you've undoubtedly added a touch of retro gaming magic to your Halloween decor. Remember, the most important thing is to have fun and let your creativity shine. So, power up those pumpkins, share your creations with the world, and get ready to receive some well-deserved "oohs" and "aahs" from trick-or-treaters and fellow Mario fans alike. Happy Halloween, and may your candy stash be ever plentiful!