Table of Contents
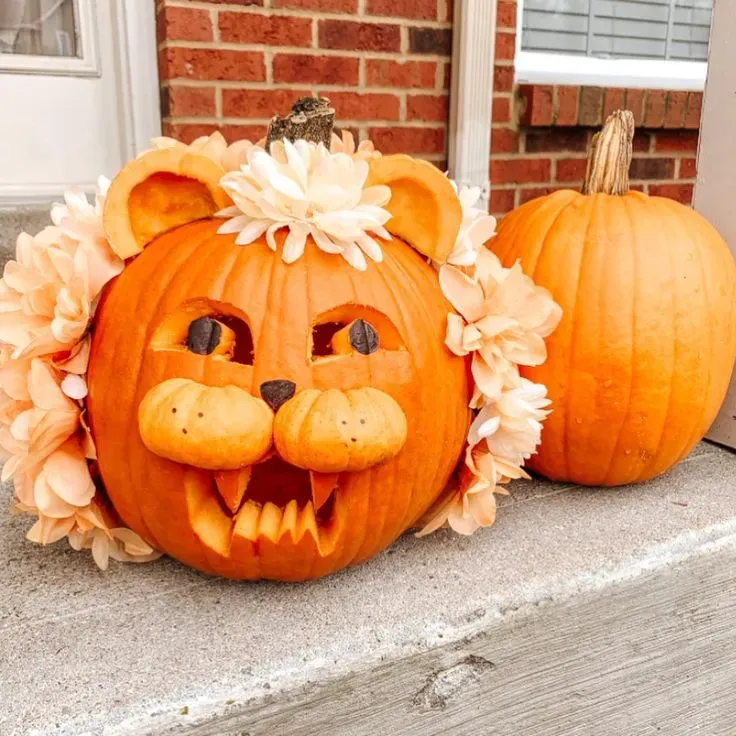
let's be honest. How many basic jack-o'-lanterns can you carve before they all start looking the same? You want something with presence, something that commands attention on your porch. Something that says, "Yeah, I put some effort into this." That's where the king of the jungle comes in. If you're looking for pumpkin carving ideas that roar, a lion is tough to beat. It's got personality, it's got that majestic mane, and it just feels a bit more epic than your standard toothy grin.
Why a Lion Pumpkin? King of the Halloween Jungle

Why a Lion Pumpkin? King of the Halloween Jungle
so you're staring at that big, orange canvas and wondering what to do. Another ghost? Another simple face? Yawn. If you want your pumpkin to stand out from the sea of generic gourds, you need something with gravitas, something with a bit of *oomph*. That's precisely Why a Lion Pumpkin? King of the Halloween Jungle, is your go-to move. Forget the cutesy stuff or the same old spooky grins. A lion brings a certain regal power, a wild energy that just screams "look at me!" It's not just carving; it's declaring your pumpkin's dominance over the porch landscape. Plus, the potential for creativity with that glorious mane? Endless.
Getting Started: Tools and Prep for Your Lion Pumpkin Carving
Getting Started: Tools and Prep for Your Lion Pumpkin Carving
Alright, before you channel your inner sculptor and start hacking away at your future masterpiece, you need the right gear. Think of it like preparing for a small, slightly messy surgery on a giant squash. You can't just grab a dull kitchen knife and hope for the best; that's a recipe for frustration and possibly a trip to urgent care. Getting Started: Tools and Prep for Your Lion Pumpkin Carving means gathering the essentials. You'll need more than just a scoop and a serrated edge if you want that mane to look majestic and those eyes to have some life. Good tools make the job easier, safer, and frankly, the results look a whole lot better.
Here’s a basic toolkit that won't break the bank but will make a world of difference:
- A sturdy pumpkin carving kit: Look for one with different saw sizes and maybe a poker tool.
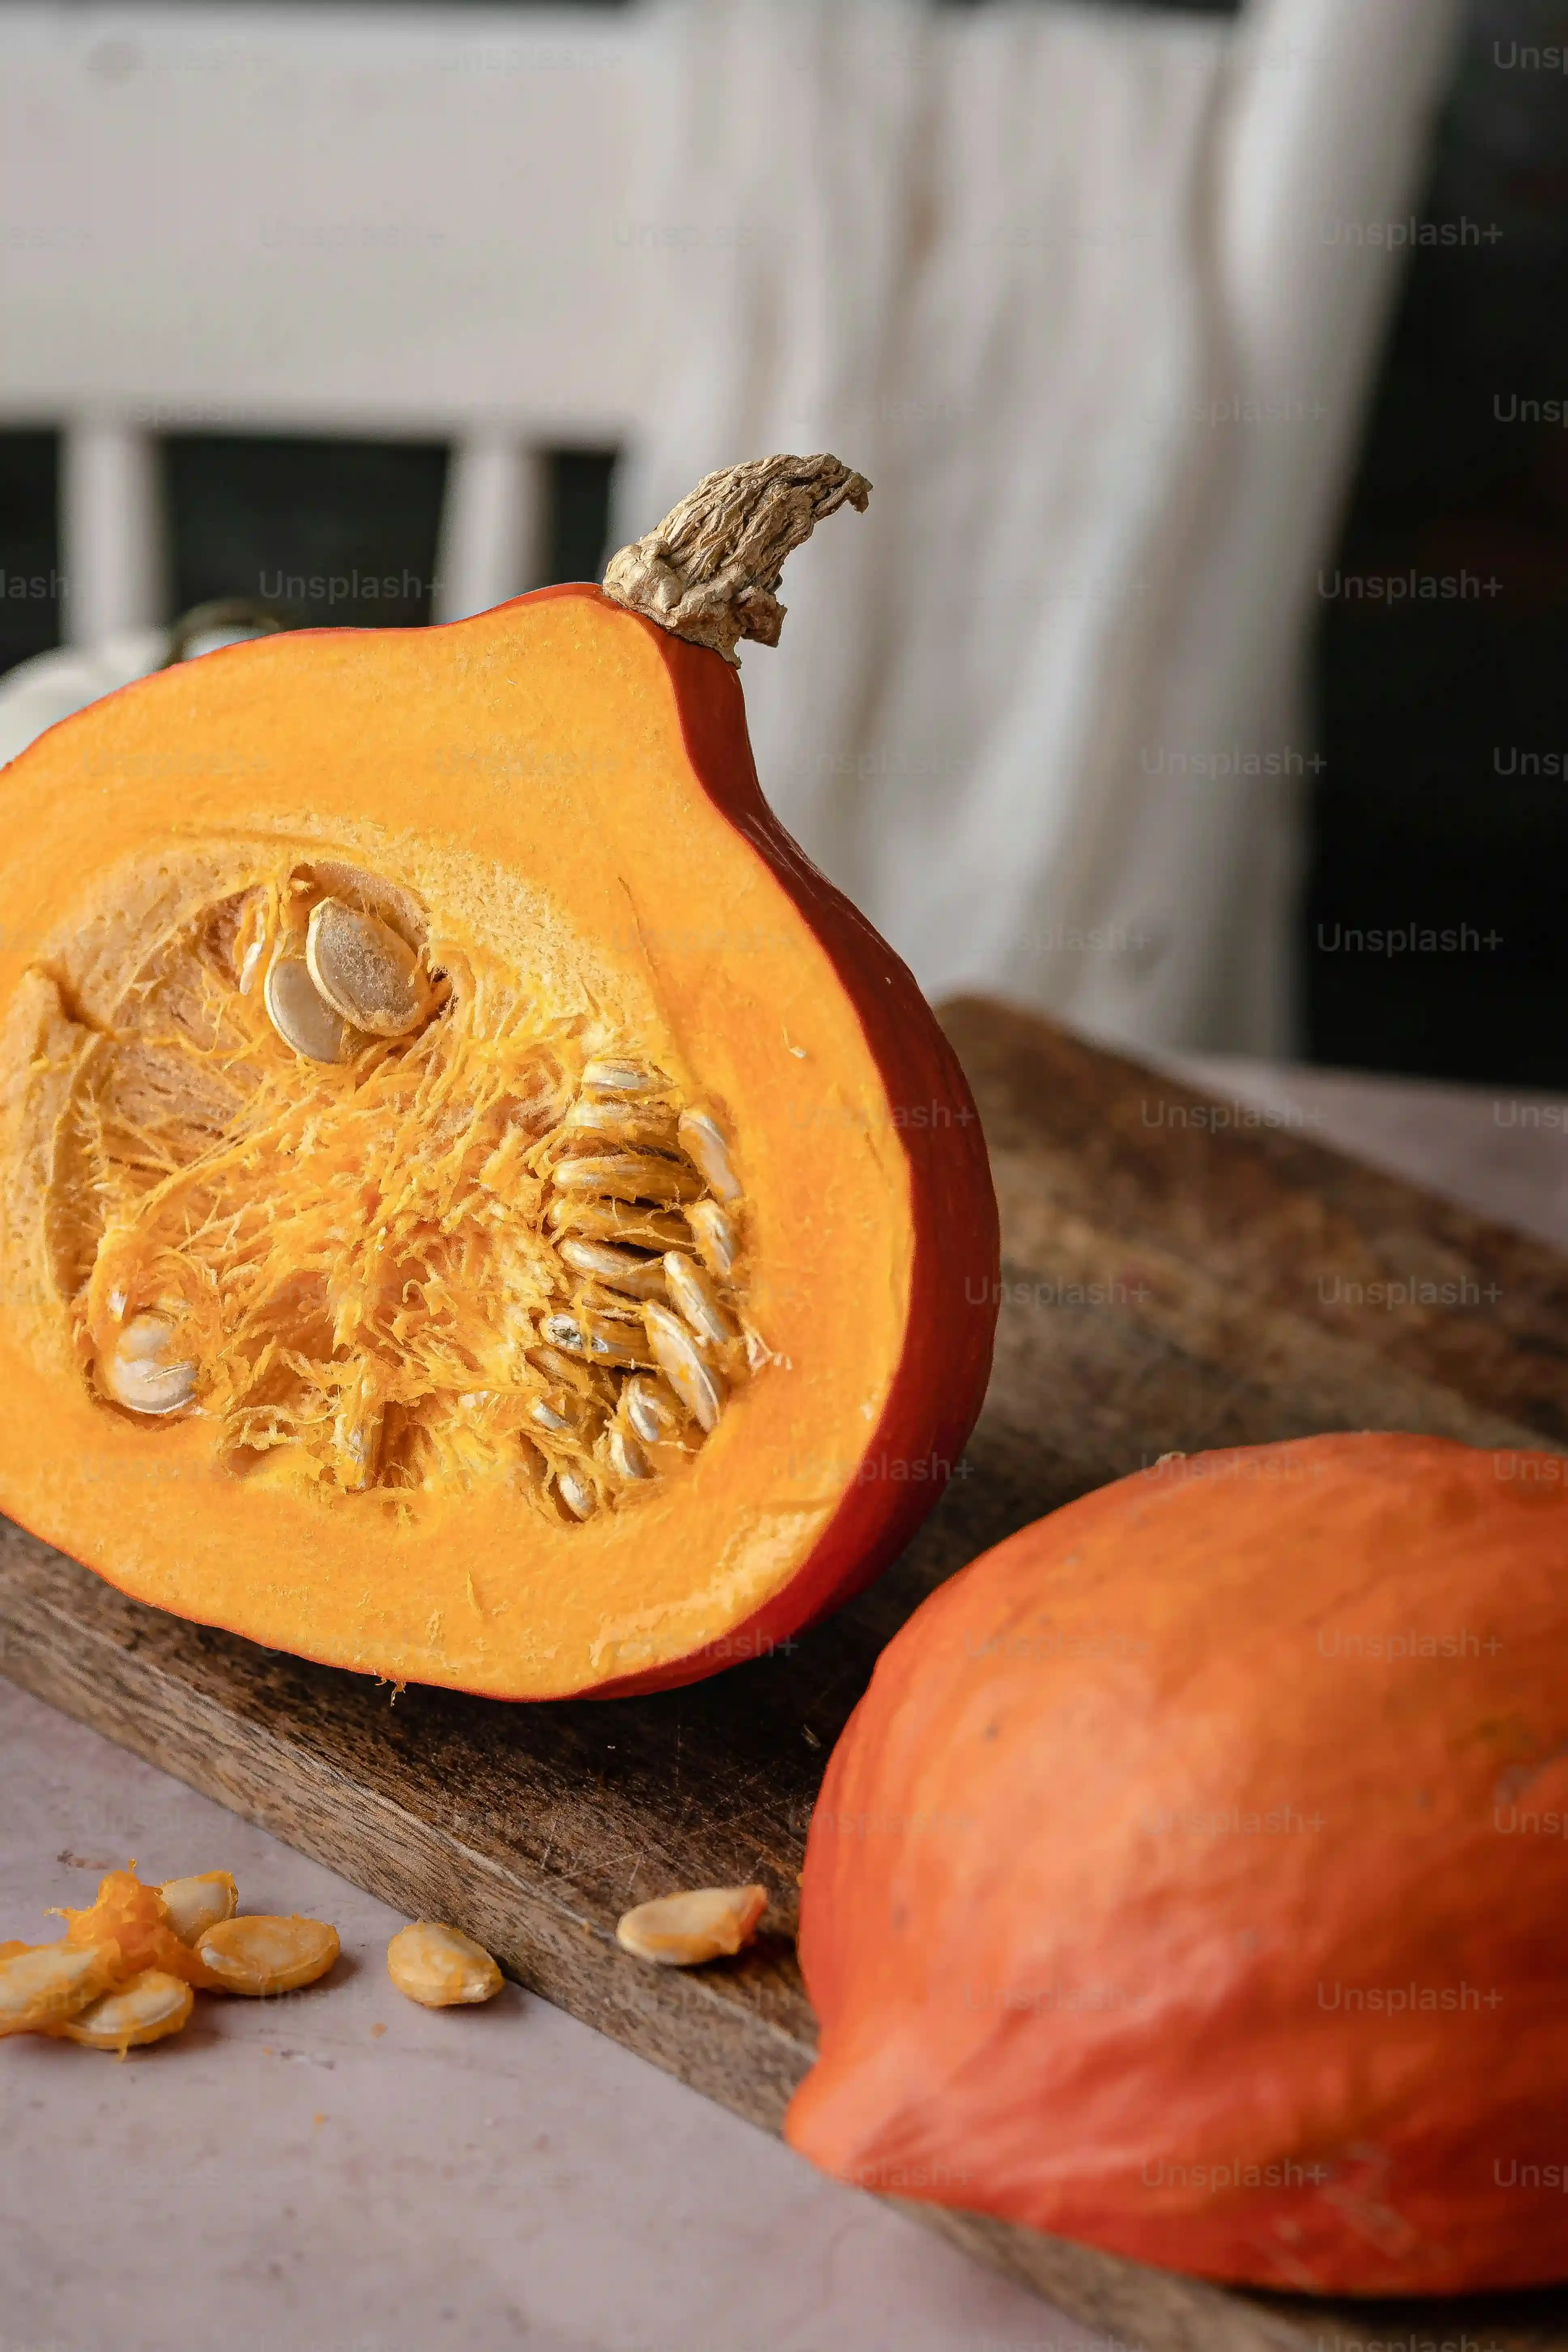
- Scoop or large spoon: For gutting the pumpkin. Don't skip this messy but necessary step.
- Sharp paring knife: Useful for finer details and trimming.
- Dry-erase marker or pencil: For drawing your design onto the pumpkin. Mistakes happen, so something erasable is key.
- Newspaper or drop cloth: To protect your workspace from pumpkin guts and general mess.
- Gloves (optional): If you're not a fan of slimy seeds, these are your friend.
- A small light source: A battery-operated LED candle works best and is safest.
Unleashing the Beast: Different Pumpkin Carving Ideas Lion Designs
Unleashing the Beast: Different Pumpkin Carving Ideas Lion Designs
so you've got your tools laid out, the pumpkin is gutted (hopefully without too much drama), and you're staring at that big, round surface. Now comes the fun part: deciding what kind of lion you're going to bring to life. This is where you start Unleashing the Beast: Different Pumpkin Carving Ideas Lion Designs. Are you going for fierce and roaring, or maybe something a bit more majestic and stoic? You could even go for a cartoonish, friendly lion, which is great if you've got younger kids helping out or if you just prefer less terrifying porch decor.
There are a few main routes you can take. The simplest is a silhouette or outline – just carving the basic shape of a lion's head and mane. This is forgiving and looks pretty cool when lit up. Then there's the classic jack-o'-lantern style face, but with lion features: slanted eyes, a triangular nose, and maybe some carved lines to suggest whiskers and a mouth. More advanced carvers might try shading techniques, where you don't cut all the way through the pumpkin wall, allowing different thicknesses to let varying amounts of light through, creating depth and detail in the face and mane. Think of it like sculpting with light.
Here are a few design approaches to consider:
- **Simple Silhouette:** Cut out the profile of a lion's head and a spiky mane. Easy, quick, and effective.
- **Classic Face with Mane:** Carve traditional jack-o'-lantern features (eyes, nose, mouth) but shape them like a lion's, then add a carved or scraped mane around the face.
- **Detailed Portrait:** Use stencils or freehand to carve or scrape a more realistic lion face, focusing on eyes, nose, and mouth details, and creating texture in the mane through scraping.
- **Partial Carve/Shading:** Don't cut all the way through. Scrape away the outer layer of pumpkin skin to create lighter areas for highlights and texture, especially effective for a fluffy mane or detailed fur.
Choosing the right design often depends on your carving skill level and how much time you want to invest. A detailed, shaded lion portrait can take hours, requiring patience and a steady hand. A simple outline? You can probably knock that out in under an hour, guts and all. I remember one year I tried a super intricate lion face, complete with individual whiskers and fur texture. By hour three, my back hurt, my fingers were cramped, and I was pretty sure I'd permanently stained my favorite hoodie orange. The result was decent, but maybe not worth the physical therapy bill.
So, what's your carving philosophy? Are you a "get it done" kind of person or a "tortured artist" who relishes every scrape and cut?
Finishing Touches: Making Your Lion Pumpkin Roar and Shine
Finishing Touches: Making Your Lion Pumpkin Roar and Shine
Cleaning Up and Adding Subtle Details
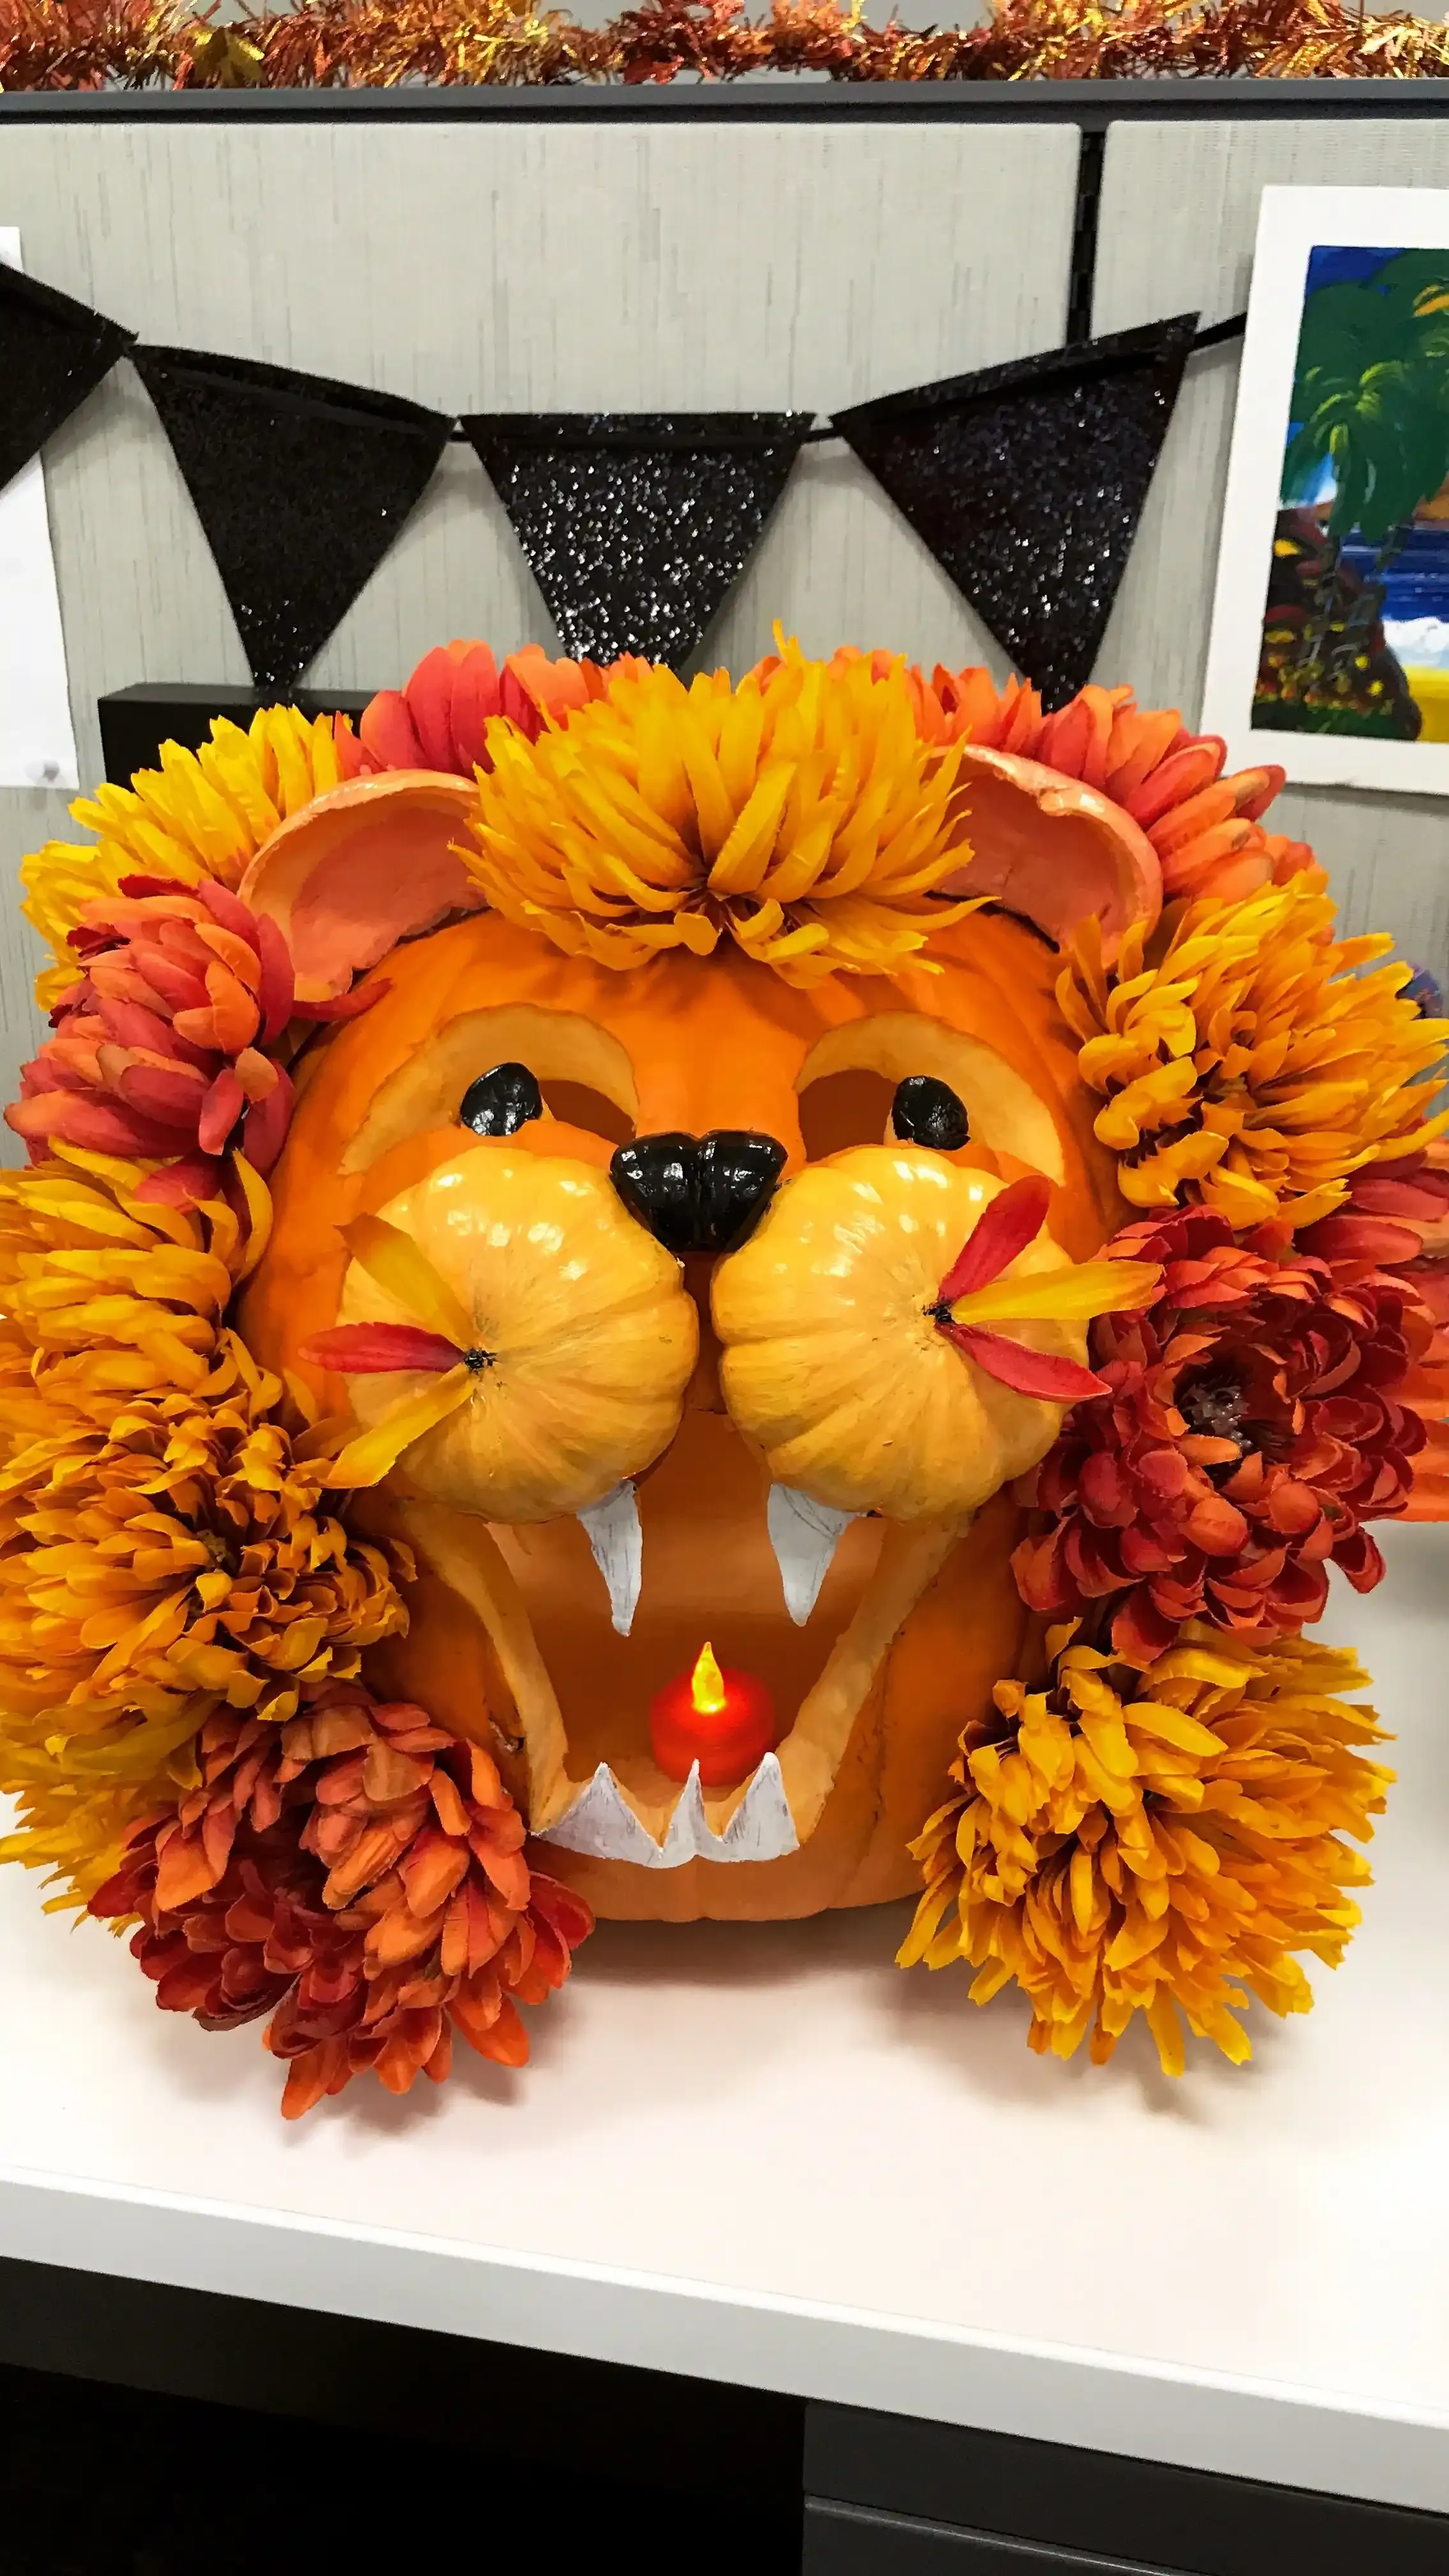
You've done the heavy lifting. The major cuts are made, the silhouette is there, or maybe you've even scraped away layers for texture. But a rough carve looks... well, rough. This is where the Finishing Touches: Making Your Lion Pumpkin Roar and Shine really comes into play. It's the difference between a lopsided grin and a truly expressive face. Go back over your cuts. Use a small, sharp knife or even a craft blade to clean up the edges. Remove any stray bits of pumpkin flesh hanging on. Think of it like giving your lion a good shave and a haircut. You can also add subtle details now. Little nicks to suggest fur texture, tiny triangles for teeth if you didn't carve a full mouth, or even scoring lines around the eyes to give them more depth. Don't underestimate the power of these small tweaks; they elevate your work from "carved pumpkin" to "pumpkin sculpture."
Lighting the King and Setting the Scene
All that intricate work is pointless if your lion disappears into the night. Lighting is crucial for making your pumpkin pop. Forget the old wax candles that flicker out in the slightest breeze and are, frankly, a fire hazard waiting to happen. Get yourself a good quality battery-operated LED light. They provide consistent, bright light and last for days. Place the light carefully inside, ensuring it illuminates the carved areas effectively. Sometimes, tilting the light or using more than one can change the look dramatically. Once your lion is internally glowing, think about its surroundings. Place it somewhere prominent, maybe on a sturdy bale of hay or a tree stump. Add some fake leaves or even a few small, uncarved pumpkins around the base to create a little pride territory. It's not just about the pumpkin; it's about the presentation. You want people walking by to stop and admire the king you've brought to life.
- Clean edges with a small knife.
- Remove hanging bits of pumpkin flesh.
- Score lines for fur or detail.
- Use battery-operated LED lights.
- Experiment with light placement.
- Arrange surrounding decor for impact.
Your Roaring Success Awaits
So there you have it. Stepping up your pumpkin game with a lion isn't just about following a stencil; it's about bringing a bit of the wild into your Halloween display. You've got the tools, the ideas, and hopefully, a little spark of inspiration to make your own king of the porch. Whether you go for a simple silhouette or a full-blown 3D mane, the point is to try something different. Ditch the same old triangle eyes this year and give the neighbors something to really talk about. Go on, make your pumpkin roar.