Table of Contents
Alright, it's that time of year again. The air gets crisp, the spooky decorations come out, and you stare down that big, orange squash on your kitchen counter, wondering what masterpiece you're going to attempt this time. Maybe you've done the classic jack-o'-lantern a dozen times. Maybe you tried something ambitious last year and it ended up looking less like a monster and more like a lopsided potato. If you're feeling uninspired or just want to try something genuinely fun and different, why not combine the spooky season with everyone's favorite plastic bricks? We're talking about awesome pumpkin carving ideas LEGO style.
Why Try LEGO Pumpkin Carving Ideas This Halloween?
Why Try LEGO Pumpkin Carving Ideas This Halloween?
Break From the Basic Jack-o'-Lantern
Let's be honest, the classic triangle eyes and jagged grin are, well, classic. But they can also be a little...boring after a while. If you're tired of churning out the same old face year after year, diving into pumpkin carving ideas LEGO style offers a fantastic change of pace. It's unexpected, it's creative, and it immediately tells people you're doing something a little different this Halloween. Think about the reaction when someone sees a pumpkin carved with a detailed minifigure face or even a whole brick pattern. It stands out in a sea of traditional spooky faces.
It’s not just about being different for the sake of it. It genuinely opens up a whole new world of design possibilities beyond the standard creepy or funny expressions. You can pull inspiration from specific LEGO themes, iconic characters, or even just the simple, satisfying shape of a brick. It adds a layer of personal interest and a connection to something many people love.
Combine Two Beloved Hobbies
If you're already into LEGO, this is a no-brainer. You already appreciate the detail, the creativity, and the satisfaction of building something cool. Why not bring that same energy to your Halloween decor? Why try LEGO pumpkin carving ideas this Halloween? Because it’s the perfect mashup! You get to use your love for bricks in a completely different medium, facing new challenges like working with curved surfaces and messy pulp instead of interlocking studs.
It's also a great way to get the whole family involved, especially if you have LEGO fans of different ages. Younger kids might help with simpler designs or painting after the carving, while older kids and adults can tackle more complex patterns. It turns the annual pumpkin carving session from a routine task into a collaborative, themed project. Plus, you get bragging rights for the most unique pumpkin on the block.
- It's a fresh, unique take on a Halloween tradition.
- Appeals directly to LEGO enthusiasts and creative types.
- Offers a wide range of design complexity.
- Great activity for families or groups of friends.
- Your finished pumpkin will definitely turn heads.
Show Off Your Fandom
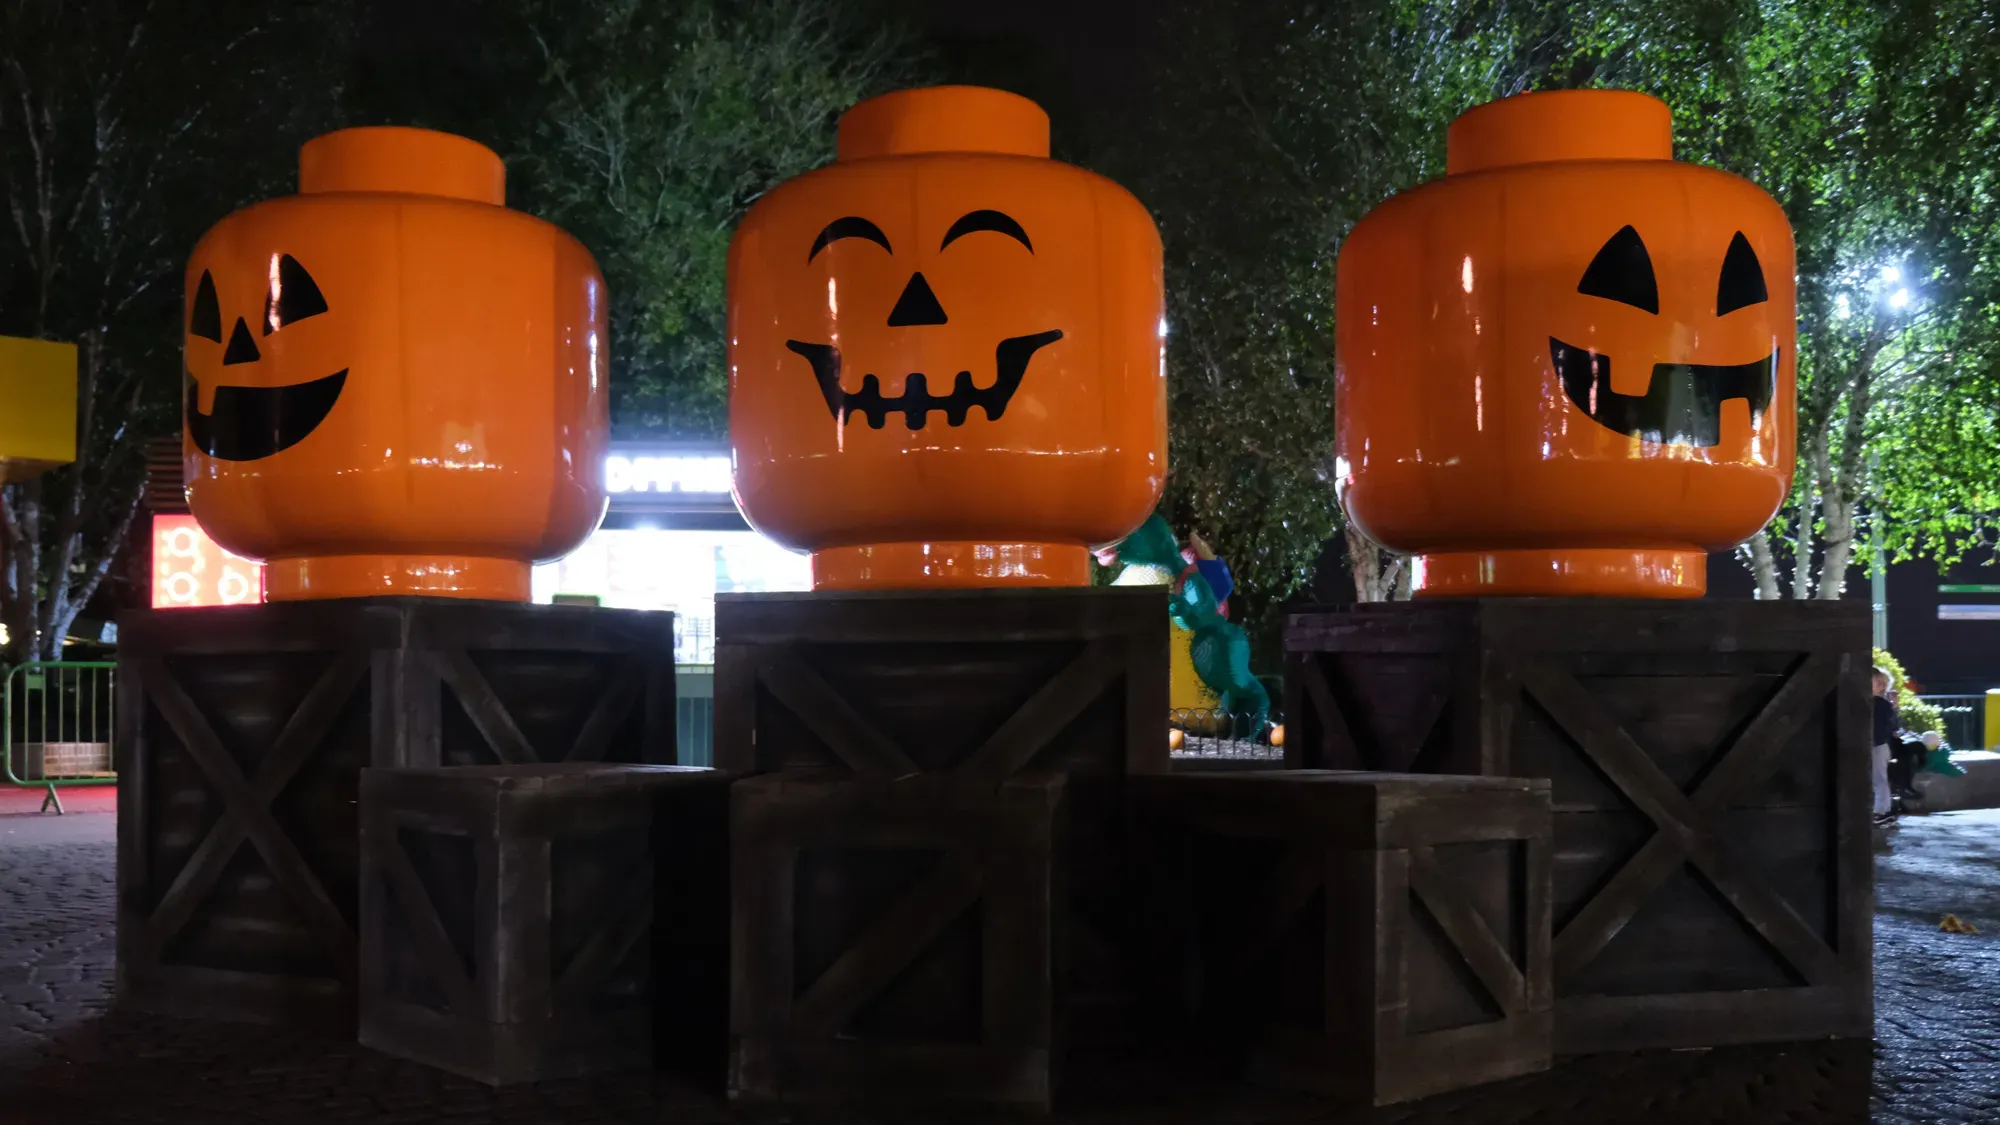
Your Halloween decorations are a chance to express yourself. If your house is already filled with LEGO sets or you proudly wear your favorite minifigure t-shirt, a LEGO-themed pumpkin is just another way to let your personality shine. It's a fun, public declaration of your love for the brick. Imagine a series of pumpkins featuring different minifigure expressions – happy, scared, surprised. Or maybe a pumpkin carved to look like a giant LEGO head.
This approach makes your Halloween display more personal and memorable. People walking by your house will see something that sparks curiosity and recognizes a shared interest. It's more than just decoration; it's a conversation starter. So, if you're looking for a way to make your Halloween truly yours this year, exploring pumpkin carving ideas LEGO style is a fantastic route to take.
Getting Started with LEGO Pumpkin Carving Ideas: Tools and Prep

Getting Started with LEGO Pumpkin Carving Ideas: Tools and Prep
Picking the Right Pumpkin for Your Brick Build
you're sold on the idea of pumpkin carving ideas LEGO style. Great. First step, obviously, is acquiring the gourd itself. Don't just grab the biggest one you see. Look for a pumpkin with a smooth, relatively flat surface on the side where you plan to carve your design. Bumps and deep ridges make transferring stencils and carving straight lines a nightmare. A firm, heavy pumpkin usually means it's fresh and will last longer. Tap it; it should sound hollow. Check the stem too – a solid, dry stem means it's cured properly.
Think about the complexity of your chosen LEGO design. A simple minifigure head might work on a smaller pumpkin, but if you're attempting something intricate like a brick pattern or a specific character with lots of details, you'll need more surface area. Also, consider its stability. A wobbly pumpkin is just asking for trouble when you're wielding sharp objects.
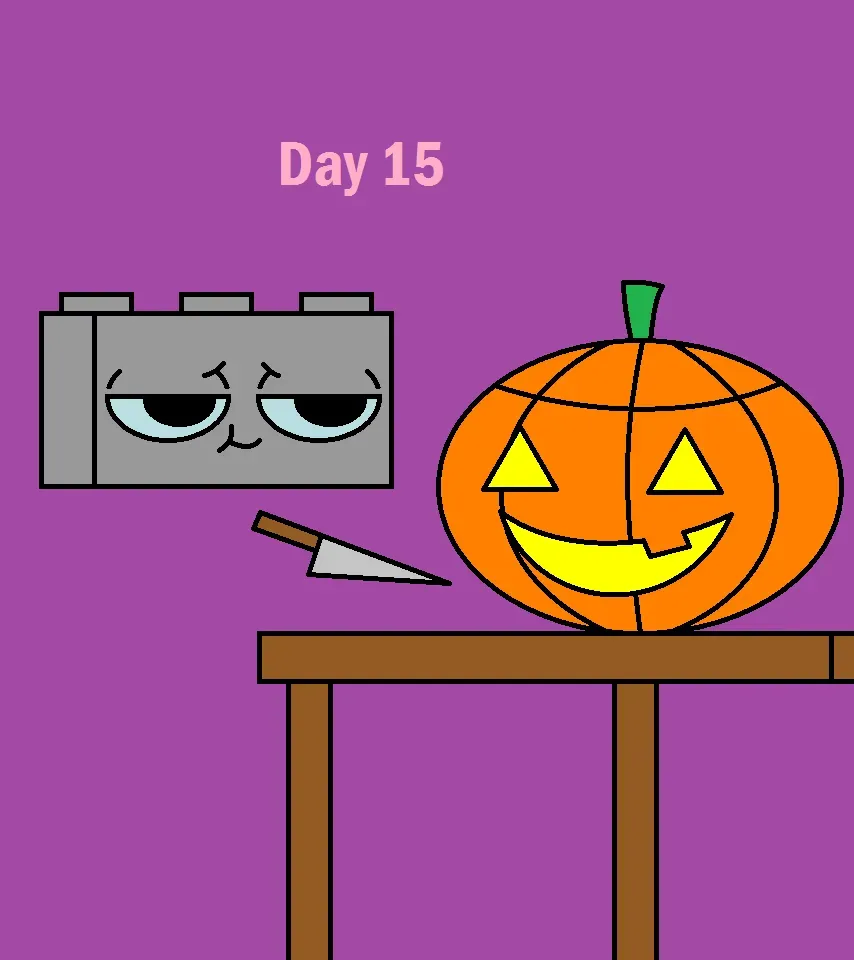
Essential Tools for the Job (Beyond the Kitchen Knife)
While a basic kitchen knife can get the lid off, it's not your best friend for detailed pumpkin carving ideas LEGO style. You'll want a proper pumpkin carving kit. These usually include a small saw-like tool for cutting and various scoops and scraping tools for hollowing out the inside. Trust me, trying to scrape out pumpkin guts with a spoon is a miserable experience. For the actual carving of the LEGO design, you'll need smaller, sharper tools. Craft knives (like an X-Acto) are excellent for precise cuts, and linoleum carving tools can help remove layers of rind for shaded effects without cutting all the way through.
Don't forget a dry-erase marker or pencil for transferring your design, tape to hold stencils, and a bowl for the seeds (roasting them later is a good call). And please, for the love of all things brick, have a sturdy surface to work on and plenty of newspaper or old towels to contain the glorious mess. Safety first, always.
- Sturdy carving surface
- Sharp, thin-bladed carving saw (often in kits)
- Scooping tool for guts and wall thinning
- Small, sharp craft knife (like X-Acto) for detail
- Linoleum cutters for shading/removing rind layers
- Dry-erase marker or pencil
- Tape
- Newspaper or drop cloth
- Gloves (optional, for the squeamish)
Transferring Your LEGO Design with Precision
Once your pumpkin is clean inside and you've thinned the wall to about an inch (makes carving easier), it's time to get that awesome LEGO design onto the surface. If you're using a printed stencil – and for complex LEGO shapes or logos, a stencil is practically mandatory – tape it firmly to your pumpkin. Try to smooth it down as much as possible, especially on curved surfaces. Then, use a poking tool (a specialized one from a kit, a thumbtack, or even a sharp pencil tip works) to poke small holes along the lines of the design. Keep the holes close together so the pattern is clear.
After you remove the stencil, you'll have a dotted outline on your pumpkin. Connect the dots with a dry-erase marker or pencil. This gives you the lines you'll actually follow with your carving tool. If you're feeling brave or your design is simple, you could try drawing freehand, but for those clean, geometric LEGO lines, tracing poked holes is usually the way to go. Double-check your lines before you start cutting – there's no undo button on a pumpkin.
Awesome Pumpkin Carving Ideas LEGO Fans Will Love
Awesome Pumpkin Carving Ideas LEGO Fans Will Love
Minifigure Mayhem: Carving Iconic Faces
so you've got the pumpkin prepped, the tools ready. Where do you even start with awesome pumpkin carving ideas LEGO style? The most obvious, and often most satisfying, route, is the minifigure face. Think about it – those simple, expressive faces are instantly recognizable. You can go classic with the standard smiley face, or get more creative. Darth Vader's helmet shape? Easy enough to sketch out. A stormtrooper's grille? A bit more complex, requiring some careful cuts or even just scraping away layers of rind for a shaded effect.
Don't feel limited to just faces, either. The silhouette of a whole minifigure is a strong visual. You can find stencils online for specific characters or just the generic minifig shape. Transferring these outlines requires a steady hand with the poking tool, but the result is a clean, graphic look that really pops when lit from within. Remember, often less is more with carving; negative space is your friend in making those shapes read clearly.
Building with Gourds: Brick Patterns and Theme Inspiration
Beyond the minifigure, you can tackle more abstract or theme-specific awesome pumpkin carving ideas LEGO style. Why not carve a pattern of overlapping circles and rectangles to mimic the look of actual LEGO bricks? This takes patience but can look incredibly cool, especially on a larger pumpkin. You could carve out the "studs" or the "anti-studs" for a raised or recessed effect. This is where those linoleum cutters can be handy for shaving down the rind without cutting all the way through.
Or, lean into specific LEGO themes. A simple pirate skull and crossbones? A space logo? The Friends heart? Look at the printed elements on LEGO bricks and minifigures for inspiration. A simple LEGO logo, perhaps, could be a great starting point. The key is finding designs that translate well to the relatively blunt medium of pumpkin carving. High contrast shapes work best.
- Classic Minifigure Smiley
- Character Silhouettes (Batman, Ninja, etc.)
- LEGO Logo
- Brick Pattern (carved studs or anti-studs)
- Theme Icons (Space, Pirates, Castle symbols)
- Emotions (Scared, Surprised, Winking Minifig)
Beyond the Carve: Painting and Decorating LEGO Pumpkins
Beyond the Carve: Painting and Decorating LEGO Pumpkins
Adding Color and Detail Where the Knife Can't Go
Sometimes, carving alone doesn't quite cut it, especially when you're aiming for specific LEGO character details or that bright, primary color scheme. This is where painting and decorating come in. Maybe you carved a minifigure outline, but you want it to look like a specific character – say, Batman. You're not carving a utility belt; you're painting one on. Or maybe you attempted a brick pattern, but you want the studs to be a different color from the main pumpkin. Paint is your friend here. It lets you add nuances, outlines, and splashes of color that are impossible with just a knife. It also works wonders for covering up small mistakes or those frustrating bits where the pumpkin wall wasn't quite even.
Painting opens up possibilities for no-carve LEGO pumpkins too, which is great if you're working with younger kids or just want your creation to last longer without turning into a moldy mess. You can paint entire pumpkins to look like giant LEGO heads, bricks, or even specific character torsos. Acrylic paints work well on pumpkin surfaces. Just make sure the pumpkin is clean and dry before you start. A base coat of white can help brighter colors pop.
Bringing in Actual Bricks and Other Elements
Why stop at just carving and painting when you can bring in the actual stars of the show? Incorporating real LEGO bricks or elements can take your pumpkin carving ideas LEGO to the next level. You can glue actual studs onto a painted surface to create a raised brick pattern. Maybe you carved a minifigure shape and want to attach a real LEGO accessory like a sword or a hat. Use strong adhesive – pumpkin surfaces aren't the most cooperative.
Think about building small LEGO structures or figures to place *around* or *on* your pumpkin. A little LEGO ghost could sit on top of a carved haunted house pumpkin. A few brick-built spiders could crawl over your minifigure pumpkin. This adds a three-dimensional element and further solidifies the LEGO theme. Just be mindful of weather if your pumpkin is outside; LEGO bricks probably won't appreciate getting soaked constantly.
- Acrylic paints are generally best.
- Consider a white base coat for vibrant colors.
- Use permanent markers for fine details or outlines.
- Strong glue (like E6000 or hot glue) can attach bricks.
- Think about adding brick-built accessories or figures.
- Seal painted areas with a clear spray for durability (optional).
Troubleshooting Your LEGO Pumpkin Carving Masterpiece

Troubleshooting Your LEGO Pumpkin Carving Masterpiece
When Things Go Wrong: Dealing with Cracks and Breaks
let's talk reality. You're deep into creating your epic LEGO pumpkin carving ideas, feeling like a master builder, and then... *snap*. A piece breaks off. Or a crack spiderwebs across a crucial part of your design. It happens. Pumpkins aren't as forgiving as plastic bricks. If it's a small crack, sometimes you can gently push the pieces back together. Toothpicks can act like rebar in a pumpkin wall – carefully insert a few across the crack to hold it stable. For larger breaks, especially if a carved piece falls out that wasn't supposed to, you might be able to reattach it.
A little bit of pumpkin guts or even some dedicated pumpkin adhesive (yes, it's a thing, or just use strong glue like E6000 if you're not planning on eating it) can act as glue. Hold the piece firmly in place until it sets. If reattachment isn't possible or looks terrible, pivot. Can you modify the design? Turn that accidental hole into battle damage on your minifigure? Sometimes the best creative solutions come from fixing mistakes. Don't just toss it; see if you can MacGyver a fix.
Fighting the Inevitable: Keeping Your Brick-Gourd Fresh
You spent all that time on your pumpkin carving ideas LEGO creation, and now you want it to last longer than 48 hours before it starts looking like a deflated, fuzzy mess. The enemy is mold and dehydration. Once you cut into a pumpkin, its clock starts ticking. To slow it down, you need to keep it moist and deter bacteria/mold. A simple trick is giving your carved pumpkin a bath. Dunk the whole thing in cold water for a few hours after carving. This rehydrates the pumpkin flesh.
After the bath, pat it dry. Then, you can apply a thin layer of petroleum jelly (Vaseline) or a commercial pumpkin preservative spray to all the cut surfaces. This seals in moisture and creates a barrier against mold spores. Store your pumpkin in a cool, dry place if possible, especially during the day. Bringing it inside overnight helps too. It's not a permanent solution – nothing is for a carved pumpkin – but it buys you precious extra days of showing off your hard work.
- Use toothpicks to bridge cracks.
- Reattach broken pieces with pumpkin guts or strong glue.
- Soak the carved pumpkin in cold water.
- Apply petroleum jelly or preservative spray to cut edges.
- Store in a cool, dry location when possible.
Your LEGO Pumpkin Masterpiece Awaits (Probably)
So there you have it. From minifigure faces to brick patterns, diving into pumpkin carving ideas LEGO style offers a solid way to make your Halloween display stand out from the usual fare. It might take a bit more patience than hacking out two triangles and a jagged mouth, and yes, there's always a chance your intricate brick pattern ends up looking like a bad case of pumpkin acne. But hey, that's part of the charm, right? At the very least, you'll have a story to tell about the time you tried to build a pumpkin with a knife. Good luck, and may your cuts be clean and your bricks... well, may your pumpkins resemble bricks.