Table of Contents
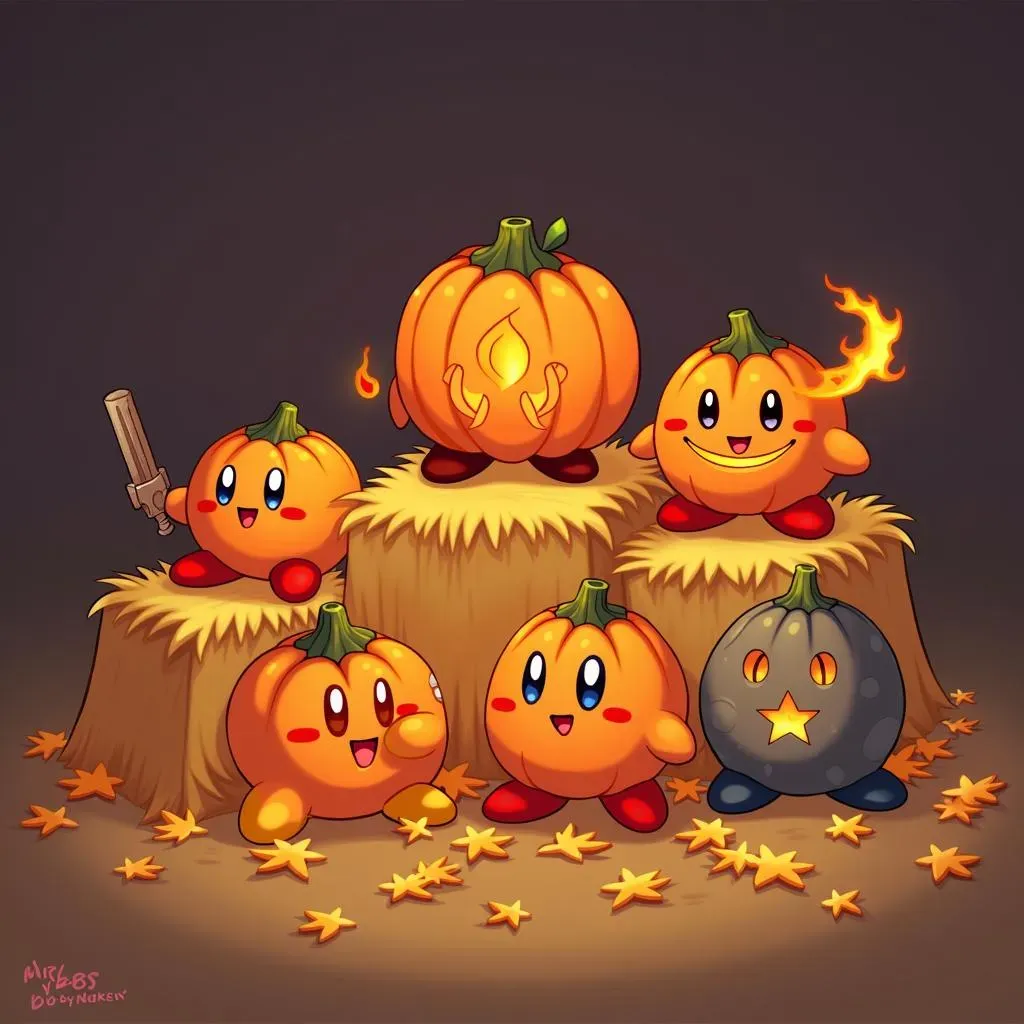
Halloween is creeping closer, and what better way to celebrate than with some seriously cute and creative pumpkin carving? If you're a fan of the pink puffball, then you're in for a treat! We're diving deep into the world of pumpkin carving ideas Kirby-style. Forget the same old spooky faces; this year, we're bringing the adorable power of Dream Land to your doorstep.
Level Up Your Pumpkin Carving Game with Kirby
Level Up Your Pumpkin Carving Game with Kirby
so you're ready to ditch the basic triangle eyes and wonky smiles? Awesome! Leveling up your pumpkin carving game with Kirby means thinking beyond the simple silhouette. Think about it: Kirby's a sphere, right? Pumpkins are spheres (ish). It's a match made in Halloween heaven! But we can go further. It's about capturing Kirby's personality, his iconic expressions, and even his amazing copy abilities. We're talking next-level stuff, folks. It is time to transform your porch into a Dream Land tribute, one pumpkin at a time.
First, let's nail down the basics. Good tools are essential. A simple plastic carving kit might work for a basic face, but to really capture Kirby's curves and details, invest in some quality carving tools. Think small saws, gouges, and detail knives. These will allow you to create smooth lines and intricate details that will really make your Kirby pumpkin pop. Also, don't underestimate the power of stencils! You can find tons of free Kirby stencils online, or even create your own using a photo editing program. Trace it onto your pumpkin, and you've got a perfect guide.
EasyPeasy Kirby Faces for Pumpkin Carving Newbies

EasyPeasy Kirby Faces for Pumpkin Carving Newbies
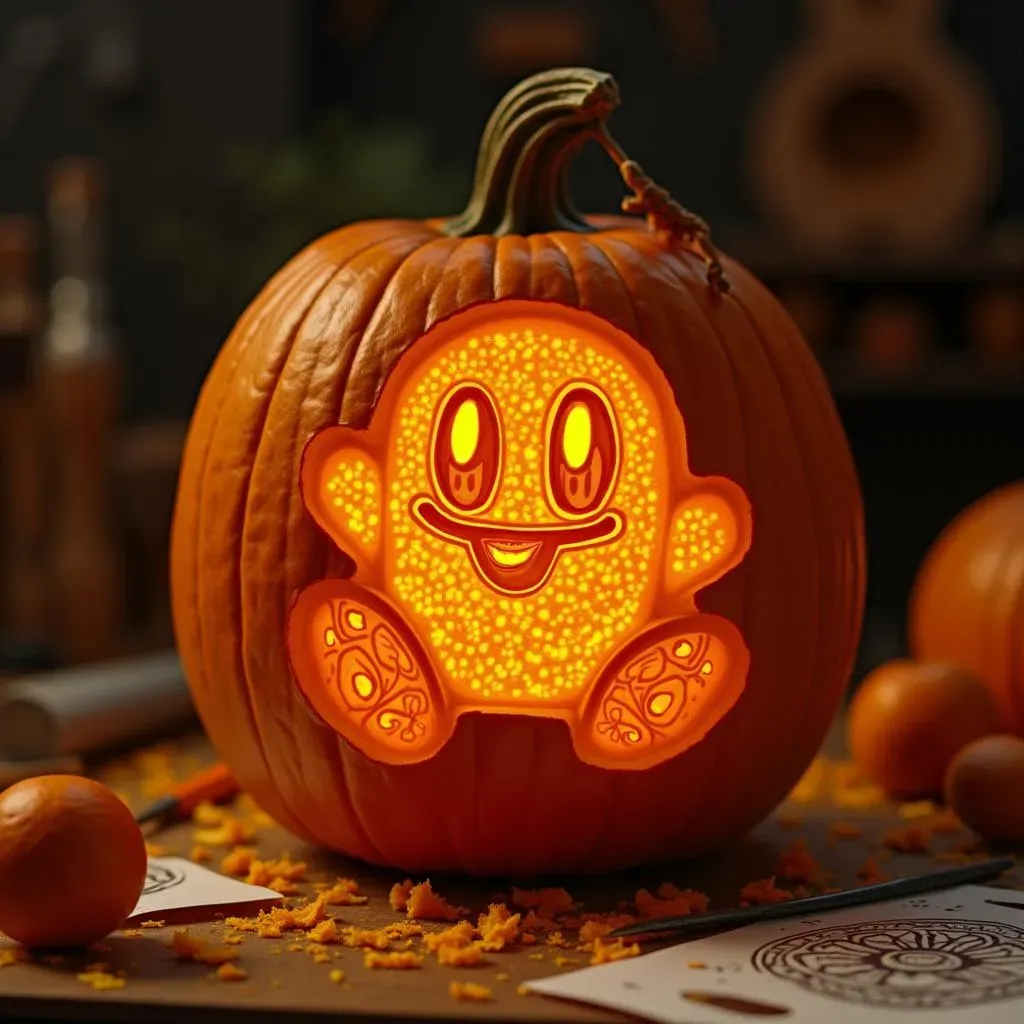
The Classic Kirby Smile
Alright, newbie carvers, listen up! Starting with the basics is key. And what's more basic (and adorable) than Kirby's classic, wide-eyed smile? This is the perfect design to get your feet wet. It's simple, recognizable, and requires minimal effort. You can totally nail this, even if you've never held a carving tool before!
Think big, round eyes, a cheerful grin, and those cute little cheek blushes. The key is to keep the lines clean and smooth. Don't worry about making it perfect; even a slightly wonky Kirby face is still a Kirby face! Grab a simple stencil online, or draw your own basic shapes onto the pumpkin. Then, carefully carve along the lines, taking your time. Remember, safety first! Always carve away from yourself, and ask an adult for help if you're feeling unsure.
- Stencil it: Find a simple Kirby face stencil online.
- Trace carefully: Use a marker to trace the stencil onto your pumpkin.
- Carve slowly: Use a small carving saw to carefully cut along the lines.
- Smooth it out: Use a small gouge to smooth out any rough edges.
Level Up with Expression
so you've mastered the classic smile? Let's add a little spice! Kirby's got a whole range of expressions, from determined to sleepy to downright mischievous. Why not try carving a different emotion onto your pumpkin? A slightly furrowed brow can add a touch of seriousness, while wide, surprised eyes can make your pumpkin look extra adorable.
The best part about these simple designs is that you can easily adapt them to your skill level. Start with the basic shapes, then add details as you get more comfortable. Remember, it's all about having fun and expressing your creativity. Don't be afraid to experiment and try new things. And if you mess up? No problem! Just grab another pumpkin and start again. The possibilities are endless! Consider adding a simple light inside to really make his expression shine.
Expression | Description | Tips |
|---|---|---|
Happy | Classic smile, wide eyes | Focus on smooth, round shapes |
Angry | Furrowed brow, downturned mouth | Use sharp angles for a more aggressive look |
Sleepy | Closed eyes, relaxed mouth | Keep the lines soft and gentle |
Kirby's Copy Abilities: Pumpkin Carving Inspiration
Kirby's Copy Abilities: Pumpkin Carving Inspiration
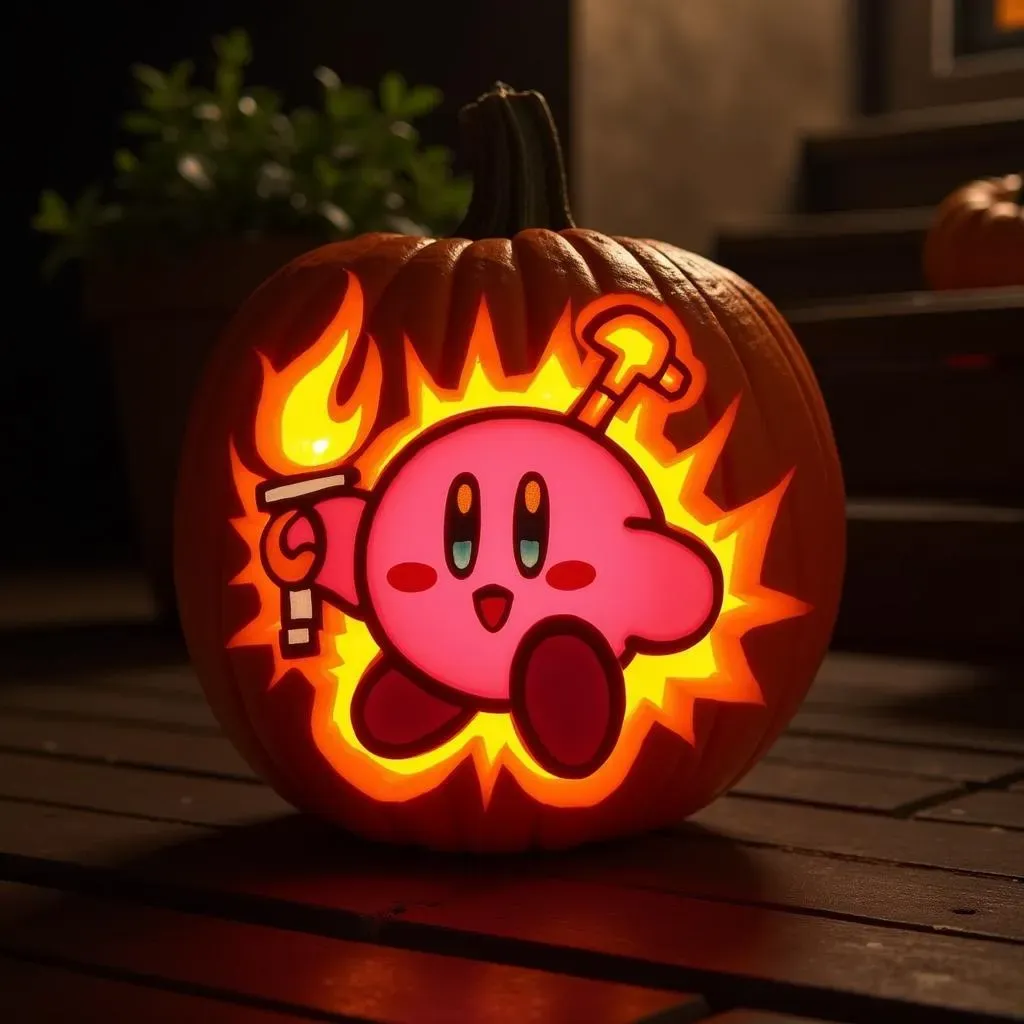
this is where things get seriously fun! Kirby's copy abilities are a treasure trove of inspiration for pumpkin carving. Think about it: Sword Kirby, Fire Kirby, Beam Kirby – the possibilities are endless! Instead of just carving a face, you can carve an entire scene based on one of Kirby's transformations. Imagine a pumpkin with Sword Kirby slashing through a Waddle Dee, or Fire Kirby breathing flames (okay, maybe not real flames, but you get the idea!). This is where you can really show off your creativity and carving skills.
To pull this off, you'll need to think about how to translate these abilities into pumpkin form. For example, for Sword Kirby, you could carve a separate sword out of foam or cardboard and attach it to the pumpkin. For Fire Kirby, you could use orange and yellow lights to create a fiery glow. The key is to be imaginative and resourceful. Don't be afraid to experiment with different materials and techniques to bring your Kirby pumpkin to life!
- Sword Kirby: Add a cardboard or foam sword.
- Fire Kirby: Use orange/yellow lights for a fiery effect.
- Beam Kirby: Carve a star-shaped beam shooting from his mouth.
- Stone Kirby: Make him look rocky and textured.
Advanced Pumpkin Carving Ideas: Kirby Boss Battles
Advanced Pumpkin Carving Ideas: Kirby Boss Battles
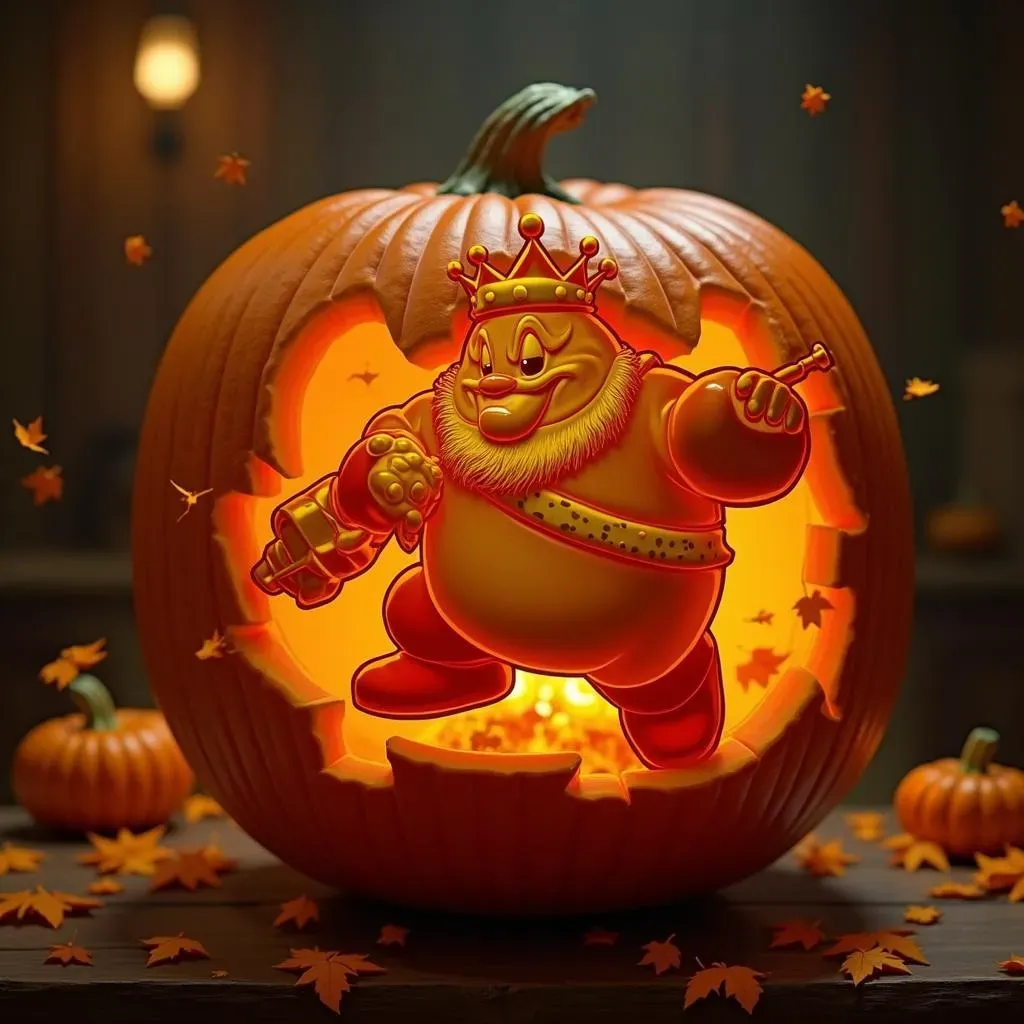
Dedede's Duel on a Gourd
Alright, you're ready for a challenge, huh? Let's talk boss battles! King Dedede, the self-proclaimed ruler of Dream Land, is a fantastic choice for an advanced pumpkin carving project. This isn't just about carving his face; it's about capturing the energy of the fight! Think about Dedede mid-swing with his hammer, or maybe even a pumpkin diorama showing Kirby battling Dedede in the arena. This requires some serious planning and skill, but the results are totally worth it.
To really nail this, consider using multiple pumpkins. A larger pumpkin for Dedede's body, and smaller pumpkins for his hammer or any other details you want to add. You can even use paint to add extra details like his fur trim or the gleam in his eye. Don't be afraid to get creative and experiment with different techniques. Remember, the goal is to create a pumpkin that captures the epic scale of a Kirby boss battle!
Boss | Difficulty | Key Elements |
|---|---|---|
King Dedede | Medium-Hard | Hammer, Crown, Determined Expression |
Meta Knight | Hard | Mask, Sword, Wings (optional) |
Nightmare | Very Hard | Ethereal Form, Multiple Phases |
Meta Knight's Masked Mayhem
If you're looking for a boss with a bit more mystery and intrigue, Meta Knight is your guy. His iconic mask and sword make for a striking pumpkin carving. The challenge here is capturing the sleek, almost futuristic design of his mask. You'll need to pay close attention to detail and use precise carving techniques to get it just right. Think about using different depths of carving to create shadows and highlights that will really make the mask pop.
For an extra challenge, you could even try carving Meta Knight's wings! This would require some serious skill and patience, but the end result would be absolutely stunning. Or, focus on the intensity of his gaze behind the mask. Remember, Meta Knight is a formidable warrior, so your pumpkin should reflect that. Use sharp lines and angles to convey his strength and determination. With a little practice and a lot of dedication, you can create a Meta Knight pumpkin that will strike fear into the hearts of anyone who dares to trick-or-treat at your door!
Tools and Tips for the Ultimate Kirby Pumpkin Carving Masterpiece
Tools and Tips for the Ultimate Kirby Pumpkin Carving Masterpiece
Alright, so you've got your design picked out, you're buzzing with excitement, but hold on a sec! Before you dive headfirst into pumpkin guts, let's talk tools and techniques. Having the right gear and knowing a few tricks can make all the difference between a pumpkin masterpiece and a Pinterest fail. Trust me, I've been there! From choosing the perfect pumpkin to mastering the art of the stencil, these tips will set you up for Kirby carving success. Think of it as equipping yourself with the Copy Ability of Pumpkin Carving!
First up: the pumpkin itself. Look for a pumpkin that's relatively smooth and round, with a sturdy stem. Avoid pumpkins with soft spots or blemishes. The smoother the surface, the easier it will be to carve those clean Kirby lines. Next, gather your tools. A good carving kit is a must, but don't be afraid to supplement it with some extra goodies. Detail knives, sculpting tools, and even a simple melon baller can come in handy for creating different textures and effects. And of course, don't forget a good light source! A simple battery-operated candle or LED light will really make your Kirby pumpkin shine.
- Pumpkin Selection: Smooth, round, sturdy stem, no blemishes.
- Carving Kit Essentials: Small saws, gouges, detail knives.
- Extra Tools: Sculpting tools, melon baller (for Kirby's cheeks!).
- Lighting: Battery-operated candle or LED light.
Now, let's talk stencils. Whether you're using a pre-made stencil or creating your own, transferring it to the pumpkin can be tricky. The best way to do this is to tape the stencil to the pumpkin and then use a poking tool (like an awl or even a toothpick) to poke holes along the lines of the design. This will create a dotted outline that you can then follow with your carving tools. For more complex designs, consider using carbon paper to transfer the stencil. Simply place the carbon paper between the stencil and the pumpkin, and then trace the design with a pencil. The carbon paper will transfer the design onto the pumpkin, creating a clear and easy-to-follow guide.
Finally, remember to take your time and have fun! Pumpkin carving is a messy process, but it's also incredibly rewarding. Don't be afraid to experiment and try new things. And if you mess up? No big deal! Just patch it up with some toothpicks and keep going. The most important thing is to let your creativity shine and create a Kirby pumpkin that you're proud of. After all, Halloween is all about having fun and celebrating the spooky season with a touch of Kirby cuteness!
Tip | Description |
|---|---|
Stencils | Use stencils or draw your design on the pumpkin. |
Lighting | Use LED lights or battery-operated candles to illuminate your carving. |
Sealing | Apply petroleum jelly to cut surfaces to prevent drying. |
Level Up Your Halloween with Kirby Pumpkin Carvings
So there you have it – a warp star full of pumpkin carving ideas Kirby-themed! From simple faces perfect for beginners to elaborate boss battles for the seasoned artist, there's a Kirby pumpkin for every skill level. Remember, the most important thing is to have fun and let your creativity shine. This Halloween, ditch the generic jack-o'-lantern and bring a touch of Dream Land magic to your neighborhood. Your neighbors will be saying "Poyo!" in no time.