Table of Contents
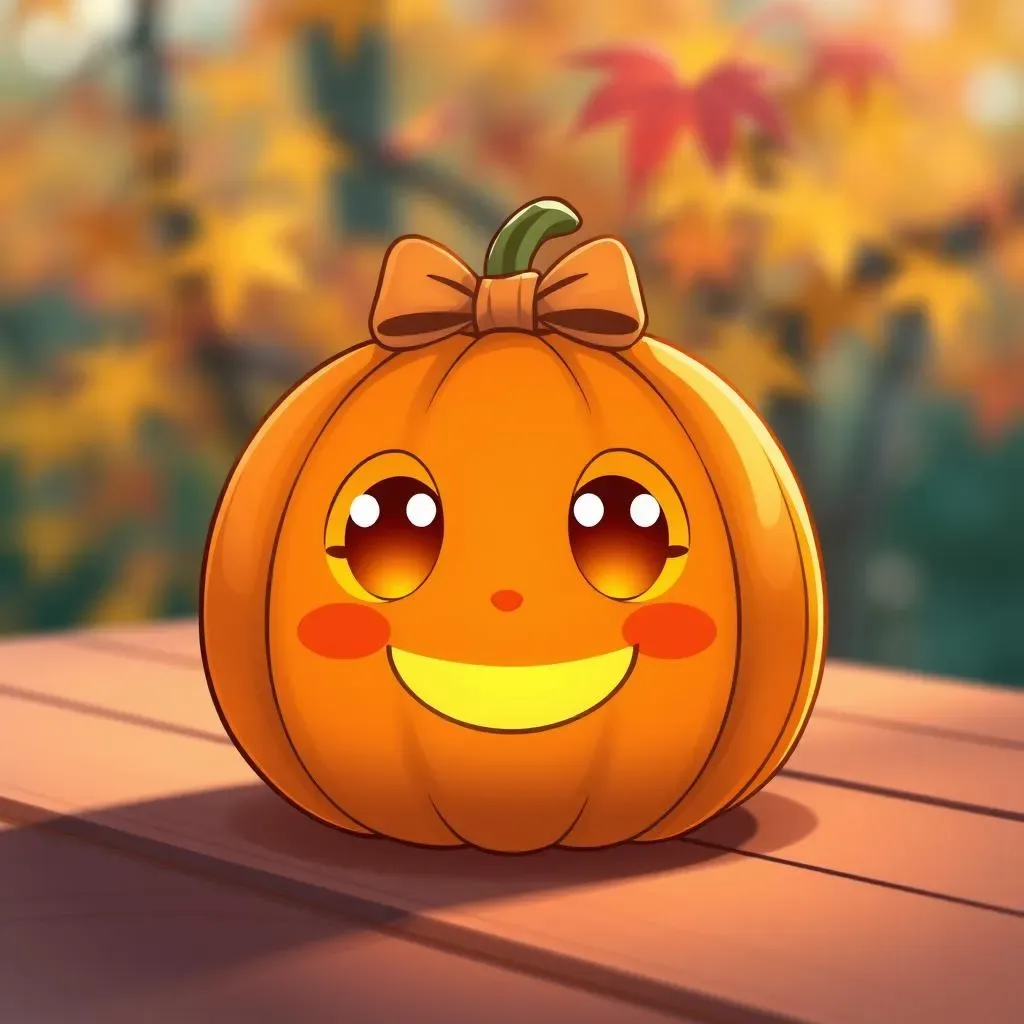
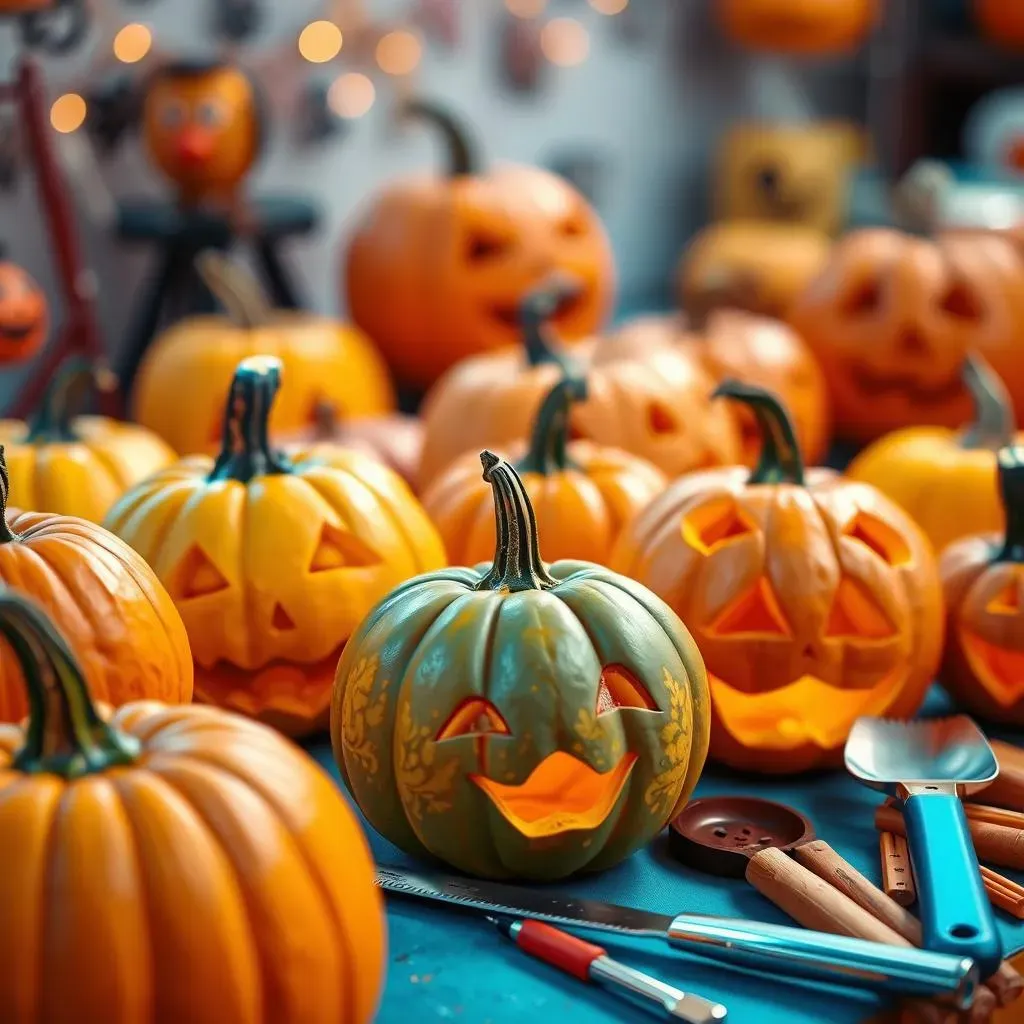
Halloween is creeping closer, and that means it's time to think about pumpkins! But forget the scary, ghoulish faces this year. Let's dive into the world of adorable with pumpkin carving ideas kawaii! "Kawaii," meaning "cute" in Japanese, is all about embracing the charming and delightful. This year, transform your porch into a haven of sweetness with pumpkins that are as heartwarming as they are spooky.
What is Kawaii? Embracing Cuteness in Pumpkin Carving
What is Kawaii? Embracing Cuteness in Pumpkin Carving
The Heart of Kawaii: More Than Just "Cute"
So, what exactly is kawaii? It's easy to just say "cute," but it's so much more than that! Kawaii is a whole aesthetic, a feeling, a way of life! It's about finding joy in the simple things, embracing childlike wonder, and surrounding yourself with things that make you happy. Think bright colors, soft shapes, big eyes, and a touch of vulnerability. It's the kind of cuteness that makes you want to protect and cherish something.
In the context of pumpkin carving, kawaii translates to creating designs that are friendly, approachable, and maybe even a little bit silly. Forget the menacing grins and sharp teeth. We're talking wide, innocent eyes, rosy cheeks, and maybe a cute little bow or accessory. The goal is to make your pumpkin look like it could use a hug!
Bringing Kawaii to Your Pumpkin: Key Elements
Ready to infuse your pumpkin with kawaii charm? Here are a few key elements to keep in mind:
- Big Eyes: This is the most important feature! Large, round eyes with lots of white space instantly make something look cuter.
- Simple Shapes: Avoid complex or jagged lines. Stick to smooth curves and rounded edges.
- Bright Colors: While you're limited to the pumpkin's natural color, think about how you can use light and shadow to create a cheerful effect. Consider painting your pumpkin after carving!
- Small Mouths: A tiny, simple mouth adds to the innocent and endearing look.
- Accessories: Add a bow, a hat, or some rosy cheeks to amp up the cuteness factor! Get creative!
Remember, the key to kawaii is to have fun and let your imagination run wild! Don't be afraid to experiment and put your own spin on these classic elements. After all, the cutest things are often the most unique.
Adorable AnimalThemed Kawaii Pumpkin Carving Ideas
Adorable AnimalThemed Kawaii Pumpkin Carving Ideas
Purr-fectly Cute: Kawaii Cat Pumpkins
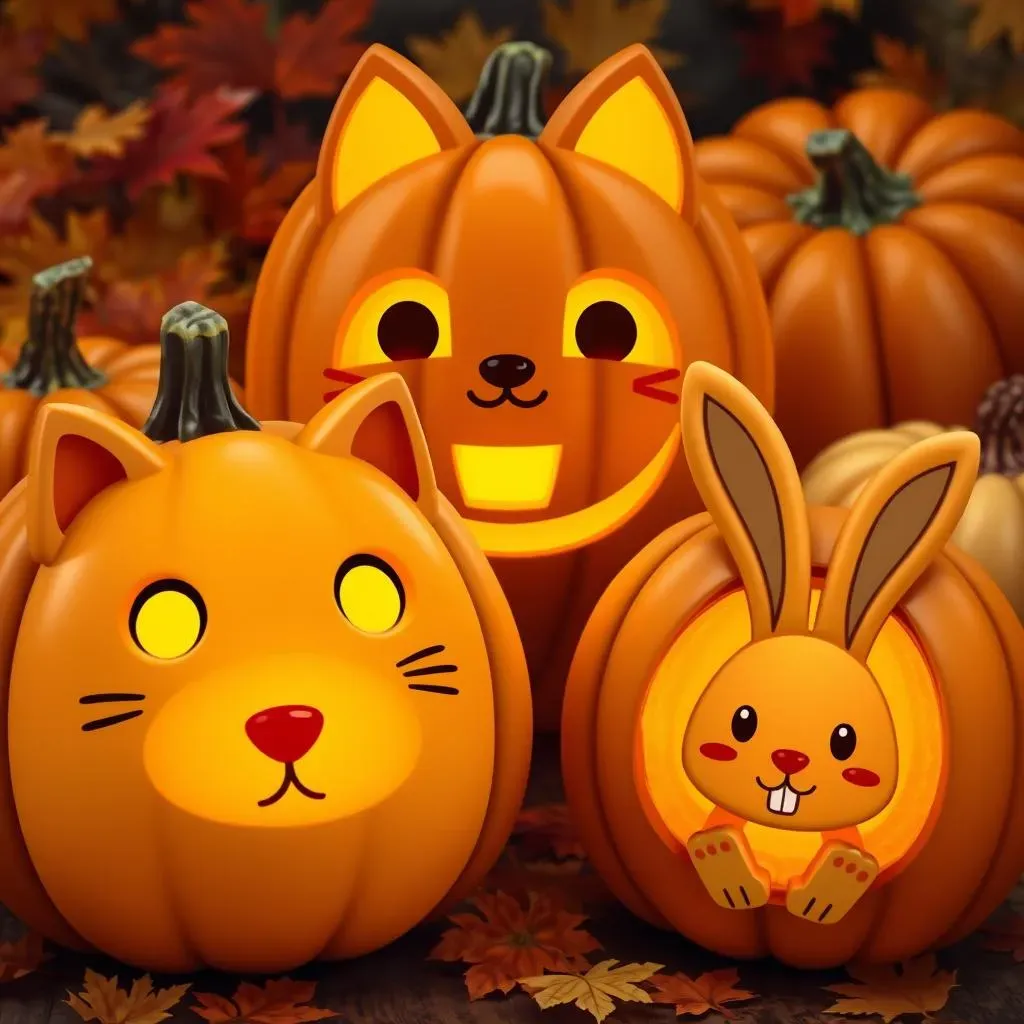
Who can resist a kawaii cat? These feline friends are purr-fect for pumpkin carving! Think big, round eyes, tiny button noses, and maybe even some adorable whiskers. You can carve a simple cat face, or get more creative and add a little body and paws. Consider adding a cute collar with a bell or a tiny bow on top of the head for extra kawaii points. Don't forget the signature kawaii blush marks on the cheeks!
For a fun twist, try carving a Neko Atsume-inspired pumpkin! These adorable cats from the popular mobile game are instantly recognizable and super easy to kawaii-fy. Just remember those big, expressive eyes and simple shapes!
Here are a few ideas to get you started:
- Classic cat face with big eyes and a tiny smile
- Neko Atsume-inspired cat pumpkin
- Cat wearing a cute hat or bow
- Sleeping cat pumpkin with closed eyes and a peaceful expression
Woof-tasticly Adorable: Kawaii Dog Pumpkins
Dogs are man's best friend, and they also make fantastic kawaii pumpkin subjects! Just like with cats, focus on those big, innocent eyes and simple shapes. Think floppy ears, wagging tails, and happy smiles. You can carve a specific breed, like a Shiba Inu or a Corgi, or create your own original kawaii dog character.
Adding a cute little tongue sticking out is a surefire way to boost the kawaii factor! You can also add accessories like a bandana, a collar with a tag, or even a tiny dog house next to the pumpkin.
Pro Tip: Use different carving depths to create a 3D effect for the ears and nose. This will add more dimension and make your kawaii dog pumpkin even more realistic (and adorable!).
"The key to a successful kawaii animal pumpkin is to focus on the eyes. Make them as big and expressive as possible!" - Pumpkin Carving Expert
Beyond Cats and Dogs: Other Kawaii Animal Ideas
Don't limit yourself to just cats and dogs! The animal kingdom is full of creatures that are ripe for kawaii-fication. Think bunnies, pandas, foxes, squirrels, and even sea creatures like octopuses and seals! The possibilities are endless.
When choosing an animal, consider its natural features and how you can exaggerate them to make them even cuter. For example, bunnies have long ears, so make them extra long and floppy! Pandas have big, round faces, so emphasize that with your carving.
Here's a table of some less common kawaii animal pumpkin ideas:
Animal | Kawaii Features to Emphasize |
|---|---|
Bunny | Long ears, fluffy tail, buck teeth |
Panda | Round face, black and white markings |
Fox | Bushy tail, pointed ears, sly smile |
Squirrel | Bushy tail, big cheeks, acorn |
Octopus | Round head, big eyes, curly tentacles |
Remember to have fun and experiment with different designs and techniques. The most important thing is to create a pumpkin that makes you smile!
Easy and Simple Kawaii Faces for Beginner Pumpkin Carvers
Easy and Simple Kawaii Faces for Beginner Pumpkin Carvers
Basic Shapes, Maximum Cuteness
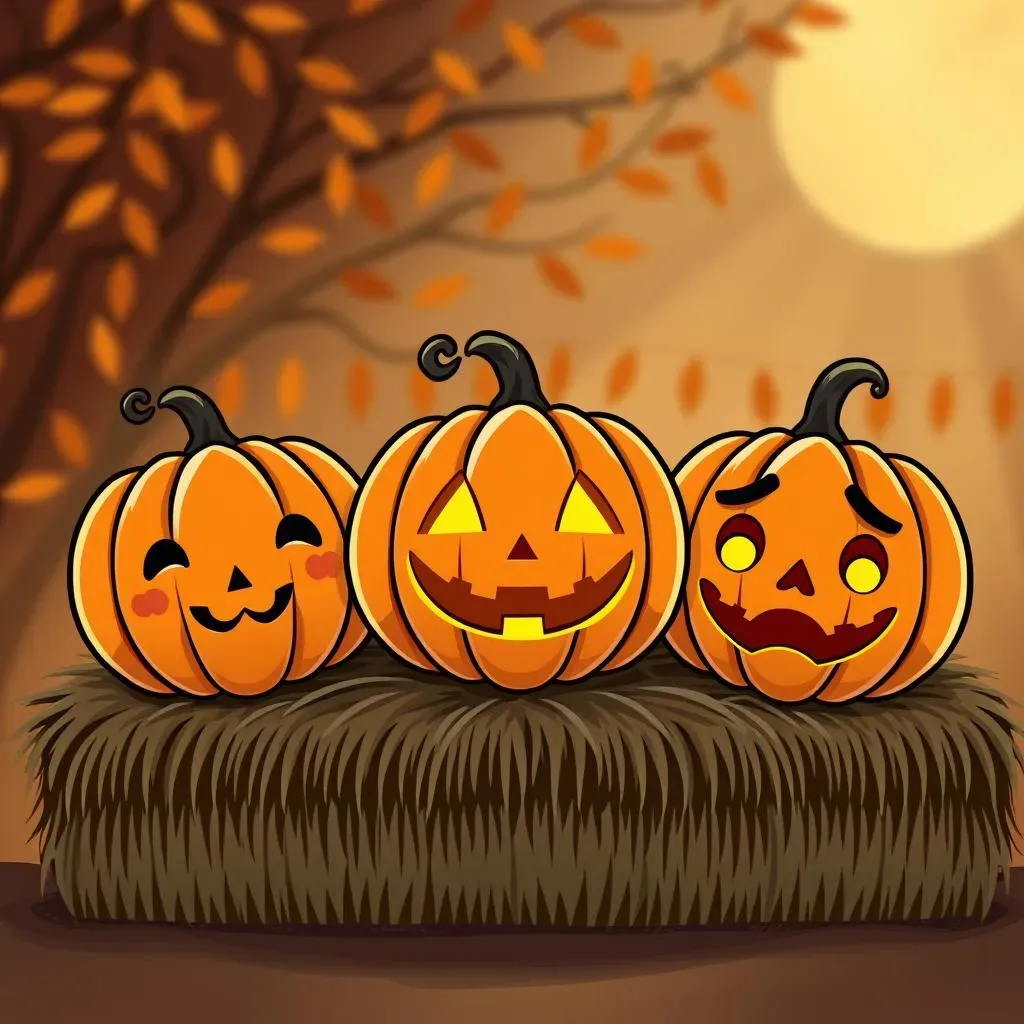
so you're new to pumpkin carving, or maybe you just want something quick and easy? No problem! Kawaii is all about simplicity, which makes it perfect for beginner carvers. The key is to focus on basic shapes like circles, ovals, and triangles. Think of it like drawing a cartoon face – you don't need a ton of detail to create something adorable.
Start with a large circle for the head, then add two smaller circles for the eyes. A tiny triangle for the nose and a simple curved line for the mouth are all you need. You can even skip the mouth altogether for an extra-innocent look! Remember, the bigger the eyes, the cuter the face!
Level Up with Simple Expressions
Once you've mastered the basic kawaii face, you can start experimenting with different expressions. A slight upturn to the mouth creates a happy face, while a downturned mouth makes for a sad (but still cute!) face. You can also add small details like eyebrows or blush marks to further enhance the expression.
For example, try carving two small, curved lines above the eyes to create surprised eyebrows. Or, use a small tool to lightly scrape away the surface of the pumpkin around the cheeks to create rosy blush marks. These small details can make a big difference in the overall kawaii-ness of your pumpkin!
Expression | Mouth Shape | Eyebrow Shape | Additional Details |
|---|---|---|---|
Happy | Upturned curve | Slightly curved up | Rosy cheeks |
Sad | Downturned curve | Slightly curved down | Small tears (optional) |
Surprised | Small circle or oval | Curved upwards | Wide eyes |
Level Up Your Kawaii Pumpkin Carving with Popular Characters
Level Up Your Kawaii Pumpkin Carving with Popular Characters
Bring Your Favorite Characters to Life
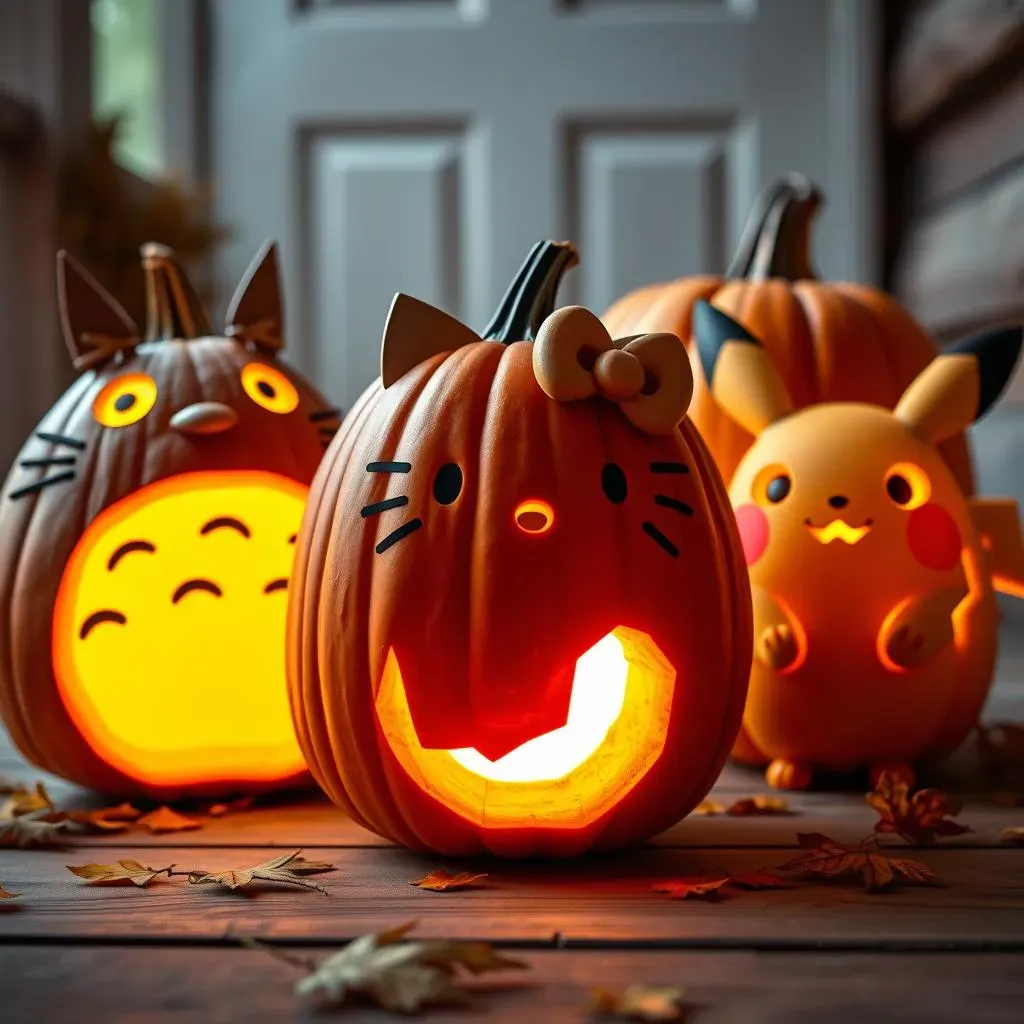
Ready to take your kawaii pumpkin carving to the next level? Then why not try immortalizing your favorite characters? From anime icons to video game heroes, the possibilities are endless! Think about characters with distinct, recognizable features that translate well to a pumpkin canvas. Big eyes, simple shapes, and iconic accessories are your best friends here.
Imagine a super cute Totoro pumpkin, complete with his signature pointy ears and wide grin. Or perhaps a Hello Kitty pumpkin, adorned with her iconic bow and button nose. The key is to choose characters that embody the spirit of kawaii and that you're genuinely excited to carve! It's all about bringing that extra layer of fun and personality to your pumpkin display.
Here are a few popular character ideas to get you started:
- Totoro (My Neighbor Totoro)
- Hello Kitty
- Pikachu (Pokémon)
- Rilakkuma
- Sailor Moon
Tips for Character Carving Success
Carving characters can be a bit more challenging than simple faces, but don't let that scare you! With a little planning and patience, you can create a stunning kawaii character pumpkin that will be the envy of the neighborhood.
Start by finding a clear, high-quality image of the character you want to carve. Print it out and use it as a reference while you're working. It's also a good idea to sketch out your design on the pumpkin before you start carving, so you have a clear roadmap to follow. Consider using stencils for more complex designs.
Pay close attention to the character's proportions and details. Small details like the placement of the eyes or the shape of the mouth can make a big difference in the overall likeness. And don't be afraid to experiment with different carving techniques to create different textures and effects. For example, you can use a small saw to create fine lines for hair or fur.
"The secret to a great character pumpkin is all in the details. Take your time and focus on getting those little details just right!" - Expert Pumpkin Carver
Remember, even if your carving isn't perfect, it's the effort and love that you put into it that counts. So have fun, be creative, and don't be afraid to make mistakes. After all, even a slightly wonky Totoro is still adorable!
Character | Key Kawaii Features | Carving Tips |
|---|---|---|
Totoro | Pointy ears, wide grin, round belly | Focus on the silhouette, use different carving depths for the belly. |
Hello Kitty | Bow, button nose, whiskers | Use a stencil for the bow, be precise with the whiskers. |
Pikachu | Pointy ears, red cheeks, lightning bolt tail | Make the cheeks extra rosy, use a sharp knife for the tail. |
Tips and Tricks for the Perfect Kawaii Pumpkin Carving Masterpiece
Tips and Tricks for the Perfect Kawaii Pumpkin Carving Masterpiece
Choosing the Right Pumpkin: The Foundation of Your Masterpiece
First things first, you can't create a masterpiece without the right canvas! When selecting your pumpkin, look for one that's relatively smooth, with minimal blemishes or bruises. A flat surface will make carving easier, especially for intricate kawaii designs. Also, give it a gentle tap – you want a pumpkin that sounds hollow, indicating it's ripe and ready to be carved. Avoid pumpkins that feel soft or mushy, as they may be starting to rot. The size of the pumpkin depends on the complexity of your design. For beginners, a medium-sized pumpkin is a good starting point. But if you're planning a more elaborate kawaii character, you might want to go bigger!
Consider the shape, too! A round pumpkin is perfect for classic kawaii faces, while a taller pumpkin might be better suited for a full-body character design. Don't be afraid to get creative and choose a pumpkin that speaks to you. After all, the best masterpieces are born from inspiration!
Essential Tools and Safety First
Now that you've got your perfect pumpkin, it's time to gather your tools. While you can use a basic kitchen knife, investing in a pumpkin carving kit will make your life much easier. These kits typically include small saws, scoops, and detail tools that are specifically designed for pumpkin carving. A sturdy spoon or ice cream scoop is essential for removing the pumpkin guts. And don't forget a good light source – a well-lit workspace is crucial for precision carving.
Safety is paramount, especially when working with sharp tools. Always carve in a well-lit area and keep your hands dry. Use a sawing motion rather than trying to force the tool through the pumpkin. And never let young children carve pumpkins unsupervised. Consider using stencils, especially for more complex designs. Stencils not only make the carving process easier, but they also help ensure that your design is symmetrical and accurate.
Here's a list of essential tools for kawaii pumpkin carving:
- Pumpkin carving kit (small saws, scoops, detail tools)
- Sturdy spoon or ice cream scoop
- Good light source
- Stencils (optional)
- Pencil or marker
Transferring Your Design and Carving Techniques
Before you start carving, you need to transfer your design onto the pumpkin. If you're using a stencil, simply tape it to the pumpkin and use a pointed tool to poke holes along the lines of the design. This will create a dotted outline that you can follow when carving. If you're freehanding your design, use a pencil or marker to draw it directly onto the pumpkin. Don't worry if you make mistakes – you can always erase or adjust your design as needed.
When carving, start with the small details first. This will help prevent you from accidentally damaging larger areas of the design. Use a sawing motion to cut through the pumpkin flesh, and be patient. It's better to make small, controlled cuts than to try to force the tool through the pumpkin. For areas that require more depth, use a scooping motion to remove the inner flesh. And remember, practice makes perfect! The more pumpkins you carve, the better you'll become.
Technique | Description | Best Used For |
|---|---|---|
Sawing | Using a small saw to cut through the pumpkin flesh | Outlining the design, creating fine lines |
Scooping | Using a scooping tool to remove the inner flesh | Creating depth, removing large areas |
Etching | Using a pointed tool to scratch the surface of the pumpkin | Adding subtle details, creating texture |
Preserving Your Kawaii Creation: Making it Last
So, you've poured your heart and soul into creating your kawaii pumpkin masterpiece, and you want it to last as long as possible. Unfortunately, carved pumpkins are susceptible to mold and rot. But fear not! There are a few tricks you can use to extend the life of your creation.
First, make sure to thoroughly clean the inside of the pumpkin after carving. Remove any remaining seeds and pulp, as these can attract bacteria and accelerate the rotting process. You can also spray the inside of the pumpkin with a bleach solution (1 tablespoon of bleach per quart of water) to kill any existing mold spores. Just be sure to let the pumpkin dry completely before placing it outside.
Another helpful tip is to keep your pumpkin hydrated. You can do this by soaking it in a tub of water overnight or by spraying it with water every day. This will help prevent the pumpkin from drying out and shriveling up.
Here are some tips and tricks to prolong your kawaii pumpkin carving:
- Clean the inside thoroughly
- Spray with a bleach solution
- Keep the pumpkin hydrated
- Apply petroleum jelly to cut surface
Spreading the Kawaii Cheer This Halloween
So there you have it – a delightful array of pumpkin carving ideas kawaii to transform your Halloween into the cutest celebration ever! From understanding the essence of "kawaii" to mastering adorable animal designs, simple faces, and even tackling beloved characters, you're now equipped to create pumpkins that are as heartwarming as they are spooky. Remember to embrace the joy of crafting, experiment with different techniques, and most importantly, have fun spreading the kawaii cheer to everyone who crosses your porch this Halloween. Happy carving!