Table of Contents
Halloween is creeping closer, and what better way to celebrate than with a chillingly creative jack-o'-lantern? Forget the generic grins and go for something truly terrifying this year with some spine-tingling pumpkin carving ideas Jason Voorhees style. Whether you're a seasoned carving pro or a first-time slicer, transforming a humble pumpkin into the iconic hockey-masked killer is easier than you might think.
Essential Tools and Materials for Jason Voorhees Pumpkin Carving
Essential Tools and Materials for Jason Voorhees Pumpkin Carving
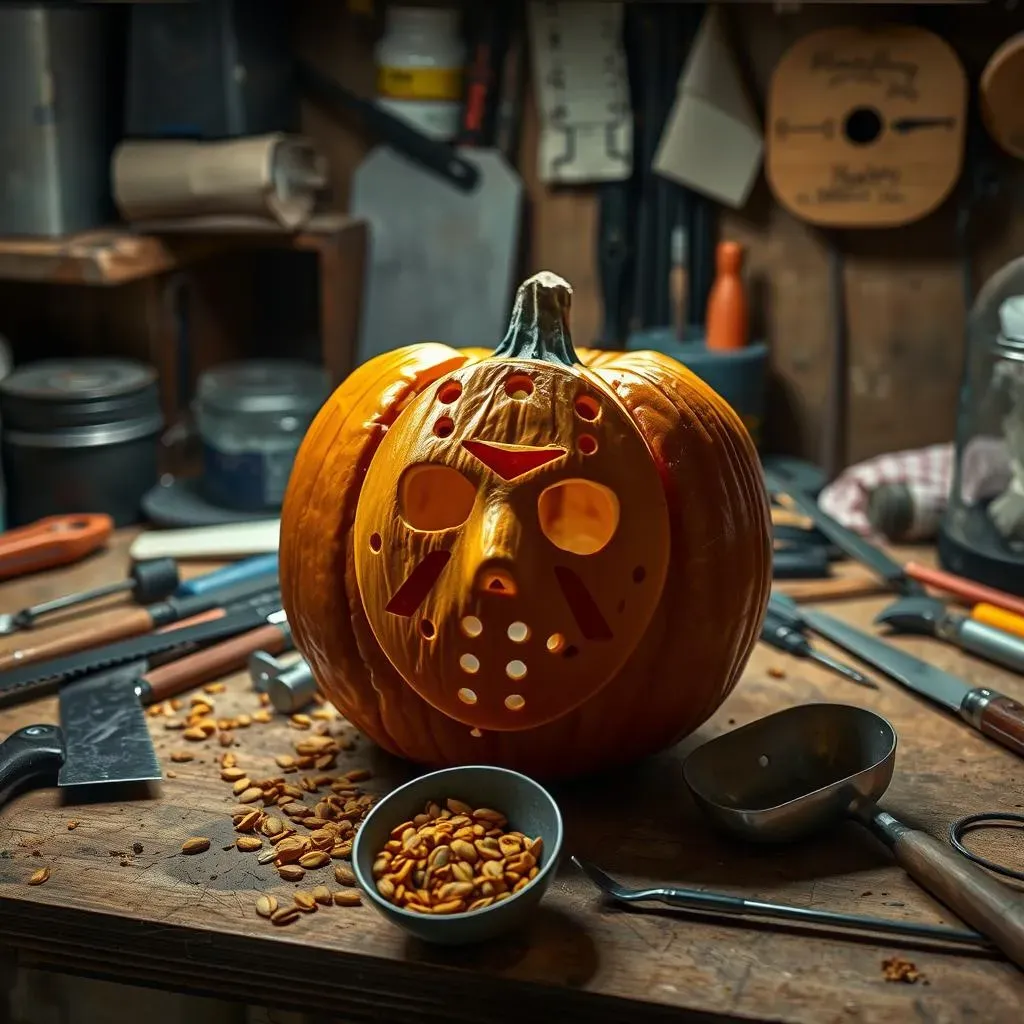
Alright, so you're ready to turn a pumpkin into a tribute to Camp Crystal Lake's most famous resident? Awesome! First, you'll need the right gear. Forget those flimsy plastic carving kits – we're going for pro-level spookiness here. A good, sturdy serrated knife is a must for cutting open the pumpkin and thinning the walls. Next, grab a set of carving tools with different sized gouges and saws for detail work. These will help you create Jason's iconic hockey mask with precision. Don't forget a scoop to clean out the pumpkin guts – trust me, you don't want to skip this step. And finally, a poking tool or a thin skewer for making guide holes based on your stencil.
Tool | Purpose | Why You Need It |
|---|---|---|
Serrated Knife | Cutting open the pumpkin, thinning walls | Provides a clean, controlled cut without crushing the pumpkin |
Carving Tool Set | Detailed carving, creating intricate designs | Offers a variety of shapes and sizes for different carving needs |
Pumpkin Scoop | Removing seeds and pulp | Makes the cleaning process faster and less messy |
Poking Tool/Skewer | Making guide holes for stencil | Ensures accurate transfer of the design to the pumpkin |
Beyond the cutting tools, think about your workspace. Cover your table with newspaper or a plastic tablecloth – things are going to get messy. A bowl for the pumpkin guts is also a good idea. And finally, make sure you have a good light source. A well-lit workspace will help you see what you're doing and avoid any accidental stabs.
Safety first, people! Carving can be dangerous, especially with those sharp tools. Always carve away from yourself, and never put your hand in front of the blade. If you're carving with kids, make sure they're supervised at all times. And if you're feeling tired or distracted, take a break. A rushed carving job is a recipe for disaster. With the right tools and a little bit of caution, you'll be well on your way to creating a Jason Voorhees pumpkin that's sure to impress (and maybe scare) your neighbors.
Finding the Perfect Jason Voorhees Pumpkin Carving Stencil or Pattern
Finding the Perfect Jason Voorhees Pumpkin Carving Stencil or Pattern
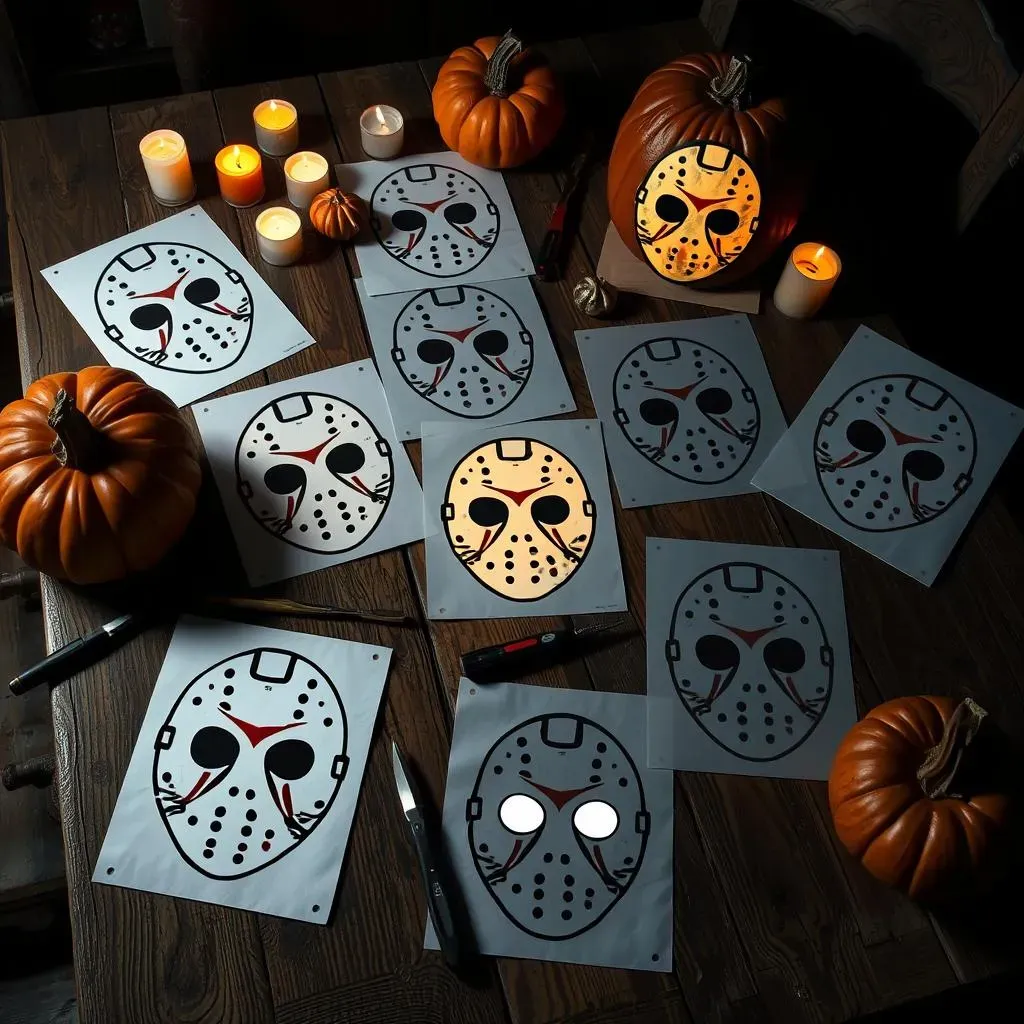
so you've got your tools, now it's time to find the perfect Jason Voorhees pumpkin carving stencil or pattern. This is where the magic really happens! The stencil is your roadmap to carving a pumpkin worthy of Camp Crystal Lake. You have a couple of options here: you can go the free route and search online for printable stencils, or you can invest in a pre-made stencil kit. Free stencils are great if you're on a budget, but the quality can vary wildly. Pre-made kits usually offer more detailed and professional-looking designs.
Where to look? Zombie Pumpkins is a goldmine for horror-themed stencils, including some seriously impressive Jason Voorhees designs. Etsy is another great place to find unique and creative patterns from independent artists. Just be sure to check the reviews before you buy to make sure the stencil is well-designed and easy to use. And of course, a simple Google search for "Jason Voorhees pumpkin stencil" will turn up a ton of options.
When choosing a stencil, consider your skill level. If you're a beginner, stick with a simpler design with fewer details. Intricate stencils look amazing, but they require a lot of patience and a steady hand. Also, think about the size of your pumpkin. A small pumpkin won't be able to accommodate a large, complex stencil. Once you've found a stencil you love, print it out and get ready to transfer it to your pumpkin. We'll cover that in the next section!
StepbyStep Guide to Carving a Killer Jason Voorhees Pumpkin
StepbyStep Guide to Carving a Killer Jason Voorhees Pumpkin
Transferring Your Stencil
Alright, you've got your stencil printed, now it's time to get it onto the pumpkin. First, tape the stencil to your pumpkin, making sure it's smooth and wrinkle-free. Use your poking tool or skewer to poke holes along the stencil lines. The closer the holes, the more accurate your carving will be. Think of it like connecting the dots – you're creating a roadmap for your knife.
Once you've poked all the holes, remove the stencil. You should see a faint outline of Jason's mask on your pumpkin. If the outline is too faint, you can use a marker to connect the dots and make it more visible. But be careful not to make the lines too thick, or your carving won't be as precise.
Carving the Mask
Now for the fun part: carving! Start with the smallest and most intricate details first. This will help you avoid accidentally damaging larger sections of the design. Use your small carving tools to carefully cut along the lines created by your stencil. Remember to carve slowly and steadily, and always carve away from yourself.
As you carve, be sure to remove the cut-out pieces of pumpkin. You can use your fingers or a small tool to push them out. If a piece is stuck, don't force it – you might accidentally break the pumpkin. Instead, use your carving tool to gently loosen it. Once you've finished carving all the details, move on to the larger sections of the mask. Use your serrated knife to carefully cut along the outline, removing the larger pieces of pumpkin. Take your time and be patient – a rushed carving job is a surefire way to end up with a mangled mess.
Step | Description | Tips |
|---|---|---|
1. Tape Stencil | Secure the stencil to the pumpkin's surface. | Ensure it's smooth and wrinkle-free for accurate transfer. |
2. Poke Holes | Create an outline by poking holes along stencil lines. | The closer the holes, the more precise the carving. |
3. Remove Stencil | Carefully detach the stencil, leaving the outline. | Use a marker to enhance faint lines, but avoid over-thickening. |
4. Carve Details | Begin with the smallest, intricate sections. | Carve slowly and steadily, always away from yourself. |
5. Remove Pieces | Gently remove cut-out pieces of pumpkin. | Avoid forcing pieces; use tools to loosen if needed. |
6. Carve Large Sections | Use a serrated knife for larger areas. | Take your time to prevent mistakes. |
Creative Jason Voorhees Pumpkin Carving Ideas: Beyond the Mask
Creative Jason Voorhees Pumpkin Carving Ideas: Beyond the Mask
Deconstructed Jason: The Slashed Pumpkin
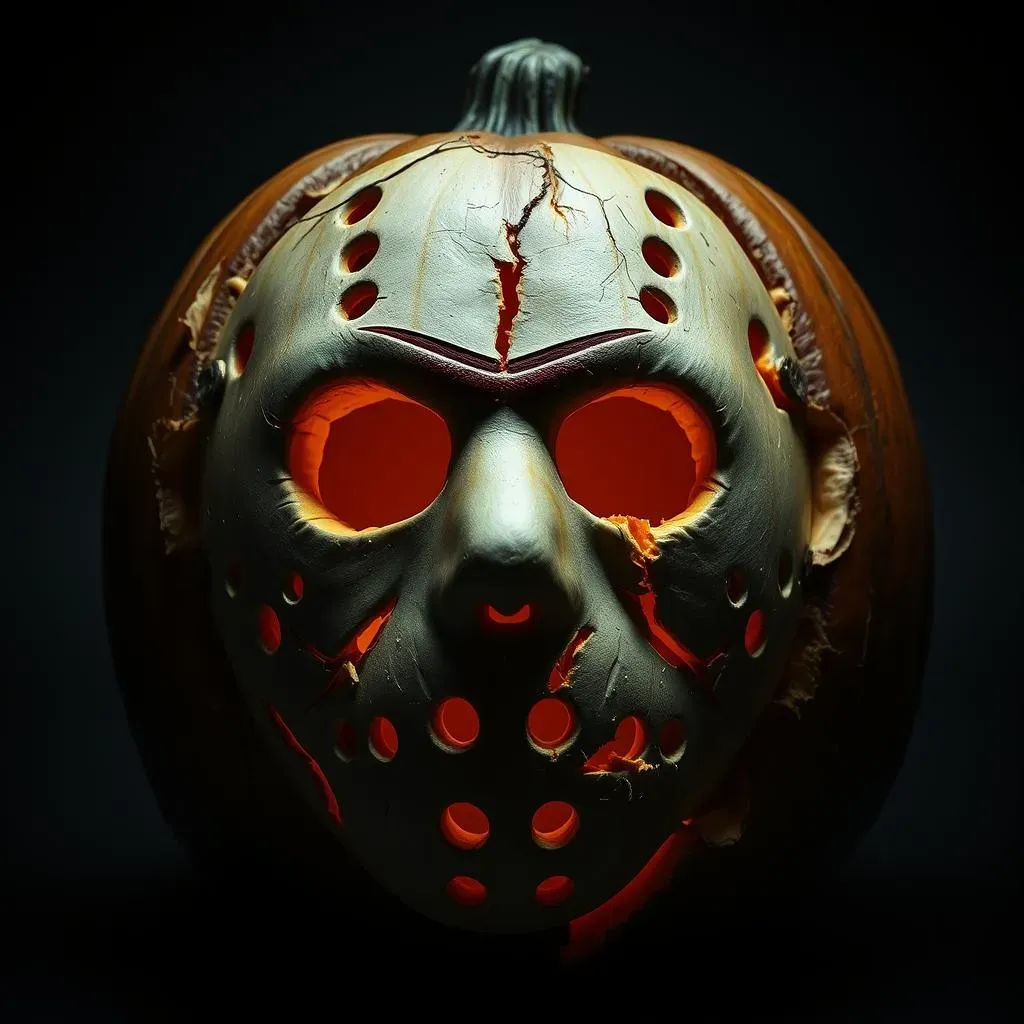
so everyone does the hockey mask, right? Let's kick things up a notch. Instead of just carving the mask, imagine Jason's already attacked the pumpkin! Carve deep gashes and slashes across the entire surface. Think jagged edges and uneven depths. You can even strategically remove chunks of pumpkin to create a truly gruesome effect. The key here is to make it look chaotic and violent, like the pumpkin barely survived an encounter with the machete-wielding maniac himself.
To add extra flair, consider using a smaller carving tool to create tiny, almost invisible scratches around the larger gashes. This will give the impression of extreme force and add a layer of realism to your design. You can also use a dark paint or stain to emphasize the depth of the cuts, making them appear even more menacing.
Camp Crystal Lake Diorama: A Pumpkin in a Pumpkin
This one's a bit more ambitious, but the results are totally worth it. Hollow out a large pumpkin as usual, but instead of carving Jason directly onto it, create a miniature Camp Crystal Lake scene inside the pumpkin. You can use smaller pumpkins or gourds to represent cabins, trees, and even a tiny Jason figure lurking in the shadows. Get creative with materials like twigs, moss, and fake blood to bring the scene to life.
To create the illusion of depth, carve a large opening in the front of the pumpkin and then use smaller openings to frame different parts of the scene. You can even add a small LED light inside to illuminate the diorama and create a spooky atmosphere. This is a great way to show off your artistic skills and create a truly unique and memorable Halloween decoration.
Jason's Revenge: The Animated Pumpkin
For the tech-savvy carver, this is the ultimate challenge. Incorporate simple animatronics into your Jason Voorhees pumpkin to make it come alive! You can use a small motor to make Jason's head turn, or even rig up a mechanism to make his machete rise and fall. The possibilities are endless.
If you're not comfortable working with electronics, you can still create a cool animated effect using clever lighting and shadows. Place a strobe light behind the pumpkin to create a flickering effect, or use a rotating spotlight to make Jason's mask appear to move. With a little creativity, you can transform your pumpkin into a truly terrifying spectacle that will have your neighbors running for the hills.
Idea | Description | Difficulty | Materials |
|---|---|---|---|
Slashed Pumpkin | Carve gashes and slashes across the pumpkin's surface. | Easy | Pumpkin, carving tools, dark paint (optional) |
Camp Crystal Lake Diorama | Create a miniature scene inside the pumpkin. | Medium | Large pumpkin, small pumpkins/gourds, twigs, moss, fake blood, LED light |
Animated Pumpkin | Incorporate animatronics or clever lighting effects. | Hard | Pumpkin, carving tools, small motor/electronics, strobe light/spotlight |
Illuminating Your Jason Voorhees Pumpkin: Lighting and Display Tips
Illuminating Your Jason Voorhees Pumpkin: Lighting and Display Tips
Choosing the Right Light Source
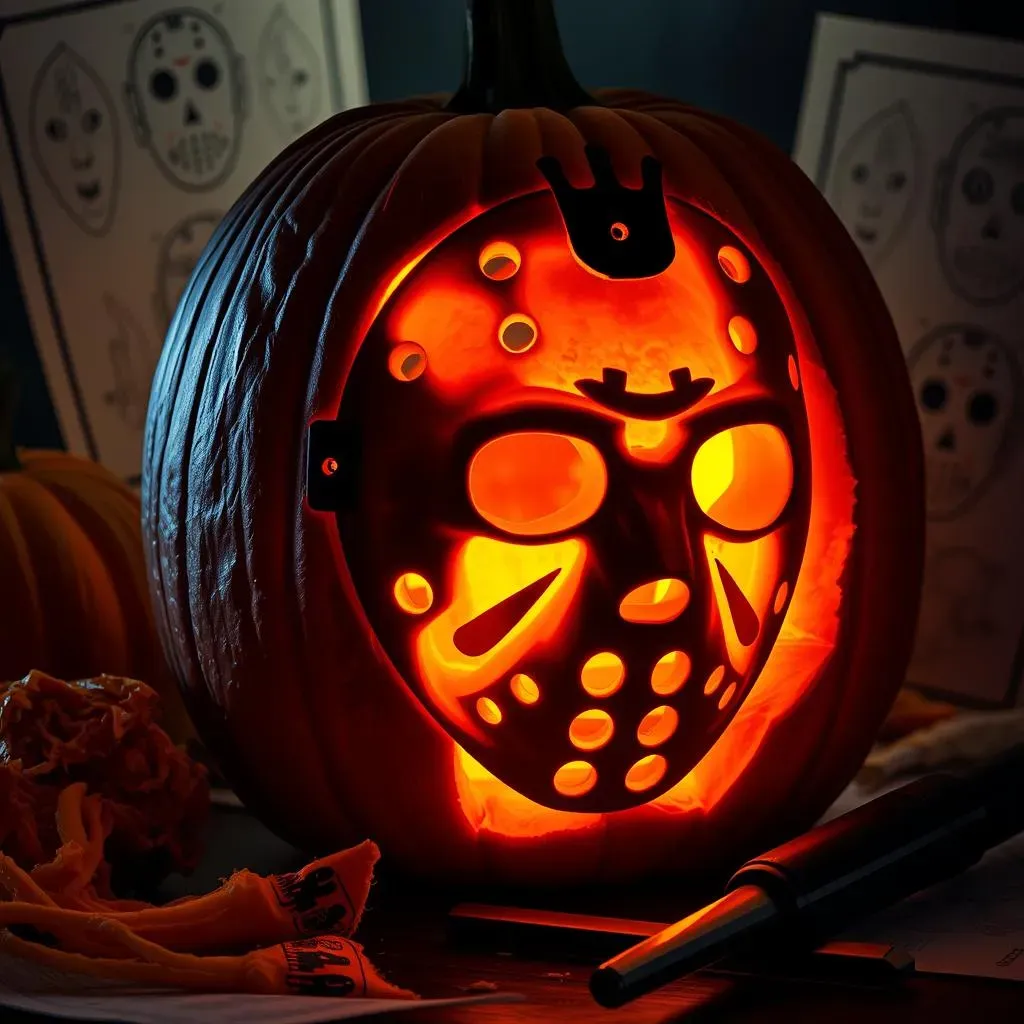
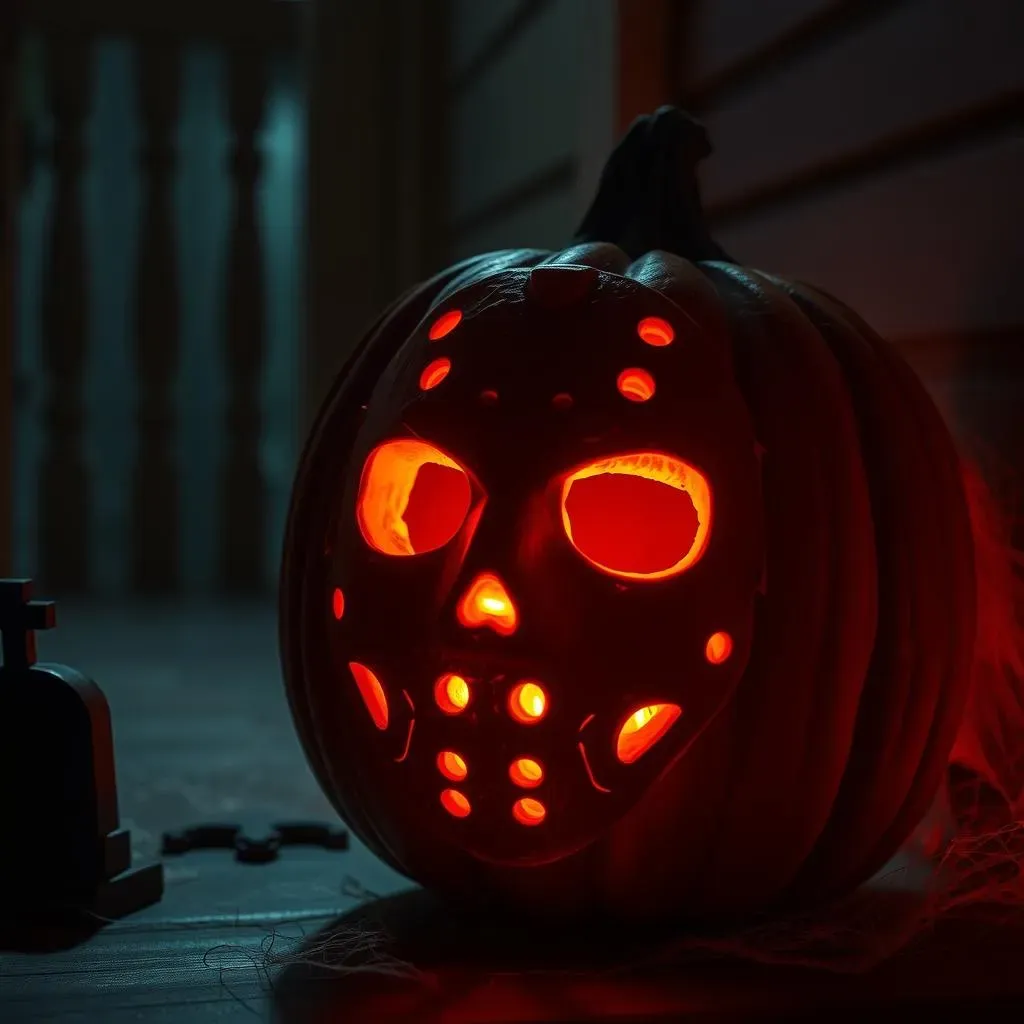
so you've slaved over your Jason Voorhees pumpkin, carving every gruesome detail with precision. Now, you can't just leave it sitting in the dark! The right lighting can make or break the whole effect. Forget those wimpy tea lights – we're going for maximum spookiness here. Battery-operated LED lights are your best bet. They're safe, long-lasting, and come in a variety of colors. A flickering orange LED will mimic the look of a real candle, while a green or red LED will give your pumpkin a truly sinister glow.
If you're feeling fancy, you can even use a small spotlight to highlight specific features of your carving. Aim the light at Jason's mask to create dramatic shadows, or use a colored gel to cast an eerie glow over the entire pumpkin. Just be careful not to use a light source that's too hot, as it could damage the pumpkin or even start a fire. Safety first, even when you're trying to scare the pants off your neighbors!
Light Source | Pros | Cons |
|---|---|---|
Battery-Operated LED Lights | Safe, long-lasting, variety of colors | Can be a bit dim |
Flickering Orange LED | Mimics a real candle, spooky effect | Still relatively dim |
Colored LED (Green/Red) | Sinister glow, unique look | May not be suitable for all designs |
Small Spotlight | Highlights specific features, dramatic shadows | Can be too bright, may require colored gels |
Displaying Your Masterpiece
You've got the lighting sorted, now where are you going to put this thing? Don't just plop it on the porch and call it a day! Think about the overall effect you're trying to create. A well-placed pumpkin can be the centerpiece of your Halloween display. Consider adding some spooky props around your Jason Voorhees pumpkin to enhance the theme. Think fake cobwebs, tombstones, and maybe even a life-sized Jason mannequin lurking in the shadows.
If you're feeling ambitious, you can create a whole Camp Crystal Lake scene on your front lawn. Use hay bales to create a rustic setting, and add some caution tape to keep the trick-or-treaters at bay. A fog machine can also add a creepy atmosphere, especially when combined with the eerie glow of your Jason Voorhees pumpkin. Just remember to keep things safe and avoid blocking walkways or creating hazards. The goal is to scare, not injure!
Conclusion: Unleash Your Inner Voorhees and Light Up the Night
So, there you have it – a complete guide to conjuring up your very own Jason Voorhees pumpkin masterpiece. From selecting the perfect pumpkin to mastering the carving techniques and adding those final, frightful touches, you're now equipped to create a Halloween decoration that will truly stand out. Remember, the key is to have fun and let your creativity flow. Whether you stick to the classic mask or venture into more elaborate designs, your Jason pumpkin is sure to be a scream. Now go forth, carve boldly, and let the spirit of Camp Crystal Lake illuminate your Halloween night!