Table of Contents
Alright, let's talk pumpkins. Halloween rolls around, and for many of us, that means grabbing an orange gourd and a sharp object. But how many times have you ended up with the same old triangle eyes and jagged grin? If you're tired of the usual suspects and craving something a bit more... inspired, you're in the right place. We're diving deep into the world of pumpkin carving ideas jack o lantern style, moving beyond the basic and into designs that will actually turn heads on your porch.
Classic Pumpkin Carving Ideas Jack O Lantern Styles
Classic Pumpkin Carving Ideas Jack O Lantern Styles
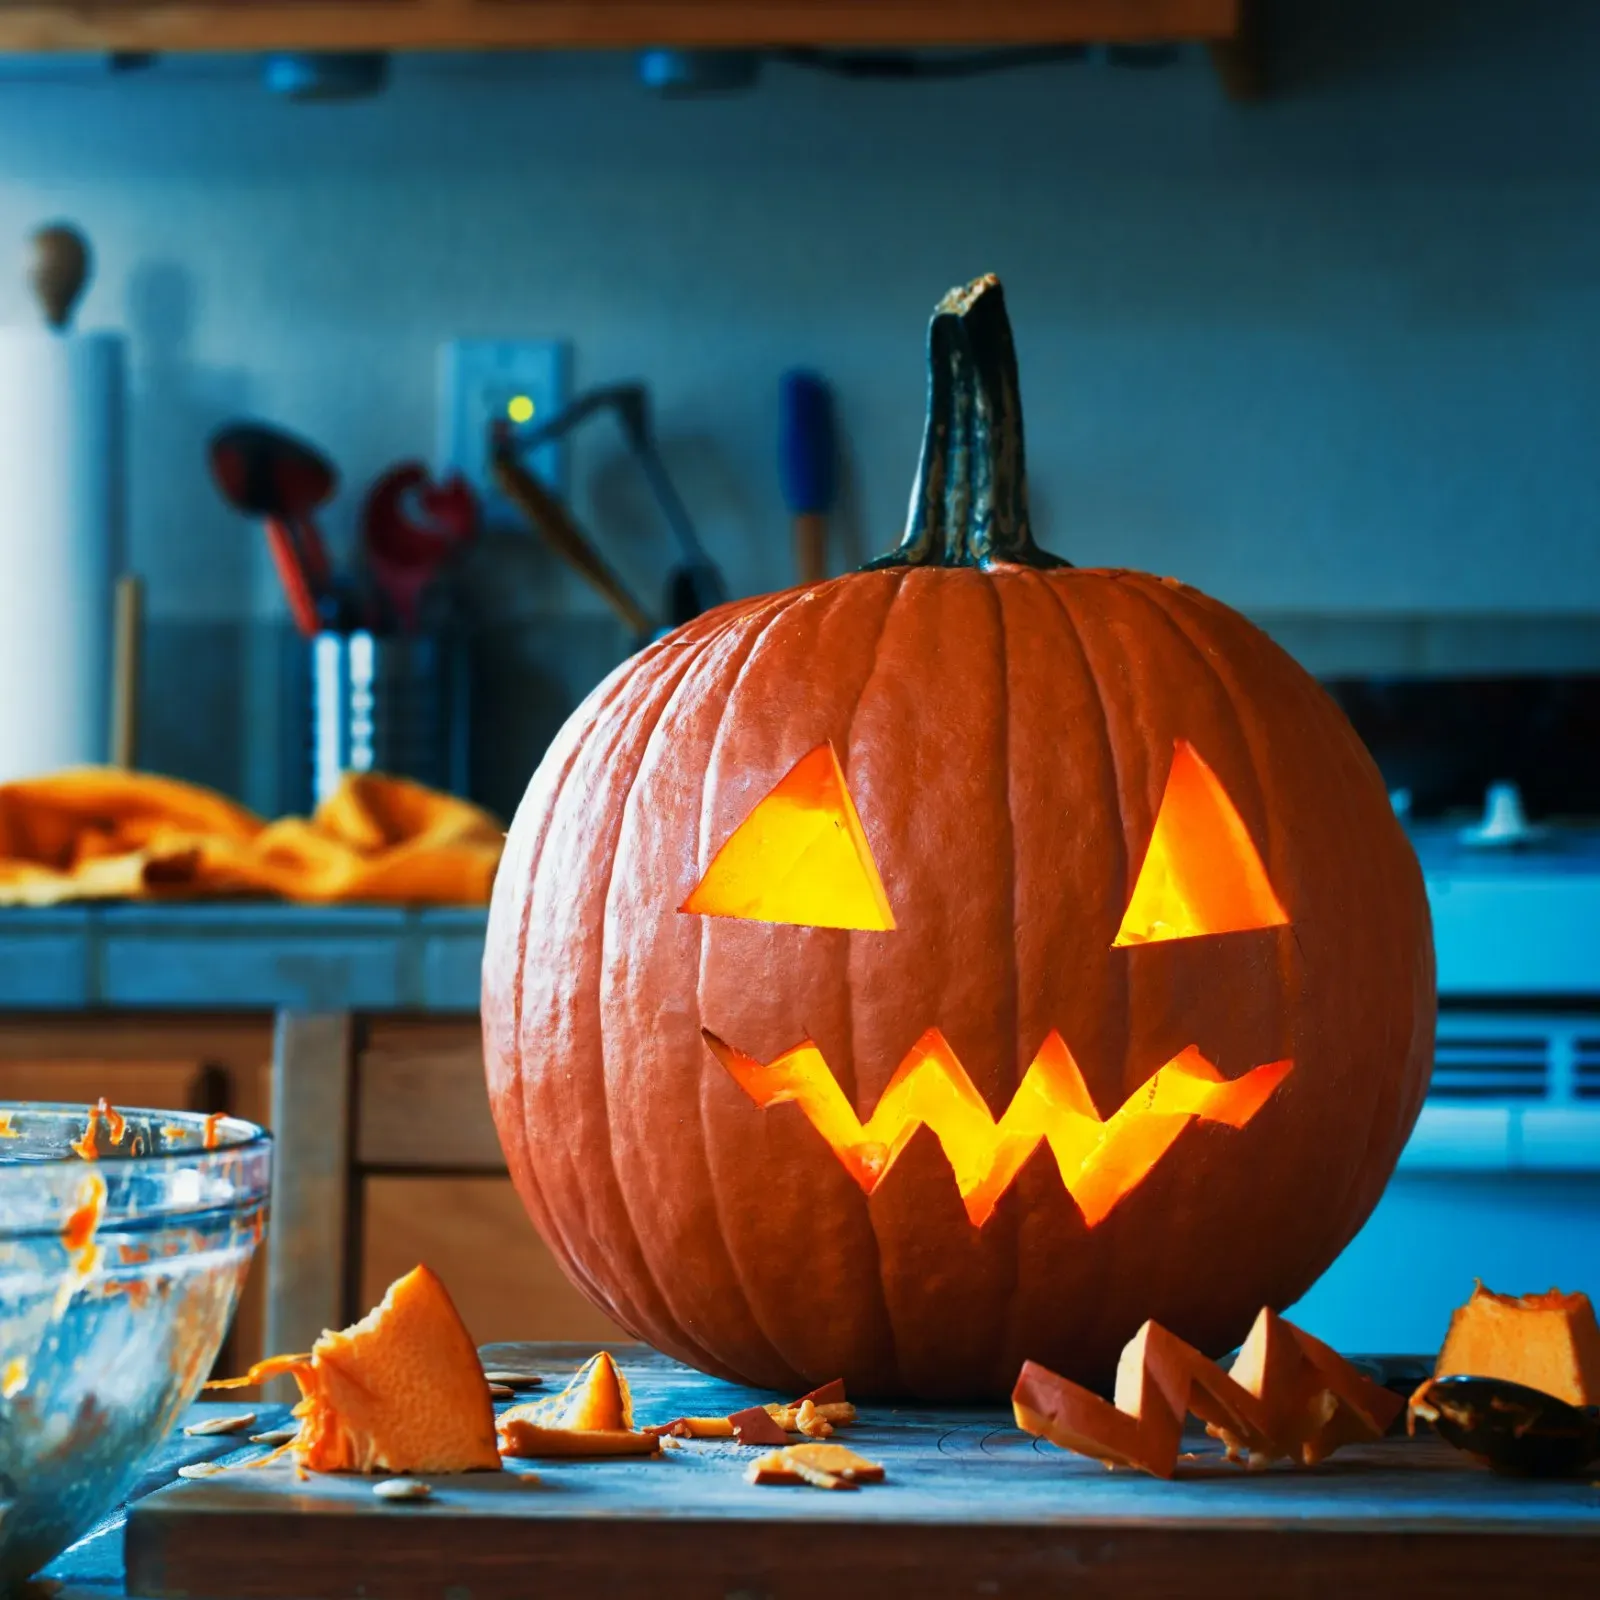
Alright, let's kick things off with the foundation, the bread and butter of Halloween porch decor: the Classic Pumpkin Carving Ideas Jack O Lantern Styles. We're talking the OG designs here – the simple, slightly spooky faces that scream "Halloween" without needing a degree in fine art. Think sharp, angular eyes, maybe a couple of triangles or squares, and that signature gap-toothed or jagged grin. It's the face you probably drew a hundred times in elementary school. There’s a reason these stick around; they're instantly recognizable, relatively easy to execute even after a few too many pumpkin seeds snacks, and they just feel right. They are the baseline, the jumping-off point for everything else we'll explore.
- Triangle Eyes
- Square or Slit Eyes
- Simple Jagged Grin
- Gap-Toothed Mouth
- Basic Triangle Nose
Easy Pumpkin Carving Ideas Jack O Lantern for Beginners
Easy Pumpkin Carving Ideas Jack O Lantern for Beginners
Starting Simple: Shapes and Stencils
so maybe the classic jagged mouth feels a bit ambitious, or you just want something foolproof for your first go. This is where the real magic happens for beginners looking for Easy Pumpkin Carving Ideas Jack O Lantern for Beginners. Forget freehanding a complex face. Think shapes. Simple circles, squares, stars, or even letters can look surprisingly effective when lit up. You can buy cheap stencils or even just use cookie cutters (metal ones work best, obviously). Press the cutter firmly into the pumpkin skin, maybe give it a tap with a mallet if needed, and then carve along the indentation. It's almost like paint-by-numbers for pumpkins, and honestly, the results are clean and satisfying.
Beyond the Knife: Drilled and Etched Designs
Who says you only need a knife? For genuinely easy pumpkin carving ideas jack o lantern, consider tools that aren't traditional carving kits. A simple drill with different sized bits can create patterns of holes that look like constellations, abstract art, or even form the dots for a more complex image if you're feeling brave. Another beginner-friendly technique is etching. Instead of cutting all the way through, you just scrape off the top layer of skin. This works great for creating lighter areas or outlines. You can use a linoleum cutter, a sturdy spoon, or even just a screwdriver. It gives a softer glow and is much less likely to lead to accidental amputations of important pumpkin features.
- Use metal cookie cutters for clean shapes.
- Drill holes for starry or dotted patterns.
- Etch designs by scraping the skin layer.
- Look for simple geometric shapes.
- Consider using stencils for tracing.
Minimalist Magic: Less is More
Sometimes, the coolest jack-o'-lanterns aren't the most complicated. If you're aiming for easy, think minimalist. A single, large, wonky eye and a small, crooked smile. Or maybe just a collection of different sized circles scattered across the surface. You don't need a full face to create a spooky or fun effect. Focusing on just one or two features, executed cleanly, is far better than attempting something too complex and ending up with a collapsing mess. Plus, it saves a ton of time. You can have a porch full of these simple, effective designs faster than carving one intricate face. It’s proof that easy doesn't have to mean boring when it comes to easy pumpkin carving ideas jack o lantern for beginners.
Spooky & Creative Pumpkin Carving Ideas Jack O Lantern Designs
Spooky & Creative Pumpkin Carving Ideas Jack O Lantern Designs
Beyond the Grin: Terrifying Textures and Features
so you've mastered the basic cuts and maybe even tried etching. Now, let's get genuinely spooky and creative with your Spooky & Creative Pumpkin Carving Ideas Jack O Lantern Designs. Forget just a face. Think texture. You can use various tools – even kitchen peelers or wood gouges – to create wrinkled skin, gnarled teeth, or decaying flesh effects on the pumpkin surface. Instead of just cutting eyes, consider carving deep sockets or making one eye droop lower than the other. A truly unsettling jack-o'-lantern often comes from asymmetry and deliberate imperfection. Think about adding eyebrows carved just below the surface to create a shadowed, menacing look. Or carving a mouth that isn't just jagged, but looks like it's screaming, with thin strips of pumpkin left to look like stretched skin. It's about pushing past the simple outline and giving your gourd some real character, the kind that makes trick-or-treaters hesitate for a second.
Adding Dimension: Multiple Pumpkins and Props
Why stop at one pumpkin when you can create a scene? Some of the most eye-catching Spooky & Creative Pumpkin Carving Ideas Jack O Lantern Designs involve combining multiple gourds or adding external elements. Stack two pumpkins to make a taller, more monstrous figure. Carve smaller pumpkins to look like hands reaching out from the base of a larger one. You can use twigs or branches shoved into the pumpkin to create creepy arms or hair. Consider carving a pumpkin to look like it's being eaten by another, smaller pumpkin "creature." Adding props like fake spiderwebs, plastic spiders, or even old rags can enhance the effect. It turns your jack-o'-lantern from a single glowing face into a miniature horror tableau. This approach takes a bit more planning but the payoff in terms of visual impact is huge.
Creative Carving Concepts:
- Carve intricate patterns that look like lace or spiderwebs.
- Create a scene inside the pumpkin cavity, visible through a carved window.
- Use different colored pumpkins for varied effects.
- Carve silhouettes of spooky figures onto the pumpkin surface.
- Make a pumpkin look like it's melting or dripping.
Tools and Tips for Better Pumpkin Carving
Tools and Tips for Better Pumpkin Carving
let's get practical. You can technically carve a pumpkin with a dull butter knife and sheer willpower, but trust me, it’s not a good time. If you want your Tools and Tips for Better Pumpkin Carving efforts to actually look good and not end in frustration (or stitches), you need the right gear. Ditch the flimsy plastic kiddie kits. Invest in a decent set of carving tools. This usually means a small, serrated saw for cutting the lid and larger shapes, and a few different sizes of detail knives or chisels for cleaner lines and smaller features. A scooping tool, like a sturdy metal spoon or a specialized pumpkin scraper, is also crucial for getting all that stringy gunk out – the cleaner the inside, the easier it is to carve. Having a poker or drill to make pilot holes helps immensely, especially for tight corners or delicate areas. Think of it like any craft; the right tools make a huge difference in the final product and your sanity.
Making Your Jacko'Lantern Last Longer

Making Your Jacko'Lantern Last Longer
Cleanliness is Next to Godliness (for Pumpkins)
Alright, you've put in the work, carved something that hopefully doesn't immediately collapse, and now you want it to last past Halloween night. The key to Making Your Jacko'Lantern Last Longer starts right after carving. Get all that stringy pulp and seeds out. Every last bit. The cleaner the inside, the less material there is to start rotting. Use a sturdy scraper, a spoon, whatever works, but get it smooth. Wipe down the inside and the cut edges with a cloth. Some people even swear by wiping them down with a bit of bleach solution (like one teaspoon of bleach per quart of water) to kill bacteria and mold spores. Just let it air dry completely afterwards before lighting a candle.
Moisture Management is Crucial
Once your jack-o'-lantern is clean, you need to think about moisture. A carved pumpkin is basically a drying, decaying piece of organic matter. If it gets too dry, it shrivels. If it stays too wet, it molds and collapses faster than a poorly built political campaign. Misting it daily with water can help keep it from drying out, especially in dry climates. You can also rub petroleum jelly or vegetable oil on the cut edges. This seals in moisture and slows down the drying process, which is a big part of Making Your Jacko'Lantern Last Longer. Don't glob it on, just a thin layer. Some folks even submerge their pumpkin in a water bath for a few hours every couple of days to rehydrate it, though this can also encourage mold if you aren't careful.
Methods to Help Preserve Your Jack-o'-Lantern:
- Scrape out *all* the inside pulp and seeds.
- Wipe down the interior and cut surfaces.
- Consider a dilute bleach solution wash (rinse thoroughly).
- Mist the pumpkin daily with water.
- Apply petroleum jelly or vegetable oil to cut edges.
- Give it a water bath soak if it starts looking dry.
Protecting Your Gourd & Spotting Trouble
Where you put your jack-o'-lantern matters for Making Your Jacko'Lantern Last Longer. Keeping it out of direct sunlight and away from heat sources (like a porch light that gets warm) prevents it from drying out too quickly. If it's going to rain, bring it inside or put it under cover. Excess moisture from rain will speed up decay. Keep an eye on it. If you see fuzzy mold starting to form, you can try wiping it off with that dilute bleach solution again. If parts start looking soft or mushy, that section is likely toast. Sometimes you can trim away a bad spot, but often, once the rot sets in, it spreads fast. Accept that your beautiful creation is temporary; nothing lasts forever, especially not carved fruit left outside in varying weather.
Your Jack-o'-Lantern Legacy
So there you have it. Moving beyond the standard triangle-faced pumpkin isn't rocket science, but it does require a little thought and perhaps a slightly sharper tool than you're used to. We've covered basic cuts, slightly more ambitious designs, and the simple truth is, not every pumpkin will be a showstopper. Sometimes they split, sometimes the design looks better in your head. That's part of the process. The goal is to have a bit of fun, maybe slightly freak out the neighborhood kids (in a good way), and add a bit of your own personality to the porch display. Give some of these pumpkin carving ideas jack o lantern styles a shot. Worst case? You compost it. Best case? You become the envy of the block, at least until the squirrels get to it.