Table of Contents
Halloween is just around the corner, and what better way to celebrate than with a creatively carved pumpkin? If you're on the hunt for inspiration, you've come to the right place! This article is your ultimate guide to pumpkin carving ideas images. Forget the same old triangle eyes and toothy grin; we're diving into a world of creative designs, from spooky to silly, and everything in between. Whether you're a seasoned pro with a set of professional carving tools or a beginner armed with a spoon and a kitchen knife, we've got something for everyone.
Creative Pumpkin Carving Ideas Images for Halloween
Creative Pumpkin Carving Ideas Images for Halloween
Beyond the Basic Jack-o'-Lantern
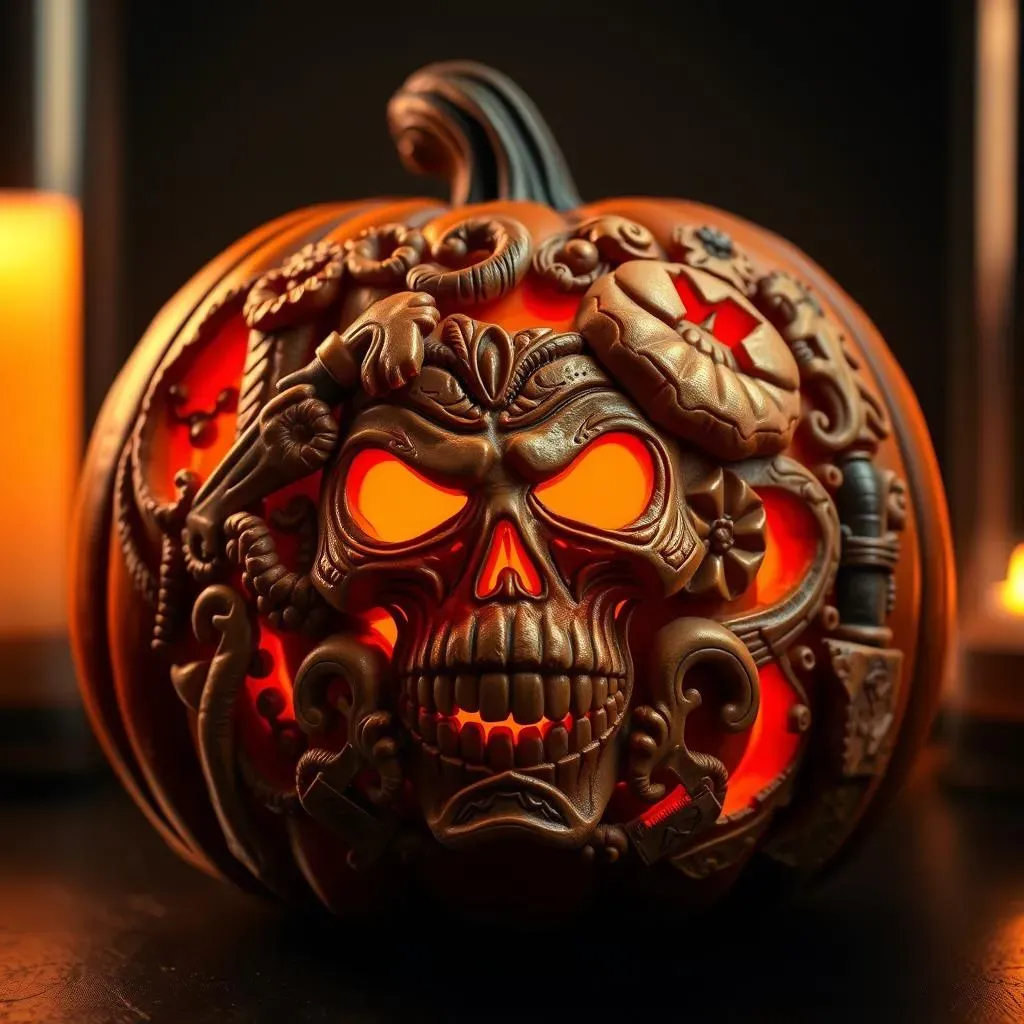
Tired of the same old scary faces? This Halloween, let's ditch the predictable and explore some truly creative pumpkin carving ideas images! Think beyond simple triangles and jagged teeth. We're talking intricate designs, inspired by your favorite movies, video games, or even just cool patterns you've seen online. The internet is overflowing with inspiration, so get searching! You'll find stencils, templates, and step-by-step tutorials to guide you through even the most ambitious projects. Remember, the more detail, the better!
Consider incorporating different carving depths to create a 3D effect. This adds dimension and visual interest to your pumpkin carving, making it stand out from the crowd. You could even experiment with power carving tools for more precise and detailed work. Just remember to always prioritize safety and wear appropriate protective gear.
Pop Culture Pumpkins: Level Up Your Carving Game
Why not pay homage to your favorite characters and stories with your pumpkin carving? From superheroes to villains, the possibilities are endless! Imagine a pumpkin carved with the likeness of Batman, Wonder Woman, or even a spooky Pennywise from "It." These pop culture-inspired designs are guaranteed to impress your friends and neighbors.
And if you're feeling extra creative, try combining multiple characters or elements into one design. You could create a scene from your favorite movie or a mashup of different pop culture icons. Just be sure to choose images that are clear and easy to translate into a carving pattern.
Adding Flair: Paint, Stencils, and Beyond
Carving isn't the only way to decorate a pumpkin! Consider using paint, stencils, or other embellishments to add extra flair to your creation. Paint can be used to create intricate patterns, add color, or even highlight certain features of your carving. Stencils can help you achieve precise designs, especially if you're not confident in your freehand skills.
Also, think about using other materials like glitter, sequins, or even fake cobwebs to add texture and visual interest. The goal is to create a pumpkin carving that is truly unique and reflects your personal style. Don't be afraid to experiment and try new things!
Tools of the Trade
- Carving Kit
- Stencils
- Paints
- Power Carving Tools (optional)
Easy Pumpkin Carving Ideas Images for Beginners
Easy Pumpkin Carving Ideas Images for Beginners
Simple Shapes, Big Impact
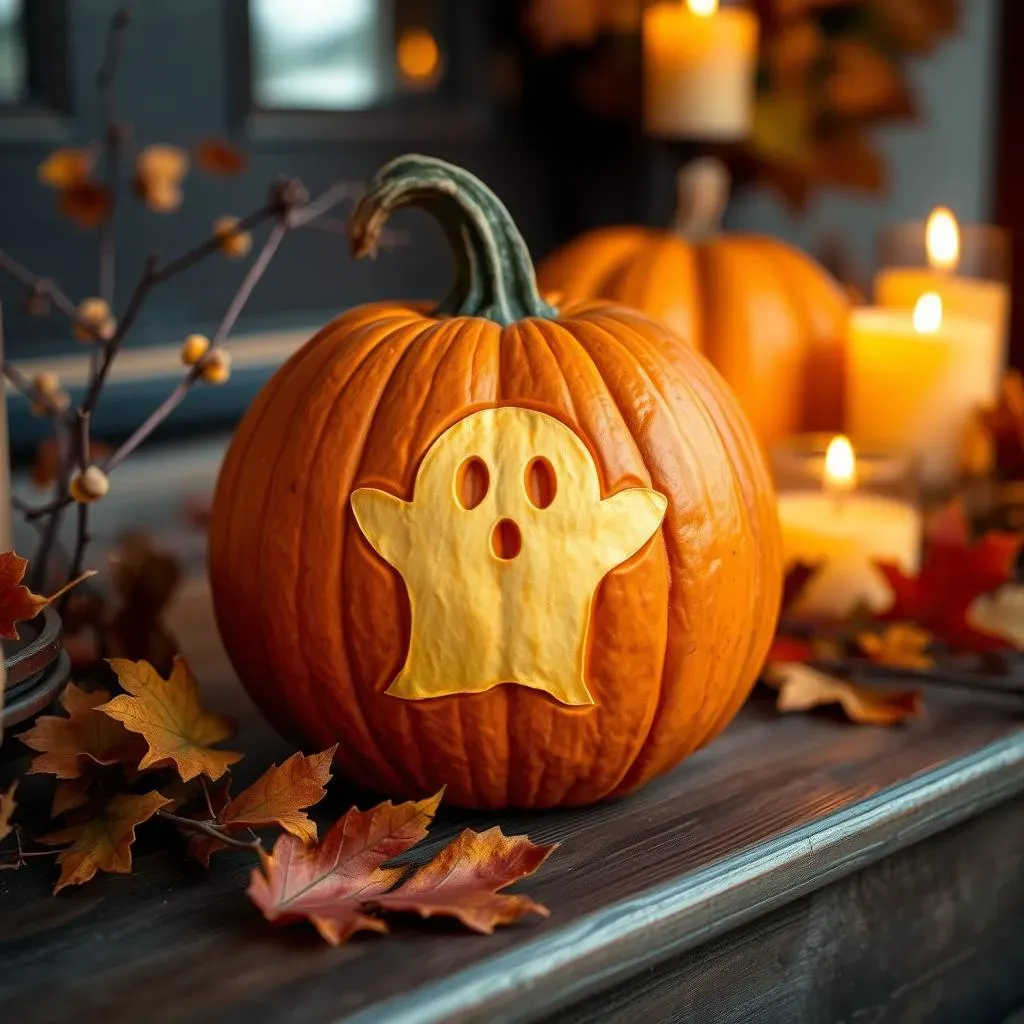
Alright, so you're new to the pumpkin carving game? No sweat! Forget about trying to recreate the Mona Lisa on a gourd. Let's start with some easy pumpkin carving ideas images that still look awesome. Think simple shapes: circles, triangles, squares. Arrange them to make a classic jack-o'-lantern face, or get a little more creative and turn your pumpkin into a friendly ghost or a goofy monster. The key here is to keep it simple and have fun!
One super easy trick? Use cookie cutters! Seriously. Just press your favorite cookie cutter shape into the pumpkin skin, then carefully carve along the edges. Stars, moons, hearts – anything goes! This is a great way to get kids involved, too. Just make sure an adult handles the knife.
Stencils are Your Friend
Don't think you can draw? No problem! That's what stencils are for. You can find tons of free, printable pumpkin carving stencils online. Just search for "easy pumpkin stencils" and you'll be swimming in options. Print out your chosen stencil, tape it to your pumpkin, and then use a poking tool or awl to transfer the design onto the pumpkin skin. Once you've got the outline, just carve along the dotted lines. Easy peasy!
Want to make your pumpkin even more unique? Try combining different stencils or adding your own personal touches to the design. You could even use multiple pumpkins to create a larger scene or display. The possibilities are endless!
Beginner-Friendly Stencil Ideas | Why They're Great |
|---|---|
Stars | Simple shapes, easy to carve. |
Moons | Another easy shape, looks great with a spooky theme. |
Ghosts | Classic Halloween, easy to customize. |
Bats | Simple silhouette, looks great in multiples. |
Safety First, Fun Second
Before you start hacking away at your pumpkin, let's talk safety. Pumpkin carving can be surprisingly dangerous, especially if you're using sharp knives or power tools. Always carve in a well-lit area and make sure you have a stable surface to work on. Use pumpkin carving tools designed for the job, as they're often safer and more effective than kitchen knives.
Most importantly, take your time and don't rush. Rushing is when accidents happen. If you're carving with kids, make sure they're supervised at all times and let them do the less dangerous tasks, like scooping out the pumpkin guts or drawing on the stencil. And remember, have fun! Pumpkin carving is a great way to get into the Halloween spirit and create lasting memories with your family and friends.
Unique Pumpkin Carving Ideas: Images of Pop Culture & More
Unique Pumpkin Carving Ideas: Images of Pop Culture & More
Beyond the Basic Scare: Pop Culture Icons
so you've mastered the simple jack-o'-lantern. Now it's time to unleash your inner geek! Let's talk about unique pumpkin carving ideas images that pay homage to your favorite movies, TV shows, video games, and more. Think Baby Yoda, the Avengers logo, or even a Minecraft creeper. The possibilities are truly endless! The key is to find an image that resonates with you and that you think you can translate into a carving.
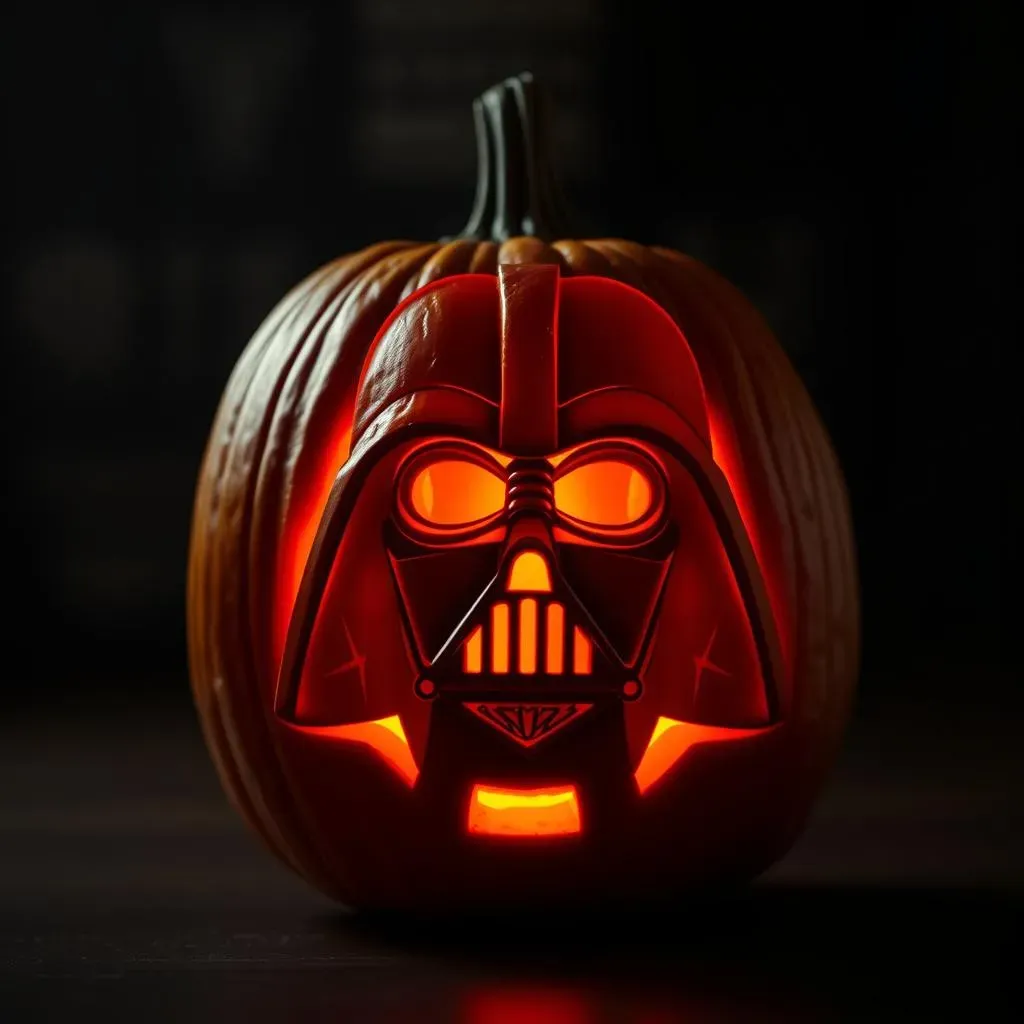
Don't be afraid to get creative with it! You could even combine different pop culture elements into one design. Imagine a pumpkin with Darth Vader on one side and a Stormtrooper on the other. Or a pumpkin that's half superhero and half villain. The only limit is your imagination!
Level Up Your Carving: Intricate Designs and Techniques
Want to take your pumpkin carving to the next level? Then it's time to explore some more intricate designs and techniques. We're talking about detailed portraits, elaborate landscapes, and even 3D carvings. These types of carvings require more skill and patience, but the results are well worth the effort.
One popular technique is to use different carving depths to create shading and highlights. This adds depth and dimension to your carving, making it look more realistic. You can also use power carving tools to achieve finer details and more precise cuts. Just be sure to practice on a scrap pumpkin first to get the hang of it!
Pop Culture Theme | Carving Idea | Difficulty Level |
|---|---|---|
Star Wars | Darth Vader portrait | Advanced |
Marvel | Avengers logo | Intermediate |
Disney | Mickey Mouse silhouette | Easy |
Video Games | Minecraft creeper | Intermediate |
Light It Up: Adding Ambiance and Drama
The carving is just the beginning! Once you've finished your masterpiece, it's time to light it up and bring it to life. A simple candle can work wonders, but there are also other options to consider. Battery-operated LED lights are a great alternative, as they're safer and last longer. You can even find LED lights that change color or flicker, adding even more ambiance and drama to your pumpkin carving.
Experiment with different lighting techniques to see what works best for your design. You could try placing the light inside the pumpkin or shining it from behind to create a silhouette effect. You could even use multiple lights to highlight different areas of the carving. The goal is to create a visually stunning display that will wow your friends and neighbors. And remember, always be careful when working with fire and never leave a lit pumpkin unattended.
DIY Pumpkin Carving Ideas Images: Tips & Tricks
DIY Pumpkin Carving Ideas Images: Tips & Tricks
Choosing the Perfect Pumpkin
so you're ready to dive into some DIY pumpkin carving ideas images? First things first: you need the perfect pumpkin! Don't just grab the first round orange thing you see. Take a good look! You want a pumpkin that's relatively smooth, with a flat bottom so it won't wobble. Give it a tap – it should sound hollow. Avoid pumpkins with soft spots or bruises, as these are signs of decay. And of course, make sure it's big enough for your grand design!
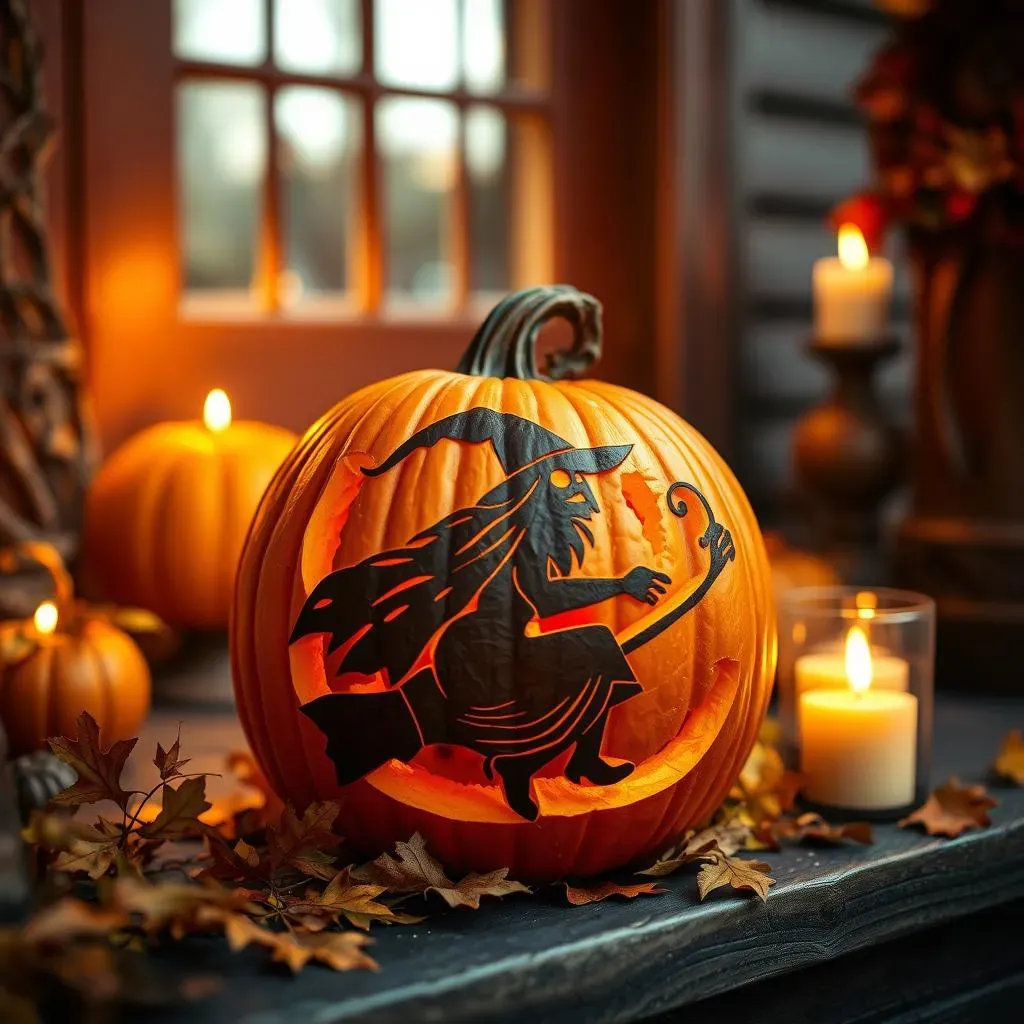
Think about the shape of your design when choosing your pumpkin. A tall, skinny pumpkin might be perfect for a spooky witch, while a round, squat pumpkin might be better suited for a funny face. And don't forget to check the stem! A sturdy stem is a sign of a healthy pumpkin and can also be incorporated into your design.
Tools and Techniques for Success
Alright, you've got your pumpkin. Now let's talk tools! You don't need to spend a fortune on fancy carving kits, but a few basic tools will make your life a lot easier. A good serrated knife is essential for cutting open the pumpkin and carving out larger pieces. Smaller carving tools, like gouges and saws, are great for creating finer details. And don't forget a scoop for removing all those gooey pumpkin seeds!
When it comes to technique, slow and steady wins the race. Don't try to force the knife through the pumpkin – let the tool do the work. Use short, controlled strokes and be patient. If you're carving a complex design, it's helpful to transfer the pattern onto the pumpkin using a stencil or template. And remember, safety first! Always carve in a well-lit area and keep your fingers out of the way of the blade.
Tool | Purpose | Tip |
|---|---|---|
Serrated Knife | Cutting open the pumpkin, carving large pieces | Use a sawing motion, not direct pressure. |
Gouges | Creating curved lines and details | Hold the gouge at a slight angle for better control. |
Small Saws | Cutting out intricate shapes | Use a gentle back-and-forth motion. |
Scoop | Removing pumpkin seeds and pulp | Look for a scoop with a serrated edge. |
Preserving Your Masterpiece
So you've spent hours carving your perfect pumpkin. The last thing you want is for it to rot away before Halloween! Luckily, there are a few things you can do to preserve your masterpiece. First, make sure to remove all the seeds and pulp from inside the pumpkin. This will help prevent mold and bacteria from growing.
You can also try spraying the inside and outside of the pumpkin with a bleach solution (1 tablespoon of bleach per quart of water). This will kill any existing mold and help prevent new mold from forming. Another trick is to rub petroleum jelly on the cut edges of the pumpkin. This will help seal in moisture and prevent the pumpkin from drying out. And finally, keep your pumpkin in a cool, dry place, away from direct sunlight.
Happy Carving: Bringing Your Pumpkin Visions to Life
So, there you have it – a treasure trove of pumpkin carving ideas images to ignite your Halloween creativity. Whether you opted for a classic spooky face, a pop culture-inspired masterpiece, or a simple, beginner-friendly design, the most important thing is to have fun and express your unique style. Remember to share your creations with friends and family, and don't forget to tag us in your social media posts! Happy Halloween, and happy carving!