Table of Contents
Alright, witches, wizards, and maybe a few unfortunate muggles, Halloween is creeping closer, and you've likely got a perfectly good pumpkin staring you down, begging for a little magic. Forget the basic triangle eyes and jagged grin. This year, we're heading straight for the Wizarding World. Finding genuinely cool pumpkin carving ideas Harry Potter themed can feel like navigating the Forbidden Forest blindfolded – lots of promises, maybe a few scary results. You want something that screams "Hogwarts," not "oops, my knife slipped."
Conjuring Magic: Getting Started with Harry Potter Pumpkin Carving Ideas
Conjuring Magic: Getting Started with Harry Potter Pumpkin Carving Ideas
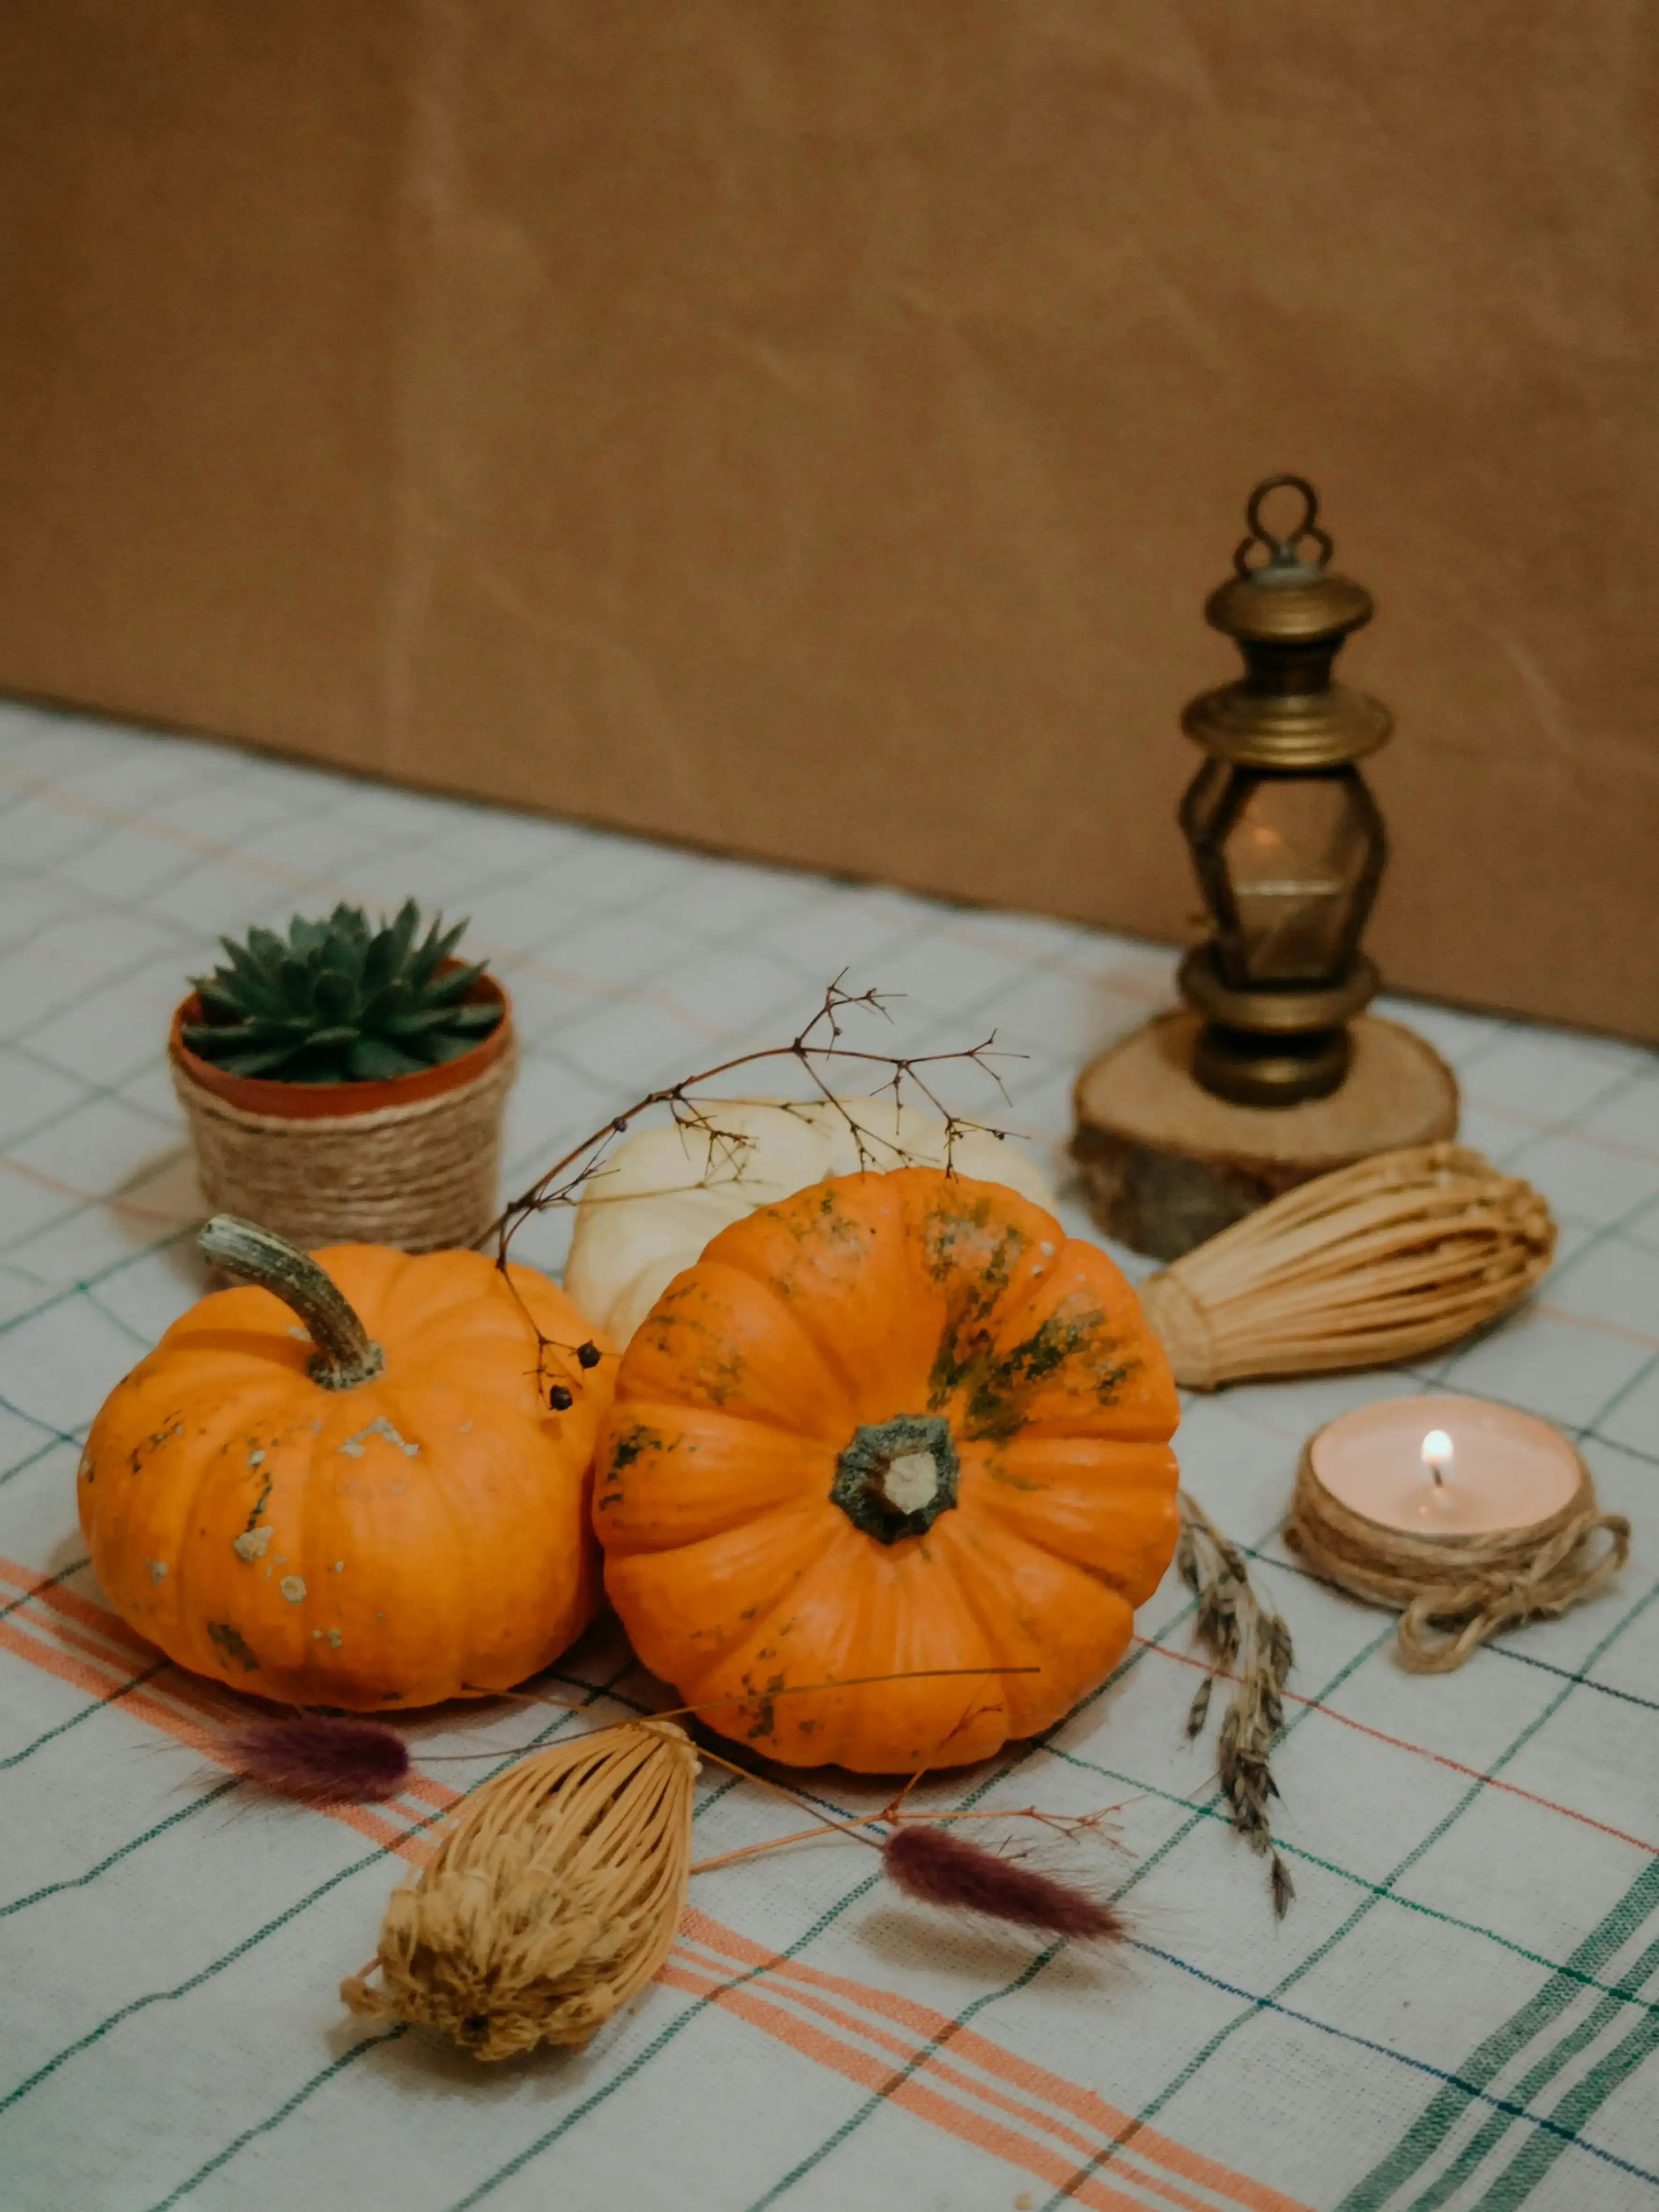
Picking Your Perfect Gourd (Not a Mandrake!)
Alright, first things first. You can't cast a Patronus with a sad, squishy pumpkin. Head to the patch or the grocery store and get picky. Look for a pumpkin with smooth, firm skin – that's your canvas. Avoid anything with soft spots, deep bruises, or cuts. A flat bottom helps it sit steady on your workbench (or kitchen table, let's be real). Think about the size, too. A massive one might seem impressive, but carving intricate details on it is a workout worthy of a Quidditch tryout. A medium-sized pumpkin is usually a good bet for most pumpkin carving ideas Harry Potter related, offering enough space for detail without being overwhelming.
Beyond the pumpkin itself, gather your tools. Don't even think about grabbing a dull kitchen knife and hoping for the best; that's a recipe for disaster and possibly a trip to St. Mungo's. Get a proper pumpkin carving kit. They usually come with small saws, scoops, and detail tools. A sharp, serrated knife is essential for the initial top cut. Also, grab a sturdy scoop or ice cream scooper for gutting – trust me, your hand will thank you. A dry-erase marker is your friend for sketching designs, and a poking tool (like a thumbtack or a dedicated poking tool from a kit) is crucial for transferring stencils.
- Choose a firm, smooth pumpkin.
- Avoid soft spots and blemishes.
- Consider size based on your design complexity.
- Invest in a proper pumpkin carving kit.
- Have a sharp knife for the top cut.
- Use a sturdy scoop for cleaning.
- Keep a dry-erase marker and poking tool handy.
Choosing Your Spell: Design Selection and Prep
Now for the fun part: what magical image will grace your pumpkin? The world of Harry Potter offers a ridiculous number of possibilities. Do you go classic with the Hogwarts crest or the Deathly Hallows symbol? Maybe a character silhouette – Harry, Hermione, or even Dobby? Spells like "Expelliarmus" or quotes like "Always" can look surprisingly cool carved out. Think about the complexity you're comfortable with. If this is your first rodeo, maybe skip the detailed portrait of Snape and start with something simpler, like a lightning bolt or a house crest. Plenty of free stencils are available online, which is a lifesaver. Just print them out.
Once you have your design, tape the stencil securely to the cleanest, smoothest side of your pumpkin. Use your poking tool to make small, close-together holes along all the lines of the stencil. This transfers the design onto the pumpkin skin as a dotted outline. Don't rush this part; accuracy here makes carving much easier later. After you've poked all the lines, gently peel off the paper stencil. You should see a dotted guide on the pumpkin. If the dots are hard to see, you can lightly connect them with a dry-erase marker, but keep the lines faint so they don't mess up your final look.
Clearing the Chamber (of Seeds)
time to get a little messy. Using that sharp serrated knife, carefully cut a circle around the stem of the pumpkin. Angle the cut slightly inward, towards the center, so the lid has a lip to rest on and doesn't just fall in. Once the lid is cut, pull it off – it might take a gentle twist. Set it aside. Now, grab your scoop. This is where you unleash your inner house-elf and clean out the guts. Scrape down the inside walls thoroughly, removing all the seeds and stringy pulp. Get it as smooth as possible. A clean interior makes it easier to work and helps the light shine through better later.
Don't forget the lid! Scrape the pulp off the underside of the lid as well. Some people like to cut a small notch in the back of the lid or the pumpkin opening. This serves two purposes: it helps you align the lid correctly each time, and it provides a small vent for heat if you're using a real candle (though battery-operated lights are much safer and recommended). Take your time cleaning; a well-cleaned pumpkin is the foundation for a great carving. Toss the guts or save the seeds for roasting – your choice.
Simple Spells: Easy Harry Potter Pumpkin Carving Ideas for Every Muggle
Simple Spells: Easy Harry Potter Pumpkin Carving Ideas for Every Muggle
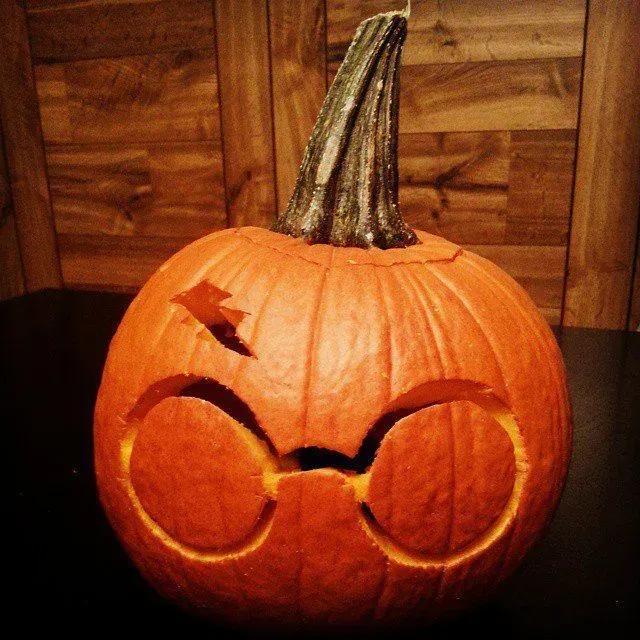
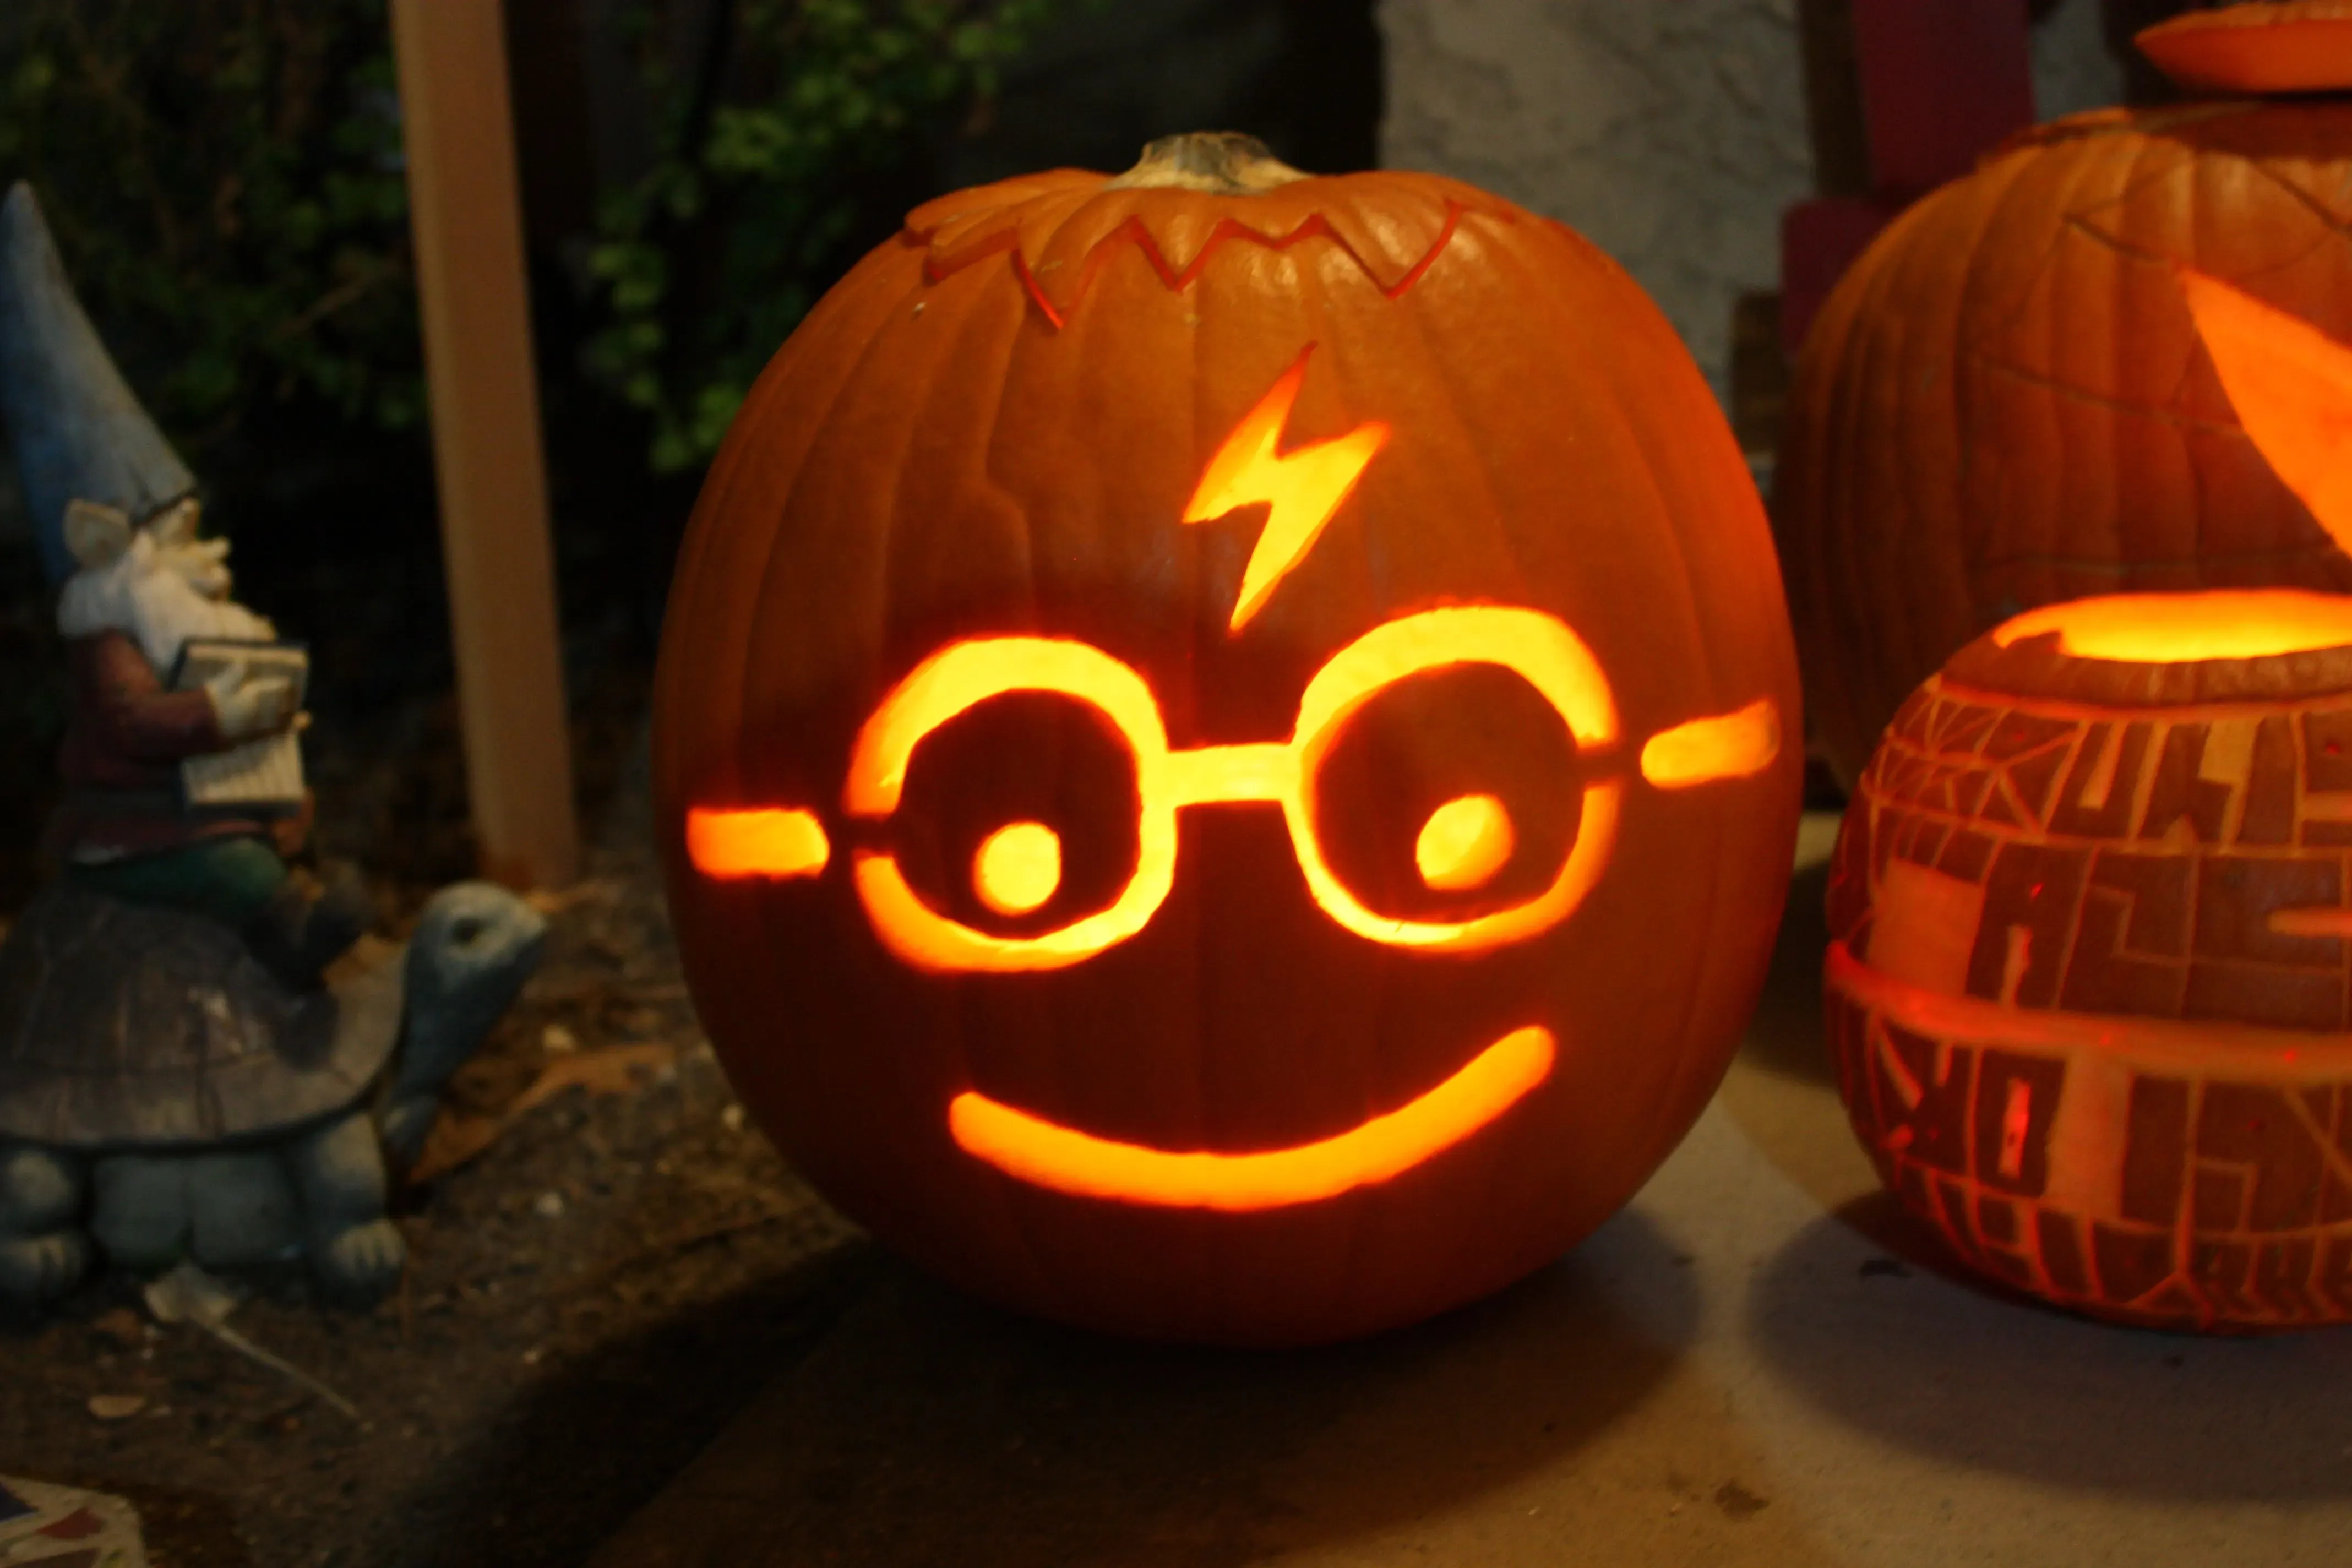
Lightning Bolts and Scar Markings
so you're not ready to tackle a full-on Dumbledore portrait. Totally fine. Start simple. The absolute easiest way to bring a touch of Harry Potter magic to your pumpkin is with Harry's iconic lightning bolt scar. It’s instantly recognizable, requires minimal carving skill, and looks surprisingly effective, especially when lit from within. Just transfer a simple lightning bolt shape using your poking tool, then carefully carve it out. Don't worry about perfection; scars aren't perfect anyway. Another easy win? The number 9 ¾. Straight lines, simple curves – totally doable. These designs are quick, forgiving, and still scream "Wizarding World" louder than a Howler.
House Pride and Simple Symbols
Want to show your house colors? Carving the simple animal silhouettes for Gryffindor (lion), Hufflepuff (badger), Ravenclaw (eagle), or Slytherin (snake) is a fantastic option for relatively easy pumpkin carving ideas Harry Potter style. You can find simplified stencils online that reduce the animals to their basic shapes. The Deathly Hallows symbol – a triangle, circle, and line – is another classic, straightforward design. It looks complex, but it’s just a few straight cuts and one circle. These symbols are clean, graphic, and look great on a porch.
- Lightning Bolt Scar: Trace and carve a simple zig-zag.
- Platform 9 ¾: Straight lines and curves.
- House Animal Silhouettes: Use simplified stencils.
- Deathly Hallows: Triangle, circle, and a straight line.
- Golden Snitch: A circle with simple wing shapes.
Easy Quotes and Stencil Tricks
Carving letters might seem intimidating, but for short, impactful quotes, it's quite manageable. Think "Always," "Alohomora," or "Mischief Managed." Find a clear, blocky font stencil online. Poke the outline diligently, then carefully carve. The key is taking your time and using a small, sharp detail saw from your kit. For any of these simple designs, using a good stencil is half the battle. It takes the guesswork out of the drawing phase and gives you a clear path to follow with your carving tool. Don't be afraid to cut straight through sections where the stencil indicates; these are meant to be openings for light.
Mastering the Dark Arts: Advanced Harry Potter Pumpkin Carving Ideas
Mastering the Dark Arts: Advanced Harry Potter Pumpkin Carving Ideas
Attempting Portraits and Complex Scenes
so you've mastered the simple charms and feel ready to cast a more complex spell on your pumpkin. Venturing into advanced pumpkin carving ideas Harry Potter style means tackling portraits or detailed scenes. Think Dumbledore's wise face, the intricate architecture of Hogwarts Castle, or even a full-blown depiction of the Triwizard Tournament's dragon challenge. This isn't just about cutting shapes; it's about seeing the pumpkin as a canvas with different layers. You'll need designs that aren't just outlines but show variations in light and shadow. Finding high-contrast images works best. Transferring these detailed stencils requires patience – poke those hundreds of tiny holes accurately, or you'll end up with something that looks less like Hermione and more like a grumpy house-elf.
Shading Spells: Layering the Magic
True mastery in pumpkin carving, especially for detailed Harry Potter imagery, comes from shading, not just cutting through. This technique involves scraping away only the outer layer of skin to let some light through, creating lighter areas, while leaving other areas fully intact or carving them completely out for maximum brightness. Different depths of scraping produce different levels of light. A linoleum cutter or specialized clay sculpting tools can be surprisingly effective for this. Practice on a scrap piece first. Getting the right pressure is key – too shallow, and the light won't show; too deep, and you've gone right through. This is how you create the subtle details on a character's face or the texture of a dragon's scales.
Ready to try your hand at shading? Here are some classic advanced subjects:
- Snape's intense gaze (lots of shadow play needed).
- The detail on a Hippogriff's wings.
- The intricate patterns on a Horcrux (like the locket).
- A Dementor's cloaked form (use varying levels of darkness).
Detailing Charms and Tool Mastery
Working on these advanced pumpkin carving ideas Harry Potter themed requires more than just the basic kit. You'll find yourself reaching for smaller, more precise tools. Dental tools, X-Acto knives (used with extreme caution, obviously), and specialized clay loops are your friends here. They let you get into tight corners, clean up edges, and refine those scraped areas. Don't try to do it all in one sitting. These complex designs take time. Work in good light, take breaks, and step back often to see how the design is developing. A small fan blowing on the pumpkin can help keep the surface dry and less sticky while you work. Remember, precision is paramount when you're trying to recreate the Elder Wand or the Sorting Hat's many folds.
Beyond the Blade: NoCarve Harry Potter Pumpkin Decorating
Beyond the Blade: NoCarve Harry Potter Pumpkin Decorating
Painting Your Magical Masterpiece (No Potions Required)
Look, maybe the thought of wielding a sharp object near a round, slippery surface fills you with the same dread as facing a Boggart. That's perfectly alright. You don't need to carve to make a killer Harry Potter pumpkin. Paint is your new best friend. Think bold colors: the deep red and gold of Gryffindor, the emerald and silver of Slytherin. You can paint the entire pumpkin a base color, then add details on top. Stencils still work here – just trace the design onto the painted surface with a pencil and fill it in with a contrasting color or even paint pens for finer lines. Painting the Hogwarts crest or the house animals is way easier with a brush than a saw. Plus, painted pumpkins tend to last a good bit longer than their carved cousins, which is a win in my book.
Accessorizing Like a Wizard (Wands Optional)
Who says you can't dress up a pumpkin? The Wizarding World is full of iconic items you can attach or add to your gourd for an instantly recognizable look. Think about giving your pumpkin some round spectacles and a lightning bolt scar drawn on with marker – instant Harry! Or maybe glue on some felt ears and oversized socks for a Dobby tribute. A miniature sorting hat perched on top? Brilliant. You can use craft glue, pins, or even hot glue (carefully!) to attach things like pipe cleaners for glasses, felt for emblems, or even small toy spiders for an Aragog vibe (if you're brave). This approach is fantastic for involving younger witches and wizards who might be too small for carving tools.
What's the most underappreciated no-carve Harry Potter accessory?
- Miniature Quidditch goalposts made from twigs.
- A tiny, painted "Monster Book of Monsters" attached to the side.
- Golden snitch wings cut from paper or craft foam and glued on.
- A label that says "Polyjuice Potion" and some bubbly green paint.
- Attaching a tiny, painted owl (like Hedwig) to the stem.
Combining Charms: Mix and Match Techniques
The best no-carve pumpkins often use a combination of techniques. You might paint a base color, then use markers for fine details like text or character outlines. Or maybe you paint the main design and then add physical accessories like googly eyes or a small felt cloak. Glitter can add a touch of magic (think Fawkes the phoenix or a sparkling spell effect), though be prepared for it to end up everywhere – it's the craft glitter curse. The goal is to evoke the spirit of Harry Potter using whatever non-carving methods feel most accessible and fun. Don't feel limited to just one idea; mix paint, markers, glued-on elements, and anything else you can think of to bring your magical vision to life.
Keeping the Magic Alive: Making Your Harry Potter Pumpkin Carving Last
Keeping the Magic Alive: Making Your Harry Potter Pumpkin Carving Last
Cleaning and Drying Your Magical Creation
You've spent hours conjuring up that perfect Patronus or carving out the intricate details of the Hogwarts crest. Now, the last thing you want is for your masterpiece to turn into a saggy, moldy mess faster than Gilderoy Lockhart's memory faded. The first step in preservation is getting it clean and dry after carving. Once the guts are out and the carving is done, gently wipe down both the inside and outside of the pumpkin with a damp cloth to remove any lingering pulp or sticky residue. Some people swear by a quick rinse with a diluted bleach solution (about one teaspoon of bleach per quart of water) to kill surface bacteria and mold spores. Just spray it on, let it sit for a few minutes, and then rinse it off thoroughly. Make sure you dry it completely afterward, inside and out, with a towel or even a fan. Excess moisture is the enemy.
Barrier Charms: Sealing in Freshness
Think of this as casting a protective charm on your pumpkin. Once it's clean and dry, you need to create a barrier to slow down dehydration and decay. Petroleum jelly (like Vaseline) is a classic, cheap method. Smear a thin layer over all the cut edges and the inside surfaces. This helps lock in moisture and prevents the pumpkin from drying out and shriveling. Another option is a commercial pumpkin preservative spray, often found in seasonal aisles. These usually contain mold inhibitors. A simple mixture of water and white glue (50/50 mix) painted onto the cut surfaces can also work, drying to a clear, protective film. Reapplying your chosen sealant every few days, especially if the pumpkin is exposed to dry air or sun, can significantly extend its lifespan and keep your Keeping the Magic Alive: Making Your Harry Potter Pumpkin Carving Last effort from going to waste.
So, which preservation method is right for you?
- Petroleum Jelly: Easy, cheap, creates a moisture barrier. Can look a bit greasy.
- Diluted Bleach Spray: Kills mold/bacteria, but doesn't prevent drying. Use *before* sealing.
- Commercial Preservative Spray: Contains inhibitors, specifically designed for pumpkins.
- Glue/Water Mix: Dries clear, creates a physical barrier against drying.
Mischief Managed: Your Magical Pumpkin Awaits
So there you have it. From the simple glow of a House crest to the intricate details of a Patronus, turning a humble pumpkin into a piece of Wizarding World art is absolutely within reach. Whether you opted for the carving knife or stuck to paint and glue, you've bypassed the basic and added a touch of genuine magic to your Halloween. These aren't just pumpkins anymore; they're glowing testaments to your fandom, sitting proudly on your porch, perhaps warding off rogue Dementors or at least impressing the neighbors. Now go admire your work – just try not to leave it out past November, unless you want a genuinely terrifying, rotting ghoul on your hands.