Table of Contents
Tired of the same old toothy grins on your pumpkins? Ready to ditch the basic triangle eyes and elevate your Halloween game? Then you've come to the right place. We're diving headfirst into the world of pumpkin carving ideas hard enough to make your neighbors do a double-take. Forget those simple stencils; we're talking about intricate designs, masterful shading, and jack-o'-lanterns that are true works of art. This isn't your grandma's pumpkin carving tutorial. Whether you're a seasoned artist looking for a new challenge or a determined beginner eager to learn, this guide will equip you with the knowledge and inspiration to create a show-stopping pumpkin. We'll explore essential tools, break down advanced techniques, and showcase some seriously impressive carvings to spark your imagination. Get ready to roll up your sleeves, unleash your inner artist, and transform ordinary pumpkins into extraordinary Halloween masterpieces. Prepare to be amazed by what you can achieve with a little patience, the right tools, and a whole lot of creativity. Let's get carving!
Level Up Your JackO'Lantern Game: Intricate Pumpkin Carving Ideas Hard to Ignore
Level Up Your JackO'Lantern Game: Intricate Pumpkin Carving Ideas Hard to Ignore
Beyond the Basic Grin: Embracing the Challenge
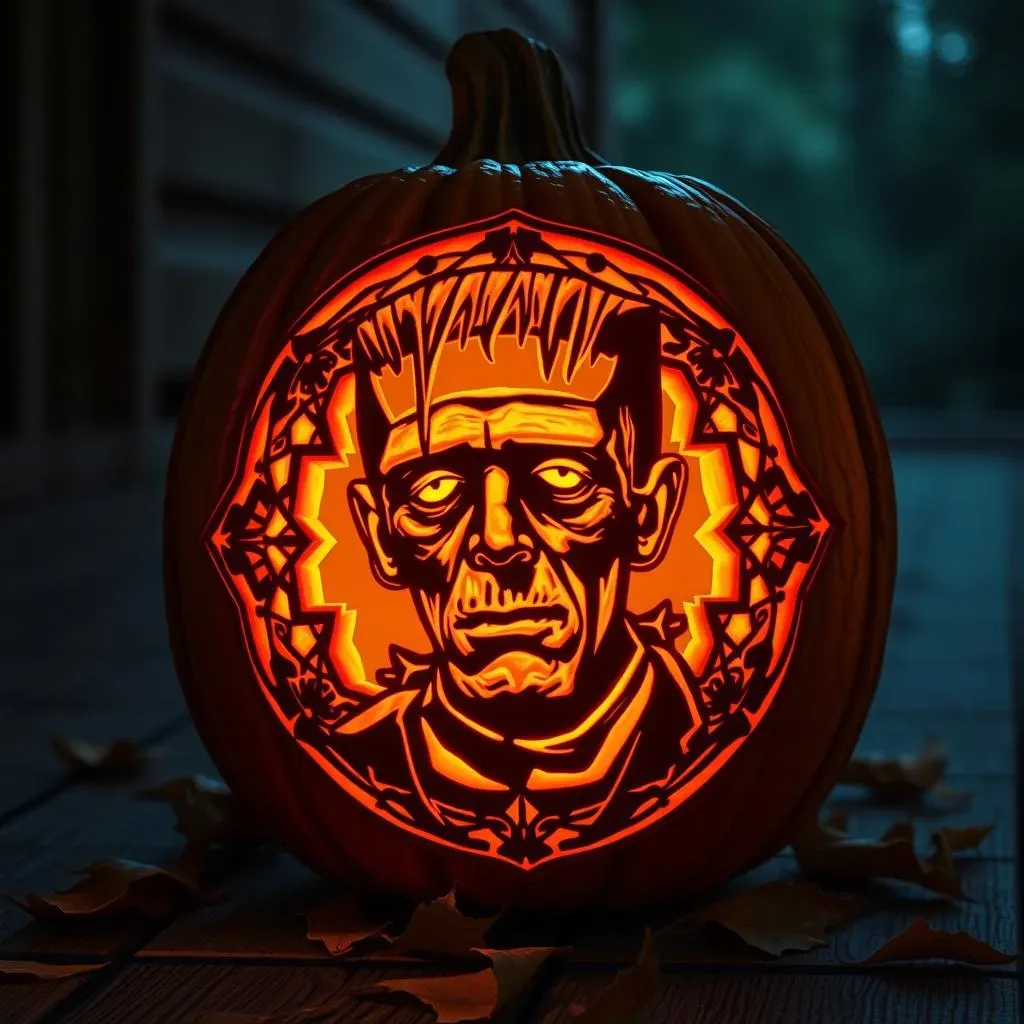
Let's be honest, anyone can carve a couple of triangles and a jagged mouth. But where's the fun in that? This Halloween, it's time to push your creative boundaries and embrace the challenge of intricate pumpkin carving. Think detailed portraits, complex geometric patterns, or even recreations of your favorite movie scenes. The possibilities are endless, and the satisfaction of pulling off a truly impressive design is unmatched.
The beauty of hard pumpkin carving ideas lies in the details. It's about transforming a simple gourd into a stunning work of art that will leave everyone in awe. So, ditch the cookie-cutter stencils and prepare to embark on a carving adventure that will test your skills and ignite your imagination. Trust me, the extra effort is well worth it when you see the final result glowing on your doorstep.
Finding Inspiration: Where to Look for Hard Pumpkin Carving Designs
so you're ready to tackle a challenging pumpkin carving, but where do you even begin? Inspiration is all around you! Start by browsing online art galleries, design blogs, and social media platforms like Pinterest and Instagram. Search for keywords like "intricate pumpkin carving," "advanced pumpkin stencils," or "pumpkin carving art" to discover a wealth of ideas.
Don't limit yourself to traditional Halloween themes. Consider drawing inspiration from nature, pop culture, or even your own personal interests. A detailed floral design, a portrait of your favorite superhero, or a geometric abstraction can all make for stunning and unique pumpkin carvings. The key is to find a design that excites you and challenges you to push your carving skills to the limit. And remember, don't be afraid to experiment and put your own spin on existing designs. That's where the real magic happens!
Inspiration Source | Example |
|---|---|
Online Art Galleries | DeviantArt, ArtStation |
Social Media | Pinterest, Instagram (search #pumpkincarving #halloweenart) |
Nature | Floral patterns, animal portraits |
Pop Culture | Movie characters, video game logos |
Tools of the Trade: Essential Gear for Tackling Hard Pumpkin Carving Designs
Tools of the Trade: Essential Gear for Tackling Hard Pumpkin Carving Designs
The Artisan's Arsenal: Assembling Your Pumpkin Carving Toolkit
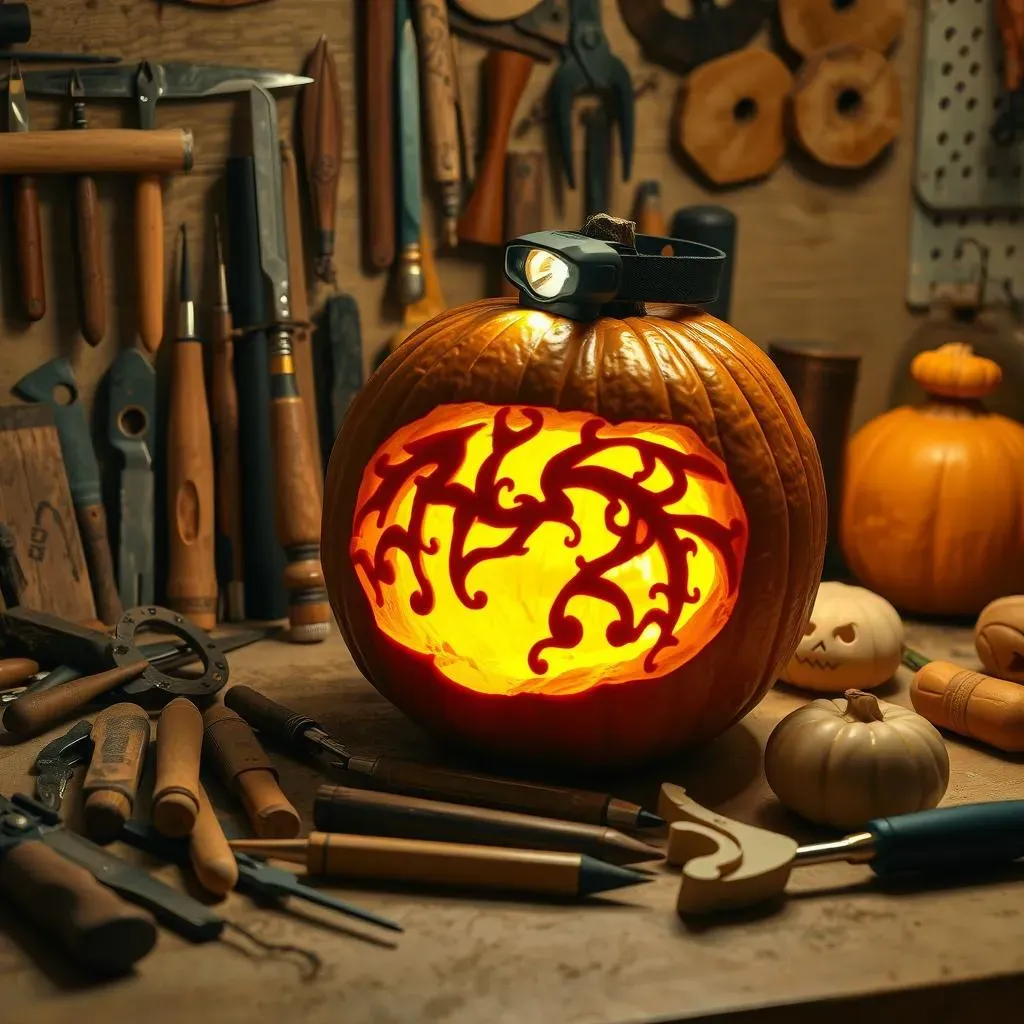
Alright, so you've got your design picked out, now it's time to arm yourself with the right tools. Forget those flimsy plastic pumpkin carving kits you find at the grocery store. We're going pro! To tackle hard pumpkin carving ideas, you'll need a set of tools that offer precision, control, and durability. Think of it like this: you wouldn't try to paint a masterpiece with a crayon, would you? The same principle applies to pumpkin carving.
Investing in quality tools will not only make the carving process easier and more enjoyable, but it will also allow you to achieve a level of detail that's simply impossible with inferior equipment. So, let's dive into the essential gear you'll need to create your pumpkin masterpiece.
Must-Have Tools for Intricate Pumpkin Carving
Here's a breakdown of the essential tools you'll need to conquer those challenging pumpkin carving designs:
- Pumpkin Carving Knives: Look for a set with various blade shapes and sizes, including a thin, pointed knife for detail work and a serrated knife for sawing.
- Wood Carving Chisels: These are a game-changer for creating depth and texture. A set with different shapes (gouges, v-tools, etc.) will give you maximum versatility.
- Loop Tools: These are great for removing large chunks of pumpkin flesh and creating smooth, rounded surfaces.
- Pencil or Marker: For transferring your design onto the pumpkin.
- Pumpkin Scraper: A sturdy scraper is essential for thinning the pumpkin walls and creating a smooth canvas for your carving.
- Detail Tools: Consider tools like clay sculpting tools or dental picks for fine detail work.
- Lighting: A good headlamp or work light will help you see what you're doing, especially when working on intricate details.
Tool | Purpose | Why You Need It |
|---|---|---|
Detail Knives | Fine lines, intricate details | Precision is key for complex designs. |
Wood Carving Chisels | Adding depth, creating texture | Elevates your carving from 2D to 3D. |
Pumpkin Scraper | Thinning walls, smoothing surfaces | Makes carving easier and allows light to shine through. |
From Stencil to Masterpiece: StepbyStep Guide to Advanced Pumpkin Carving
From Stencil to Masterpiece: StepbyStep Guide to Advanced Pumpkin Carving
Prep Like a Pro: Getting Your Pumpkin Ready
you've got your design and your tools, now it's time to prep your pumpkin for its transformation. This step is crucial because a well-prepared pumpkin will be easier to carve and will last longer. Start by selecting a pumpkin that's fresh, firm, and free of blemishes. A flat bottom is also a plus, as it will prevent your masterpiece from rolling away. Once you've chosen your perfect pumpkin, give it a good wash with soap and water to remove any dirt or debris.
Next, it's time to cut a hole. Now, most people cut a hole in the top, but I'm going to let you in on a little secret: cut the hole in the bottom! This allows you to easily place the pumpkin over a light source without having to awkwardly maneuver around the stem. Plus, it prevents the top from collapsing inwards as the pumpkin dries out. Make sure the hole is large enough to easily scoop out the insides.
Preparation Step | Why It Matters |
|---|---|
Wash the Pumpkin | Removes dirt and bacteria, prolonging its life. |
Cut Hole in Bottom | Easier access for lighting, prevents top collapse. |
Select the Right Pumpkin | Freshness and firmness are key for easy carving. |
Transferring Your Design: From Paper to Pumpkin
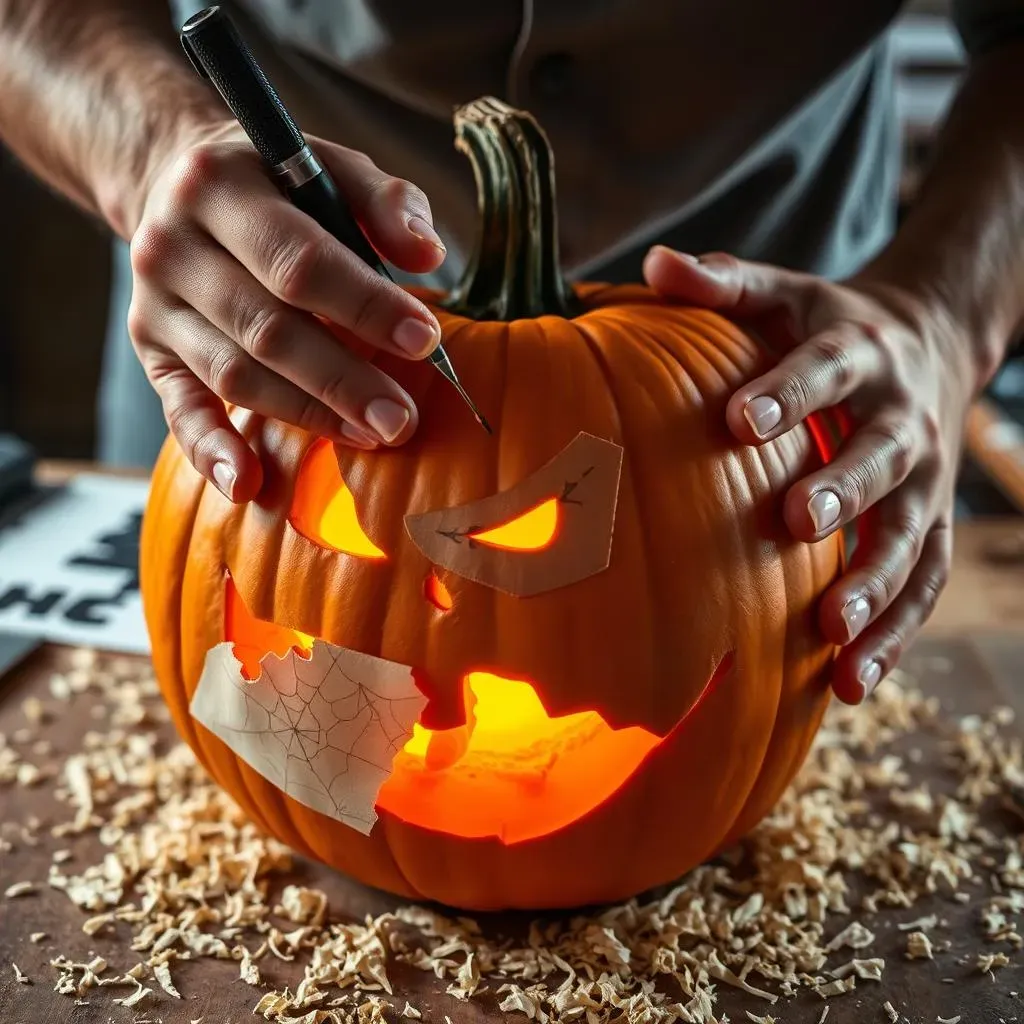
With your pumpkin prepped and ready, it's time to transfer your design. If you're using a stencil, simply tape it onto the pumpkin and use a poking tool or tracing wheel to transfer the design onto the surface. For more complex designs, you can print out a scaled version of your image and use carbon paper to transfer it. Alternatively, if you're feeling confident, you can freehand the design directly onto the pumpkin with a pencil or marker. Don't be afraid to make mistakes; you can always erase or adjust the design as needed.
Once your design is transferred, take a step back and assess the overall composition. Are the lines clear and easy to follow? Are there any areas that need to be adjusted or simplified? Remember, you're not trying to create a perfect replica of your design; you're creating a pumpkin carving. So, embrace the imperfections and let your creativity shine through. The most important thing is to have fun and enjoy the process.
Beyond the Basics: Creative Hard Pumpkin Carving Ideas and Techniques
Beyond the Basics: Creative Hard Pumpkin Carving Ideas and Techniques
Embrace the Third Dimension: 3D Pumpkin Carving
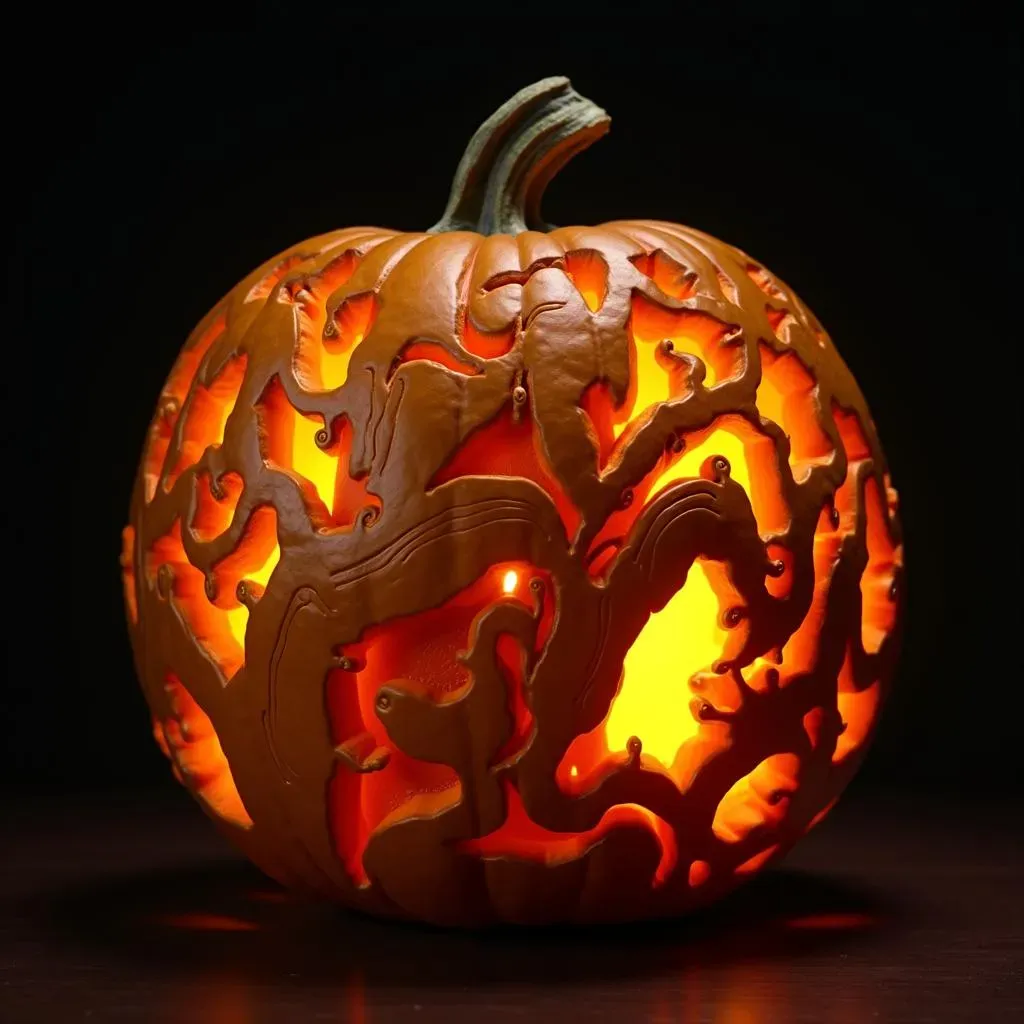
now that you've mastered the basics, let's talk about taking your pumpkin carving to the next level – literally! 3D pumpkin carving involves using techniques to create depth and dimension, making your design pop off the surface of the pumpkin. This can be achieved by layering different depths of carving, using undercuts to create shadows, and even adding sculpted elements to the pumpkin. Think of it as turning your pumpkin into a miniature sculpture.
One popular 3D technique is relief carving, where you carve away the background around your design, leaving the subject raised. This creates a dramatic effect that's sure to impress. Another technique is subtractive carving, where you remove material from the pumpkin to create a three-dimensional shape. This can be used to create intricate details like facial features or animal forms. Don't be afraid to experiment with different techniques and find what works best for you. The key is to think outside the box and let your creativity run wild.
Shading Secrets: Creating Depth with Light and Shadow
Another way to elevate your hard pumpkin carving ideas is through the use of shading techniques. Shading involves varying the depth of your cuts to control the amount of light that shines through the pumpkin. By creating areas of light and shadow, you can add depth, dimension, and realism to your design. This technique is particularly effective for creating portraits or detailed landscapes.
To achieve effective shading, start by identifying the light and dark areas of your design. Then, use your carving tools to create different depths of cuts. For lighter areas, make shallow cuts that allow more light to shine through. For darker areas, make deeper cuts that block out more light. You can also use a technique called "stippling," where you create tiny dots of varying depths to create a gradient effect. Practice makes perfect, so don't be afraid to experiment with different techniques and see what you can create.
Shading Technique | Description | Effect |
|---|---|---|
Layered Cuts | Varying depths of carving. | Creates depth and dimension. |
Stippling | Tiny dots of varying depths. | Creates a gradient effect. |
Undercutting | Carving under the surface to create shadows. | Adds drama and realism. |
Beyond the Pumpkin: Incorporating Mixed Media
Want to truly set your pumpkin carving apart? Consider incorporating mixed media elements into your design. This could involve adding materials like paint, glitter, fabric, or even found objects to enhance your carving. For example, you could use paint to add color and detail to your design, or use glitter to create a sparkling effect. You could even attach small objects like buttons, beads, or twigs to add texture and dimension.
The possibilities are endless! Just be sure to use materials that are safe and non-toxic. When using adhesives, choose a strong, waterproof glue that will hold the materials in place. Also, consider the overall aesthetic of your design and choose materials that complement your carving. A well-executed mixed media pumpkin carving is sure to be a showstopper. So, get creative and let your imagination soar!
Conclusion: From Simple Seed to Spooktacular Success
So, you've journeyed from simple inspiration to complex carving, armed with new skills and a gallery of pumpkin carving ideas hard enough to impress even the Halloween Grim Reaper. Remember, the most important ingredient is passion. Each gouge, shave, and carefully placed cut brings your vision to life, transforming a humble pumpkin into a beacon of spooky artistry. Don't be afraid to experiment, embrace the imperfections, and most importantly, have fun. Now go forth and illuminate the night with your stunning creations, inspiring awe and maybe just a little bit of envy, in all who behold your hard-earned, hand-carved Halloween masterpiece!