Table of Contents
Halloween's just around the corner, and what's more fun than transforming a plain pumpkin into a spooky or sweet masterpiece? If you're searching for pumpkin carving ideas for girls, you've landed in the right spot! Forget the generic scary faces; we're diving into a world of glitter, glam, and seriously cute designs that'll make your pumpkin the envy of the neighborhood. This isn't your grandma's pumpkin carving guide (unless your grandma's super trendy, of course). We're talking everything from adorable animals and fairytale creatures to personalized monograms and dazzling decorations. So, grab your carving tools (or paintbrushes!), gather your girls, and let's get ready to unleash some serious creativity. We'll explore easy-to-carve options perfect for beginners, plus some no-carve alternatives that are just as stunning. Get ready to be inspired and create a pumpkin that truly shines!
Cute and Easy Pumpkin Carving Ideas for Girls
Cute and Easy Pumpkin Carving Ideas for Girls
Simple Shapes & Silhouettes
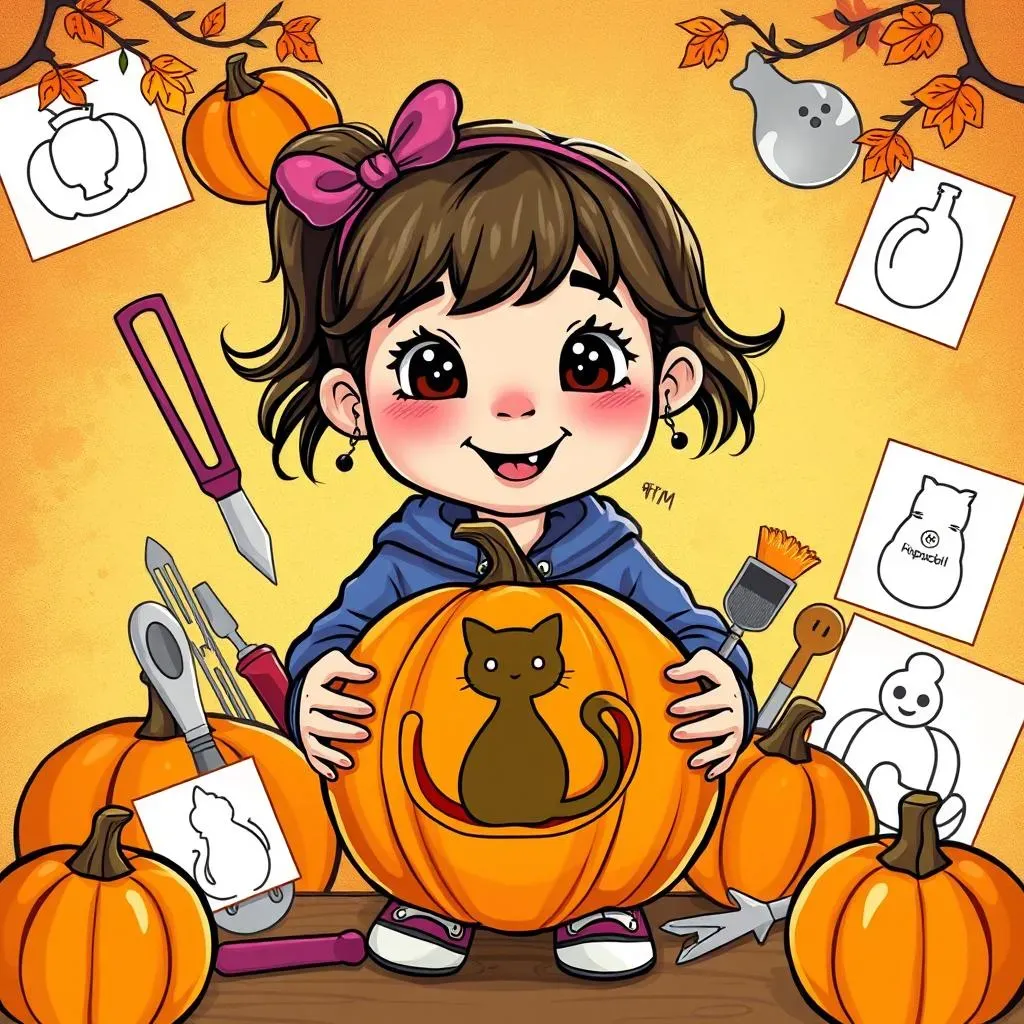
Let's kick things off with designs that are totally achievable, even if you're a pumpkin carving newbie. Think beyond the basic triangle eyes and jagged mouth. Stars, hearts, and crescent moons are super easy to trace and carve. Or, how about a classic cat silhouette? These shapes are instantly recognizable and add a touch of Halloween charm without requiring expert-level skills.
For younger girls, consider using cookie cutters as stencils. Simply press the cookie cutter firmly onto the pumpkin's surface and trace around it with a marker. Then, carefully carve along the lines. It's a foolproof way to create adorable and symmetrical designs. Plus, you can use the same cookie cutters to bake some Halloween treats afterwards!
Polka Dots & Patterns
Who says pumpkin carving has to be all about scary faces? Embrace your inner artist and create a pumpkin covered in polka dots! Use different sized drill bits to make the holes, creating a fun and whimsical effect. Or, get a little more adventurous with stripes, zigzags, or even floral patterns. These designs are surprisingly easy to execute and look incredibly stylish.
Another great option is to use a linoleum cutter (adult supervision required, of course!) to create intricate patterns on the surface of the pumpkin. This technique allows you to carve shallow designs that let light shine through, creating a beautiful and delicate effect. Think of it as pumpkin etching!
Design Idea | Difficulty | Materials |
|---|---|---|
Polka Dot Pumpkin | Easy | Pumpkin, drill with various sized bits |
Star Silhouette | Easy | Pumpkin, star stencil, carving tools |
Floral Pattern | Medium | Pumpkin, linoleum cutter, floral stencil |
Girly Pumpkin Carving: Think Pink and Sparkle
Girly Pumpkin Carving: Think Pink and Sparkle
Embrace the Pink Palette
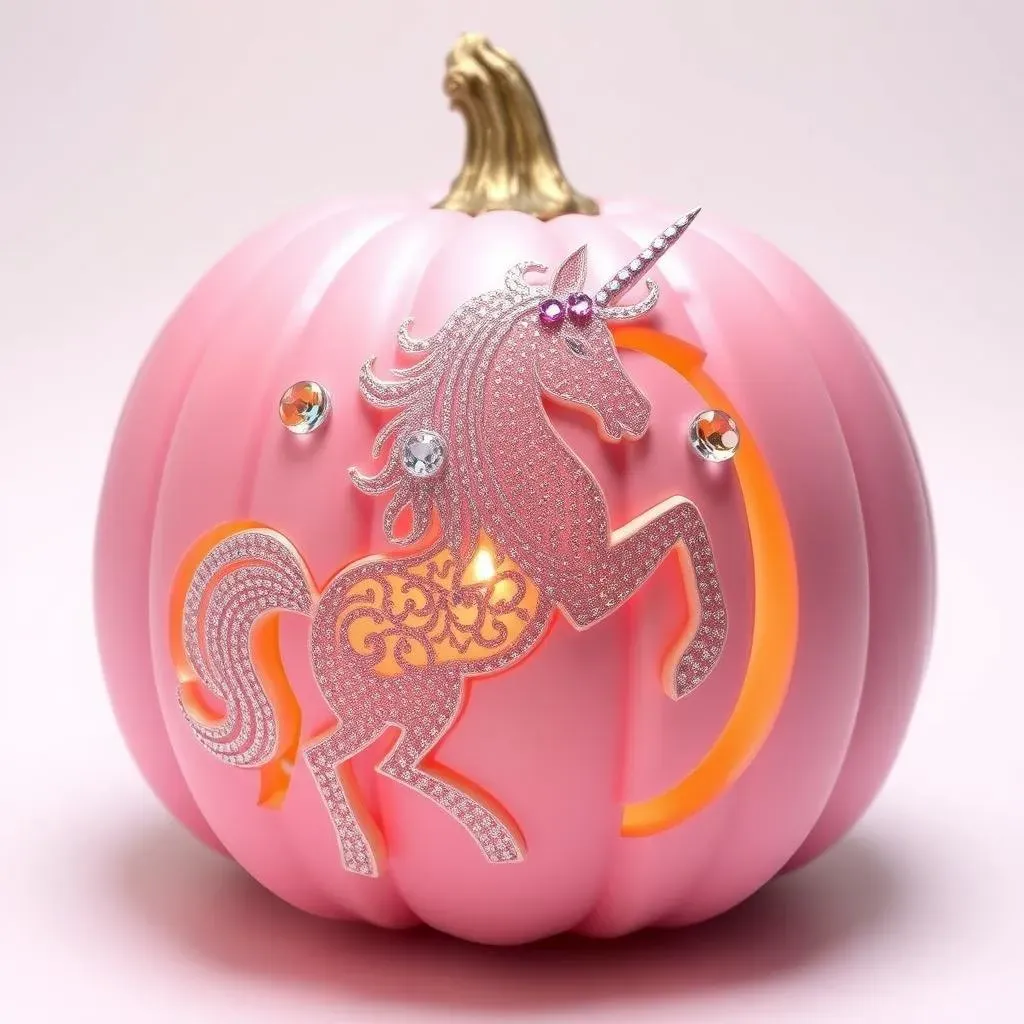
let's ditch the traditional orange and black for a moment and dive headfirst into a world of pink! Girly pumpkin carving is all about embracing those traditionally feminine colors. Paint your pumpkin a vibrant bubblegum pink, a soft pastel rose, or even a shimmering magenta. Don't be afraid to experiment with different shades and finishes. A metallic pink spray paint can add a touch of glam, while a matte pink gives a more understated, chic look.
But pink is just the beginning! Think about adding accents in other girly colors like lavender, teal, and gold. These colors complement pink beautifully and can help to create a truly unique and eye-catching design. You can even use different shades of pink to create an ombre effect, fading from light to dark for a sophisticated look.
Glitter, Rhinestones, and All Things Sparkly
What's a girly pumpkin without a little sparkle? This is where you can really let your creativity shine. Glue on rhinestones in various sizes and colors to create dazzling patterns. Use glitter to add a touch of magic to your design. You can even create a glitter ombre effect by gradually applying more glitter towards the bottom of the pumpkin.
Consider using adhesive craft gems to create intricate designs without the mess of glue. These gems come in a variety of shapes and sizes, making it easy to create everything from simple polka dots to elaborate floral patterns. You can also use glitter glue to draw designs directly onto the pumpkin. The possibilities are endless!
Princesses, Unicorns, and Fairytale Dreams
Now, let's talk about themes! What's more girly than princesses, unicorns, and fairytale creatures? Carve a silhouette of your favorite princess, complete with a sparkling crown. Or, create a magical unicorn pumpkin with a rainbow mane and a glittery horn. You can even carve out a fairytale castle with tiny windows and turrets.
If carving seems too daunting, consider painting these themes onto your pumpkin instead. Use stencils to create clean lines and add details with paint markers. You can even use fabric scraps and felt to create 3D elements, like a unicorn's mane or a princess's dress. The key is to have fun and let your imagination run wild!
Theme | Description | Materials |
|---|---|---|
Princess Pumpkin | Carve a princess silhouette and add a sparkly crown. | Pumpkin, carving tools, princess stencil, glitter, glue |
Unicorn Pumpkin | Create a unicorn with a rainbow mane and a glittery horn. | Pumpkin, paint, felt, glitter, glue |
Fairytale Castle | Carve or paint a fairytale castle with turrets and windows. | Pumpkin, carving tools or paint, stencils, paint markers |
Creative Pumpkin Painting Ideas (No Carving Needed!)
Creative Pumpkin Painting Ideas (No Carving Needed!)
Why Painting is a Fantastic Option
so maybe wielding sharp knives isn't your thing, or perhaps you have little ones who want to get in on the pumpkin decorating action without the risk of a carving mishap. That's where creative pumpkin painting ideas (no carving needed!) come to the rescue! Painting is a brilliant alternative that allows for just as much creativity (if not more!), and it's totally safe for all ages. Plus, painted pumpkins tend to last longer since you're not cutting into the flesh and exposing it to the elements. It's a win-win!
Think of your pumpkin as a blank canvas just waiting to be transformed. You can use acrylic paints, paint markers, spray paint, or even chalkboard paint to create a variety of stunning designs. The possibilities are truly endless, and you're not limited by your carving skills. So, ditch the knives and embrace the paintbrush – you might just surprise yourself with what you can create!
Trendy Design Ideas: From Boho to Geometric
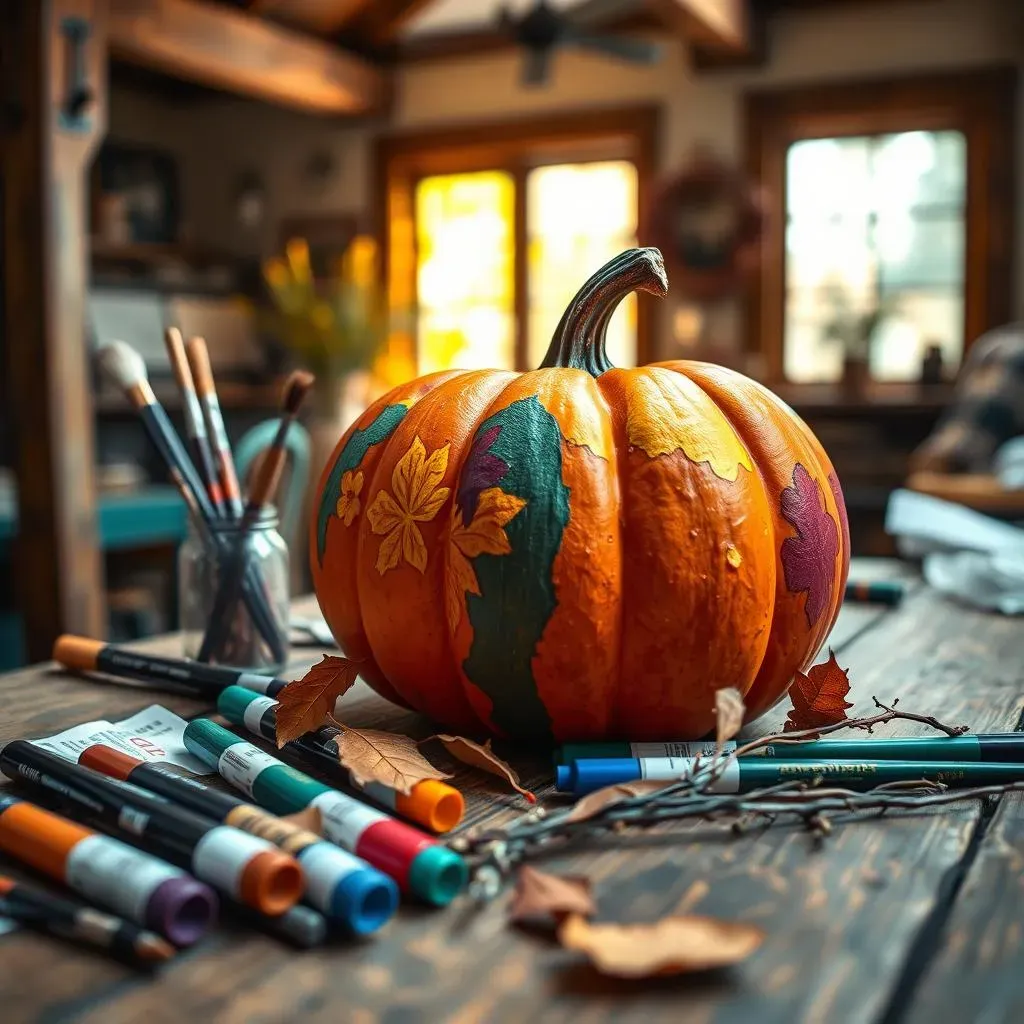
Need some inspiration? Let's brainstorm some trendy design ideas that are perfect for painted pumpkins. Boho chic is all the rage right now, so why not create a pumpkin adorned with intricate mandala patterns? Use a fine-tipped paint marker to draw delicate details and add pops of color with acrylic paints. Or, embrace the geometric trend with bold lines, triangles, and squares. These designs are surprisingly easy to create and look incredibly modern and stylish.
Another fun idea is to create a chalkboard pumpkin. Simply paint your pumpkin with chalkboard paint and let it dry completely. Then, use chalk to draw spooky messages, cute illustrations, or even just your family's name. You can change the design as often as you like, making it a fun and interactive decoration. Plus, it's a great way to let the kids express their creativity!
Adding Texture and Dimension
Want to take your painted pumpkin to the next level? Consider adding texture and dimension to your design. Use textured paint to create a raised effect, or glue on embellishments like buttons, beads, and sequins. You can even use hot glue to create 3D patterns, like spiderwebs or floral designs. Just be careful when using hot glue, especially around children.
Another great way to add texture is to use stencils and sponges. Dip a sponge into paint and dab it onto the pumpkin through the stencil to create a textured pattern. You can also use different types of sponges to create different effects. For example, a sea sponge will create a more organic and textured look, while a foam sponge will create a smoother and more uniform pattern.
Design Idea | Description | Materials |
|---|---|---|
Mandala Pumpkin | Paint intricate mandala patterns with fine-tipped paint markers. | Pumpkin, acrylic paints, paint markers |
Geometric Pumpkin | Create bold geometric designs with lines, triangles, and squares. | Pumpkin, acrylic paints, tape (for creating straight lines) |
Chalkboard Pumpkin | Paint with chalkboard paint and draw messages or illustrations with chalk. | Pumpkin, chalkboard paint, chalk |
Pumpkin Carving Stencils & Templates for Girls
Pumpkin Carving Stencils & Templates for Girls
Free Printable Stencils: Your Carving Cheat Sheet
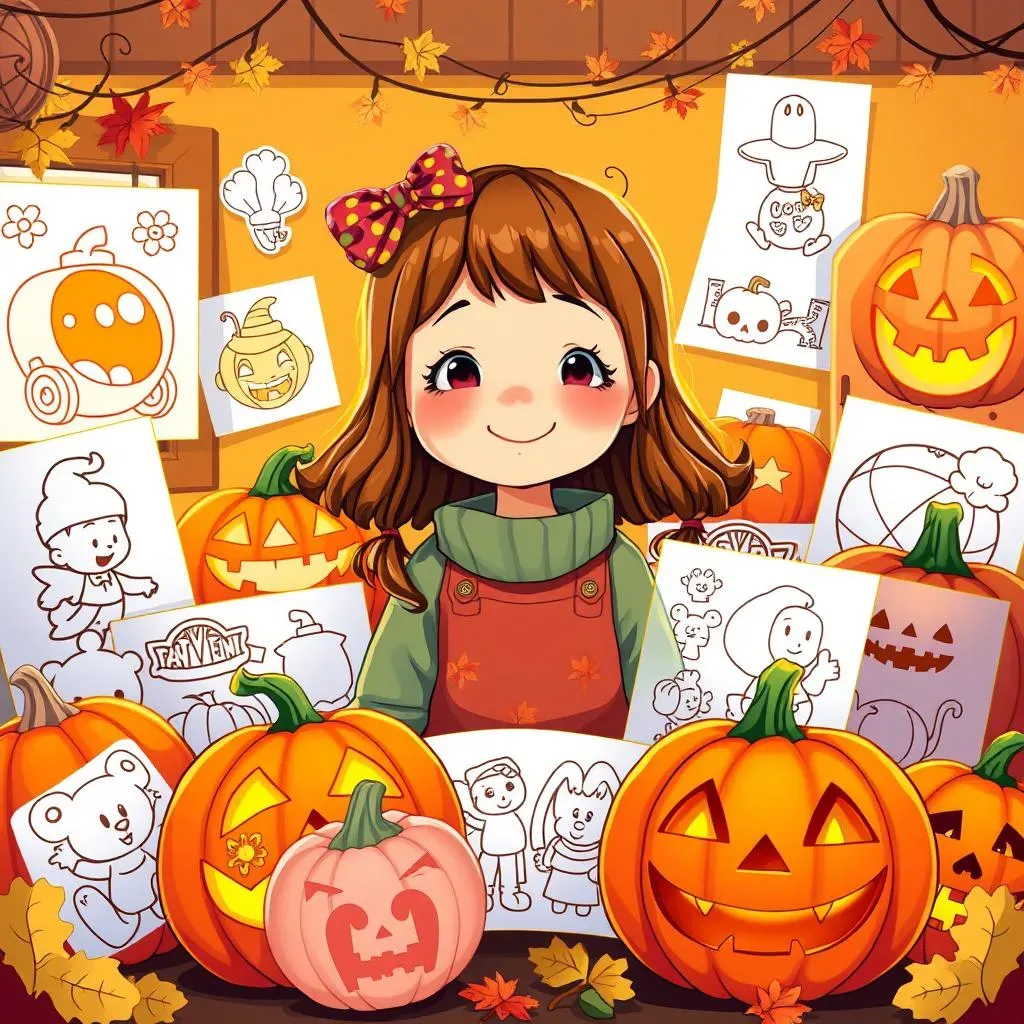
Alright, let's be honest, sometimes freehanding a design just isn't in the cards. That's where pumpkin carving stencils & templates for girls become your best friend! The internet is overflowing with free, printable stencils that can take your pumpkin from drab to fab in minutes. Seriously, a quick search will reveal a treasure trove of options, from cute cartoon characters and elegant floral designs to monograms and inspiring quotes. The beauty of stencils is that they provide a clear outline to follow, making the carving process much easier and more precise. It's like having a professional artist guide your hand!
To use a stencil, simply print it out, tape it securely to your pumpkin, and use a poking tool (or even a toothpick) to transfer the design onto the pumpkin's surface. Then, remove the stencil and start carving along the dotted lines. It's that easy! For more intricate designs, consider using a specialized pumpkin carving kit that includes a variety of saws and tools to help you achieve those fine details.
Level Up: Paid Templates for Unique Designs
While free stencils are great, sometimes you want something a little more unique and special. That's where paid templates come in. Etsy and other online marketplaces are filled with talented artists who create stunning pumpkin carving templates that you won't find anywhere else. These templates often feature more intricate designs, personalized elements, and even 3D carving techniques. They're perfect for creating a truly one-of-a-kind pumpkin that will wow everyone who sees it.
Investing in a paid template is a great way to support independent artists and elevate your pumpkin carving game. Plus, you'll have access to a design that's not mass-produced, ensuring that your pumpkin stands out from the crowd. Just be sure to read the template's instructions carefully before you start carving, as some may require more advanced carving skills.
Stencil Type | Cost | Pros | Cons |
|---|---|---|---|
Free Printable | Free | Easy to find, wide variety of designs | Can be basic, may require some modification |
Paid Template | Varies | Unique designs, often more intricate | Requires purchase, may be more difficult to carve |
DIY Template Creation: Unleash Your Inner Artist
Feeling extra creative? Why not create your own pumpkin carving templates? Grab some paper, a pencil, and your imagination, and start sketching! Think about your daughter's favorite characters, hobbies, or even just her name. You can then transfer your design onto the pumpkin using the same poking method described above. Creating your own templates allows you to personalize your pumpkin carving experience and create something truly unique.
If you're not confident in your drawing skills, don't worry! You can use online design tools or even trace images from books or magazines. The key is to have fun and experiment. Don't be afraid to make mistakes – that's how you learn! And who knows, you might just discover a hidden talent for pumpkin carving template design!
Safety Tips for Pumpkin Carving with Girls
Safety Tips for Pumpkin Carving with Girls
Adult Supervision is Key
let's get serious for a sec. Safety tips for pumpkin carving with girls always starts with adult supervision. This isn't a drop-them-off-and-hope-for-the-best situation. We're talking about sharp tools and potentially slippery gourds. An adult needs to be actively involved in the carving process, guiding little hands and ensuring that everyone is using the tools safely. This not only prevents accidents but also provides a great opportunity for bonding and creating memories together.
Think of it like teaching someone to ride a bike. You wouldn't just push them off and expect them to figure it out, would you? You'd hold on tight, offer guidance, and make sure they don't fall. Pumpkin carving is the same. Be there, be present, and be a safety role model.
Kid-Friendly Tools are a Must
Ditch the butcher knives and steak knives, people! Invest in a good quality pumpkin carving kit designed specifically for kids. These kits typically include smaller, less sharp tools that are easier for little hands to grip and control. They also often come with safety saws that are less likely to cause serious injuries. Remember, we're aiming for fun, not ER visits!
Consider using plastic carving tools instead of metal ones. While they may not be as durable, they're much safer for younger children to use. You can also find kid-friendly saws with rounded tips that are less likely to puncture skin. The key is to choose tools that are appropriate for your child's age and skill level. It's better to be safe than sorry!
Carving Surface and Proper Lighting
Don't underestimate the importance of a stable carving surface! A wobbly table or a slippery floor can lead to accidents. Make sure you're carving on a sturdy table covered with newspaper or a plastic tablecloth. This will not only protect your furniture but also make cleanup a breeze.
Good lighting is also essential. Make sure you have plenty of light so everyone can see what they're doing. Carving in a dimly lit room can increase the risk of accidents. Consider using a bright overhead light or a portable work light to illuminate your carving area.
Safety Tip | Description | Why It's Important |
|---|---|---|
Adult Supervision | Always have an adult present during carving. | Prevents accidents and provides guidance. |
Kid-Friendly Tools | Use smaller, less sharp tools designed for kids. | Easier to grip and control, reduces risk of injury. |
Stable Surface & Good Lighting | Carve on a sturdy table with plenty of light. | Reduces risk of slips, trips, and accidental cuts. |
Conclusion: Carve Out Some Fun with These Pumpkin Ideas for Girls!
So, whether you're wielding a carving knife or bedazzling with glitter glue, remember that the best pumpkin is one that reflects your unique style and spirit. These pumpkin carving ideas for girls are just a starting point – let your imagination run wild and create something truly special this Halloween. From cute and cuddly creatures to glamorous and sparkly designs, there's a pumpkin project for every girl to enjoy. So gather your supplies, put on some spooky tunes, and get ready to carve out some fun! Happy Halloween!