Table of Contents
Halloween is creeping up, and with it comes the annual tradition of transforming innocent pumpkins into spooky or silly jack-o'-lanterns. But let's be honest, for many of us, the reality of pumpkin carving looks a lot less like a Pinterest-perfect masterpiece and more like a messy, frustrating battle ending in a slightly sad-looking gourd. If you've ever felt intimidated by intricate stencils or ended up with jagged, unintended cuts, you're not alone. This guide is built for exactly that scenario, focusing squarely onpumpkin carving ideas easy for beginners. We're stripping away the complexity and giving you the straightforward techniques and simple designs that deliver impressive results without making you want to throw your pumpkin across the yard. We'll walk you through picking the right pumpkin, the minimal tools you actually need to get the job done safely and effectively, simple cutting and scraping methods, and plenty of tried-and-true ideas that look fantastic but require surprisingly little effort. Get ready to ditch the dread and actually enjoy carving a pumpkin this year.
Picking the Perfect Pumpkin and Tools for Easy Carving

Picking the Perfect Pumpkin and Tools for Easy Carving
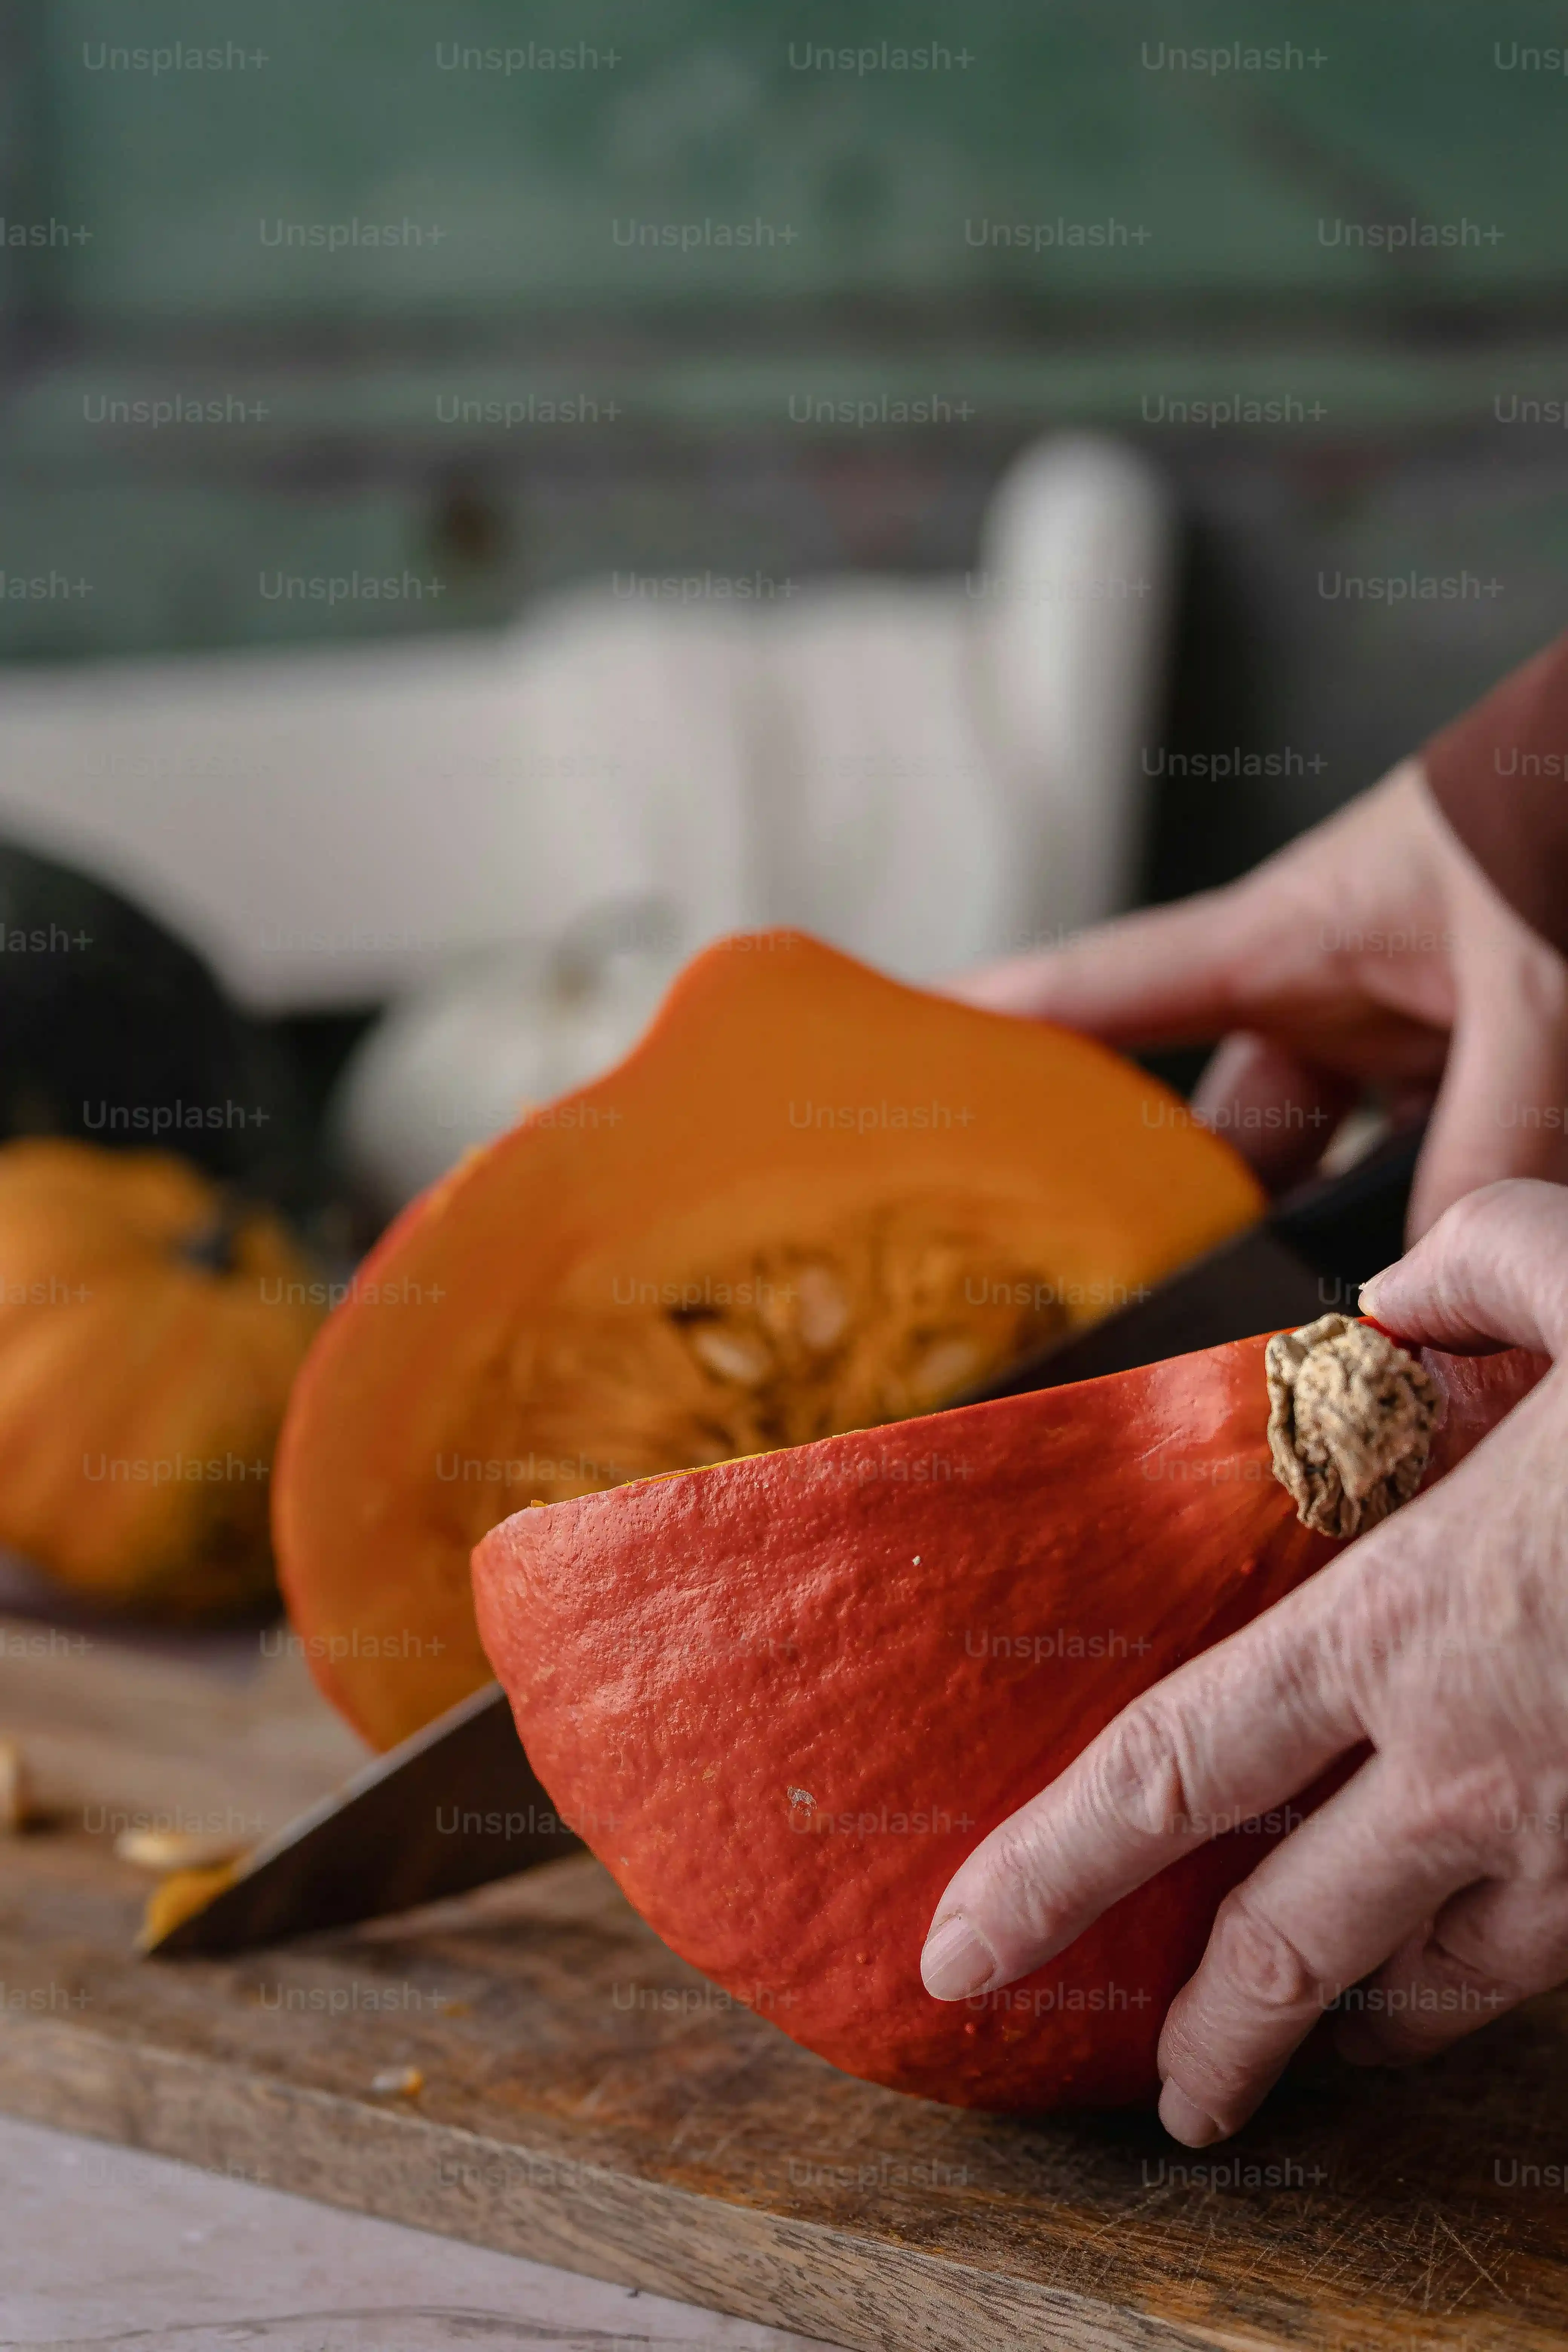
Alright, let's talk pumpkins. You're standing there at the grocery store or the pumpkin patch, faced with a sea of orange. Don't just grab the biggest one because it looks impressive; that's rookie mistake number one. ForPicking the Perfect Pumpkin and Tools for Easy Carving, you want something medium-sized, maybe 8-12 inches tall. Look for a smooth surface; bumps and ridges are just extra work later. Give it a good tap; it should sound hollow. Check the bottom to make sure it sits flat without wobbling. A wobbly pumpkin is a carving hazard, trust me. Now, tools. Forget those flimsy plastic kits that bend when you look at them funny. A sturdy serrated knife (a small paring knife works), a large spoon or ice cream scoop for gutting, and maybe a poking tool (like a skewer or drill bit) are all you really need. Sharp tools are safer than dull ones because they require less force.
What's the most annoying part of pumpkin carving for you?
Simple Pumpkin Carving Ideas Easy for Beginners: Classic Faces and Shapes
Simple Pumpkin Carving Ideas Easy for Beginners: Classic Faces and Shapes
Mastering the Basic Jack-o'-Lantern Face
you've got your pumpkin, you've got your tools. Now what? Forget trying to recreate that intricate scene you saw on Instagram. We're focusing onSimple Pumpkin Carving Ideas Easy for Beginners, and nothing is more classic or forgiving than the basic jack-o'-lantern face. Think simple shapes: triangles for eyes, a triangle or square for a nose, and a jagged or toothy grin for the mouth. These shapes are easy to trace with a marker (red dry-erase works wonders, wipes right off) and even easier to cut out. Don't stress about perfectly straight lines; slightly wobbly cuts add character. The goal here is recognizable, not museum-worthy. You can even vary the size and angle of the triangles or squares to give your pumpkin different expressions – angry, surprised, goofy.
Cutting out these basic shapes is the cornerstone for so many easy designs. Start small, see how your knife handles the pumpkin flesh. Remember, you can always cut away more, but you can't put it back.
Branching Out with Simple Shapes
Once you've mastered the classic face, you can easily branch out using the same basic techniques. Stars, moons, simple circles, or even block letters are all excellentSimple Pumpkin Carving Ideas Easy for Beginners. Want a spooky theme? Carve out a few scattered circles of different sizes to look like bubbles or strange spots. Feeling celestial? A crescent moon and a few stars are surprisingly simple but effective. You can use cookie cutters and a rubber mallet for perfect shapes, though sometimes the pumpkin wall is too thick. Freehanding with a simple pattern drawn on the surface works just as well, if not better, for that charmingly imperfect look.
Here are a few simple shapes to consider:
- Triangles (various sizes and orientations)
- Circles (small and large)
- Squares and rectangles
- Simple star shapes
- Crescent moons
- Basic block letters (like "BOO" or "EEK")
Beyond the Knife: Easy Pumpkin Carving Techniques for Beginners
Beyond the Knife: Easy Pumpkin Carving Techniques for Beginners
so cutting shapes all the way through is the classic move, but there are other ways to make your pumpkin pop that are often even easier and less prone to disaster. We're talkingBeyond the Knife: Easy Pumpkin Carving Techniques for Beginners. This involves scraping away just the outer layer of skin, not cutting through the whole wall. It's like drawing on the pumpkin, but with a little more depth. You can use the edge of your spoon, a linoleum cutter, or even just a sturdy metal skewer to scratch designs into the surface. Think simple outlines, dots, swirls, or even just removing large areas of skin to create contrasting textures. This technique is much more forgiving; if you mess up, it's usually easier to smooth it out or incorporate the mistake into the design than trying to patch a hole.
TriedandTrue Pumpkin Carving Ideas Easy for Beginners

TriedandTrue Pumpkin Carving Ideas Easy for Beginners
The Classic Spooky Grin and Variations
Alright, let's get into the meat of it – the actualTriedandTrue Pumpkin Carving Ideas Easy for Beginners. You can't go wrong with the classic spooky face. We talked about simple shapes, but let's make it concrete. Start with those triangle eyes, maybe one slightly bigger or angled differently than the other to add a bit of asymmetry – makes it look less robotic. A simple triangle nose pointing down is standard, or flip it upside down for a different look. The mouth is where you get some play. A simple jagged line works perfectly. For a bit more character without much more effort, carve a few squares or rectangles along the jagged line to look like blocky teeth. Or, skip the teeth and just do a wide, slightly curved smile with a few jagged points. These basic elements are the foundation, and they consistently look like a jack-o'-lantern, which is the main goal.
Simple Silhouettes and Patterns
Moving beyond the face, another set ofTriedandTrue Pumpkin Carving Ideas Easy for Beginnersinvolves simple silhouettes and repeating patterns. Think bats, stars, moons, or even just random dots and dashes. Instead of carving a full bat shape, just carve its outline. Easier to manage, less likely to break. A series of different sized circles scattered across the pumpkin can look like bubbles or strange, glowing spots when lit. You can use a drill with different sized bits to make perfect circles quickly and safely – just drill partially through the wall so the light glows through. Repeating patterns like vertical lines, horizontal stripes, or even simple crosshatching are also surprisingly effective and require more patience than precision. These methods often work better on thinner-walled pumpkins.
Here are some simple patterns to try:
- Scattered circles (using a drill or scraping)
- Vertical or horizontal lines
- Random dots (using a poking tool)
- Simple crescent moon outline
- Basic star shapes (can use cookie cutters)
Finishing Touches and Making Your Easy Carved Pumpkin Last
Finishing Touches and Making Your Easy Carved Pumpkin Last
Lighting Your Creation and Adding Flair
the carving is done, or the scraping, or the poking. Whatever method you chose for yourFinishing Touches and Making Your Easy Carved Pumpkin Last, now it's time to bring that bad boy to life. The classic move is a candle, obviously. Tealights are standard, but make sure you cut a decent-sized hole in the top (or bottom, if you carved that way) for ventilation. Otherwise, you'll cook the inside, and it'll rot faster. Be smart about where you put a pumpkin with a real flame; don't leave it unattended near curtains or dry leaves. A safer, and often brighter, option is using battery-operated LED lights or fake flickering tea lights. They come in different colors now too, so you can give your creation an eerie green or purple glow. Consider adding some final touches: maybe prop a small spider ring on top, or scatter some fake cobwebs around the base. Simple additions can elevate even the most basic carved face.
Things to consider for lighting:
- Real candles (use caution, ensure ventilation)
- Battery-operated LED lights (safer, various colors)
- Flickering fake tea lights (classic look, no fire risk)
- Mini flashlights pointed upwards
Keeping Your Masterpiece From Turning Mushy
You put in the effort, now you want it to last longer than a couple of days, right? Nobody wants a saggy, moldy mess on their porch by October 28th. Keeping your easy carved pumpkin looking fresh is part of theFinishing Touches and Making Your Easy Carved Pumpkin Last. Once carved, the flesh starts to dry out and break down pretty quickly, especially in warm weather. A simple trick is to rub petroleum jelly (like Vaseline) on all the cut edges. This seals in moisture and slows down the drying process. You can also spray the inside and outside with a bleach solution (about one tablespoon of bleach per quart of water) to kill bacteria and mold, but be careful not to get it on anything that might stain. Storing it in a cool place, like a garage or even the fridge overnight if it's small enough, when you're not displaying it can also help significantly.
Your Easy Carved Pumpkin Awaits
So there you have it. Carving a pumpkin doesn't need to be a high-stress art project reserved for seasoned pros. With a little guidance on picking the right gourd, using basic tools effectively, and focusing on simple, impactful designs, you can create a jack-o'-lantern you're genuinely proud of. Thesepumpkin carving ideas easy for beginnersare designed to get you started, build confidence, and maybe even make it a fun tradition rather than a chore. Give one of these ideas a shot, light it up, and enjoy that classic Halloween glow on your doorstep. It really is that simple to add a little spooky cheer.