Table of Contents
Halloween rolls around, and suddenly, pumpkins appear on every doorstep and grocery store display. The idea of carving one seems festive, maybe even a touch nostalgic. Then reality hits: the mess, the potential for losing a finger, the sheer artistic pressure to create something Instagram-worthy or genuinely terrifying. Most of us just want something that looks decent without dedicating an entire weekend or requiring professional-grade tools.
Why Try Pumpkin Carving Ideas Easy Cute?
Why Try Pumpkin Carving Ideas Easy Cute?
Escape the Spooky Pressure Cooker
Let's be honest. Not everyone wants a pumpkin that looks like it's about to eat your dog. The internet is full of incredibly complex, sometimes terrifying, pumpkin carvings that require the steady hand of a surgeon and the patience of a saint. If that's not your jam, but you still want to participate in the fall festivities, focusing onpumpkin carving ideas easy cuteis your escape route. It’s permission to ditch the detailed fangs and go for a simple, goofy grin or a friendly animal face. Less stress, more smiles.
Actually Get It Done (Without Crying)
How many times have you bought a pumpkin with grand carving ambitions, only for it to sit on your porch, slowly rotting, because the idea of tackling a complex design felt overwhelming? Easy, cute designs remove that barrier. They are genuinely achievable for beginners, kids, or anyone short on time and advanced carving tools. You can actually finish the project in one sitting, feel a sense of accomplishment, and have a charming decoration to show for it, rather than a half-carved, defeated-looking squash.
Here's why keeping it easy and cute works:
- Requires fewer specialized tools.
- Takes less time from start to finish.
- Lower chance of accidental structural collapse during carving.
- Designs are forgiving of minor mistakes.
- Appeals to a wider audience, especially younger kids.
Tools and Simple Techniques for Easy Cute Pumpkins

Tools and Simple Techniques for Easy Cute Pumpkins
so you're ready to ditch the horror movie vibes and go for adorable. Good choice. Now, about the tools. Forget those fancy, expensive kits that look like they belong in a dental office. Forpumpkin carving ideas easy cute, you really only need a few basic things. A simple pumpkin carving kit from the grocery store or pharmacy aisle usually has the essentials: a small serrated saw for cutting tops and larger shapes, and a few smaller tools for scraping and detail work. A sturdy scoop is crucial for gutting the pumpkin – nobody likes reaching into that slimy mess with their bare hands. A dry-erase marker is also a lifesaver; you can draw your design directly on the pumpkin and easily wipe it off if you mess up, unlike permanent marker which just leaves a sad, inky stain on your potential masterpiece.
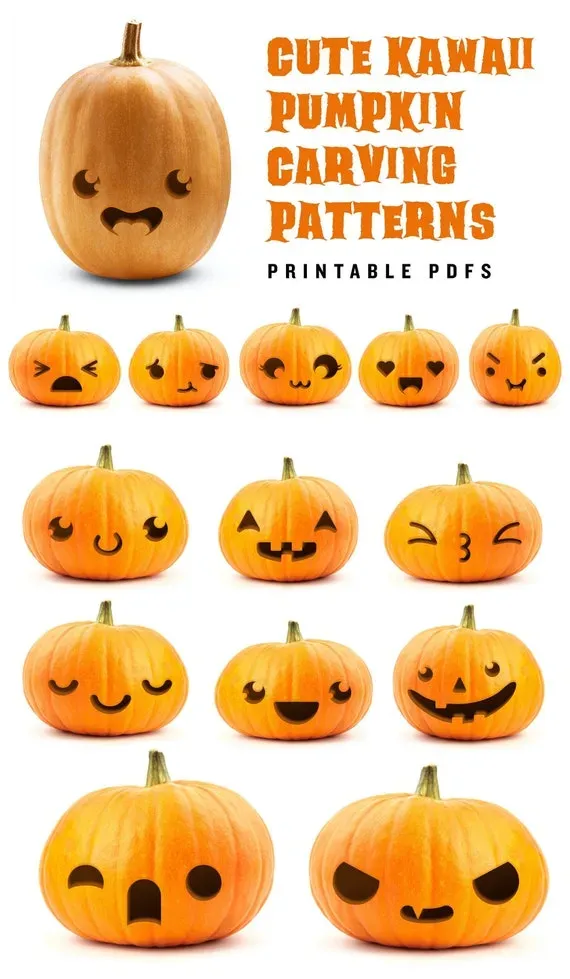
Classic and Clever Pumpkin Carving Ideas Easy Cute

Classic and Clever Pumpkin Carving Ideas Easy Cute
Sticking to the Classics (with a Cute Twist)
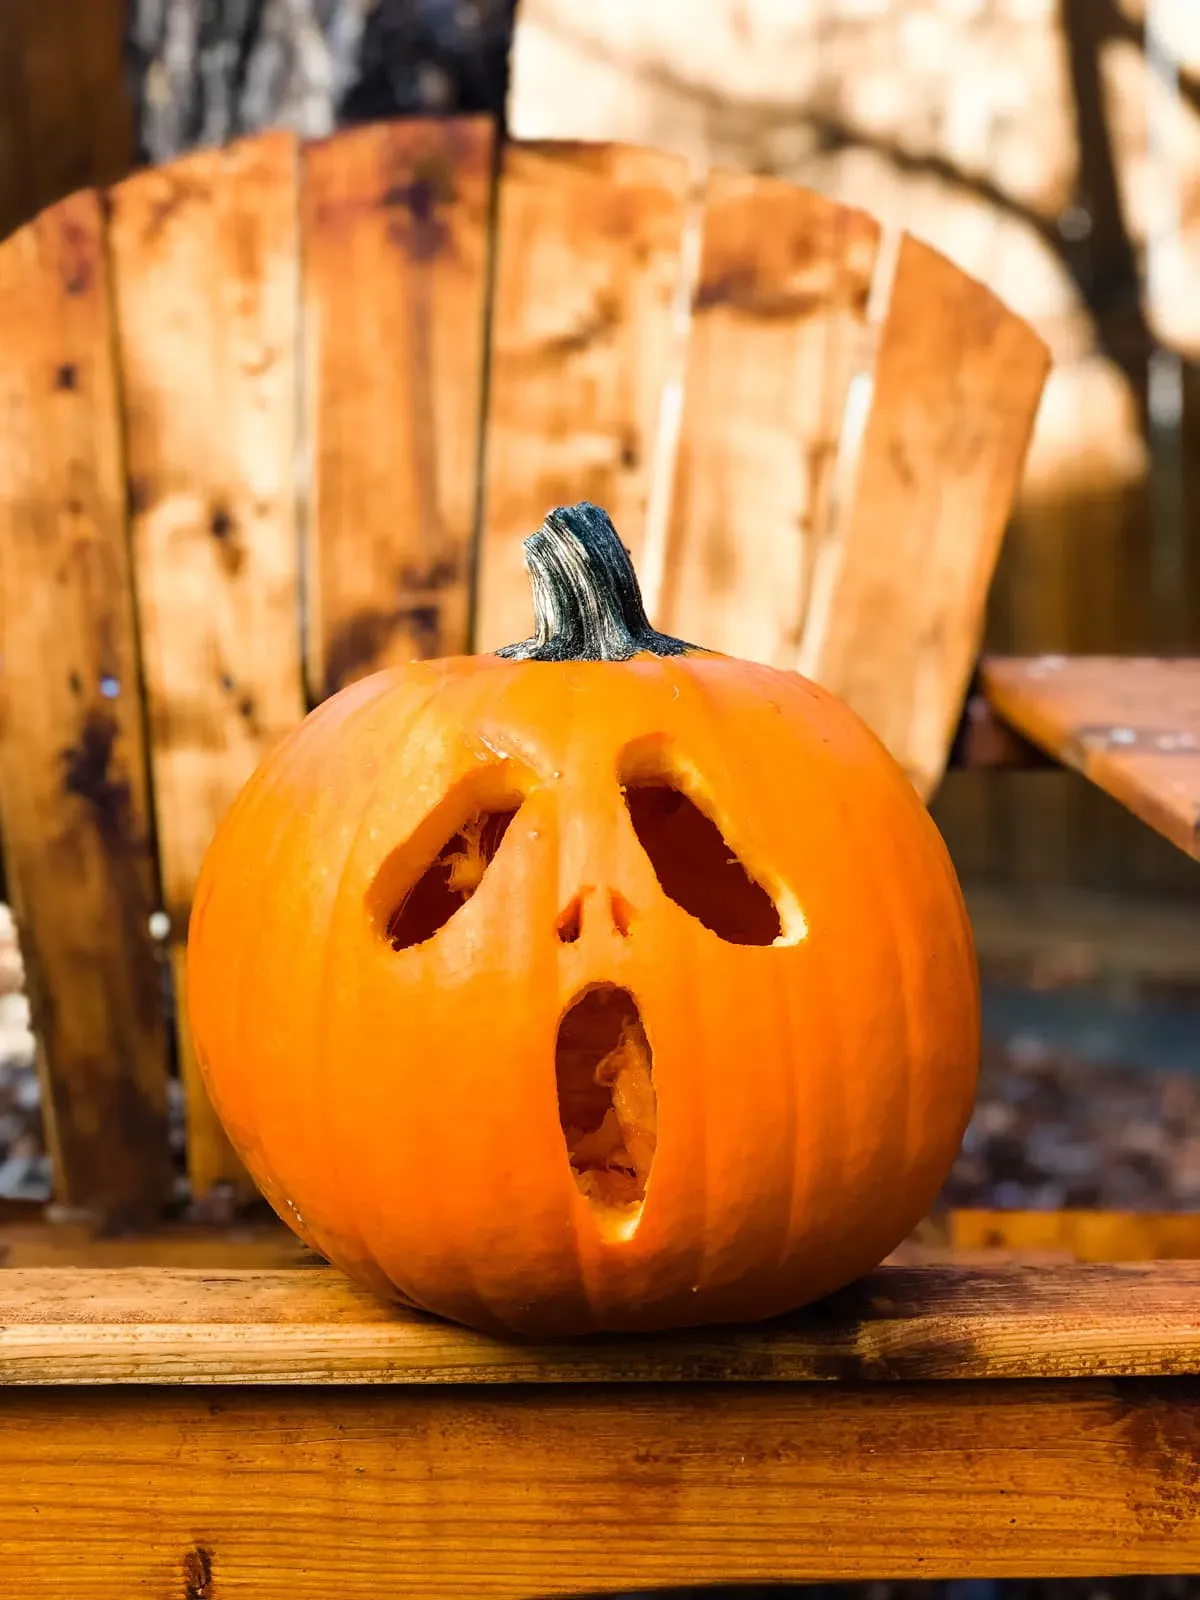
let's get down to brass tacks: what are some actualpumpkin carving ideas easy cutethat don't require you to be Michelangelo? The absolute easiest is the classic jack-o'-lantern face, but make it friendly. Think wide, slightly crooked grins instead of jagged fangs. Round or oval eyes work better than sharp triangles. A simple carved circle for a nose? Perfect. You can even give your pumpkin "cheeks" by scraping away just the top layer of skin in two circles. It adds dimension without complex cutting. Another winner is the simple ghost shape – a wavy bottom edge and two round eyes. It's instantly recognizable and forgiving if your lines aren't perfectly smooth. These basic shapes are the foundation; they're hard to mess up badly, and they still scream "Halloween."
Getting a Little More Clever (Still Easy)
Want to step it up slightly but still keep it firmly in the "easy and cute" category? Consider designs that use negative space or simple outlines. A cat silhouette is surprisingly easy – just carve out the shape of a sitting cat with a tail. Two triangles on top make ears. Done. Animal faces are generally a good bet. A simple owl with big round eyes and a small triangle beak. Or a friendly dog face using circles and ovals. You can also use cookie cutters for perfect shapes – just press them firmly into the pumpkin skin to make an outline, then carve along the lines. It feels like cheating, but the results are clean and neat, which is the goal here. Another clever trick? Carve out block letters to spell a simple word like "BOO" or "FALL." It looks impressive but is just a series of straight lines and curves.
Here are a few easy cute carving ideas to get you started:
- Friendly round-eyed monster (use different sized circles)
- Simple star or moon shapes
- A smiling piece of candy corn
- Geometric patterns (dots, squares, simple lines)
- A "ghost" pumpkin using wavy lines and circular eyes
- Basic animal outlines (cat, owl, dog)
Beyond the Carve: Painting and Etching Easy Cute Designs

Beyond the Carve: Painting and Etching Easy Cute Designs
so maybe the idea of sticking a sharp object into a round, slightly unpredictable gourd still gives you the shivers. Or maybe you've got little hands helping out, and sharp tools are a hard pass. No problem. You can still create fantasticpumpkin carving ideas easy cutewithout carving at all. Painting is your best friend here. Grab some acrylic paints – they stick well to pumpkin skin – and go wild (or just go simple). Think polka dots, stripes, or painting the whole pumpkin a fun color like pastel pink or bright teal before adding simple painted faces. Eyes made of painted circles, a small triangle nose, a curved line for a smile. Easy. Etching is another great, less intimidating technique. You just scrape away the thin outer layer of the pumpkin skin, not carving all the way through. This works perfectly for outlines, simple patterns, or even just drawing a design that glows faintly when lit from inside.
Considering painting or etching? Ask yourself:
- Do I have acrylic paints on hand?
- Are there small kids involved who shouldn't use sharp tools?
- Do I want a design that doesn't rely on light shining through?
- Am I aiming for bright colors beyond orange?
Bringing Your Easy Cute Pumpkin Carving Ideas to Life
Bringing Your Easy Cute Pumpkin Carving Ideas to Life
Prepping Your Pumpkin for Its Close-Up
Alright, you've picked your perfect gourd (not too lopsided, hopefully) and you've got your simple design in mind. Before you even think about making a cut or dabbing paint, you've got to prep the thing. This means giving it a good wash first. Pumpkins sit outside; they're covered in dirt, maybe some questionable farm residue. A quick wipe down with a damp cloth cleans the surface and makes drawing your design easier. Then comes the dreaded top-cutting and gutting. Cut a lid at an angle – this is crucial. Cutting straight down means the lid can fall *into* the pumpkin later. Nobody wants a sunken pumpkin head. Angle it inwards slightly. Use your serrated saw for this. Once the lid is off, grab your scoop. Get everything out – seeds, stringy bits, all of it. Scrape the inside walls relatively clean; a thinner wall is easier to carve through.
Making Your Mark: Drawing and Cutting Simply
Now for the fun part, or the slightly nerve-wracking part, depending on your confidence level. Take your dry-erase marker and draw your chosenpumpkin carving ideas easy cutedesign directly onto the clean pumpkin surface. Remember, keep it simple. A few circles for eyes, a wonky smile, maybe some dots for freckles. If you mess up, wipe it off and try again. No harm done. Once you're happy with the drawing, it's time to carve. Use your small serrated saw for shapes you're cutting all the way through. Use a smaller detail tool or even just the edge of your scoop to scrape away skin for etched designs. Don't rush. Push the tool gently, letting the serrations do the work. If a piece gets stuck, don't yank it; wiggle it carefully or use a tool to push it from the inside. It takes a little patience, but it's far better than cracking your pumpkin.
Simple shapes to draw for easy cute carvings:
- Circles (for eyes, polka dots)
- Ovals (for eyes, mouths)
- Triangles (for noses, simple eyes)
- Wavy lines (for ghosts, borders)
- Straight lines (for teeth, patterns)
Lighting and Displaying Your Adorable Creation
You've done it. You've successfully executed one of yourpumpkin carving ideas easy cute. Now what? You need to bring it to life, usually with light. Forget wax candles unless you enjoy a potential fire hazard or a melted mess inside your pumpkin. Seriously, don't use real candles unless you're watching it constantly and it's nowhere near anything flammable. LED battery-operated lights are the way to go. They come in various sizes and colors, are safe, and last for ages. Pop one or two inside, put the lid back on (remember that angled cut?), and find the perfect spot for your creation. On the porch steps, on a table inside, maybe even peeking out from behind a bush. Group a few together if you've made more than one. The goal is to show off your charming, low-stress masterpiece and enjoy the cozy fall vibe it brings.
Finishing Your Easy Cute Pumpkin Masterpiece
So there you have it. Creating a genuinely cute pumpkin doesn't demand hours of frustration or a degree in sculpture. With a few basic tools and a willingness to keep it simple, you can add a touch of charm to your Halloween decor. These easy, cute ideas are about enjoying the process, not stressing over perfection. Your pumpkin might not win any awards, but it will likely bring a smile, which, let's be honest, is the whole point of a cute pumpkin in the first place.