Table of Contents
Alright, let's be honest. Halloween rolls around, and suddenly everyone's a master sculptor with a gourd. You scroll through social media, see these ridiculously intricate carvings, and think, "Yeah, that's not happening." You want a jack-o'-lantern that looks awesome sitting on your porch, maybe even gets a nod from the neighbors, but you also don't want to spend five hours hunched over, risking a trip to the emergency room with a pumpkin-scooper-related injury. Forget those impossible designs that require an engineering degree and a set of surgical tools. This year, we're talking about achieving maximum impact with minimum effort. We're diving headfirst into the world ofpumpkin carving ideas easy but cool. We'll walk you through getting your pumpkin ready, share some genuinely achievable designs that still look fantastic, and even touch on how to light the darn thing so it actually pops. No stress, just cool pumpkins.
Why You Need Pumpkin Carving Ideas Easy But Cool This Year
Why You Need Pumpkin Carving Ideas Easy But Cool This Year
Tired of Pinterest Fails?
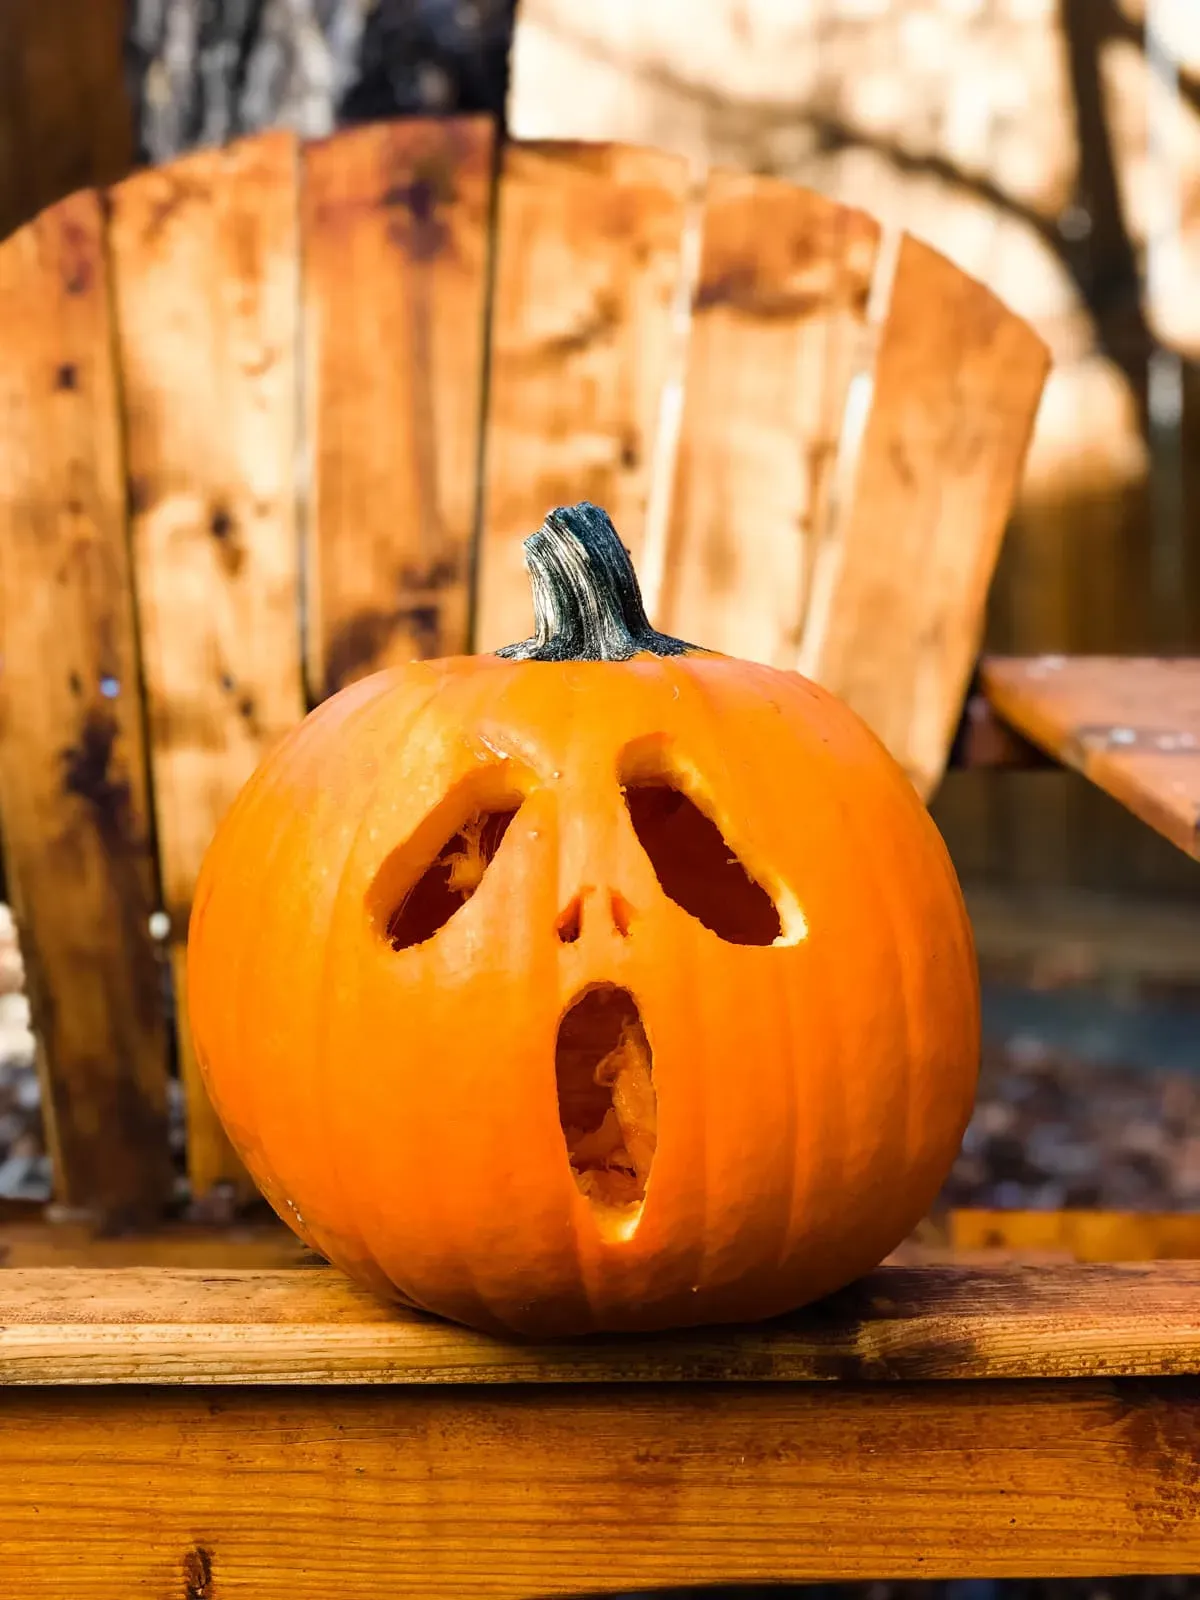
Look, we've all seen the photos. The ones where someone has apparently spent a week creating a perfect, backlit replica of the Death Star on a pumpkin. It looks incredible, sure, but let's get real. Most of us have jobs, maybe kids, definitely other things we'd rather do than spend a Saturday afternoon meticulously scraping away pumpkin flesh with a dental pick. The reality is, attempting those overly complicated designs often leads to frustration, broken tools, or worse, a lopsided mess that collapses before Halloween even arrives. You start with grand ambitions and end up with something that looks like a sad, toothless grin.
Achieving Awesome Without the Agony
This is precisely where focusing onpumpkin carving ideas easy but coolcomes in. You don't need to be an artist or own a specialized carving kit with 50 different blades. You need designs that look effective with minimal effort. Think bold shapes, clever use of negative space, or simple patterns that make a statement. Choosing easier paths means you actually finish the project, enjoy the process more, and still end up with a genuinely cool-looking jack-o'-lantern that holds its own against the overly ambitious, potentially collapsing neighbors'. It's about working smarter, not harder, to get that festive vibe.
- Avoids hours of tedious work.
- Reduces the risk of pumpkin-related injuries.
- Ensures you actually finish the carving.
- Still results in a visually appealing decoration.
- Leaves more time for eating Halloween candy.
Gather Your Gear: Prepping for Pumpkin Carving Success
Gather Your Gear: Prepping for Pumpkin Carving Success
Picking Your Gourd and Basic Blades
before you even think about carving, you need a pumpkin. Don't grab the biggest, wobbliest one you see. Look for a pumpkin with relatively smooth skin – bumps and warts, while charming, make clean cuts harder. Give it a tap; it should sound hollow. Check the bottom to make sure it sits flat and the stem is firmly attached. As for tools, you don't need the fancy 50-piece kit that looks like it belongs in a dentist's office. A sturdy serrated knife for cutting the lid (an adult job, obviously), a large metal spoon or scoop for gutting, and a few basic carving tools are plenty. Those cheap little plastic saws that come in kits? Mostly useless. Get a small, sharp paring knife or a proper pumpkin carving saw with a comfortable handle. Trust me, your hands will thank you.
Setting Up Your Workspace (and Staying Safe)
Carving a pumpkin is messy. Pulp, seeds, and stringy bits will go everywhere. Protect your workspace! Lay down newspaper, an old tablecloth, or a plastic tarp. Do this outside if possible, or in an area that's easy to clean. You'll also need a bowl for the guts (save those seeds for roasting!) and another for scraps. Safety isn't the most thrilling topic, but it's crucial. Knives are sharp, even those little pumpkin saws. Always cut away from yourself. If kids are helping, give them the scooping job or simple stencils, and handle the actual cutting yourself. Good lighting helps you see what you're doing, reducing the chance of accidental slips. A steady surface is also key – trying to carve on your lap is a recipe for disaster.
Essential Gear | Why You Need It | Pro Tip |
|---|---|---|
Smooth, firm pumpkin | Easier to carve clean lines | Tap it! Should sound hollow. |
Sturdy serrated knife | Cutting the top or bottom lid | Cut at an angle inwards so the lid doesn't fall in. |
Large metal spoon/scoop | Removing guts and seeds | An ice cream scoop works wonders. |
Small carving saw/knife | Detail work and cutting shapes | Keep it clean as you work. |
Protective covering (newspaper, tarp) | Keeps mess contained | Your kitchen counter will thank you. |
Actual Pumpkin Carving Ideas Easy But Cool (Designs That Impress Without Stress)
Actual Pumpkin Carving Ideas Easy But Cool (Designs That Impress Without Stress)
Go Geometric or Go Home (Easily)
Forget trying to recreate Mona Lisa on a pumpkin. The easiest way to get a cool look without wanting to throw the gourd across the yard is to embrace simple geometry. Think clean lines, triangles, squares, or just random patterns of circles. These are forgiving, require minimal precision, and look surprisingly modern and intentional. A few well-placed different-sized circles can look like bubbles or abstract art. Cutting out alternating triangles around the middle gives a cool, spiky crown effect. The key here is repetition and confidence with your cuts, not intricate detail. This is where you actually achievepumpkin carving ideas easy but cool.
- Random circles of varying sizes
- Simple triangles or squares
- Bold, straight lines
- Using dots (drilled or poked)
- Alternating shapes around the pumpkin
Stencils Aren't Cheating, They're Smart
Seriously, who decided using a stencil was less "authentic"? Stencils are your best friend for achieving clean, recognizable shapes without freehanding a wobbly mess. You can print simple shapes like stars, bats, or even basic letters. Tape the stencil on, use a poker tool (or a sharp pencil) to make dots along the outline, and then connect the dots with your small carving saw or knife. Another trick? Don't always cut all the way through. Scraping just the outer layer of skin off creates a translucent effect that glows when lit from inside. This is fantastic for larger areas or creating subtle designs like ghosts or moon silhouettes.
"Efficiency is the mother of invention, especially when it comes to avoiding pumpkin guts up to your elbows."
Beyond the Blade: Easy No-Carve Coolness
technically this isn't carving, but it absolutely fits the "easy but cool" criteria and is perfect if knives make you nervous or you're working with really little ones. Painting is an obvious one, but think beyond just slapping on some orange paint. Try dripping paint from the top, using painter's tape for stripes or geometric blocks, or even using spray paint for a quick, uniform color. You can also use tools you already own. A power drill with different sized bits can create perfect polka-dot patterns that look amazing lit up. Sticking things on works too – googly eyes, yarn for hair, thumbtacks arranged in a pattern. Sometimes the coolest pumpkins are the ones that didn't involve a single traditional cut.
Easy Technique | Cool Effect | Tool Tip |
|---|---|---|
Scraping skin | Glowing silhouettes | Use a linoleum cutter or sharp chisel. |
Drilling holes | Modern polka dots | Start with smaller bits, increase size. |
Using stencils | Clean, recognizable shapes | Tape securely and make close-together dots. |
Painting/Dripping | Abstract art look | Use acrylic paints; seal with clear spray. |
Lighting Up Your Masterpiece: Displaying Your Cool, Easy Pumpkin Carvings

Lighting Up Your Masterpiece: Displaying Your Cool, Easy Pumpkin Carvings
Let There Be Light (The Right Kind)
You've put in the minimal effort for maximum cool factor with yourpumpkin carving ideas easy but cool. Now, don't mess it up with a cheap little tea light that flickers out in five minutes and barely illuminates anything. Traditional candles are a fire hazard, especially with dry leaves around. Go for battery-operated LED lights. They're safer, last way longer, and you can get them in different colors or with flickering effects that mimic real candles. Pop a few inside your pumpkin for a brighter, more even glow. Position them strategically to highlight the cuts or scraped areas. A single light source often leaves shadows; multiple lights create a better effect. Place your finished, lit masterpiece somewhere visible – on the porch steps, near the front door, or even on a sturdy windowsill. Make sure it's stable so it doesn't roll away or get knocked over by enthusiastic trick-or-treaters.
Your Awesome, Easy Pumpkin Awaits
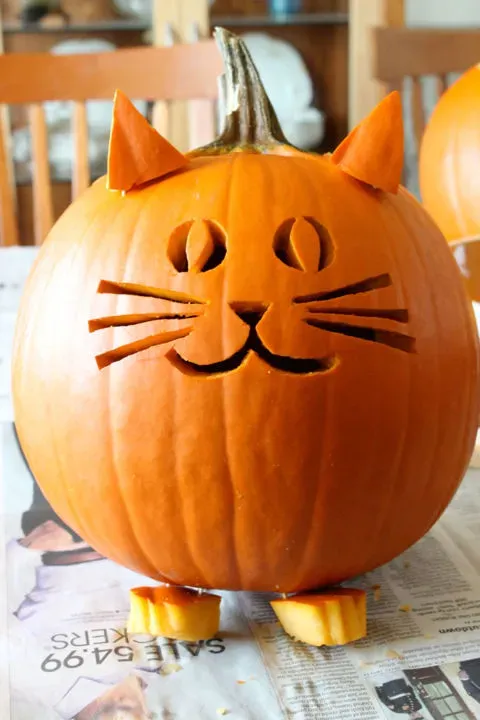
So there you have it. Ditching the overly complicated patterns doesn't mean you're stuck with a triangle-eyed, toothy grin straight out of a kindergarten craft project. With a little planning and the right approach, those cool, head-turning pumpkins are well within reach, even if your artistic talent peaked with stick figures. Get your hands dirty, embrace the mess, and enjoy the process. After all, it's just a pumpkin. If it doesn't turn out exactly like the picture in your head, well, that's just part of the charm, isn't it? Now go make something cool (and easy).