Table of Contents
Halloween's coming, and that means one thing: it's time to get your carve on! If you're looking for pumpkin carving ideas easy but cool, you've come to the right place. Forget complicated designs that leave you sweating and frustrated. We're diving into the world of fun, achievable carvings that will still make your jack-o'-lantern the envy of the neighborhood.
Essential Tools for Easy Pumpkin Carving

Essential Tools for Easy Pumpkin Carving
Alright, so you're ready to dive into pumpkin carving? Awesome! First things first, let's talk tools. Having the right gear can make all the difference between a smooth, enjoyable carving session and a frustrating, pumpkin-guts-everywhere kind of situation. You don't need to break the bank, but a few key items will seriously up your carving game.
Think beyond that flimsy plastic knife that comes in those cheap kits. While those might work in a pinch, investing in some quality tools will not only make the process easier but also safer. Trust me, wrestling with a dull blade while trying to carve a intricate design is a recipe for disaster (and possibly a trip to the ER). So, let's get you equipped with the essentials!
Tool | Why You Need It | My Recommendation |
|---|---|---|
Carving Knife Set | For precision cuts and detailed designs. | A set with various blade sizes and shapes. |
Pumpkin Scoop | To efficiently remove all those stringy guts. | One with a serrated edge for scraping. |
Stencils | For easy design transfer and clean lines. | Printable stencils or reusable plastic ones. |
Pencil or Marker | To trace the stencil onto the pumpkin. | A fine-tipped marker works best. |
Battery-Operated Candle or LED Light | To illuminate your masterpiece safely. | LED lights are long-lasting and won't burn your pumpkin. |
Beyond the basics, consider grabbing a poking tool (like an awl) for transferring stencil details and a small saw for more intricate cuts. And remember, safety first! Always carve in a well-lit area and keep your hands behind the blade. Happy carving!
Simple Pumpkin Carving Ideas for Beginners
Simple Pumpkin Carving Ideas for Beginners
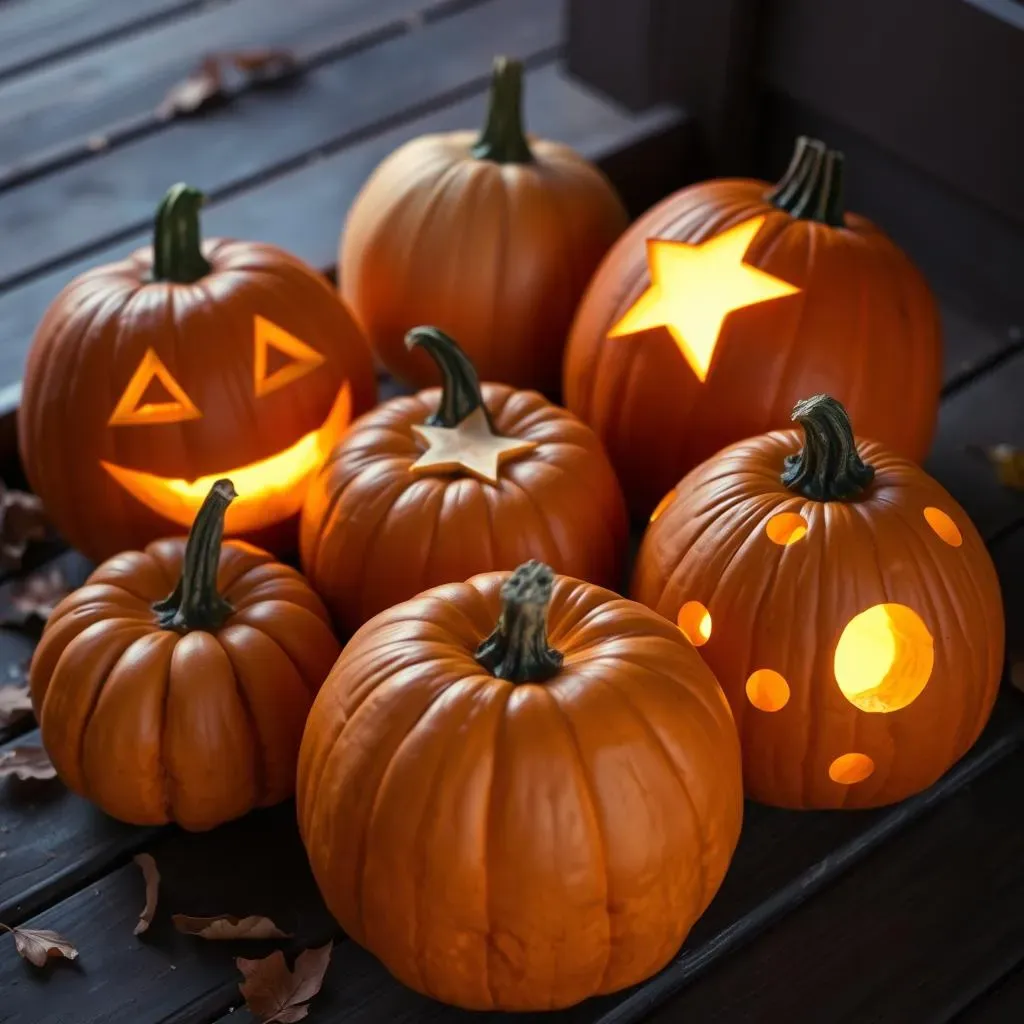
so you're a pumpkin carving newbie? No sweat! There's a ton of simple pumpkin carving ideas for beginners that still look awesome. Forget trying to replicate a Renaissance painting on a gourd; let's start with the basics. Think geometric shapes, silly faces, and classic spooky silhouettes. The key is to choose designs that are easy to trace and cut out, so you can focus on having fun and getting the hang of your tools.
One of my favorite beginner-friendly techniques is using cookie cutters! Seriously, press your favorite Halloween-themed cookie cutters (think stars, moons, bats, or ghosts) firmly into the pumpkin's surface to create an outline. Then, carefully carve along the lines with a small carving knife. It's like a pumpkin carving cheat code!
Another great option is to embrace the power of the drill. Use different sized drill bits to create patterns of holes in your pumpkin. You can create constellations, polka dots, or even spell out a spooky message. It's a super easy way to add some flair without any fancy carving skills required. Plus, the light shining through the holes looks super cool at night.
Cool Pumpkin Carving Ideas with Stencils
Cool Pumpkin Carving Ideas with Stencils
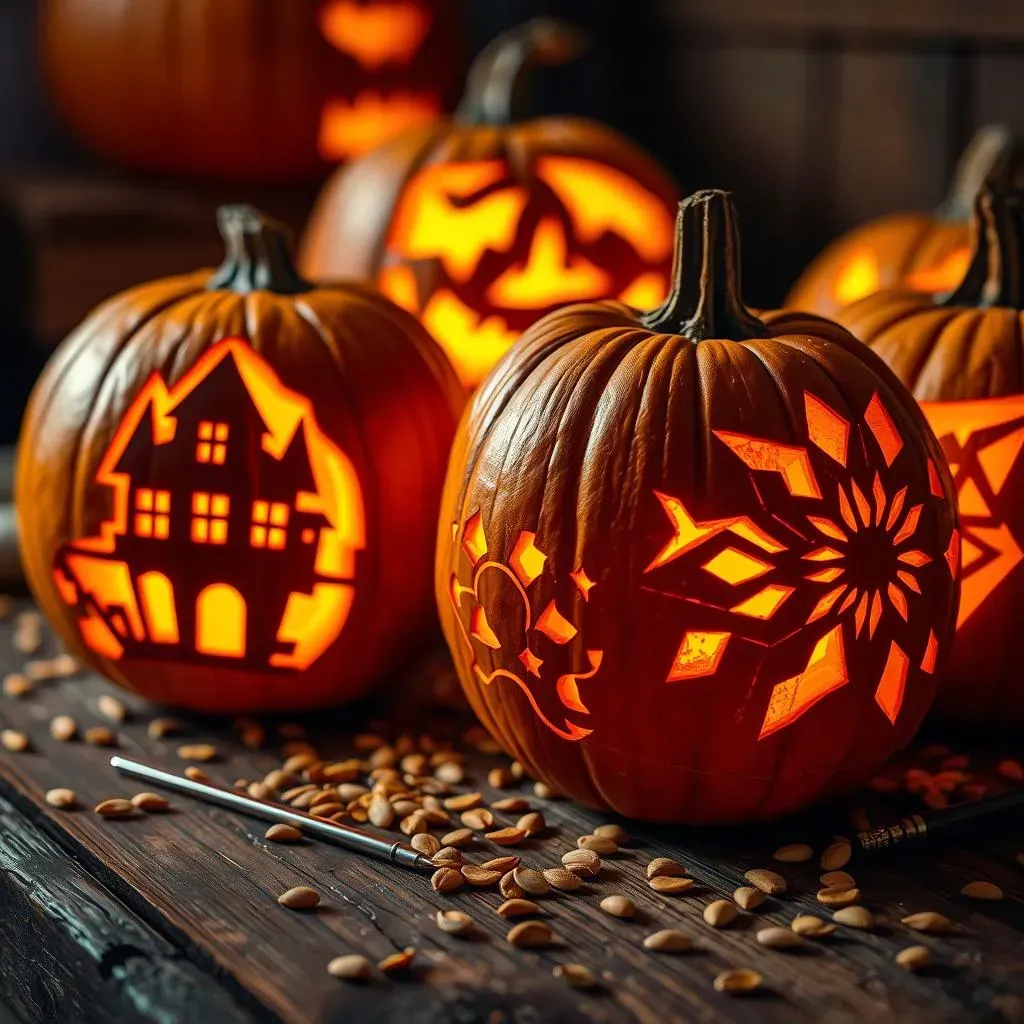
Ready to step up your pumpkin game? Cool pumpkin carving ideas with stencils are the perfect way to add some serious wow factor without needing to be a master artist. Stencils take the guesswork out of creating intricate designs, allowing you to achieve professional-looking results with ease. The key is to find stencils that match your skill level and personal taste. Are you into spooky scenes, pop culture icons, or maybe something a little more abstract? The possibilities are endless!
One of the best things about using stencils is that they provide a clear roadmap for your carving. Simply print out your chosen stencil, tape it to your pumpkin, and use a poking tool (like an awl or even a large needle) to transfer the design onto the pumpkin's surface by creating small holes along the stencil lines. Once you've traced the entire design, remove the stencil and get ready to carve! Follow the dotted lines you've created as a guide, using your carving tools to carefully remove the pumpkin flesh. Remember to take your time and work in small sections for the best results.
For a truly eye-catching effect, consider using different carving depths to create a multi-dimensional look. Carve some areas all the way through, while leaving others partially intact to allow light to shine through in varying intensities. This technique can add depth and complexity to your design, making your pumpkin stand out from the crowd. Also, don't feel limited to traditional Halloween themes. You can find stencils featuring everything from your favorite movie characters to intricate floral patterns. Let your imagination run wild and create a pumpkin that reflects your personality!
Creative Pumpkin Carving Ideas: Beyond the Basics
Creative Pumpkin Carving Ideas: Beyond the Basics
Ditch the Knife: Alternative Carving Techniques
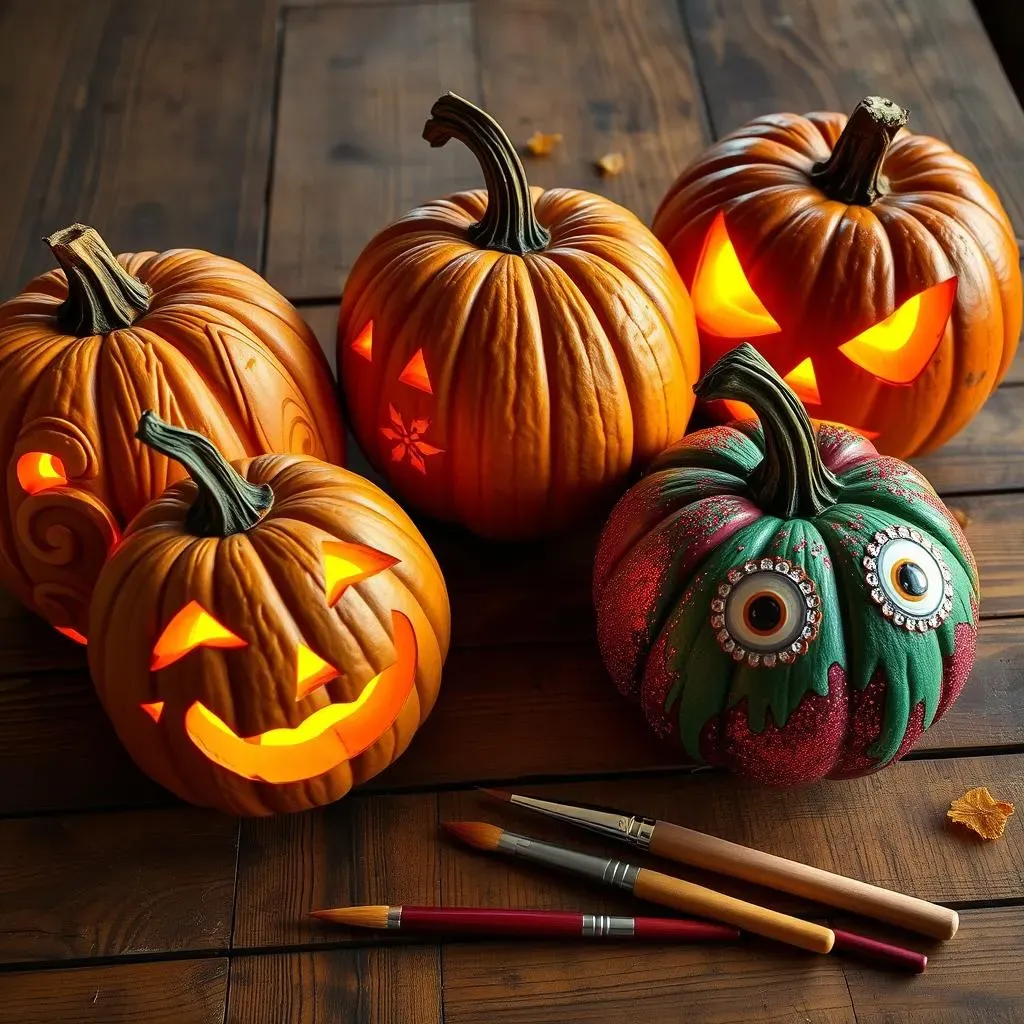
so you've mastered the basics, and stencils are starting to feel a little…pedestrian? It's time to think outside the box (or, you know, the pumpkin). Creative pumpkin carving ideas beyond the basics are all about using unconventional tools and techniques to create truly unique and eye-catching designs. Forget just cutting; let's talk sculpting, etching, and even painting!
One of my favorite techniques is using wood carving tools. Seriously! A set of small gouges and chisels can allow you to create intricate, three-dimensional designs that are impossible to achieve with a standard carving knife. Think flowing lines, detailed textures, and even sculpted faces. It takes a little practice, but the results are absolutely stunning. Plus, it's a great way to repurpose those old wood carving tools you've been meaning to dust off.
Embrace the Glow: Light and Shadow Play
It's not just about what you carve out, it's about how the light shines through. Creative pumpkin carving ideas beyond the basics often involve playing with light and shadow to create depth, dimension, and a truly spooky atmosphere. Think beyond the standard candle; let's explore some more advanced lighting techniques.
One cool trick is to use a Dremel tool with a sanding attachment to thin out certain areas of the pumpkin's flesh, without actually cutting all the way through. This allows light to shine through in varying intensities, creating a subtle, glowing effect. You can use this technique to add highlights and shadows to your design, or even to create a gradient effect. It's like painting with light!
Another way to play with light is to use multiple light sources. Try placing a small flashlight inside the pumpkin, along with a battery-operated candle. This will create a layered effect, with some areas of the pumpkin brightly lit and others more subtly illuminated. You can also use colored LED lights to add a pop of color to your design. Think a spooky green glow for a zombie pumpkin, or a fiery red for a devilish grin.
Beyond the Orange: Painting and Embellishments
Who says pumpkins have to be orange? Creative pumpkin carving ideas beyond the basics often involve ditching the traditional color palette and embracing a whole spectrum of hues. Painting your pumpkin can add a whole new level of detail and personality to your design. Plus, it's a great way to hide any carving mistakes!
Acrylic paints work great on pumpkins. Start with a base coat of white or black to help your colors pop. Then, use fine-tipped brushes to add intricate details, patterns, or even portraits. You can also use stencils to create geometric designs or add lettering. For a more textured look, try using sponges or rags to apply the paint. And don't forget the embellishments! Glue on googly eyes, glitter, sequins, or even small plastic spiders to add some extra pizzazz.
Technique | Description | Best For |
|---|---|---|
Wood Carving Tools | Using gouges and chisels for 3D designs. | Detailed textures and sculpted faces. |
Dremel Tool | Sanding the flesh for varying light intensity. | Highlights, shadows, and gradient effects. |
Acrylic Paints | Adding color, details, and patterns. | Intricate designs and hiding mistakes. |
Embellishments | Gluing on googly eyes, glitter, etc. | Adding extra pizzazz and personality. |
Tips for Making Your Cool, Easy Pumpkin Carving Last
Tips for Making Your Cool, Easy Pumpkin Carving Last
The Pumpkin Prep: Choosing and Cleaning
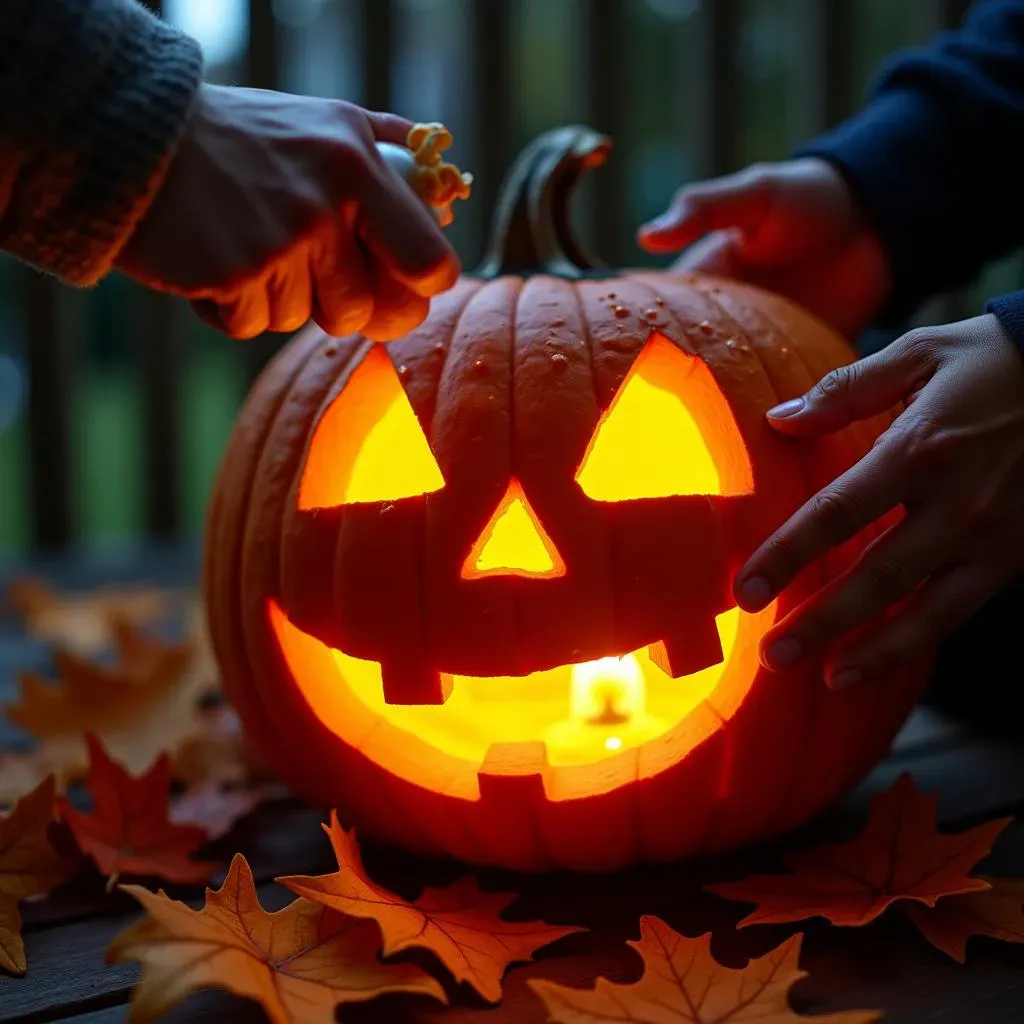
so you've poured your heart and soul into creating the perfect jack-o'-lantern. Now, how do you make sure it doesn't turn into a moldy, mushy mess before Halloween even arrives? It all starts with choosing the right pumpkin and prepping it properly. Think of it like building a solid foundation for your masterpiece. You wouldn't build a house on a shaky base, would you? Same goes for your pumpkin!
First, look for a pumpkin that's firm, heavy for its size, and free of any soft spots or bruises. A healthy pumpkin is a happy pumpkin! Once you've found the perfect gourd, give it a good cleaning. Wash the exterior with a mixture of water and a little bit of bleach to kill any surface bacteria. This will help slow down the decomposition process. Then, dry it thoroughly before you start carving.
Combatting the Rot: Sealing and Hydrating
Alright, so you've got your pumpkin prepped and carved. Now, let's talk about the real battle: fighting off the dreaded rot. Once you cut into a pumpkin, it's basically an open invitation for mold and bacteria to move in and start breaking things down. But fear not! There are a few tricks you can use to slow down the process and keep your jack-o'-lantern looking fresh for longer. Think of it like giving your pumpkin a little spa treatment to help it stay young and vibrant.
One of the best things you can do is to seal the cut edges of your carving with petroleum jelly or a sealant spray. This creates a barrier that helps prevent moisture loss and keeps bacteria out. Reapply the sealant every few days to maintain the protective layer. Another important factor is hydration. Believe it or not, pumpkins can actually dry out! To keep your pumpkin hydrated, try soaking it in a tub of cold water overnight every few days. This will help replenish the moisture it loses and keep it from shriveling up.
Location, Location, Location: Display and Environment
So, you've prepped, you've sealed, you've hydrated. Now, where you put your pumpkin is just as important as what you do to it. Think of it like finding the perfect home for your masterpiece. You wouldn't hang a priceless painting in direct sunlight, would you? Same goes for your jack-o'-lantern!
Avoid placing your pumpkin in direct sunlight or in a warm, humid environment. These conditions will accelerate the decomposition process. Instead, opt for a cool, dry, and shaded location. If you're displaying your pumpkin outdoors, try to keep it elevated off the ground to improve air circulation and prevent moisture buildup. Also, consider bringing it indoors at night to protect it from frost or extreme temperature changes.
Tip | Description | Benefits |
|---|---|---|
Choose a Healthy Pumpkin | Firm, heavy, and free of soft spots. | Longer lifespan and better carving results. |
Clean with Bleach Solution | Wash the exterior with water and bleach. | Kills surface bacteria and slows decomposition. |
Seal Cut Edges | Apply petroleum jelly or sealant spray. | Prevents moisture loss and keeps bacteria out. |
Hydrate Regularly | Soak in cold water overnight every few days. | Replenishes moisture and prevents shriveling. |
Choose a Cool, Dry Location | Avoid direct sunlight and humidity. | Slows down decomposition and prevents mold growth. |
Conclusion: Carve Your Way to a Spooktacular Halloween!
With these pumpkin carving ideas easy but cool, you're all set to create a jack-o'-lantern that's both impressive and achievable. Remember, the most important thing is to have fun and let your creativity shine. Whether you stick to simple shapes or try a more intricate stencil, your pumpkin is sure to add a spooky touch to your Halloween celebrations. So, gather your tools, choose your design, and get ready to carve your way to a spooktacular Halloween!