Table of Contents
Alright, let's be real. Staring down a big, orange gourd with a sharp knife can feel a bit daunting, especially if you're picturing those intricate, gallery-worthy carvings you see online. Maybe you've tried before and ended up with something that looked less like a spooky masterpiece and more like a sad, lopsided mess. We've all been there. But what if I told you bringing some Disney magic to your Halloween didn't require an art degree or surgical precision? It's totally possible to create fun, recognizable characters without the frustration.
Why Disney Characters Make Pumpkin Carving Easy (and Fun!)
Why Disney Characters Make Pumpkin Carving Easy (and Fun!)
The Power of Simple Shapes and Iconic Silhouettes
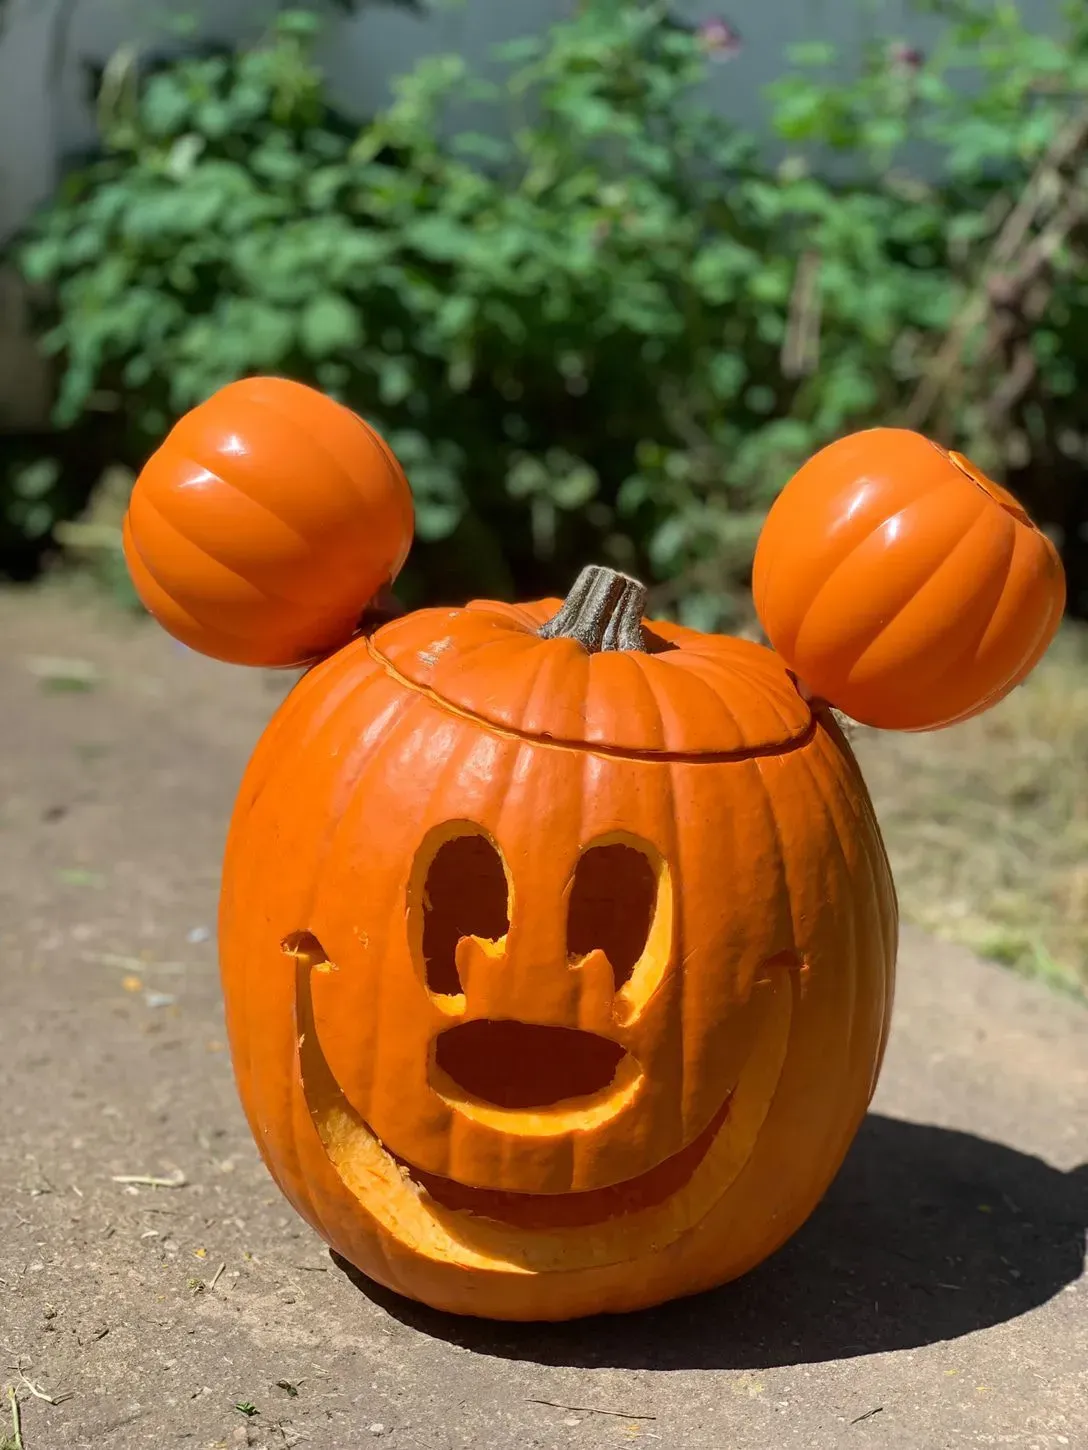
Look, when you're staring down a pumpkin, the last thing you want is to feel like you need to sculpt the Mona Lisa. That's where Disney characters swoop in like fairy godmothers. Many of them, especially the classic ones, are built on surprisingly simple, instantly recognizable shapes. Think about it: Mickey Mouse? Two circles on top of a bigger circle. Olaf? A few stacked snowballs. Even characters like Tinker Bell or Stitch have outlines that, when simplified, are very distinct and forgiving on a bumpy surface like a pumpkin.
This inherent design simplicity is precisely **why Disney characters make pumpkin carving easy (and fun!)**. You don't need to worry about complex shading or intricate details right off the bat. You can focus on cutting out bold shapes that immediately read as that character. It takes a lot of the guesswork and frustration out of the process. My first successful carved pumpkin that wasn't just a triangle-eyed ghost was a terrible, but recognizable, Winnie the Pooh outline. Nailed the basic shape, and everyone knew who it was.
Instant Recognition and Pure Joy
Beyond the ease of the shapes, there's the undeniable fun factor. Who doesn't love Disney? Seeing a beloved character pop up on your doorstep just sparks that little bit of magic. It's not about perfect execution; it's about creating something that brings a smile. When a trick-or-treater sees a familiar face like Elsa or Spider-Man carved into a pumpkin, there's an immediate connection. It feels personal and welcoming, even if the lines aren't perfectly straight.
This instant recognition is incredibly rewarding, especially for beginners or when carving with kids. You don't have to explain what it is; the character speaks for itself. The sheer variety of Disney characters also means there's someone for everyone, from toddlers who love Moana to adults nostalgic for villains. This wide appeal makes it a fantastic choice for family carving sessions, ensuring everyone gets excited about their project.
Which Disney characters are usually the easiest starting points?
- Mickey Mouse / Minnie Mouse (classic ears)
- Olaf (simple stacked shapes)
- Jack Skellington (distinctive head shape and expression)
- Buzz Lightyear (simple helmet/face shape)
- Basic princess silhouettes (like Cinderella's dress shape)
Gather Your Gear: Simple Tools for Easy Disney Pumpkin Carving

Gather Your Gear: Simple Tools for Easy Disney Pumpkin Carving
Forget the Fancy Kits, Grab the Basics
let's talk tools. You might see those elaborate pumpkin carving kits with 50 different tiny saws and loop scoops and think you need them. You probably don't, especially for **easy Disney pumpkin carving**. Seriously, for simple shapes and outlines, you can get away with surprisingly little. A good, sturdy kitchen knife (a paring knife works well for detail, a slightly larger one for cutting the top) is your main workhorse.
You'll also need something to scoop out the guts. A large spoon or an ice cream scoop works perfectly. Don't overthink it. The goal here is simple, not professional-level sculpting. We're aiming for recognizable fun, not museum exhibits. So, raid your kitchen drawers before you hit the Halloween aisle and spend ten bucks on specialized plastic tools that snap after one use.
Stencils Are Your Disney Sidekicks
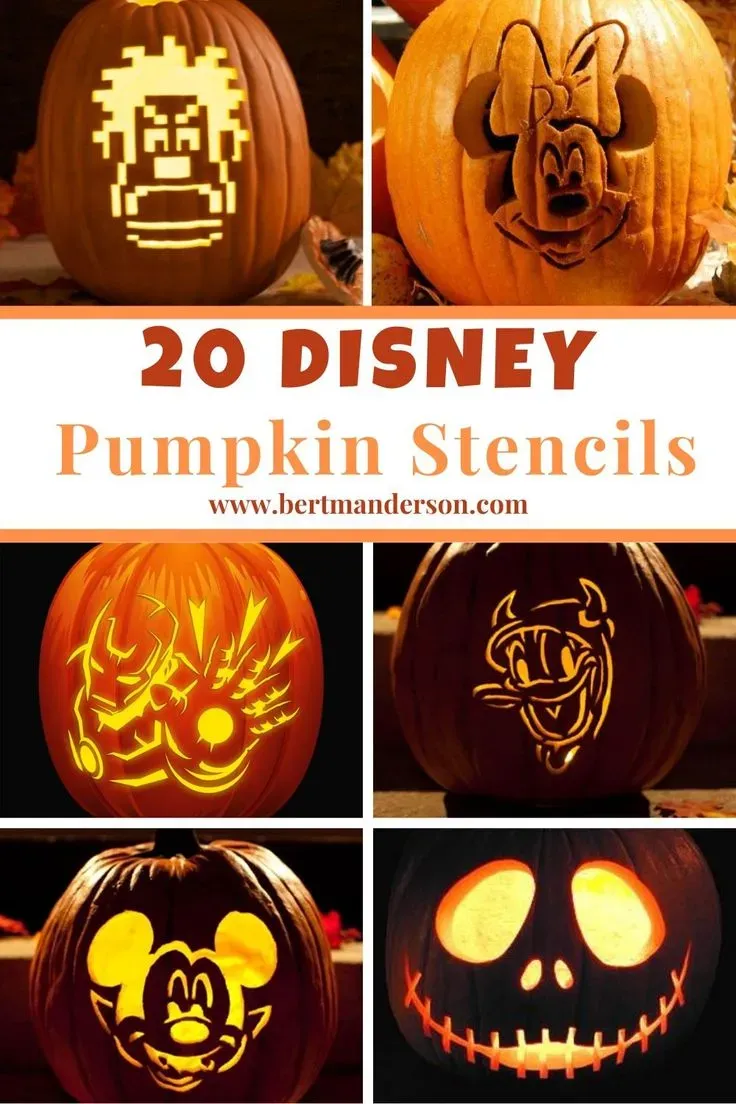
This is where the "easy" part really shines for Disney designs. Finding or printing a simple stencil of your chosen character is an absolute game-changer. You don't need to be able to draw; you just need to be able to trace. There are tons of free Disney character stencils online, specifically designed for pumpkins.
Once you have your stencil, tape it onto the pumpkin. Use a sharp poker tool (or even a pushpin) to make small holes along the lines of the stencil. These dots create a connect-the-dots guide right on your pumpkin surface. Then, you just follow the dots with your knife. It's like paint-by-numbers, but with pumpkin guts. Much more satisfying.
What's the most underrated pumpkin carving tool?
- A basic metal spoon for scraping.
- A pushpin for transferring stencil designs.
- An old towel for keeping things clean(ish).
- A small bowl for seeds (roast them later!).
Safety First, Then the Fun
Alright, slightly less exciting but totally necessary: safety. Knives are sharp, pumpkins are round and sometimes slippery. Always cut away from yourself. If you're carving with kids, make sure an adult is doing the actual cutting, or use those kid-safe plastic carving tools (though honestly, they require more effort than they're worth sometimes). A good, flat surface to work on is also key. Cover it with newspaper or a drop cloth – pumpkin guts go everywhere, and I mean *everywhere*.
Having a bowl for the seeds and pulp is also crucial. You want to get that pumpkin cleaned out thoroughly before you start carving. A clean interior makes it easier to see what you're doing and helps the pumpkin last a little longer. Plus, those roasted pumpkin seeds aren't going to make themselves. So, gather your basic knives, find your stencil, prepare for a bit of mess, and you're ready to start bringing that Disney character to life.
Top Pumpkin Carving Ideas Disney Easy: BeginnerFriendly Designs
Top Pumpkin Carving Ideas Disney Easy: BeginnerFriendly Designs
Alright, you've got your cleaned-out pumpkin and your basic tools, maybe a stencil or two. Now for the fun part: picking *which* Disney character to bring to life. The trick for genuinely **pumpkin carving ideas disney easy** is to stick to characters with simple, bold outlines and minimal internal detail you need to carve out. Think silhouettes or designs where you're mostly removing large sections rather than trying to make tiny cuts. Mickey and Minnie Mouse ears are classic for a reason – two circles, boom, done. Jack Skellington's head is just an oval with some big eye sockets and a jagged smile. Even a simple Star Wars rebel or Imperial logo is often just cutting out negative space around a recognizable shape. Don't feel pressured to recreate a character's entire face; often, just a key feature or their iconic outline is enough to get the point across and make a fantastic, easy pumpkin.
Beyond the Blade: NoCarve Easy Disney Pumpkin Ideas
Beyond the Blade: NoCarve Easy Disney Pumpkin Ideas
Why Skip the Knife? The Appeal of No-Carve Disney Magic
Let's be honest, carving can be messy, requires sharp objects, and sometimes, despite your best efforts, the pumpkin just splits in a way that ruins your masterpiece. If the idea of wielding a knife near a round, unstable object gives you the shivers, or if you're working with really little kids, no-carve pumpkins are your superhero cape. They offer all the fun of decorating without the potential for stitches. Plus, a no-carve pumpkin generally lasts way longer than a carved one, which starts to decompose the moment you break the skin.
For **pumpkin carving ideas disney easy**, going no-carve opens up a whole world of possibilities that are genuinely simple. You don't have to worry about the structural integrity of the pumpkin or whether a thin piece will break off. You're working on a solid surface, which is much more forgiving. Think of it as decorating a blank canvas instead of performing surgery. It’s a fantastic way to get that Disney look with minimal fuss and maximum fun.
Painting and Sticking Your Way to Disney Characters
So, how do you get that Disney character on your pumpkin without carving? Paint is your best friend here. Acrylic paints work great on pumpkin surfaces. You can freehand if you're feeling brave, but for truly easy results, grab those stencils again! Instead of poking holes, you can lightly trace the stencil outline onto the pumpkin with a pencil or marker, then fill it in with paint. Simple character faces, logos, or silhouettes are perfect for this.
Another ridiculously easy method is using vinyl decals or even just printed images and Mod Podge. Print out a picture of your favorite character's face or a symbol (like the Haunted Mansion logo or Buzz Lightyear's chest plate). Cut it out, apply a layer of Mod Podge to the pumpkin, stick the image down, and then brush more Mod Podge over the top to seal it. It gives a smooth, finished look and takes minutes. Seriously, try the Mod Podge trick. It feels like cheating, but the results are great and require zero artistic talent.
What are some simple no-carve Disney character ideas?
- Mickey/Minnie Mouse (paint black, add red shorts/polka dots and felt ears)
- Olaf (paint white, add stick arms, carrot nose, and googly eyes)
- Jack Skellington (paint white, draw face with black marker or paint)
- Mike Wazowski (paint green, add one big eye)
- Toy Story Alien (paint green, add three eyes and antenna)
Adding Flair with Accessories and Craft Supplies
No-carve doesn't mean boring. You can add so much personality using simple craft supplies. Felt, foam sheets, pipe cleaners, googly eyes, buttons, yarn – the possibilities are endless. Want to make a Mickey pumpkin? Paint it black, then glue on large circles of black felt or foam for the ears. An Olaf pumpkin needs twig arms glued to the sides and maybe some pipe cleaner hair. For a princess theme, you could glue on some sparkly fabric or ribbon. Hot glue is your friend here (used by an adult, obviously).
Think about the character's key features that you can represent physically. Cinderella's glass slipper could be a painted-on outline or even a small plastic slipper glued near the stem. Stitch needs big ears cut from felt. Buzz Lightyear could get some painted-on buttons and wings cut from cardboard. These little 3D touches make your no-carve **pumpkin carving ideas disney easy** pop and give them that extra bit of homemade charm without ever having to pick up a knife.
Showcasing Your Easy Disney Pumpkin Creations
Showcasing Your Easy Disney Pumpkin Creations
Finding the Perfect Spot for Your Masterpiece
you've put in the (easy) work, maybe wrestled a bit with some pumpkin guts, and now you have a fantastic, easy Disney pumpkin creation sitting in front of you. Don't just leave it on the kitchen counter! Where you display it matters. Think about visibility. The front porch is a classic for a reason – trick-or-treaters need to see that Olaf or Mickey grinning at them. Make sure it's in a spot where it won't get accidentally kicked or swiped by a rogue squirrel. Elevated on a bale of hay or a sturdy crate can make it stand out. If you're using a candle or light (LEDs are way safer, just saying), ensure the light source is secure and won't tip over.
Consider the backdrop too. A plain wall or a nice bush makes the pumpkin the star. Avoid clutter. You want that simple Disney character to pop. And if you're like me, you'll immediately want to snap a photo. Good lighting is key here. Natural daylight is usually best, but at night, make sure your internal light source is bright enough to show off your carving or decoration. Get down to the pumpkin's level for the shot. Nobody wants a photo looking down at the stem.
Sharing the Magic Online (or Just with Your Neighbors)
Once you've got that perfect display spot and maybe a decent photo, it's time to share your **easy Disney pumpkin carving ideas** with the world, or at least your social circle. Post that picture! Use relevant hashtags like #DisneyHalloween, #PumpkinCarving, #EasyPumpkins, or even character-specific ones like #MickeyPumpkin or #OlafPumpkin. You might inspire someone else who thought carving was too hard. Don't worry about perfection; people genuinely appreciate seeing homemade efforts, especially when they involve beloved characters. The goal isn't to win a contest; it's to share some festive fun.
Or, you know, just let the neighborhood kids enjoy it. There's a simple pleasure in seeing a little face light up when they recognize Stitch on your porch. Sometimes the best showcasing is just putting it out there for people to see and enjoy as they pass by. No likes or comments needed, just real-world smiles. It's a low-stakes way to spread a little Disney cheer during spooky season.
Your Easy Disney Pumpkin Adventure Awaits
So there you have it. You've seen that turning a humble pumpkin into a bit of Disney enchantment doesn't require you to be a master sculptor. We've talked tools, tackled some genuinely simple designs, and even looked at ways to skip the carving knife altogether. The goal here isn't perfection; it's participation, a little bit of festive fun, and maybe making a kid (or yourself) grin when they see a familiar face on your doorstep. Grab a gourd, pick a character that speaks to your skill level (or lack thereof), and give it a shot. Worst case? You've got a slightly-less-than-perfect but still charming decoration. Best case? You've found a new, easy way to add some magic to your Halloween.