Table of Contents
Halloween is creeping closer, and that means it's time to ditch the basic triangle-eyed jack-o'-lantern. If you're ready to unleash some serious spooky vibes on your porch, you've come to the right haunted house! We're diving deep into the realm of pumpkin carving ideas creepy enough to make the neighbors think twice about trick-or-treating. Forget friendly grins; we're talking menacing monsters, eerie expressions, and designs that’ll haunt the night.
Embrace the Dark Side: Spooky Pumpkin Faces and Designs
Embrace the Dark Side: Spooky Pumpkin Faces and Designs
Classic Horror Twists
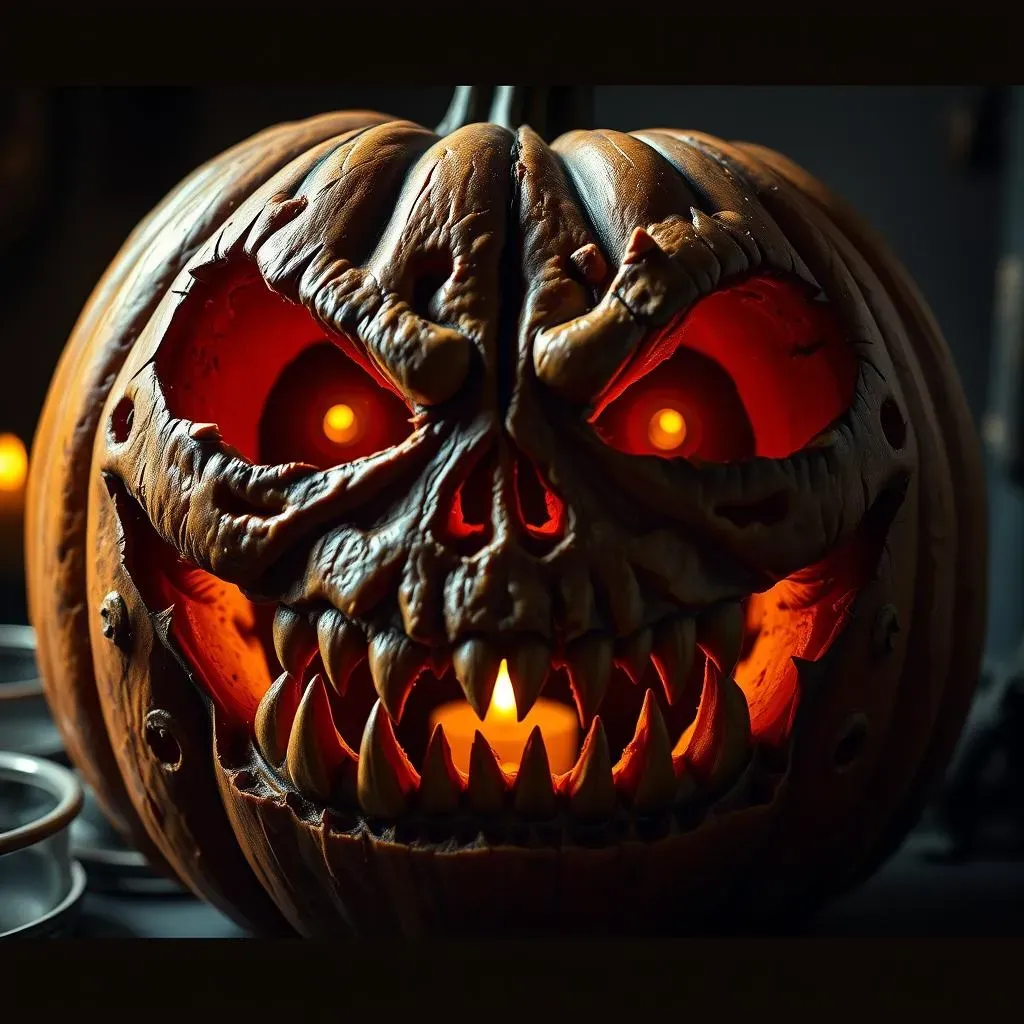
Let's start with the faces that scream Halloween. Think beyond the goofy grin. We're talking jagged teeth, eyes that seem to pierce your soul, and brows furrowed in eternal anger. The key here is asymmetry. Nothing is scarier than something slightly off. Use stencils if you need to, but don't be afraid to freehand some gnarly details. A crooked smile, one eye wider than the other – that's where the magic happens. Consider adding depth with varying carving depths to create shadows and highlights that amplify the spookiness.
Don't underestimate the power of simple shapes, either. Deep, triangular eyes can convey a sense of dread, while a wide, rectangular mouth filled with sharp, uneven teeth is instantly menacing. Get creative with your tools. Use a small saw for intricate details, a gouge for creating texture, and even a drill for adding small, eerie holes. And remember, lighting is everything. A flickering candle or strategically placed LED can transform a so-so carving into a truly terrifying spectacle.
Beyond the Basic Scare
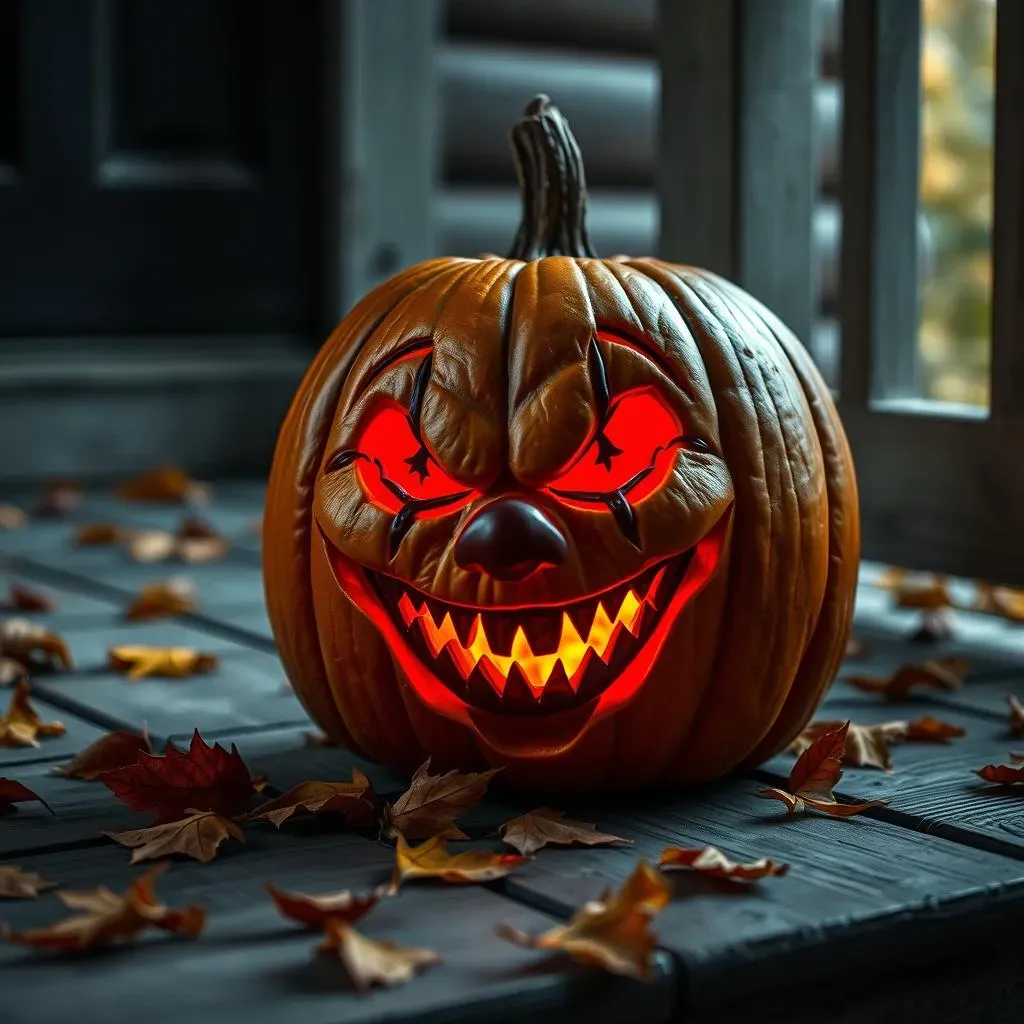
Ready to level up? Think about incorporating elements of decay and rot into your pumpkin faces. Carve out sections to create a "hollowed-out" look, revealing the pumpkin's inner pulp. Use a rasp or sandpaper to rough up the edges, giving them a weathered, decaying appearance. You can even apply a thin layer of petroleum jelly to certain areas to slow down the decomposition process, creating a contrast between fresh and rotting flesh.
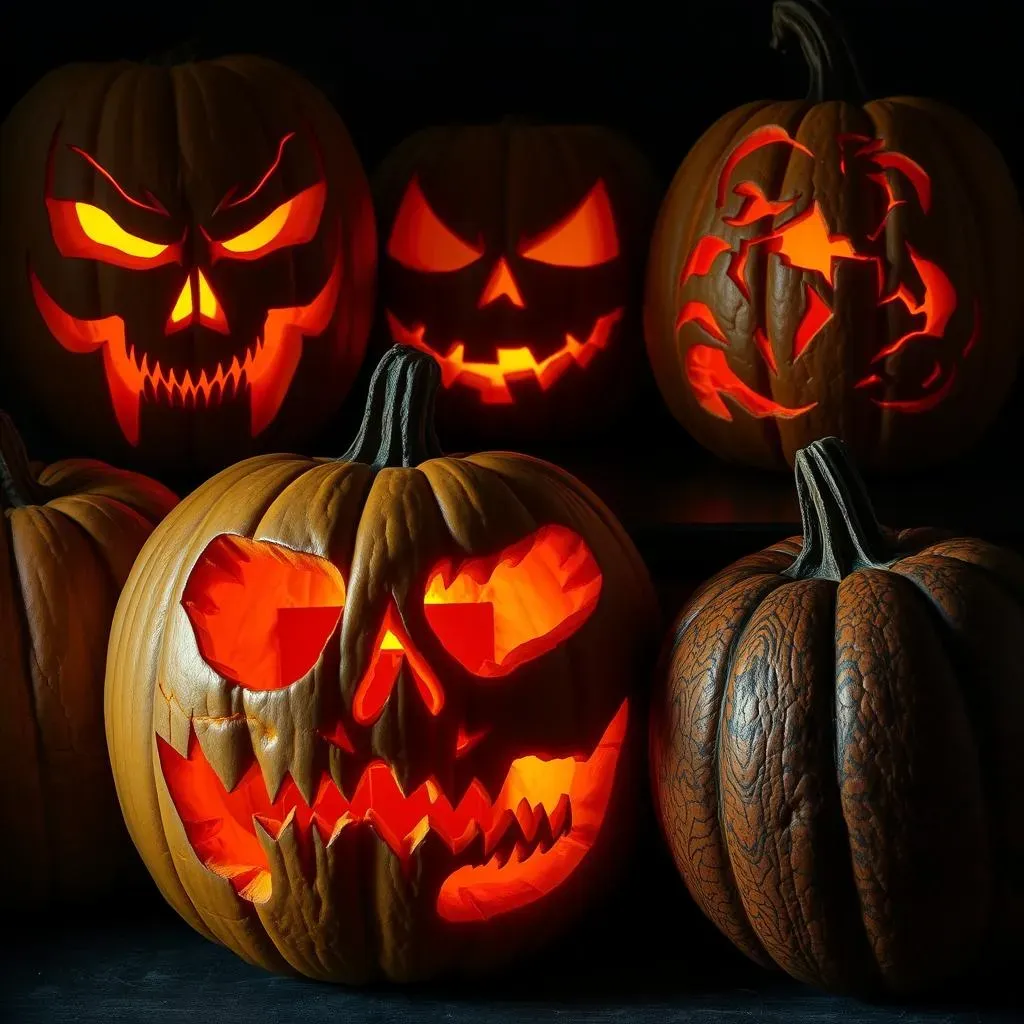
Another fun technique is to carve multiple faces onto a single pumpkin. Imagine a pumpkin with a screaming face on one side and a sinister, smiling face on the other. Or, carve smaller faces within the larger one, creating a disturbing, multi-layered effect. This adds complexity and intrigue to your design, making it truly stand out from the crowd. Experiment with different tools and techniques to find what works best for you. The only limit is your imagination (and maybe your knife skills!).
Spooky Element | Description | How to Achieve |
|---|---|---|
Jagged Teeth | Uneven, sharp teeth that convey menace. | Use a small saw or knife to create irregular, pointed shapes. |
Piercing Eyes | Deep-set eyes that seem to stare into your soul. | Carve deep, triangular or oval shapes and use lighting to enhance the effect. |
Decaying Flesh | A hollowed-out, weathered appearance. | Rasp or sand down edges, apply petroleum jelly to control decomposition. |
Beyond the Grin: Creative Creepy Pumpkin Carving Techniques
Beyond the Grin: Creative Creepy Pumpkin Carving Techniques
Shadow Play: The Art of Depth Carving
Alright, so you've mastered the basic scary face. Now, let's talk about adding some serious dimension to your pumpkin carving ideas creepy. Depth carving is all about using different carving depths to create shadows and highlights, making your design pop in a way a simple outline just can't. Think of it like sculpting, but with pumpkin guts instead of clay. You're not just cutting through the pumpkin; you're manipulating the light that hits it.
Start by transferring your design onto the pumpkin, just like you normally would. But instead of immediately cutting all the way through, identify the areas where you want shadows to be deepest. These will be the parts you carve all the way through the pumpkin wall. Then, for areas you want to be highlighted, carefully shave away layers of the pumpkin skin, leaving the flesh underneath exposed. The thinner the pumpkin wall, the more light will pass through, creating a brighter highlight. It takes practice, but the effect is seriously stunning.
Stencils? We Don't Need No Stinkin' Stencils! ( Maybe a Little)
okay, stencils can be helpful, especially for intricate designs. But don't let them limit you! Use stencils as a starting point, then add your own creepy twists. Maybe the stencil shows a classic skull, but you can add cracks, gouges, and asymmetrical details to make it truly unique. Or, use multiple stencils to create a Frankenstein-esque mashup of different images. The point is to make the design your own, to inject your personality (or lack thereof, if you're going for maximum creepiness) into the carving.
Also, think about using tools beyond the standard pumpkin carving kit. A small clay sculpting loop tool is fantastic for shaving away thin layers of pumpkin flesh. A wood-burning tool (used with caution, of course!) can be used to add fine details and textures. And don't forget about power tools! A rotary tool with a small engraving bit can make quick work of intricate designs. Just be sure to wear eye protection and take it slow.
Technique | Description | Tools |
|---|---|---|
Depth Carving | Creating shadows and highlights by varying carving depths. | Knives, gouges, loop tools. |
Stencil Modification | Using stencils as a base and adding your own creepy details. | Stencils, knives, imagination. |
Power Tool Detailing | Using power tools for intricate designs and textures. | Rotary tool, engraving bits, eye protection. |
Creepy Characters Come to Life: Movie Monster Pumpkin Designs
Creepy Characters Come to Life: Movie Monster Pumpkin Designs
Horror Icons Reimagined
let's get to the good stuff: bringing our favorite movie monsters to life on a pumpkin canvas. Forget the generic ghost – we're talking Pennywise's sinister grin, Freddy Krueger's razor-sharp claws, and the chilling gaze of Michael Myers. The key here is accuracy. You want people to instantly recognize the character, so do your research and find good reference images. Print them out and keep them handy while you're carving. Don't be afraid to get detailed; the more accurate you are, the more terrifying the final result will be.
Think about using the pumpkin's natural shape to your advantage. A tall, slender pumpkin is perfect for a Slenderman carving, while a round, squat pumpkin is ideal for Pennywise's oversized head. And remember, lighting is crucial. Use different colored lights to enhance the character's features. Red light for Freddy's burned face, green light for a zombie, and blue light for a ghostly apparition. Experiment and have fun with it!
Beyond the Jump Scare: Subtle Horror
Not every movie monster carving has to be a full-on jump scare. Sometimes, the most effective horror is subtle and unsettling. Think about carving a silhouette of Norman Bates standing in the window of the Bates Motel, or the eerie twins from "The Shining" holding hands. These images are instantly recognizable to horror fans, but they're also understated and creepy in a way that a more graphic carving might not be.
Another great technique is to focus on a single, iconic element from a movie monster. Freddy's glove, Jason's hockey mask, or Dracula's fangs – these are all instantly recognizable symbols of horror that can be incredibly effective when carved into a pumpkin. And don't forget about texture! Use different carving tools and techniques to create a variety of textures on your pumpkin, adding depth and realism to your design. A rough, scarred surface is perfect for a zombie, while a smooth, polished surface is ideal for a vampire.
Movie Monster | Iconic Feature | Carving Tips |
|---|---|---|
Pennywise | Sinister Grin | Focus on the sharp teeth and exaggerated expression. Use a round pumpkin. |
Freddy Krueger | Razor Glove | Pay attention to the detail of the blades. Use red lighting. |
Michael Myers | Blank Mask | Keep the mask smooth and expressionless. Use deep-set eyes for a chilling gaze. |
Level Up Your Scare Factor: Advanced Creepy Pumpkin Carving Ideas
Level Up Your Scare Factor: Advanced Creepy Pumpkin Carving Ideas
Pumpkin Projections: Light and Shadow Mastery
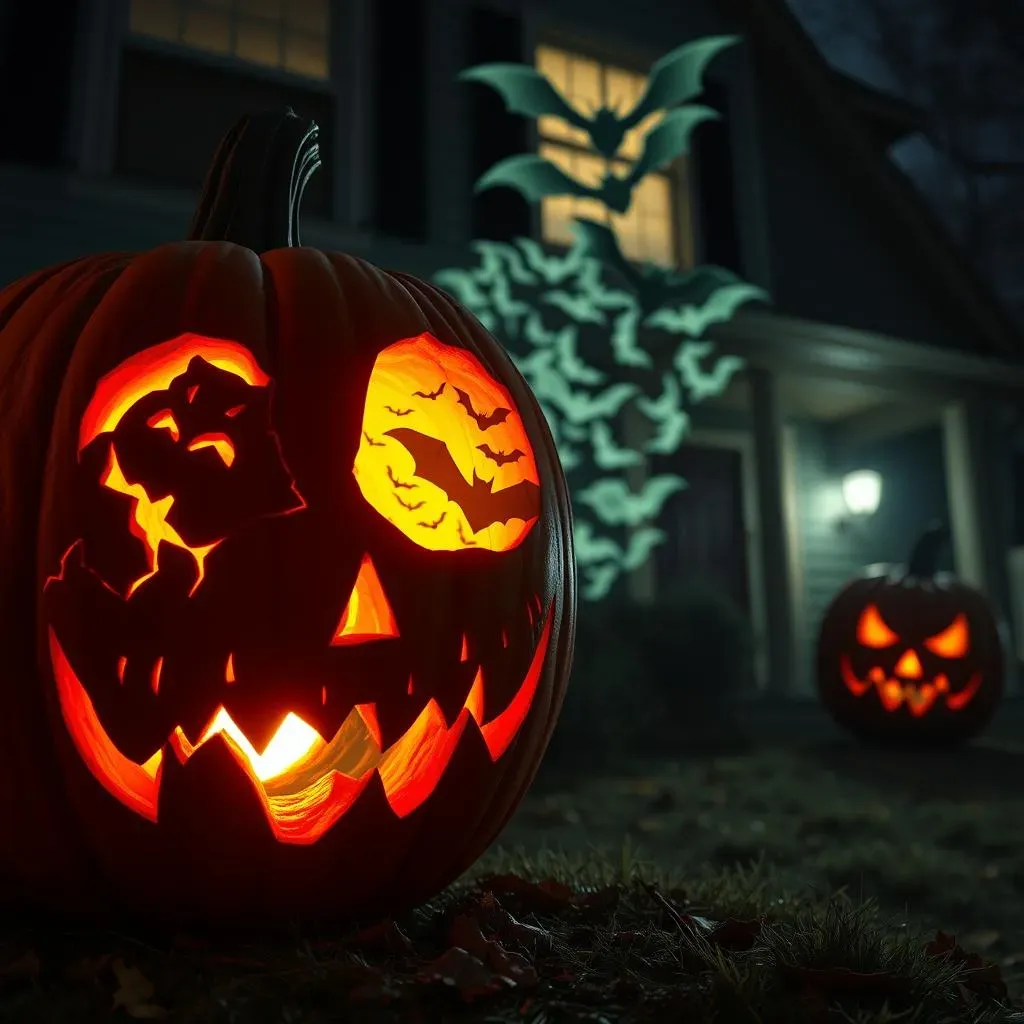
So, you're not just carving a pumpkin anymore; you're creating an experience. Let's talk about pumpkin projections. This takes your pumpkin carving ideas creepy to a whole new dimension – literally. We're using light and shadow to create illusions, moving images, and effects that will leave your trick-or-treaters speechless. Think of it as turning your pumpkin into a mini haunted house projector. The basic idea is to carve intricate patterns into your pumpkin and then project light through those patterns onto a nearby surface. The key is to use a bright light source and a dark environment to maximize the effect.
You can use stencils for this, but I prefer to freehand it. Start with a simple design, like a spiderweb or a swarm of bats, and then experiment with different carving depths to create varying levels of shadow. You can also use multiple pumpkins to create a more complex projection. Imagine a row of pumpkins, each with a different part of a scene carved into it, projecting a complete image onto your house. It's ambitious, but the result is mind-blowing.
Animatronic Pumpkins: When Gourds Get Moving
this is where things get really wild. Animatronic pumpkins! We're talking about adding motors, gears, and other mechanical components to make your pumpkin move, talk, and even jump. This isn't for the faint of heart, but if you're up for the challenge, the results are incredible. You can buy pre-made animatronic kits online, or you can build your own from scratch using parts from a hobby store. The possibilities are endless.
Imagine a pumpkin with eyes that follow you as you walk by, or a mouth that opens and closes as it tells a spooky story. You can even create a pumpkin that jumps out at unsuspecting trick-or-treaters. Just be sure to use safe and reliable components, and always supervise children around animatronic pumpkins. And remember, the creepier the movement, the better! A jerky, unnatural motion is far more unsettling than a smooth, fluid one.
Advanced Technique | Description | Materials |
|---|---|---|
Pumpkin Projections | Using light and shadow to create illusions and moving images. | Bright light source, dark environment, stencils (optional). |
Animatronic Pumpkins | Adding motors and gears to make your pumpkin move and talk. | Animatronic kit or hobby parts, motors, gears, controllers. |
Embrace the Night: Your Creepy Pumpkin Masterpiece Awaits
So, there you have it – a cauldron full of creepy pumpkin carving ideas to ignite your Halloween spirit. Whether you choose a classic spooky face, a movie monster, or a completely original design, remember that the most important ingredient is your own creativity. Don't be afraid to experiment, embrace the imperfections, and most importantly, have fun conjuring up your creepy pumpkin masterpiece. Now go forth, carve boldly, and let your spooky creations light up the night!