Table of Contents
Halloween's coming, and you're probably thinking about pumpkins. But forget the same old spooky faces! Let's talk pumpkin carving ideas characters that'll seriously impress your neighbors. Whether you're a Disney fanatic, a comic book geek, or a video game enthusiast, we've got inspiration to transform your pumpkin into a work of art. This isn't just about carving; it's about bringing your favorite characters to life on your front porch. We'll explore iconic Disney figures, delve into the world of superheroes, and even show you how to pixelate your pumpkin with video game legends. Ready to ditch the basic triangle eyes and step up your pumpkin game? Get ready for a creative adventure where we provide tips, tricks, and even some handy templates to make your character carving dreams a reality. Let's carve some character!
Disney Pumpkin Carving Ideas: Classic Characters
Disney Pumpkin Carving Ideas: Classic Characters
Mickey and Minnie: Timeless Treats
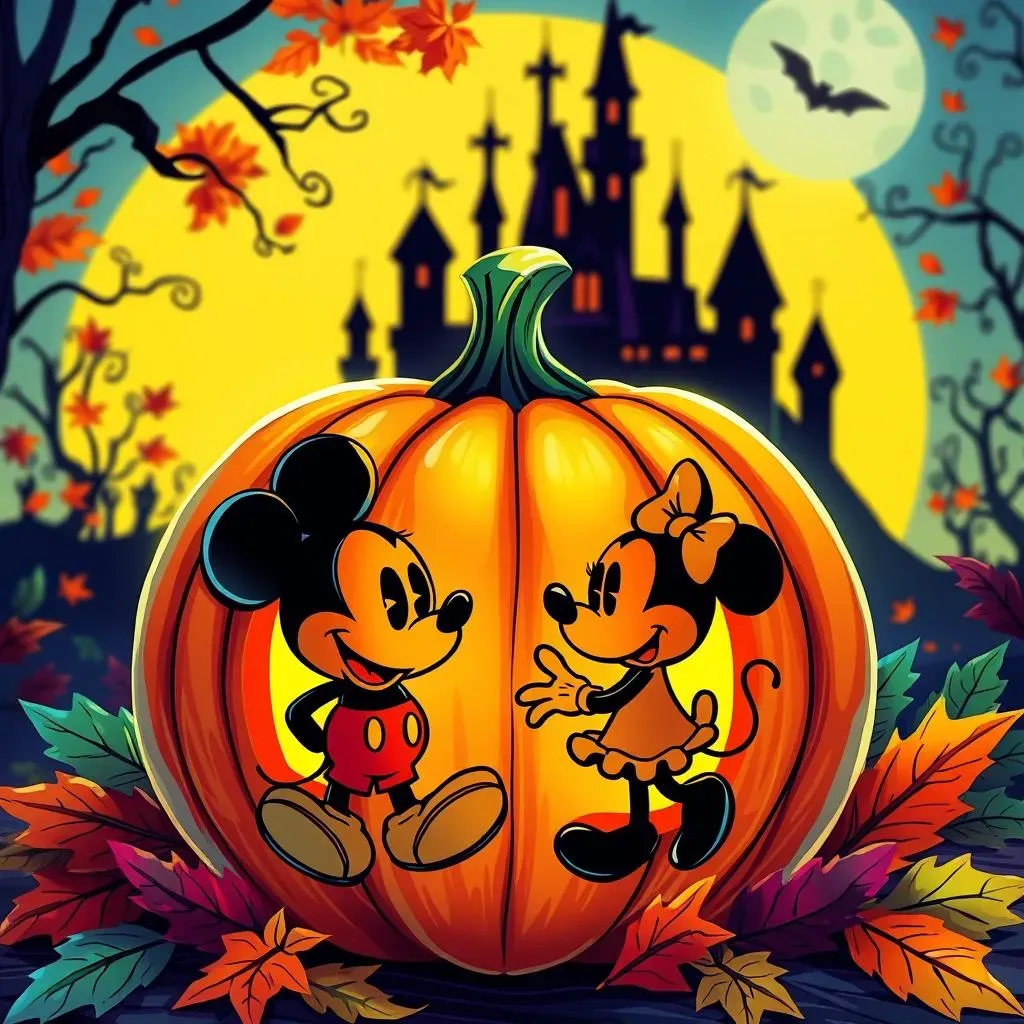
Let's kick things off with the OGs: Mickey and Minnie Mouse. These two are practically synonymous with Disney, and their silhouettes are instantly recognizable. Think big, round ears and those iconic smiles. The beauty of Mickey and Minnie is their simplicity. Even a beginner carver can achieve a fantastic result. You could do a classic Mickey grin, a sweet Minnie bow, or even a combined design with both of them sharing a smooch. Don't be afraid to get creative with the background, maybe add some stars or a spooky castle silhouette!
For a fun twist, consider carving Mickey or Minnie as a zombie or vampire for a spookier take on these beloved characters. Or, if you're feeling ambitious, try a 3D carving to make their features pop. Remember, the key is to have fun and let your inner Disney fan shine!
Princess Power: From Cinderella to Elsa
Ready to add some royal flair to your pumpkin? Disney princesses offer a treasure trove of carving possibilities. From Cinderella's iconic glass slipper to Ariel's flowing hair, each princess brings a unique set of design elements. Elsa from Frozen is a particularly popular choice, with her intricate ice patterns and flowing braid providing ample opportunity for detailed carving. You could even incorporate LED lights to make her ice powers shimmer!
Consider the level of detail you're comfortable with. Belle's rose is a relatively simple design, while Aurora's elaborate gown might require a bit more patience. Don't be afraid to simplify complex elements to make them easier to carve. Remember, the goal is to capture the essence of the character, not to replicate them perfectly.
Character | Difficulty | Iconic Element |
|---|---|---|
Cinderella | Easy | Glass Slipper |
Ariel | Medium | Flowing Hair |
Elsa | Hard | Ice Patterns |
Villainous Vibes: Adding a Dark Side
Don't forget the villains! Disney's baddies are just as iconic as the heroes, and they offer a chance to add a touch of darkness to your Halloween display. Maleficent's horns, Ursula's tentacles, or Jafar's staff all make for striking pumpkin carvings. A menacing grin or a fiery eye can instantly transform your pumpkin into a symbol of spooky fun.
Think about using different carving depths to create shadows and highlights, adding dimension to your villainous creation. You could even incorporate some dry ice to create a smoky effect, making your villain truly come to life. Just remember to handle dry ice with care and follow safety precautions.
Superhero Pumpkin Designs: Carving Comic Book Icons
Superhero Pumpkin Designs: Carving Comic Book Icons
Caped Crusaders: Batman and Superman
Let's face it, can you even have Halloween without a nod to the Dark Knight or the Man of Steel? Batman's iconic bat symbol is a classic for a reason – it's instantly recognizable and surprisingly easy to carve. You can go for a simple silhouette or add some extra flair by carving out the Gotham skyline in the background. Superman's "S" shield is another great option, especially if you want to practice your curved lines. Plus, imagine lighting it up with a bright LED to really make it pop!
Want to take it up a notch? Try carving a portrait of Christian Bale's Batman or Christopher Reeve's Superman. These require more advanced carving skills, but the results are truly stunning. Or, consider a comic book panel design, featuring an action shot of your favorite hero in mid-flight or battling a villain. The possibilities are endless!
Marvel Mayhem: Spiderman and the Avengers
If you're more of a Marvel fan, fear not! There's a whole universe of superhero pumpkin designs waiting to be carved. Spiderman's web is a fantastic choice, offering a chance to practice your intricate line work. You could even add a little Spidey crawling on the side of the pumpkin for extra effect. Or, gather your friends and carve a whole team of Avengers, each with their own unique symbol or portrait.
Consider using different carving depths to create a sense of depth and dimension. For example, carve the web closer to the surface to make it appear to be in the foreground, while carving Spiderman himself a bit deeper to make him stand out. Don't be afraid to experiment with different tools and techniques to achieve the look you're going for. And remember, practice makes perfect! So, grab a few extra pumpkins and start carving!
Superhero | Iconic Symbol | Difficulty |
|---|---|---|
Batman | Bat Symbol | Easy/Medium |
Superman | "S" Shield | Easy/Medium |
Spiderman | Web | Medium/Hard |
Video Game Pumpkin Art: Level Up Your Carving Skills
Video Game Pumpkin Art: Level Up Your Carving Skills
Pixelated Pumpkins: 8-Bit Nostalgia
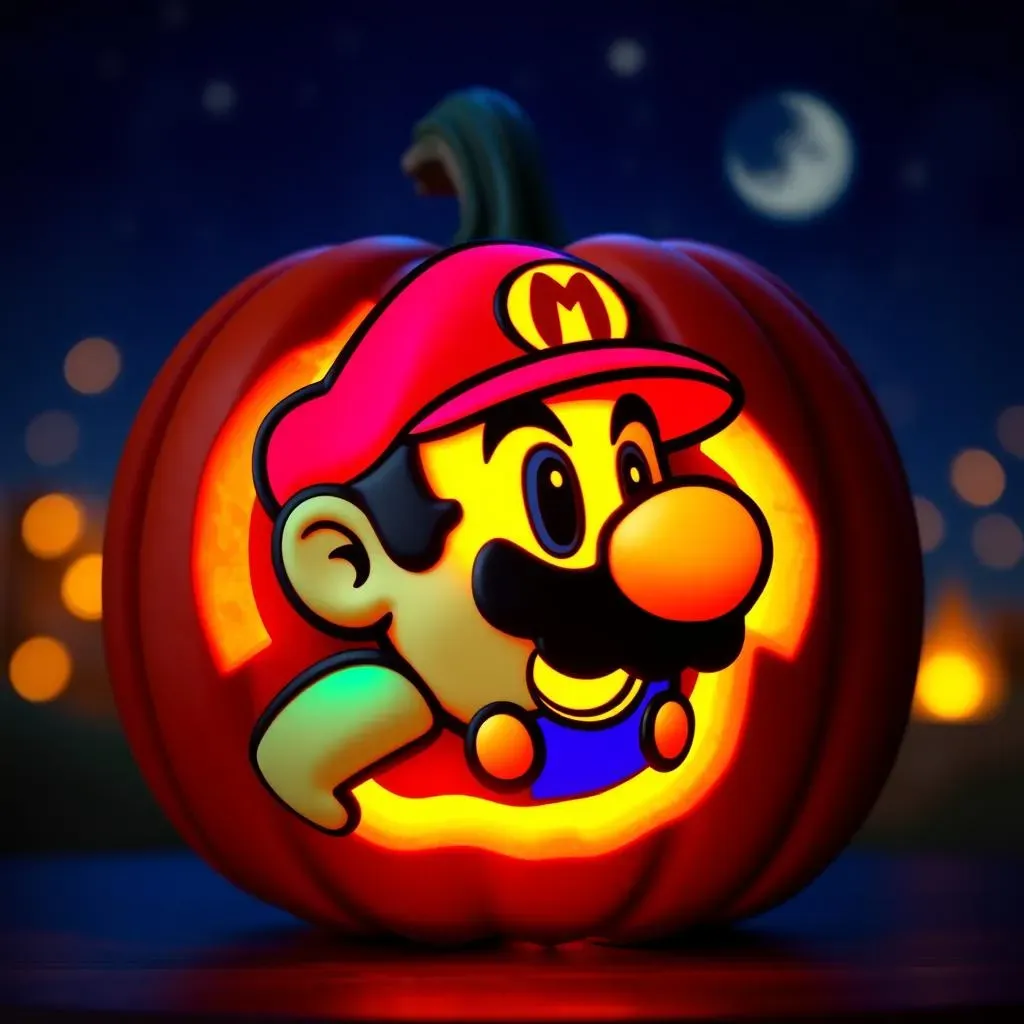
Alright, gamers, it's time to bring your digital worlds to life! Forget smooth curves; we're going retro with pixelated pumpkins. Think classic 8-bit characters like Mario, Pac-Man, or even a Minecraft creeper. The blocky nature of these designs makes them surprisingly easy to carve, even for beginners. Plus, the nostalgia factor is off the charts. Imagine your front porch glowing with the warm, blocky light of your favorite childhood games!
To achieve that authentic pixelated look, start by sketching out your design on graph paper. Each square on the graph paper will correspond to a pixel on your pumpkin. Use a small, sharp carving tool to carefully remove the pumpkin skin within each pixel, creating a clean, defined edge. And don't be afraid to get creative with the lighting! Use different colored LEDs to bring your pixelated masterpiece to life. A blue LED for a water level, a red LED for a lava level – the possibilities are endless!
Controller Chaos: Buttons and Joysticks
Want to pay homage to the tools of your trade? Why not carve a video game controller into your pumpkin? An old-school NES controller, a sleek PlayStation DualSense, or even an Xbox Elite controller – the choice is yours! This design is a great way to show off your gaming pride and it's surprisingly versatile. You can carve the entire controller onto the pumpkin, or just focus on the iconic button layout.
For an extra challenge, try carving the controller buttons at different depths to create a 3D effect. Or, use a stencil to create a perfectly symmetrical design. And don't forget the details! The D-pad, the joysticks, the shoulder buttons – these are the elements that will really make your controller carving stand out. You could even add a little LED light behind the controller to make the buttons glow.
Game Character | Difficulty | Tips |
|---|---|---|
Mario | Easy | Focus on the hat and mustache. |
Pac-Man | Easy | Simple shapes, easy to carve. |
Creeper (Minecraft) | Medium | Use graph paper for pixel accuracy. |
Character Cameos: From Link to Lara Croft
Ready to showcase your favorite video game heroes and heroines? Carve a portrait of Link from Zelda, Lara Croft from Tomb Raider, or even Master Chief from Halo. These designs require a bit more skill and patience, but the results are well worth the effort. Start by finding a high-quality image of your chosen character and use it as a reference. Sketch out the basic outlines on your pumpkin, then start carving, paying close attention to the details.
Consider using different carving depths to create shadows and highlights, adding depth and dimension to your character's face. You could even use a wood-burning tool to add fine details, such as wrinkles or scars. And don't be afraid to experiment with different lighting techniques to create a dramatic effect. A spotlight shining up from below can make your character look even more imposing. Remember, the key is to capture the essence of the character, not to create a perfect replica. So, have fun and let your inner gamer shine!
Character Pumpkin Carving Ideas: Tips, Tricks, and Templates
Character Pumpkin Carving Ideas: Tips, Tricks, and Templates
Essential Tools and Materials
so you're ready to carve some characters! First, let's talk tools. You don't need to go overboard, but a few key items will make your life a whole lot easier. A good carving kit is a great start, but I'd also recommend a sturdy serrated knife (for cutting open the pumpkin), a scoop (for gutting it), and some detail carving tools (for those intricate designs). Don't forget a poking tool for transferring templates and cleaning up edges. As for materials, obviously you need a pumpkin! Choose one that's smooth, round, and has a nice, even surface. You'll also need your chosen template, some tape, and a good light source (a headlamp is ideal).
Safety first, always! Carving can be tricky, so make sure you're working in a well-lit area and using tools that are in good condition. If you're carving with kids, supervise them closely and consider using kid-friendly carving tools. And remember, a dull knife is more dangerous than a sharp one, so keep your tools sharp and clean. With the right tools and a bit of caution, you'll be carving like a pro in no time!
Template Triumph: Finding and Using Stencils
Now, let's talk templates. Unless you're a carving wizard, you'll probably want to start with a stencil. Luckily, the internet is overflowing with free character pumpkin carving templates. Just search for "[character name] pumpkin carving template" and you'll find a ton of options. Choose one that matches your skill level and the size of your pumpkin. Once you've found your template, print it out and tape it securely to your pumpkin. Then, use your poking tool to transfer the design onto the pumpkin skin. Poke holes along all the lines of the template, making sure to space them close enough together so you can easily see the design when you remove the template.
When it comes to carving, start with the smallest, most intricate details first. This will help prevent you from accidentally breaking off larger pieces later on. Use your detail carving tools to carefully remove the pumpkin skin within the poked lines, following the template as closely as possible. Don't be afraid to take your time and make small, controlled cuts. And if you make a mistake, don't panic! You can often fix it with a little bit of creativity or by using a toothpick to reattach a broken piece. With a little patience and a good template, you'll be amazed at what you can create!
Tool | Use | Tip |
|---|---|---|
Serrated Knife | Cutting open pumpkin | Use a sawing motion. |
Scoop | Removing pumpkin guts | Get one with a scraper edge. |
Detail Carving Tools | Intricate designs | Start with the smallest details. |
Conclusion: Character Carved, Halloween Conquered!
So, there you have it – a whirlwind of pumpkin carving ideas characters to ignite your Halloween spirit. From the enchanting realms of Disney to the action-packed worlds of superheroes and video games, the possibilities are as endless as your imagination. Remember, carving is just the beginning; it's about expressing your fandom and creating something truly unique. Grab your tools, choose your character, and get ready to transform your pumpkin into a masterpiece that will have everyone talking. Happy carving, and Happy Halloween!