Table of Contents
Halloween's just around the corner, and what's Halloween without a jack-o'-lantern grinning (or grimacing) from your porch? Forget the same old triangle eyes and toothy grin! This year, let's get feline-fancy with some seriously cool pumpkin carving ideas cat face. Whether you're a seasoned carving pro or a total newbie armed with a spoon and a dream, we've got a cat-tastic design for you.
Easy Cat Face Pumpkin Carving Ideas for Beginners
Easy Cat Face Pumpkin Carving Ideas for Beginners
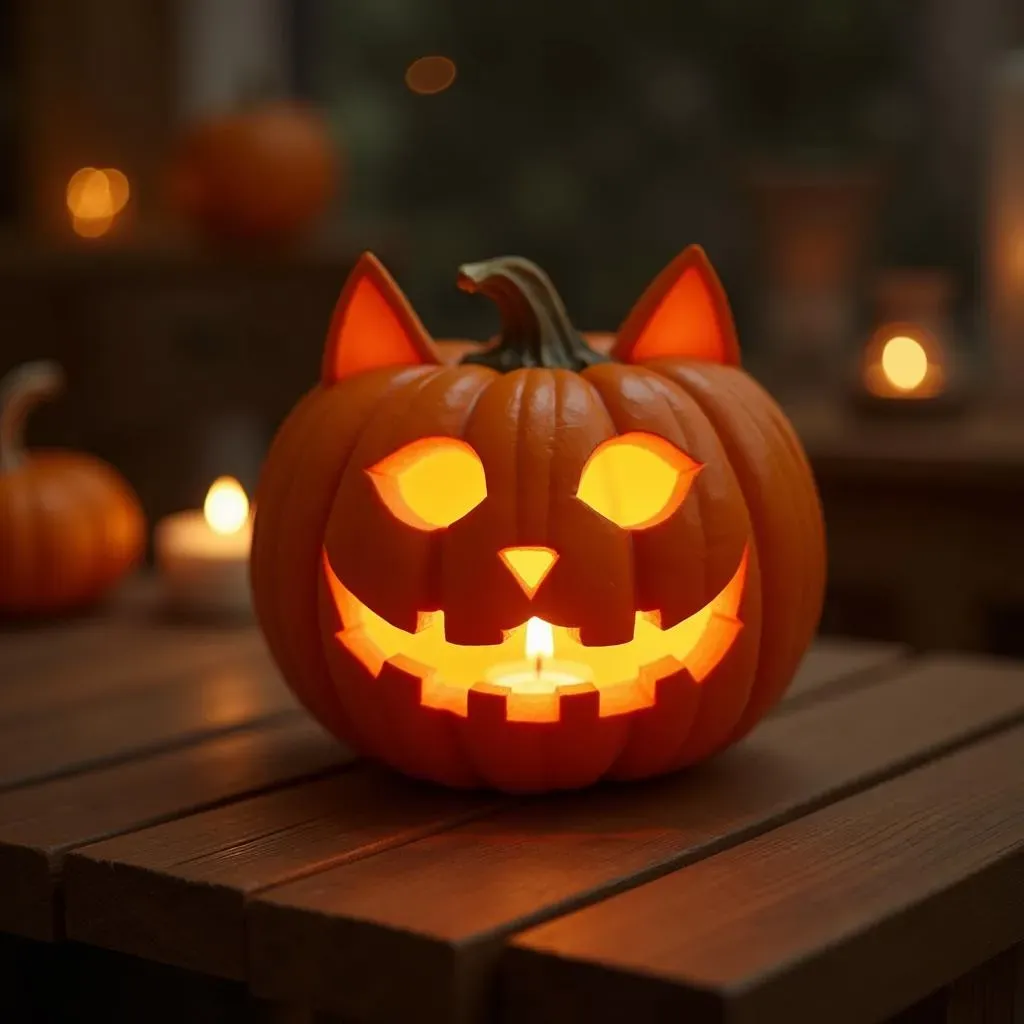
Simple Silhouette Cat
let's start with the absolute easiest option. This is perfect if you're short on time, have little kids helping, or just want a minimalist look. Think of it as a cat-shaped shadow. All you need to do is find a cat silhouette online (there are tons of free templates!), print it out, and tape it to your pumpkin. Then, carefully trace around the outline with a poking tool or a thin marker. Finally, use a small saw to cut along the traced lines. Pop out the shape, and bam! Instant cat.
Pro-tip: Place a battery-operated candle inside to make the silhouette really stand out. You can also use different colored pumpkins (white, orange, green) to create a unique look. Don't be afraid to experiment with different cat poses too! A sitting cat, a leaping cat, a cat with its tail up – the possibilities are endless.
The Classic Cartoon Cat Face
This one's a step up from the silhouette, but still super manageable. We're talking big, round eyes, a cute little triangle nose, and maybe a few whiskers. The key here is to keep the shapes simple. Think about classic cartoon cats like Hello Kitty or Pusheen. Draw your design directly onto the pumpkin with a washable marker. Don't worry about making it perfect – you can always adjust as you go!
When carving, use a small, thin saw for the details. Start with the eyes, then the nose, and finally the whiskers. Remember, less is more! You don't need to carve all the way through the pumpkin for the whiskers – just score the surface to create a subtle effect. This adds depth and dimension to your design without making it too complicated.
Troubleshooting Tip: Accidentally carve too much? No problem! Use toothpicks to reattach the piece and secure it with glue. You can also cover up mistakes with paint or glitter. Nobody will ever know!
Googly-Eyed Surprise Cat
Want to add a touch of whimsy and humor to your pumpkin? Try adding googly eyes! Carve out simple round eye sockets, but instead of carving them all the way through, leave a little bit of pumpkin "eyelid" at the top. Then, glue large googly eyes inside the sockets. The effect is hilarious, especially when you light up the pumpkin from the inside. The googly eyes will jiggle and dance, creating a fun and unexpected surprise.
- Trace a cat face template
- Cut out the outline with a small saw
- Add googly eyes to the eye sockets
- Place a battery-operated candle inside
For an extra touch, add a silly grin or a tongue sticking out. You can also use different sizes and colors of googly eyes for added visual interest. This is a great option for kids because it's easy to do and guaranteed to get a laugh.
Advanced Cat Pumpkin Carving Designs: Unleash Your Inner Artist

Advanced Cat Pumpkin Carving Designs: Unleash Your Inner Artist
Realistic Cat Portrait
Ready to take your pumpkin carving to the next level? Let's ditch the cartoon cats and go for realism. This involves carving a detailed portrait of a cat, complete with fur texture, expressive eyes, and subtle shading. You'll need a good reference photo (your own cat is perfect!), a set of professional carving tools (including sculpting loops and fine saws), and a whole lot of patience. Start by transferring your photo onto the pumpkin using a stencil or by freehand drawing. Then, begin carving the basic shapes, gradually adding more and more detail. The key to realism is to pay attention to the subtle variations in light and shadow. Use different carving depths to create highlights and lowlights, giving your cat portrait a three-dimensional look.
Pro-tip: Don't be afraid to use power tools! A rotary tool with various attachments can be a lifesaver for carving fine details and creating smooth transitions. Just be sure to wear safety glasses and practice on a scrap pumpkin first.
Difficulty | Time Commitment | Tools Needed |
|---|---|---|
Advanced | 5+ hours | Professional carving kit, reference photo, power tools (optional) |
The Cheshire Cat Grin
This design is all about capturing the mischievous grin of the Cheshire Cat from Alice in Wonderland. The key is to focus on the mouth, carving it with exaggerated curves and sharp teeth. You can also add details like the cat's eyes and nose, but the grin should be the focal point. To make the grin really pop, try carving it extra deep and lighting it from behind with a bright light. This will create a dramatic effect that's sure to impress.
Want to get really creative? Try carving the Cheshire Cat's body disappearing into the pumpkin, leaving only the grin floating in mid-air. This requires some serious carving skills, but the result is truly spectacular. You can also add details like the cat's stripes or the Mad Hatter's hat to complete the scene.
Steampunk Cat-o'-Lantern
Combine your love of cats and steampunk with this unique and intricate design. Think gears, goggles, and brass accents. Start with a basic cat face, then add steampunk elements like gears around the eyes, a brass monocle, and maybe even a small top hat. You can use stencils or freehand draw the designs onto the pumpkin. When carving, use a variety of tools to create different textures and depths. For example, you can use a sculpting loop to create the look of raised gears, or a fine saw to carve intricate details in the goggles.
- Carve out the face of a cat
- Add gears around the eyes using stencils
- Create a brass monocle using carving tools
- Don't forget the top hat!
To really sell the steampunk look, consider painting the pumpkin with metallic paint or adding real gears and other embellishments. This is a great way to create a truly one-of-a-kind jack-o'-lantern that's sure to turn heads.
Tools and Tips for Flawless Cat Face Pumpkin Carving
Tools and Tips for Flawless Cat Face Pumpkin Carving
Essential Carving Tools: Set Yourself Up for Success
Alright, before you even think about sticking a knife into that pumpkin, let's talk tools. You wouldn't try to paint a masterpiece with a crayon, would you? Same goes for pumpkin carving! While a basic kitchen knife *can* work in a pinch, investing in a proper carving kit will make your life SO much easier, and your cat face will look infinitely better. Look for kits that include a variety of saws (different sizes for different details), a scoop (for gutting that pumpkin – the messiest but most satisfying part!), a poker tool (for transferring stencils), and sculpting tools (for adding depth and dimension).
Don't cheap out on the tools! A dull saw is a dangerous saw, and flimsy plastic tools will snap under pressure. A good quality kit will last you for years and make the whole carving process more enjoyable. Plus, think of it as an investment in your Halloween spirit! You can even find specialized cat carving kits with stencils and tools designed specifically for feline faces. Talk about purr-fection!
- Serrated knives: For cutting out large sections
- Detail knives: For fine lines and intricate details
- Scoop: To remove pumpkin seeds and pulp
- Poking tool: For transferring stencils
- Stencils: To guide your carving
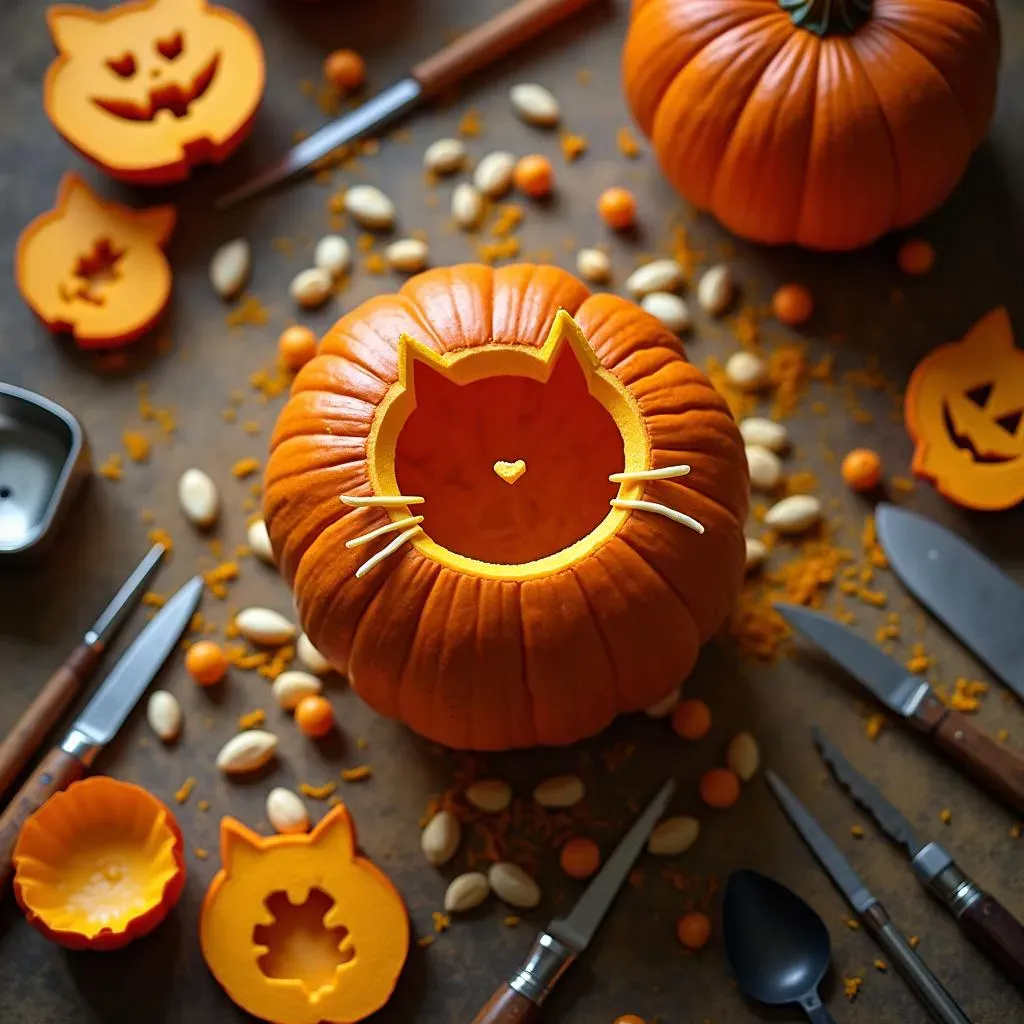
Pumpkin Prep: The Foundation for a Feline Masterpiece
you've got your tools, now let's talk pumpkin prep. First things first, choose the right pumpkin. Look for one that's smooth, round, and has a sturdy stem. Avoid pumpkins with soft spots or blemishes, as these can indicate rot. Once you've found your perfect pumpkin, give it a good wash with soap and water to remove any dirt or debris. Now comes the fun part: gutting! Cut a large hole in the top or back of the pumpkin (I prefer the back – it's less visible). Reach in and scoop out all the seeds and stringy pulp. Scrape the inside walls clean with your scoop. The smoother the inside, the brighter your cat face will shine!
But wait, there's more! Once you've gutted your pumpkin, let it dry out for a few hours. This will help the flesh firm up, making it easier to carve. You can even sprinkle a little bit of cinnamon inside to help preserve it and give it a festive scent. Trust me, a well-prepped pumpkin is the key to a flawless cat face. It's like priming a canvas before you paint – it sets the stage for success!
Step | Description | Why it Matters |
|---|---|---|
Choose the Right Pumpkin | Smooth, round, sturdy stem, no blemishes | Ensures a stable and long-lasting carving |
Wash the Pumpkin | Removes dirt and debris | Prevents bacteria growth and improves visibility |
Gut the Pumpkin | Remove all seeds and pulp, scrape the inside clean | Creates a smooth surface for carving and maximizes light |
Dry the Pumpkin | Let the pumpkin dry out for a few hours | Firms up the flesh for easier carving |
Beyond the Basic Cat Face: Creative Pumpkin Decorating Ideas
Beyond the Basic Cat Face: Creative Pumpkin Decorating Ideas
Paint It Black (and White, and Orange!): Cat-Themed Painting Techniques
so you've carved your cat face, but why stop there? Let's grab some paintbrushes and take things to the next level! Painting your pumpkin opens up a whole new world of creative possibilities. For a classic look, try painting your cat face black and white. This is a great way to create a striking contrast and make your design really pop. You can use acrylic paints, which are durable and weather-resistant, or even spray paint for a quick and easy finish. Get creative with your brushstrokes! Add stripes, spots, or even a cool geometric pattern to your cat face. You can also use stencils to create more intricate designs.
But don't limit yourself to black and white! Why not paint your cat face in vibrant colors like orange, yellow, or even purple? This is a great way to add a touch of whimsy and fun to your Halloween display. You can even create a rainbow cat face! Just be sure to use paints that are safe for outdoor use and won't fade in the sun. And remember, you don't have to paint the entire pumpkin. You can just paint the cat face, leaving the rest of the pumpkin natural. This creates a cool and unexpected effect. For example, you can paint a black cat face on a white pumpkin for a super spooky look. The possibilities are endless! Think about adding glitter to your paint for a sparkly cat, or using glow-in-the-dark paint for a truly eerie effect.
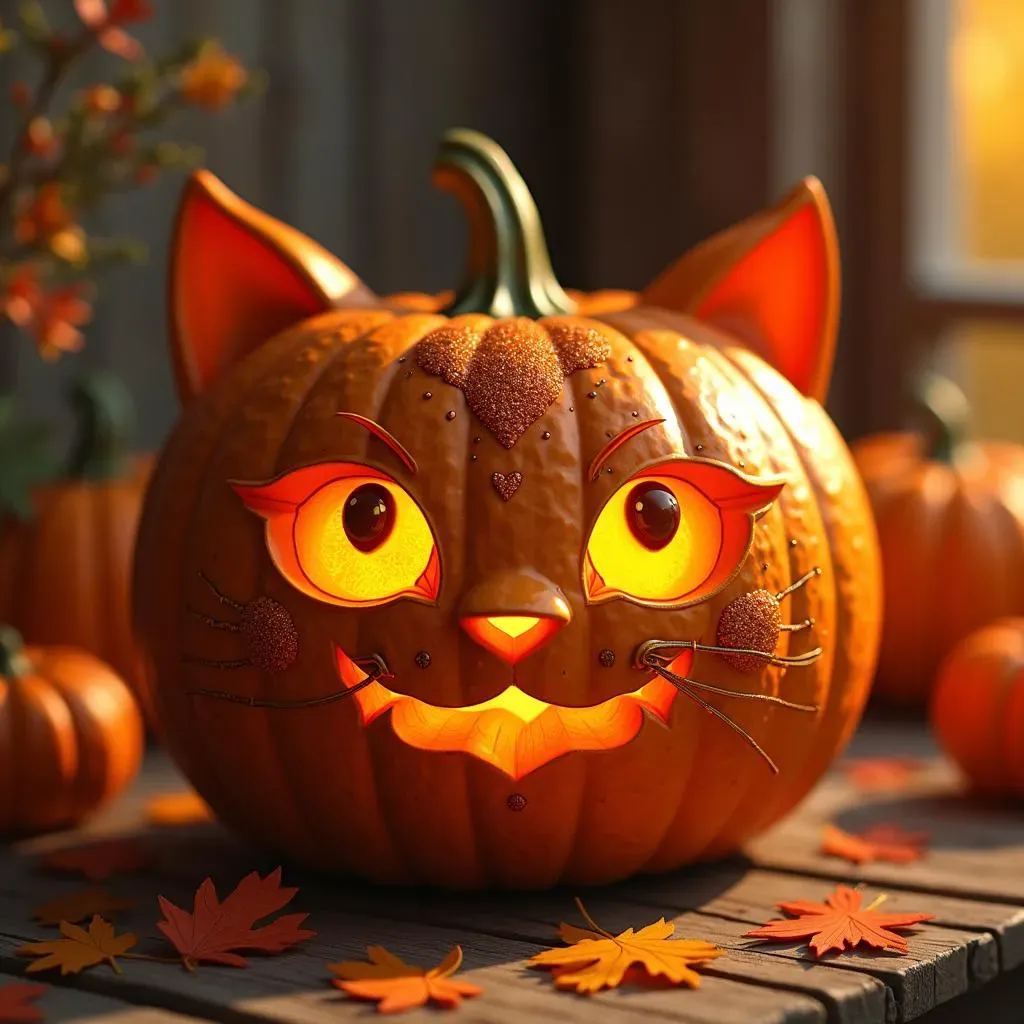
Add Some Sparkle: Embellishments and Accessories for Your Feline Friend
Alright, you've got your carved and painted cat face, but let's add some extra pizzazz! Embellishments and accessories are a great way to personalize your pumpkin and make it truly unique. Think about adding things like glitter, sequins, rhinestones, or even feathers. These can be glued onto the pumpkin using craft glue or hot glue. For example, you can add glitter to the cat's eyes for a sparkly effect, or glue sequins around the edge of the cat face for a touch of glamour. You can also use accessories like hats, scarves, or even sunglasses to dress up your cat pumpkin. This is a great way to add a touch of humor and personality to your display.
Don't be afraid to get creative with your embellishments! You can use things like pipe cleaners to create whiskers, or googly eyes to add a touch of whimsy. You can even use natural materials like leaves, twigs, or acorns to create a more rustic look. For example, you can glue leaves around the cat face to create a leafy mane, or use twigs to create a rustic frame. Get the kids involved and let them unleash their creativity! They'll love adding their own personal touches to your cat pumpkin. Just be sure to supervise them closely when using hot glue or sharp objects.
- Glitter: Add sparkle and shine
- Sequins: Create a glamorous look
- Rhinestones: Add a touch of elegance
- Feathers: Add texture and dimension
- Hats: Dress up your cat pumpkin
- Scarves: Add a touch of warmth
- Sunglasses: Give your cat pumpkin some attitude
Light It Up: Creative Lighting Techniques for a Purr-fect Glow
You've carved, you've painted, you've embellished – now it's time to light it up! The right lighting can make all the difference in how your cat face pumpkin looks. While a traditional candle is always a classic choice, there are tons of other creative lighting options to consider. Battery-operated candles are a safe and convenient alternative. They come in a variety of colors and sizes, and they don't produce any heat or smoke. You can also use string lights to create a festive glow. Just wrap the lights around the inside of the pumpkin, making sure to keep them away from any flammable materials. For a more dramatic effect, try using colored lights. Red or purple lights can create a spooky atmosphere, while green or blue lights can give your cat face a more ethereal look.
Want to get really creative? Try using a strobe light or a black light to create a unique and eye-catching display. A strobe light will make your cat face flicker and dance, while a black light will make any fluorescent paint or materials glow in the dark. You can also use a spotlight to highlight certain features of your cat face, like the eyes or the grin. Just be sure to position the light carefully to avoid creating harsh shadows. And don't forget about the ambiance! Surround your cat face pumpkin with other Halloween decorations, like cobwebs, skeletons, or tombstones, to create a truly spooky scene. With the right lighting, your cat face pumpkin will be the star of the show!
Lighting Option | Description | Pros | Cons |
|---|---|---|---|
Traditional Candle | A classic choice | Warm glow, festive atmosphere | Fire hazard, produces smoke |
Battery-Operated Candle | Safe and convenient | No fire hazard, no smoke, long-lasting | Less authentic look |
String Lights | Festive and versatile | Variety of colors and sizes, creates a warm glow | Can be difficult to position |
Colored Lights | Creates a unique atmosphere | Adds visual interest, can be used to create different moods | Can be overpowering if not used carefully |
Conclusion: Unleash Your Inner Cat (Carver)!
So, there you have it! A whole litter box full of pumpkin carving ideas cat face to inspire your Halloween creativity. From simple, kid-friendly designs to intricate, show-stopping masterpieces, there's a feline-themed pumpkin project for everyone. Remember, the most important thing is to have fun and let your inner artist shine. Don't be afraid to experiment, get a little messy, and most importantly, embrace the purr-fectly imperfect charm of a hand-carved creation. Happy carving, and have a pawsome Halloween!