Table of Contents
Halloween is creeping closer, and what better way to celebrate than with some spooktacular pumpkin carving? Forget the same old triangle eyes and toothy grin! This year, we're diving into a cauldron of creative pumpkin carving ideas boo that will transform your front porch into the envy of the neighborhood. Whether you're a seasoned carving pro or a newbie just looking for some easy inspiration, we've got you covered.
Spooktacular Pumpkin Carving Ideas: Beyond the Basic Jacko'Lantern
Spooktacular Pumpkin Carving Ideas: Beyond the Basic Jacko'Lantern
Unleashing Your Inner Pumpkin Picasso
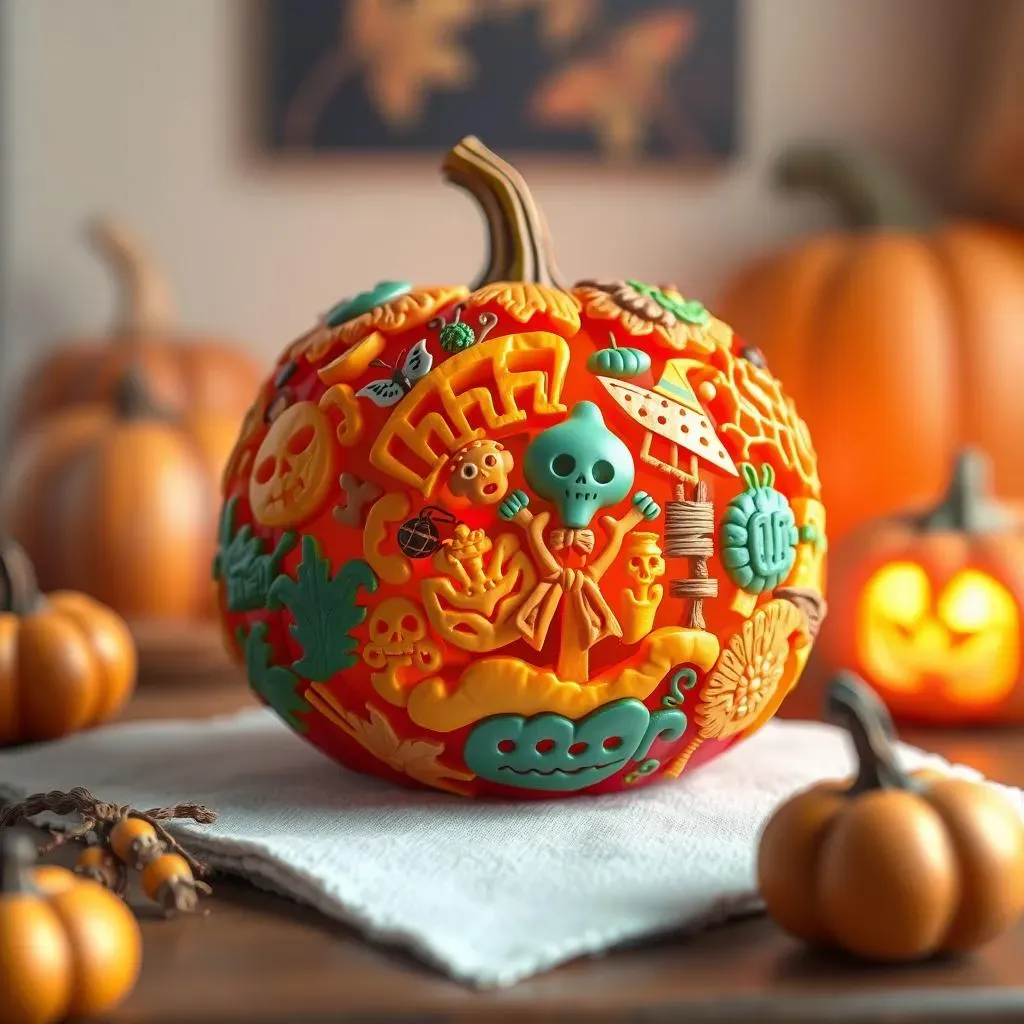
so you're tired of the same old triangle-eyed, gap-toothed grin staring out from your porch every Halloween? I get it! It's time to ditch the predictable and unleash your inner pumpkin Picasso. Think beyond the basics! We're talking intricate designs, pop culture icons, and even portraits – yes, you can carve a face into a pumpkin that actually resembles someone! The key is to start with a good plan and the right tools. Don't be afraid to sketch out your design beforehand. It's like having a blueprint for your spooky masterpiece.
Consider using stencils (more on that later!), but also think about freehand carving. It's not as intimidating as it sounds! Start with simple shapes and build from there. And remember, mistakes can be your friend. A slip of the knife can become a spooky scar or a creepy shadow. Embrace the imperfections! That's what makes your pumpkin unique. Trust me, once you start experimenting, you'll be amazed at what you can create.
Tools of the Trade: Level Up Your Carving Game
Let's talk tools. That flimsy little plastic saw that comes with most pumpkin carving kits? Yeah, toss it. Seriously. Invest in a good set of carving tools. You don't need to spend a fortune, but a few quality saws, gouges, and scrapers will make a world of difference. Think of it like upgrading from crayons to oil paints. Suddenly, you have so much more control and precision.
Also, don't forget about lighting! A simple tea light is fine, but consider using battery-operated candles or even LED lights for a more dramatic effect. You can even find flickering lights that mimic the look of a real flame without the fire hazard. And for the truly ambitious, you can even incorporate special effects like fog machines or strobe lights. The possibilities are endless!
Tool | Use | Why It's Awesome |
|---|---|---|
Small Serrated Saw | Fine details, intricate cuts | Provides precision and control |
Gouge | Scooping out large areas, creating depth | Removes pumpkin flesh efficiently |
Scraper | Thinning walls for a glowing effect | Allows light to shine through more brightly |
NoCarve Pumpkin Decorating Ideas: BOOtifully Easy Halloween Crafts
NoCarve Pumpkin Decorating Ideas: BOOtifully Easy Halloween Crafts
Beyond the Blade: Embrace the No-Carve Revolution
Alright, let's be real. Not everyone is comfortable wielding a knife around a giant gourd. And that's totally okay! The beauty of no-carve pumpkin decorating ideas is that they're accessible to everyone, regardless of skill level. Plus, they're a fantastic option for families with young kids who want to get in on the Halloween fun without any sharp objects involved. Think of it as pumpkin decorating without the ER visit!
The possibilities are truly endless when you ditch the carving tools. You can paint, glue, glitter, bedazzle – whatever your heart desires! It's a chance to really let your creativity shine and create something truly unique. And the best part? No-carve pumpkins tend to last longer since you're not cutting into the flesh and exposing it to the elements. So, your BOO-tiful creation will stay fresh and festive for weeks to come.
Glitter, Glue, and Googly Eyes: Your No-Carve Arsenal
So, what do you need to embark on your no-carve adventure? The basics are simple: pumpkins (duh!), paint, glue, glitter, and googly eyes. But don't stop there! Raid your craft stash and see what other treasures you can find. Ribbon, buttons, sequins, yarn, felt – all of these can be incorporated into your design. You can even use natural elements like leaves, twigs, and acorns for a rustic, autumnal vibe. The key is to think outside the box and experiment with different textures and materials.
For painting, acrylic paints work best as they adhere well to the pumpkin's surface and come in a wide range of colors. You can use stencils to create intricate patterns, or simply freehand your design. And don't forget the glitter! A little sparkle can go a long way in adding some Halloween magic. Just be sure to use a good quality glue to keep everything in place. Nobody wants a pumpkin that's shedding glitter all over the porch!
Theme It Up: From Elegant to Eerie
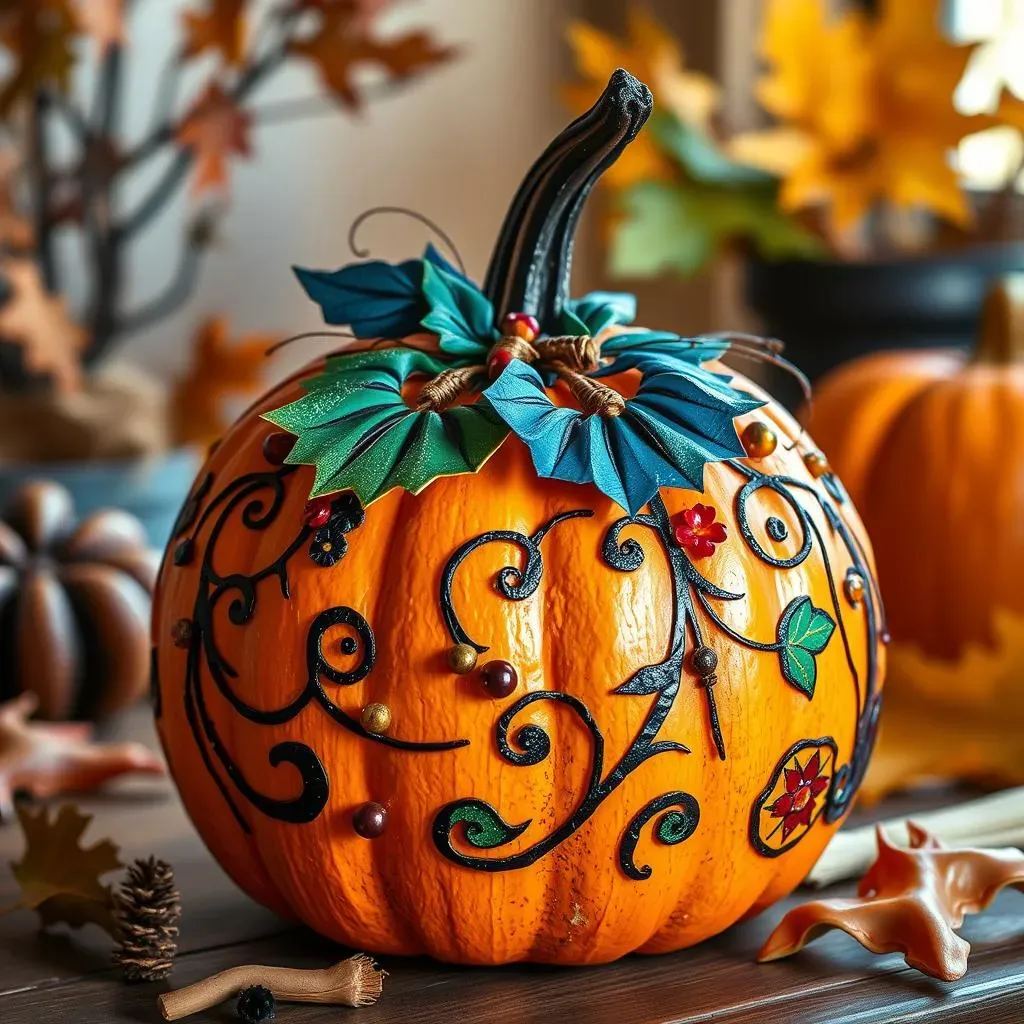
Now, let's talk themes. Do you want a sophisticated, elegant pumpkin that will impress the neighbors? Or are you going for a spooky, creepy vibe that will send shivers down their spines? The theme you choose will dictate the materials and techniques you use. For an elegant pumpkin, consider painting it in metallic colors like gold or silver and adding some delicate embellishments like pearls or lace. You could even create a floral arrangement on top of the pumpkin using silk flowers and greenery.
If spooky is more your style, go wild with black paint, googly eyes, and fake spiderwebs. You can create a creepy crawly effect by gluing plastic spiders and bugs all over the pumpkin. Or, you could paint a ghostly face on the pumpkin and add some dripping "blood" using red paint. For a truly terrifying touch, add some sound effects like a recorded scream or a creaking door. Just be prepared to scare the trick-or-treaters!
Theme | Materials | Techniques |
|---|---|---|
Elegant | Metallic paint, pearls, lace, silk flowers | Painting, gluing, floral arranging |
Spooky | Black paint, googly eyes, fake spiderwebs, plastic spiders | Painting, gluing, adding sound effects |
Whimsical | Bright colors, polka dots, stripes, ribbon, buttons | Painting, gluing, wrapping |
Pumpkin Carving Ideas BOO!: Stencils and Templates for Perfect Designs
Pumpkin Carving Ideas BOO!: Stencils and Templates for Perfect Designs
The Stencil Advantage: Precision for the Pumpkin Impaired
let's face it: not all of us are blessed with the artistic skills of a Michelangelo. That's where stencils come in! Think of them as your pumpkin carving cheat sheet. They allow you to create intricate and impressive designs without having to be a master artist. With pumpkin carving ideas BOO! stencils, you can achieve professional-looking results with minimal effort. It's like having a secret weapon in your Halloween arsenal!
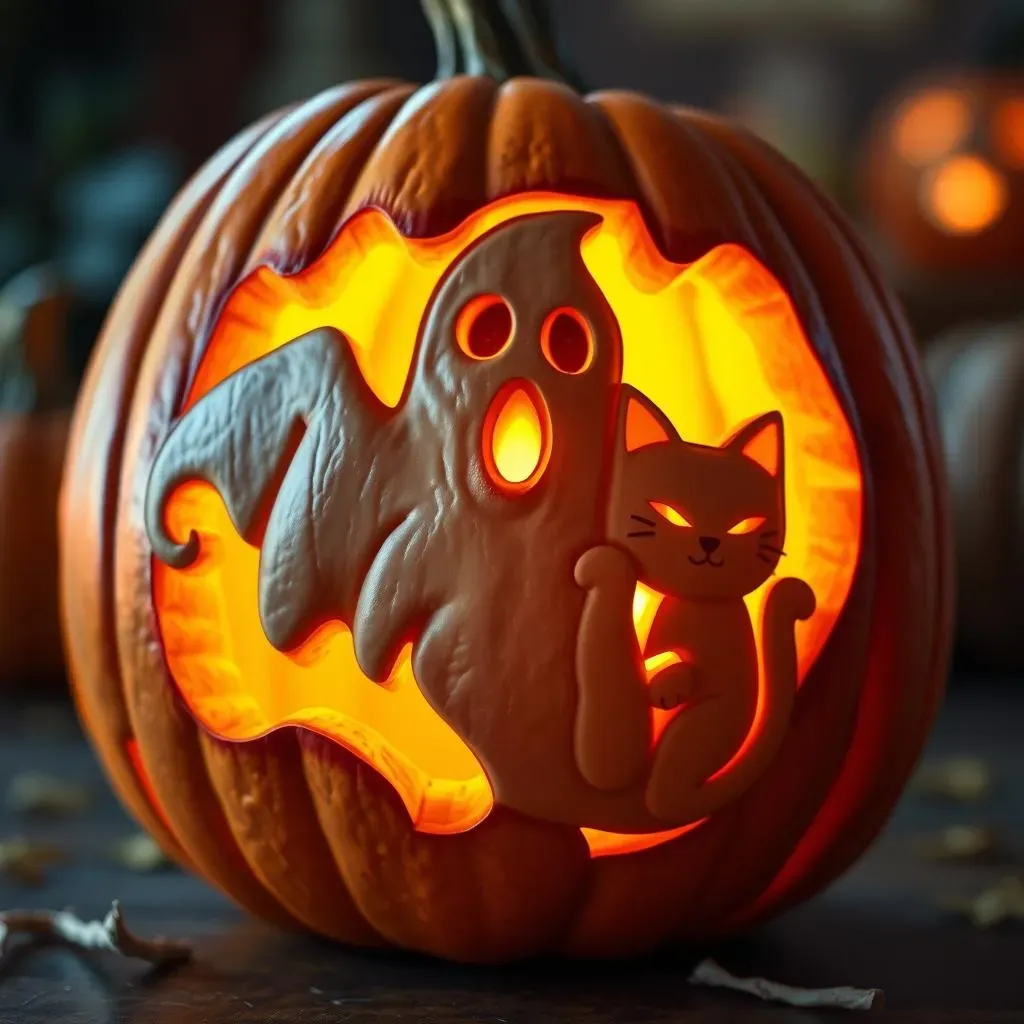
The beauty of stencils is their versatility. You can find them in a wide range of designs, from simple shapes and patterns to complex characters and scenes. Whether you're into spooky ghosts, cute cats, or pop culture icons, there's a stencil out there for you. And the best part? Stencils are super easy to use. Simply tape the stencil to your pumpkin, trace the design with a poking tool, and then carve away the shaded areas. It's like paint-by-numbers, but with a knife and a pumpkin!
Free vs. Paid: Finding the Perfect Stencil for Your BOO!
Now, let's talk about where to find these magical stencils. The good news is that there are tons of free stencils available online. A quick Google search will reveal a treasure trove of printable templates. Websites like Pinterest and Etsy are also great resources for finding unique and creative designs. However, keep in mind that free stencils may not always be the highest quality. They may be pixelated, poorly designed, or simply lacking in detail.
If you're looking for something a little more polished, consider investing in a set of paid stencils. These are typically designed by professional artists and offer a higher level of detail and precision. You can find them at craft stores, Halloween shops, or online retailers. Paid stencils may also come with helpful instructions and tips for achieving the best results. Ultimately, the choice between free and paid stencils depends on your budget and your desired level of quality.
Stencil Type | Pros | Cons |
|---|---|---|
Free | Cost-effective, wide variety of designs | May be low quality, lacking in detail |
Paid | High quality, professional designs, detailed instructions | May be more expensive |
Template Tips & Tricks: Mastering the BOO! Carving Process
Alright, you've got your stencil, you've got your pumpkin, and you've got your carving tools. Now it's time to get down to business! But before you start hacking away, here are a few tips and tricks to help you master the stencil carving process. First, make sure your pumpkin is clean and dry. This will help the stencil adhere better and prevent it from slipping.
Next, use a poking tool (like an awl or a thick needle) to transfer the stencil design onto the pumpkin. Poke holes along the stencil lines, spacing them about ¼ inch apart. Once you've transferred the entire design, remove the stencil and use your carving tools to connect the dots. Start with the small, intricate details and work your way out to the larger areas. And remember, patience is key! Don't rush the process, or you'll risk making mistakes. Take your time, have fun, and enjoy the spooky satisfaction of creating your own BOO-tiful masterpiece!
Creative Pumpkin Painting Ideas: Add a Pop of Color to Your BOO! Display
Creative Pumpkin Painting Ideas: Add a Pop of Color to Your BOO! Display
Ditch the Knife, Grab a Brush: The Art of Pumpkin Painting
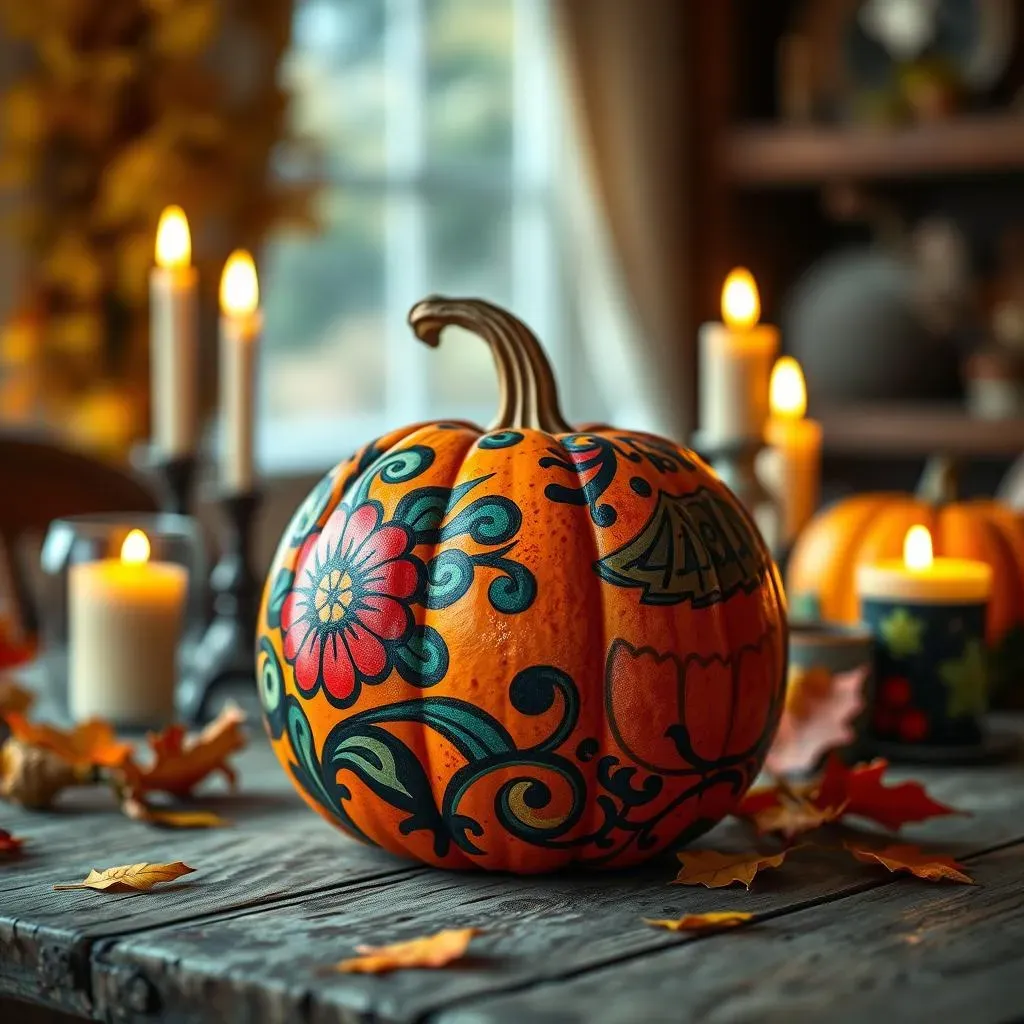
so you've seen the carving ideas, the stencils, but what if you want to take your pumpkin decorating to a whole new level? Enter the world of pumpkin painting! Forget the messy carving and embrace the vibrant possibilities of paint. Creative pumpkin painting ideas: Add a pop of color to your BOO! display is all about expressing your artistic side without the sharp objects. It's a fantastic option for those who want a less traditional look or simply prefer a cleaner, easier decorating method. Plus, painted pumpkins tend to last longer than carved ones, so your masterpiece will stay fresh and festive for the entire Halloween season!
Think of your pumpkin as a blank canvas. You can create anything from simple geometric patterns to elaborate landscapes. The key is to choose the right paints and techniques. Acrylic paints are a great option because they adhere well to the pumpkin's surface and come in a wide variety of colors. You can also use spray paint for a quick and easy base coat. For details, consider using paint markers or even stencils (yes, stencils work for painting too!). And don't be afraid to experiment with different textures and finishes. You can use glitter paint for a sparkly effect, glow-in-the-dark paint for a spooky touch, or even chalkboard paint so you can change your design every day!
From Solid Colors to Spooky Silhouettes: Painting Techniques to Try
So, you've got your paints, your brushes, and your pumpkin. Now what? Let's explore some fun and easy painting techniques that will transform your pumpkin into a work of art. One simple option is to paint your pumpkin a solid color and then add details with paint markers or stencils. This is a great way to create a bold and graphic look. You could paint your pumpkin black and then add white spiderwebs or ghosts. Or, you could paint it orange and then add black bats or cats.
Another fun technique is to create a silhouette design. Simply paint your pumpkin a light color (like white or yellow) and then paint a black silhouette on top. You could create a spooky scene with a haunted house, a graveyard, or a witch flying on a broomstick. For a more abstract look, try creating a geometric pattern using different colors and shapes. You could use masking tape to create clean lines, or simply freehand your design. The possibilities are endless!
Technique | Description | Tips |
|---|---|---|
Solid Color with Details | Paint the pumpkin a solid color and add details with paint markers or stencils. | Use contrasting colors for a bold look. |
Silhouette | Paint the pumpkin a light color and add a black silhouette on top. | Use a stencil or freehand your design. |
Geometric Pattern | Create a pattern using different colors and shapes. | Use masking tape for clean lines. |
Adding the "BOO!": Personalizing Your Painted Pumpkin
Now that you've mastered the basic painting techniques, it's time to add some personal touches to your pumpkin. This is where you can really let your creativity shine and create something that's truly unique. Think about what makes you happy and incorporate those elements into your design. Do you love animals? Paint a portrait of your pet on your pumpkin. Are you a fan of a particular movie or TV show? Create a scene inspired by your favorite characters.
You can also add some text to your pumpkin. Paint the word "BOO!" in big, bold letters, or write a spooky message like "Happy Halloween" or "Trick or Treat." You can use stencils to create perfect lettering, or simply freehand your design. And don't forget the embellishments! Add glitter, sequins, ribbon, or anything else that will make your pumpkin stand out from the crowd. The key is to have fun and experiment. There are no rules when it comes to pumpkin painting, so let your imagination run wild and create a masterpiece that's all your own.
Quick & Easy Pumpkin Cleaning Tips: Get Ready to Carve Your BOO! Masterpiece
Quick & Easy Pumpkin Cleaning Tips: Get Ready to Carve Your BOO! Masterpiece
The Guts of the Matter: Why Cleaning is Crucial
Alright, so you've got your pumpkin, you've got your design, but before you even think about picking up a carving tool, there's one crucial step: cleaning! I know, I know, it's the least glamorous part of the whole process, but trust me, it's essential. Quick & Easy Pumpkin Cleaning Tips: Get Ready to Carve Your BOO! Masterpiece ensures that your pumpkin carving experience is smooth, hygienic, and ultimately, more successful. Think of it like prepping a canvas before you paint. A clean pumpkin is a happy pumpkin, and a happy pumpkin is easier to carve and less likely to rot prematurely. Plus, let's be honest, nobody wants to deal with a moldy, stinky pumpkin on their doorstep!
Cleaning your pumpkin removes all the stringy pulp and seeds that can harbor bacteria and accelerate decay. It also creates a smoother surface for carving, making it easier to achieve those intricate designs. And finally, it allows the light from your candle or LED to shine through more brightly, creating a more dramatic and spooky effect. So, grab your gloves, your scraper, and your trash bag, and let's get down and dirty!
The Scoop on Seeds: Save 'Em or Toss 'Em?
Now, before you start scraping out all those pumpkin guts, let's talk about the seeds. Are you a seed-saving enthusiast, or are you more of a toss-it-all-in-the-trash kind of person? There's no right or wrong answer, but if you're looking for a delicious and healthy snack, I highly recommend saving those seeds! Roasted pumpkin seeds are a classic fall treat, and they're super easy to make. Simply rinse the seeds, pat them dry, toss them with some oil and spices, and roast them in the oven until they're golden brown and crispy. Yum!
If you're not a fan of pumpkin seeds, that's totally fine too. Just be sure to dispose of them properly. Don't dump them down the drain, as they can clog your pipes. Instead, toss them in the trash or compost them. And if you're feeling extra eco-friendly, you can even donate them to a local farm or garden. They can be used as a natural fertilizer or as a food source for animals. So, whether you're saving them or tossing them, just be mindful of how you're handling those pumpkin seeds!
Seed Option | Pros | Cons |
|---|---|---|
Save & Roast | Delicious snack, healthy, sustainable | Requires extra time and effort |
Toss in Trash | Quick and easy | Wasteful |
Compost | Eco-friendly, enriches soil | Requires a compost bin |
The Quick & Dirty Method: Cleaning Your Pumpkin in Minutes
Alright, let's get down to the nitty-gritty. Here's my favorite quick and easy method for cleaning a pumpkin in minutes. First, cut a large hole in the top of the pumpkin around the stem. Make sure the hole is big enough to fit your hand and your scraper inside. Next, use a sturdy metal spoon or a pumpkin scraper to scrape out all the stringy pulp and seeds from the inside of the pumpkin. Be sure to get into all the nooks and crannies.
Once you've removed all the pulp and seeds, use a damp cloth to wipe down the inside of the pumpkin. This will help remove any remaining residue. And that's it! Your pumpkin is now clean and ready to carve. For an extra layer of protection against mold and bacteria, you can spray the inside of the pumpkin with a diluted bleach solution (1 part bleach to 10 parts water). Just be sure to let it dry completely before you start carving. And always wear gloves when handling bleach!
- Cut a large hole around the stem.
- Scrape out pulp and seeds.
- Wipe down the inside.
- (Optional) Spray with diluted bleach.
BOO! It's a Wrap: Your Pumpkin Carving Adventure Awaits
With a cauldron full of inspiration and tricks up your sleeve, you're now ready to tackle the ultimate Halloween canvas: the pumpkin! Whether you choose to carve intricate designs, paint spooky scenes, or simply adorn your gourds with creative flair, remember that the most important ingredient is fun. So, gather your friends and family, embrace the spirit of the season, and let your imagination run wild. Happy haunting, and may your pumpkin creations bring a delightful "BOO!" to everyone who crosses your porch this Halloween!