Table of Contents
Halloween is creeping closer, and what better way to celebrate than with a glowing jack-o'-lantern? Forget the same old triangle eyes and toothy grin! This year, take your pumpkin carving to the next level with spooky and stylish pumpkin carving ideas bat. Whether you're a seasoned pro with a carving kit or a newbie armed with a spoon, we've got the inspiration you need to create a bat-tastic masterpiece.
Battastic Pumpkin Carving Ideas: Simple Silhouettes
Battastic Pumpkin Carving Ideas: Simple Silhouettes
Easy Bat Stencil Creation
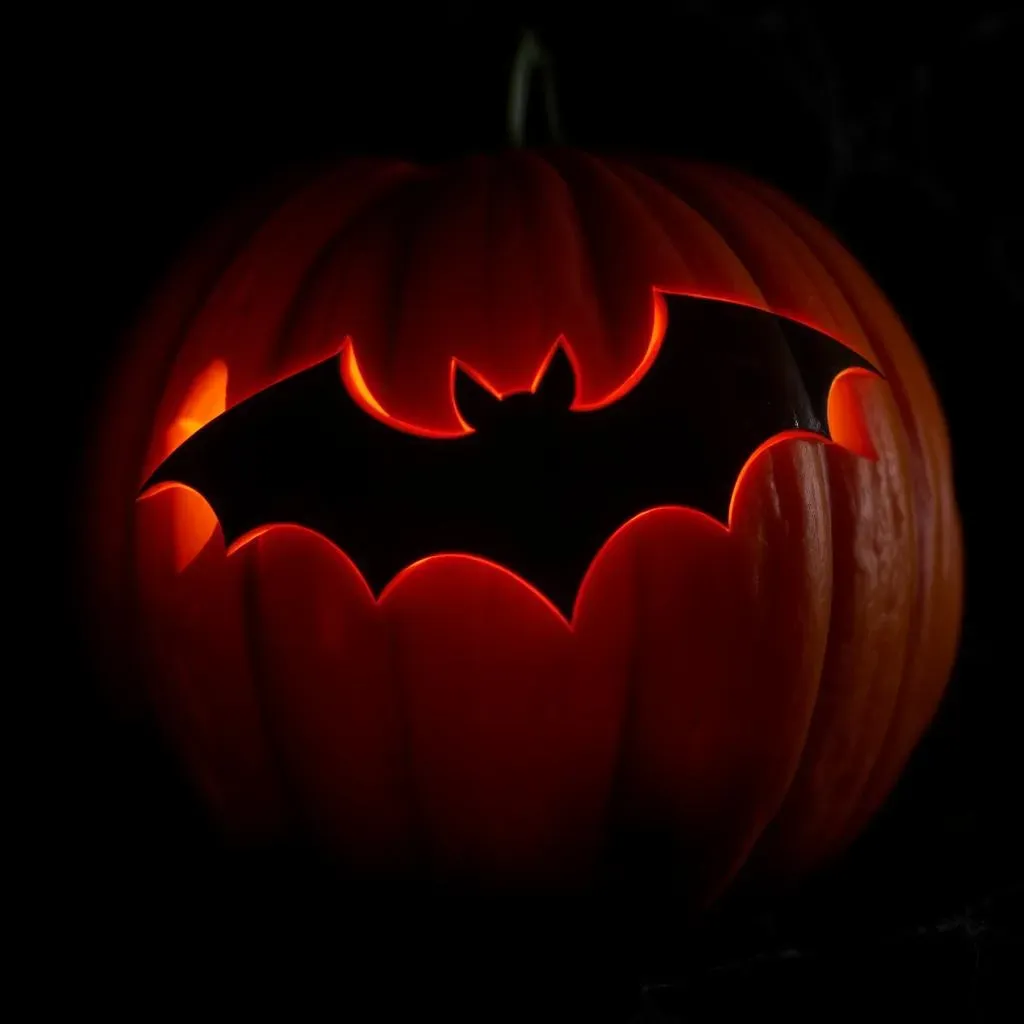
Want to get into the spooky spirit without the stress of intricate carving? Simple bat silhouettes are your answer! These designs are perfect for beginners, kids, or anyone looking for a quick and effective way to decorate their pumpkins. The key is a good stencil. You can find tons of free printable bat stencils online with a quick search. Look for basic bat shapes with clearly defined wings and ears. Or, if you're feeling creative, draw your own!
Once you have your stencil, tape it securely to your pumpkin. Then, using a poking tool or a thin skewer, poke holes along the stencil lines. This creates a dotted outline that you can easily follow with your carving tools. Remember, safety first! Always carve away from yourself and use proper carving tools for the job.
Basic Carving Techniques for Bat Silhouettes
Now comes the fun part: carving! For simple silhouettes, a small, serrated pumpkin carving saw works best. Carefully follow the dotted outline you created with your poking tool. Use short, controlled strokes to cut through the pumpkin flesh. If you're having trouble, try thinning the pumpkin wall from the inside using a scraping tool. This makes it easier to carve without accidentally breaking off large chunks.
Remember, you're aiming for a clean, crisp silhouette. Take your time and don't rush the process. Once you've carved out the entire bat shape, gently push it out from the inside. And voila! You have a spooky and stylish bat silhouette that's perfect for lighting up your porch.
Creative Ways to Display Your Bat Pumpkin
you've carved your bat silhouette, now what? Don't just plop it on the porch and call it a day! Get creative with your display. Try using different colored lights inside the pumpkin to create a spooky ambiance. A purple or green light can really make your bat stand out. You can also experiment with different backgrounds. Place your pumpkin in front of a dark cloth or hang it from a tree branch to create a dramatic effect.
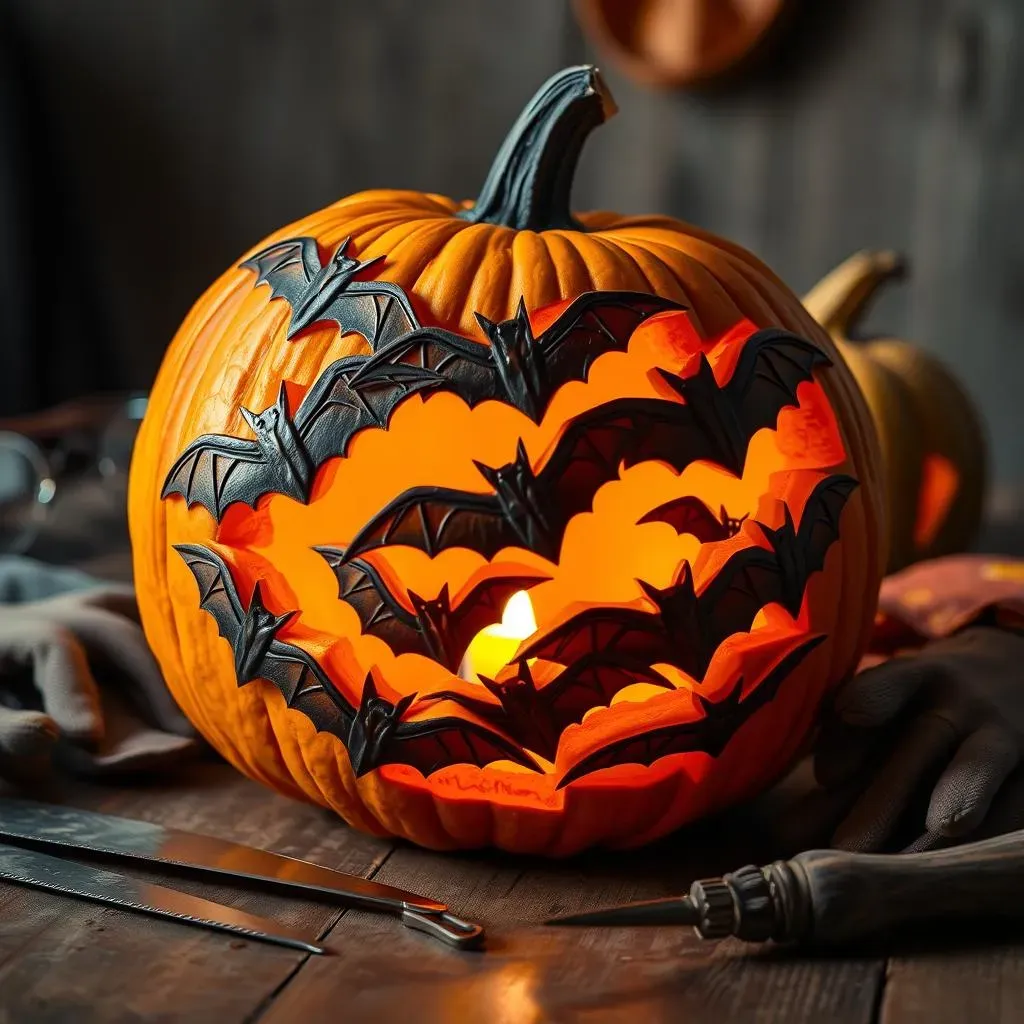
Another fun idea is to carve multiple bat pumpkins in different sizes and arrange them together to create a colony of bats. You can even add some extra spooky details, like cobwebs or plastic spiders, to complete the look. The possibilities are endless! So, let your imagination run wild and create a Halloween display that's sure to impress.
Advanced Bat Designs: Intricate Pumpkin Carving Techniques
Advanced Bat Designs: Intricate Pumpkin Carving Techniques
Elevating Your Bat: Realistic Wing Detailing
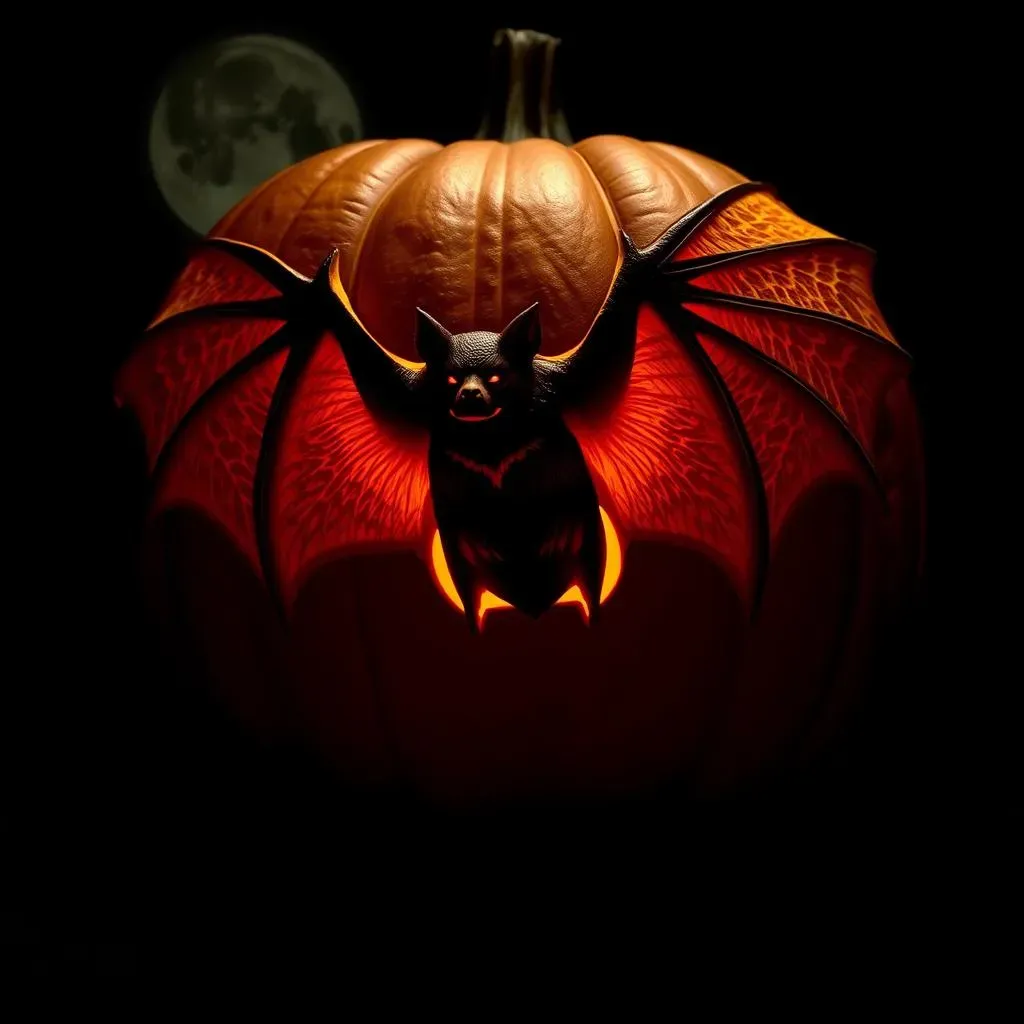
Ready to ditch the basic bat shape and really wow your neighbors? Then it's time to tackle some intricate wing detailing! This is where you can bring your bat to life, adding texture and realism to its wings. Start by studying real bat wings – observe the delicate membrane structure and the subtle variations in thickness.
To replicate this on your pumpkin, you'll need a variety of carving tools, including thin saws, gouges, and loop tools. Begin by sketching the wing details onto your pumpkin. Then, use the thin saws to carefully carve out the main wing veins, creating depth and dimension. Use the gouges and loop tools to add texture to the wing membrane, mimicking the natural wrinkles and folds. Remember to work slowly and methodically, taking breaks as needed to avoid fatigue. Patience is key to achieving a realistic and stunning effect.
Adding Depth and Dimension with Shading
Once you've carved the basic wing structure, it's time to add depth and dimension with shading. This technique involves carving away thin layers of the pumpkin's surface to create subtle variations in light and shadow. The goal is to make certain areas of the bat appear to recede while others pop out, giving your carving a three-dimensional look.
To achieve this, use a variety of carving tools, including loop tools, rasps, and sandpaper. Start by identifying the areas you want to shade. Then, use the loop tools to carefully carve away thin layers of the pumpkin's surface, creating a smooth transition between different depths. Use the rasps and sandpaper to refine the shading and blend the edges. Remember to work gradually, checking your progress frequently to avoid over-carving. With practice, you'll be able to create stunning shaded effects that will take your bat pumpkin to the next level.
Incorporating Negative Space for a Dramatic Effect
Want to create a truly dramatic bat pumpkin? Then consider incorporating negative space into your design. Negative space refers to the empty areas around and within the bat shape. By strategically carving away these areas, you can create a sense of depth, movement, and visual interest. For example, you could carve out large sections of the pumpkin around the bat's wings, making it appear as if the bat is soaring through the night sky.
When working with negative space, it's important to plan your design carefully. Use a stencil or sketch to map out the areas you want to carve away. Then, use a variety of carving tools to carefully remove the pumpkin flesh, being mindful of the overall composition. Remember to leave enough support structure to prevent the pumpkin from collapsing. With careful planning and execution, you can create a stunning negative space design that will leave everyone in awe.
Tools and Tips for Perfect Pumpkin Carving Bat Designs
Tools and Tips for Perfect Pumpkin Carving Bat Designs
Essential Carving Toolkit
Alright, so you're ready to carve some bat-tastic pumpkins, but do you have the right tools for the job? Don't underestimate the importance of a good carving kit! A basic kit should include a small serrated saw, a scoop for removing the pumpkin guts, and a poking tool for transferring your stencil. However, if you're serious about creating intricate bat designs, you might want to invest in some more specialized tools, such as gouges, loop tools, and rasps. These tools will allow you to add depth, texture, and shading to your carvings, taking them to the next level.
Beyond the carving tools themselves, don't forget about safety gear. A pair of gloves can protect your hands from cuts and scrapes, while safety glasses can shield your eyes from flying pumpkin debris. And of course, always carve in a well-lit area to avoid accidents.
Here's a quick checklist to make sure you're prepared:
- Pumpkin Carving Saw (Serrated, various sizes)
- Pumpkin Scoop (for removing seeds and pulp)
- Poking Tool (for transferring stencils)
- Gouges and Loop Tools (for detailed carving and shading)
- Rasps and Sandpaper (for smoothing and refining)
- Gloves and Safety Glasses (for protection)
- Stencils (printed or hand-drawn)
- LED Candles or Lights (for illumination)
Pumpkin Prep and Preservation
Before you even think about carving, you need to prep your pumpkin properly. Start by selecting a pumpkin that's the right size and shape for your design. Look for one that's relatively smooth and free of blemishes. Once you've found the perfect pumpkin, give it a good wash to remove any dirt or debris. Then, cut a hole in the top or bottom of the pumpkin – whichever you prefer. Just make sure the hole is large enough to fit your hand and scoop.
After you've carved your masterpiece, you'll want to take steps to preserve it. Pumpkins tend to rot quickly, especially if they're exposed to warm temperatures or moisture. To prolong the life of your carved pumpkin, try spraying it with a solution of water and bleach. This will help to kill any bacteria or mold that could cause the pumpkin to decay. You can also apply a thin layer of petroleum jelly to the cut edges to seal in moisture. And finally, keep your pumpkin in a cool, dry place when it's not on display.
Beyond the Bat: Complementary Halloween Pumpkin Carving Ideas
Beyond the Bat: Complementary Halloween Pumpkin Carving Ideas
Spooky Spiderwebs and Creepy Crawlies
Bats are awesome, but why stop there? Expand your Halloween pumpkin repertoire with some creepy crawly companions! Spiderwebs are surprisingly easy to carve and add a touch of eerie elegance to any pumpkin. Simply carve a series of intersecting lines radiating from a central point, then connect them with curved lines to create the web. For an extra spooky touch, add a few plastic spiders to the web. You could also carve simple spider shapes directly into the pumpkin, using a small gouge to create the body and thin saws for the legs.
Another fun idea is to carve a pumpkin that looks like it's been infested with insects. Use a poking tool to create small holes all over the pumpkin, then insert plastic bugs or worms into the holes. This is a great way to add a gross-out factor to your Halloween display!
Here are some other creepy crawly ideas:
- Scorpions: Carve a scorpion silhouette with its tail arched menacingly.
- Centipedes: Create a long, segmented body with lots of tiny legs.
- Beetles: Carve a beetle shape with its hard shell and antennae.
Haunted Houses and Graveyard Scenes
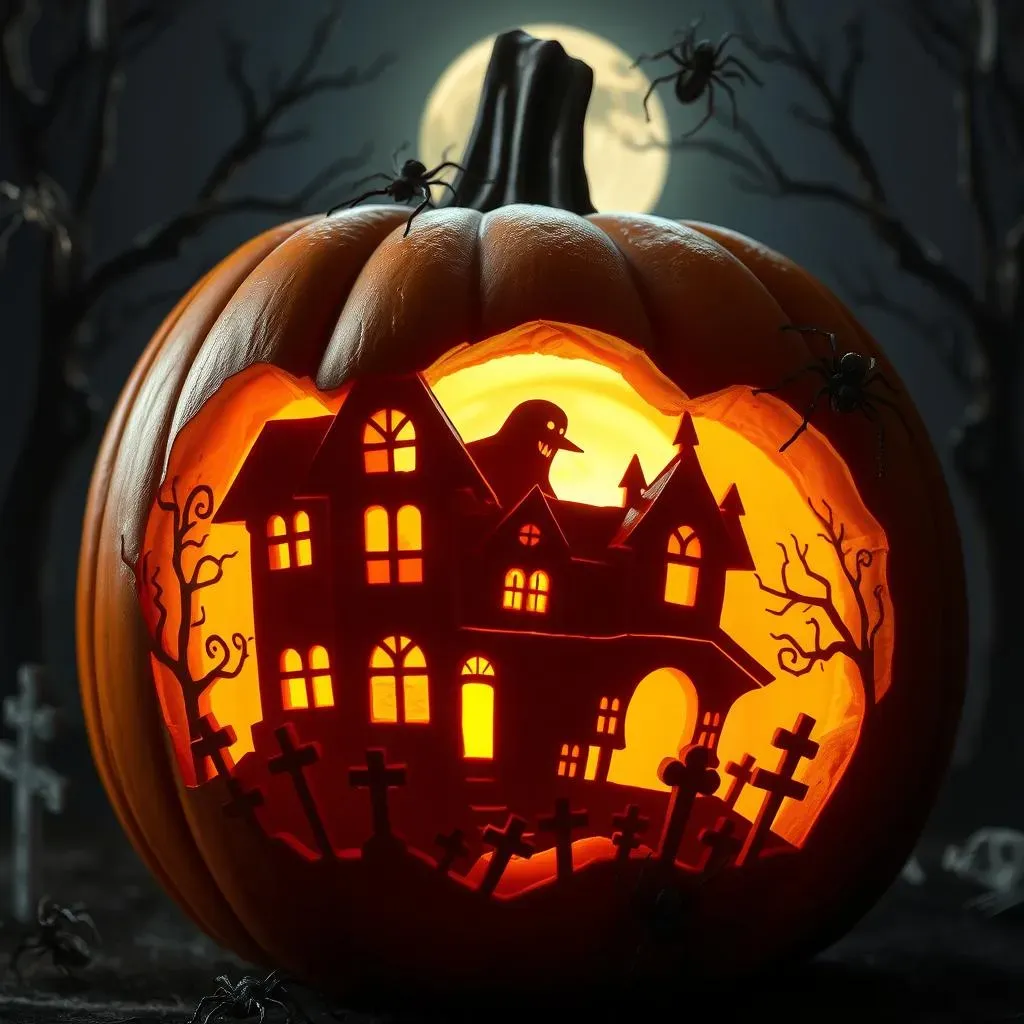
Take your pumpkin carving to the next level by creating a miniature haunted house or graveyard scene! Carve a spooky mansion with gabled roofs, arched windows, and maybe even a ghostly figure peering out from behind a curtain. Or, create a graveyard scene with tombstones, crosses, and skeletal remains. You can even add some miniature plastic figures to bring your scene to life.
When carving a haunted house or graveyard scene, pay attention to the details. Add cracks and crevices to the walls of the house, or carve moss and vines onto the tombstones. These small details will add depth and realism to your carving, making it even more spooky and impressive.
Consider these elements for your haunted scene:
Element | Description |
|---|---|
Tombstones | Various shapes and sizes, with epitaphs or cracks. |
Ghosts | Ethereal figures floating near the haunted house. |
Bare Trees | Silhouette of trees with gnarled branches. |
Classic Halloween Characters: Ghosts, Goblins, and Witches
No Halloween pumpkin display is complete without the classics! Ghosts, goblins, and witches are all iconic Halloween characters that can be easily incorporated into your pumpkin carvings. Carve a friendly ghost with a wide smile and big eyes, or a menacing goblin with sharp teeth and pointy ears. You could also carve a wicked witch with a pointy hat and a broomstick.
When carving these classic characters, don't be afraid to get creative with your designs. Experiment with different shapes, sizes, and expressions to create a unique and eye-catching display. You can even combine multiple characters into a single pumpkin carving, creating a spooky and dynamic scene.
Spread Your Wings: Mastering Pumpkin Carving Ideas Bat
So, there you have it! From simple silhouettes to intricate designs, you're now equipped to bring your own pumpkin carving ideas bat to life this Halloween. Remember to prioritize safety, have fun with the process, and don't be afraid to get creative. Whether you choose a classic flying bat or a more stylized design, your spooky jack-o'-lantern is sure to be a showstopper. Happy carving, and Happy Halloween!