Table of Contents
Halloween is just around the corner, and what's Halloween without a jack-o'-lantern grinning from your porch? If you're new to the game, don't sweat it! This guide is packed with pumpkin carving ideas basic enough for anyone to master, from kids to adults who are kids at heart. We'll walk you through everything you need to know, from gathering the right tools and staying safe, to creating simple yet spooky designs that will impress your neighbors. Think beyond the triangle eyes and toothy grin; we'll explore creative twists to make your pumpkin stand out. We'll also cover how to light up your masterpiece and keep it fresh for as long as possible. So grab a pumpkin, gather your tools, and let's get carving! Get ready to unleash your inner artist and transform a simple pumpkin into a Halloween masterpiece. Let's dive in and make this Halloween the most creatively spooky one yet!
Essential Tools and Safety Tips for Basic Pumpkin Carving
Essential Tools and Safety Tips for Basic Pumpkin Carving
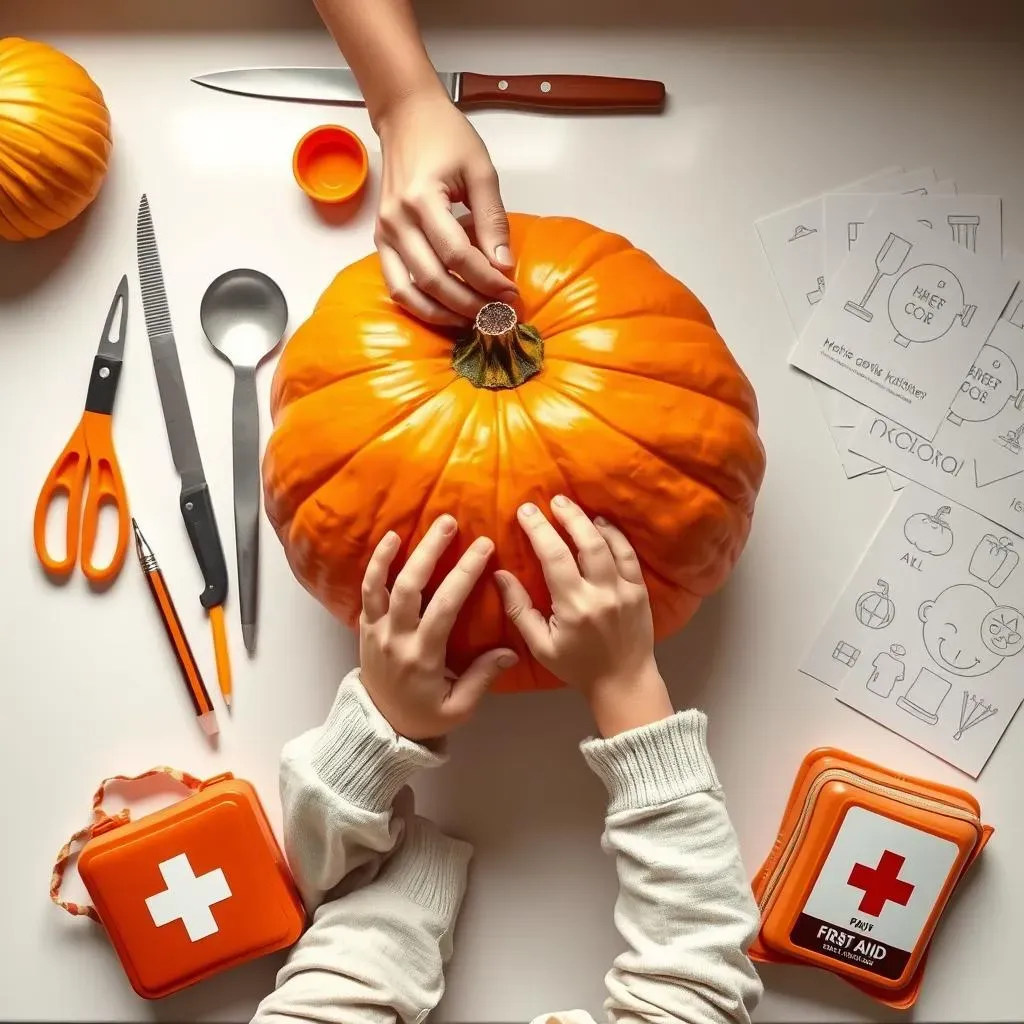
Gathering Your Pumpkin Carving Arsenal
Before you even think about scooping out those pumpkin guts, you gotta have the right tools. We're not talking fancy, professional kits here, just the essentials to make your carving experience smooth and safe. Think of it as prepping your station for a culinary masterpiece, but instead of a soufflé, you're crafting a spooky face. Here's a quick rundown:
- Carving Knife: A small, serrated knife is your best friend. Skip the butter knives; you need something with a bit of bite.
- Scoop or Scraper: Get those stringy bits out with a sturdy scoop. An ice cream scoop works wonders!
- Pencil or Marker: Sketch your design on the pumpkin before you commit. Mistakes happen, and pumpkins aren't exactly erasable.
- Stencils (Optional): If you're not feeling artistic, stencils are your savior. Print one out and tape it to your pumpkin.
- Awl or Poker: Poke holes along the stencil lines to create a guide for your knife.
Having these tools handy will not only make the process easier but also safer. Trying to carve with the wrong tools is like trying to eat soup with a fork – messy and frustrating.
Safety First: Carving Without the ER Visit
Alright, let's talk safety. Pumpkin carving is fun, but it involves sharp objects, so it's crucial to take precautions. This isn't a race; slow and steady wins the spooky prize. Keep these tips in mind:
- Adult Supervision: Kids, this means you need a grown-up around. No exceptions.
- Carve in a Well-Lit Area: Shadows are spooky, but not when you're wielding a knife.
- Use a Stable Surface: A wobbly table is a recipe for disaster.
- Cut Away From Yourself: Always, always cut away from your body. It's basic knife safety, people.
- Small, Controlled Cuts: Don't try to hack your way through the pumpkin. Small, precise cuts are safer and give you more control.
Remember, a trip to the emergency room is way scarier than any jack-o'-lantern. So, take your time, be careful, and enjoy the process!
Choosing the Perfect Pumpkin for Carving
Not all pumpkins are created equal. Some are better suited for carving than others. You want a pumpkin that's sturdy, has a smooth surface, and is the right shape for your design. Here's what to look for:
- Smooth Surface: Bumps and ridges make carving difficult.
- Flat Bottom: A wobbly pumpkin is a carving hazard.
- Sturdy Stem: Make sure the stem is firmly attached. It's like the pumpkin's handle.
- Hollow Sound: When you tap on the pumpkin, it should sound hollow. This means there's plenty of room for carving.
Avoid pumpkins with soft spots or bruises. These are signs of decay, and your jack-o'-lantern won't last very long. Take your time picking out the perfect pumpkin; it's the foundation of your masterpiece.
Pumpkin Quality | Good | Bad |
|---|---|---|
Surface | Smooth | Bumpy, Ridged |
Bottom | Flat | Wobbly |
Stem | Sturdy | Loose, Detached |
Sound | Hollow | Dull |
Simple Pumpkin Face Designs: Classic and Easy Pumpkin Carving Ideas
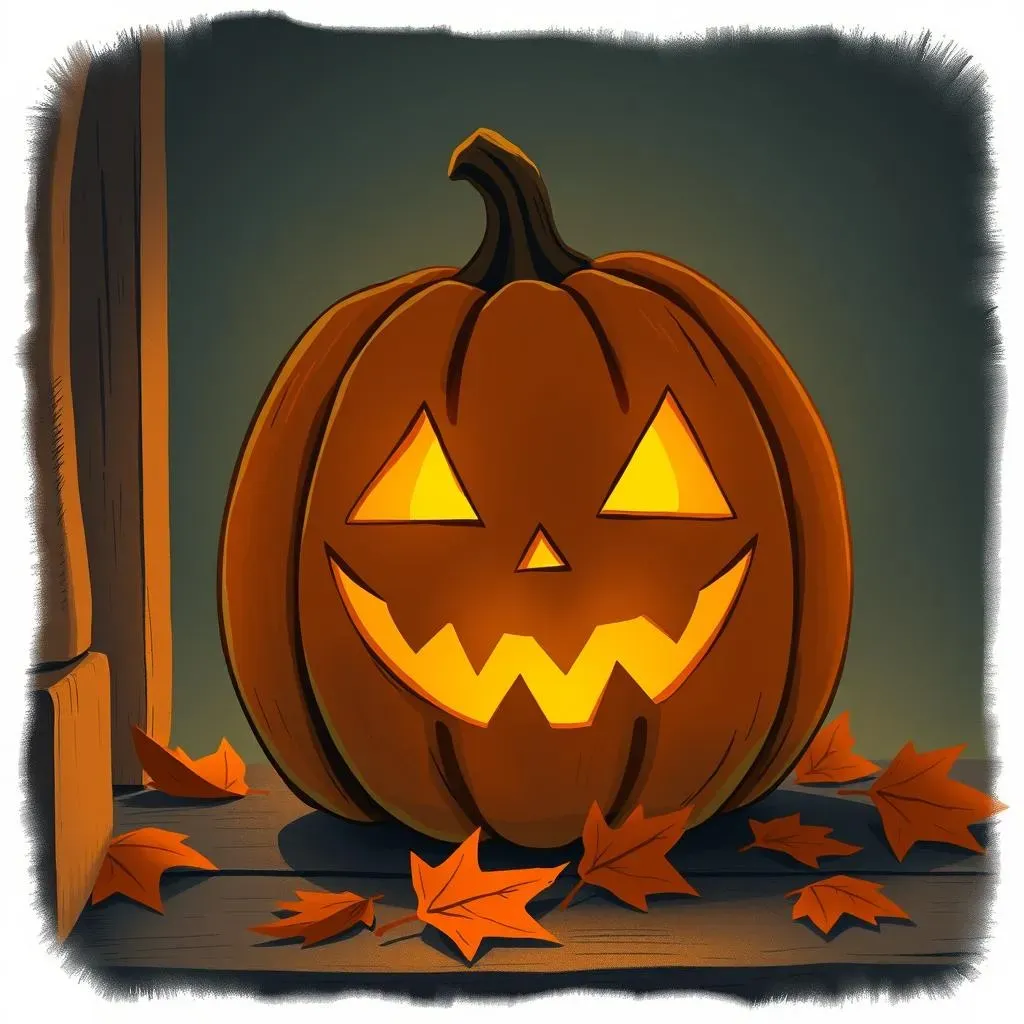
Simple Pumpkin Face Designs: Classic and Easy Pumpkin Carving Ideas
The Timeless Triangle Trio: Eyes, Nose, and Mouth
Let's start with the OG of pumpkin faces: the classic triangle eyes, triangle nose, and jagged mouth. It's simple, it's iconic, and it's a great starting point for beginners. The beauty of this design lies in its simplicity. You don't need fancy tools or artistic skills to pull it off. Just a basic carving knife and a little bit of patience. The key is to make the triangles distinct and the mouth slightly irregular to give it that classic spooky vibe. Think of it as the little black dress of pumpkin carving – always in style.
Want to add a little flair? Try tilting the triangles for the eyes or giving the mouth a crooked smile. Small tweaks can make a big difference in the overall look. You can also experiment with different sizes and shapes for the triangles. Maybe one eye is bigger than the other, or the nose is more of a diamond shape. The possibilities are endless, even with this basic design. Don't be afraid to get creative and put your own spin on it!
Spooky Shapes: Stars, Moons, and More
Feeling a little more adventurous? Ditch the triangles and try carving out simple shapes like stars, moons, or even bats. These designs are still easy to execute but add a touch of creativity to your jack-o'-lantern. Stars are a classic choice, and you can arrange them in different patterns to create a unique look. Moons are perfect for a more mysterious vibe, and bats are always a hit for Halloween. The key is to keep the shapes simple and well-defined.
To make these designs even more interesting, try using different sized shapes or layering them on top of each other. You could carve a large moon with smaller stars scattered around it, or create a swarm of bats flying across your pumpkin. You can also use stencils to help you create the shapes if you're not comfortable freehand carving. Just remember to poke holes along the stencil lines before you start cutting. With a little bit of imagination, you can create a stunning jack-o'-lantern that's both simple and spooky.
Shape | Difficulty | Spooky Factor |
|---|---|---|
Triangles | Easy | Classic |
Stars | Easy | Charming |
Moons | Easy | Mysterious |
Bats | Medium | Spooky |
Beyond the Basics: Creative Twists on Easy Pumpkin Carving Ideas
Beyond the Basics: Creative Twists on Easy Pumpkin Carving Ideas
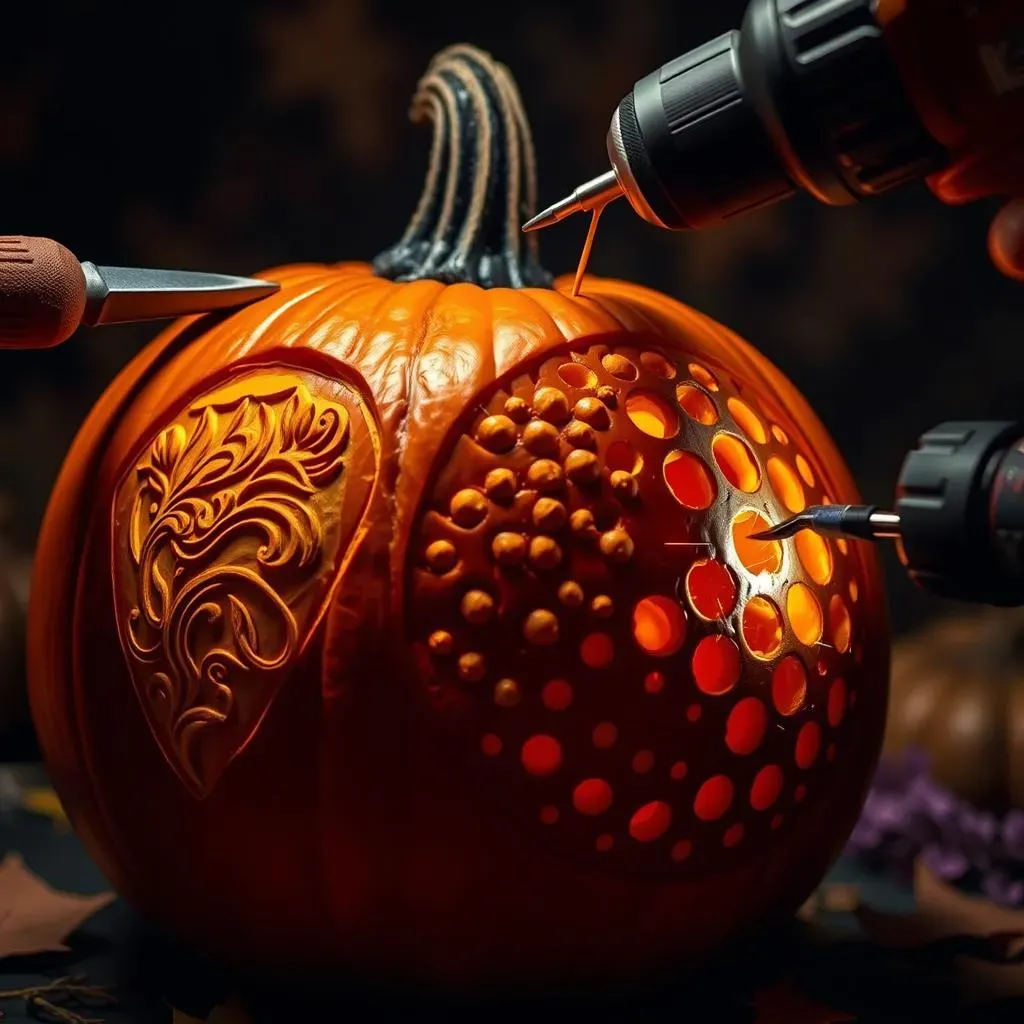
Playing with Textures: Etching and Stippling
Alright, so you've mastered the basic shapes. Now, let's talk about adding some texture to your pumpkin. Etching and stippling are two easy techniques that can take your carving to the next level. Etching involves scraping away the surface of the pumpkin to create a shallow design, while stippling uses small dots to create shading and depth. Think of it as adding some subtle details to your masterpiece. These techniques are perfect for creating intricate patterns or adding dimension to your existing designs. Plus, they're a lot less intimidating than trying to carve complex shapes.
To try etching, use a small gouge or loop tool to carefully scrape away the outer layer of the pumpkin skin. You can create patterns, words, or even add details to your basic shapes. For stippling, use a poker tool or a small nail to create tiny dots on the pumpkin's surface. The closer the dots, the darker the shading. You can use stippling to create shadows, highlights, or even add texture to your design. Experiment with different tools and techniques to see what works best for you. The goal is to add some depth and dimension to your pumpkin without having to carve all the way through.
Power of the Drill: Making Patterns with Light
Ever thought about using a drill on a pumpkin? No, we're not talking about demolition here! A drill can be an awesome tool for creating intricate patterns of light. By drilling holes of varying sizes, you can create a mesmerizing display that's both spooky and elegant. Think of it as creating a constellation on your pumpkin. This technique is especially effective with battery-operated candles or LED lights, which will shine through the holes and create a stunning effect.
Before you start drilling, sketch out your design on the pumpkin. Then, use a drill with different sized bits to create holes of varying sizes. You can create patterns, shapes, or even words. Just be careful not to drill too deep, or you'll end up with a hole all the way through the pumpkin. Start with smaller drill bits and gradually increase the size until you achieve the desired effect. You can also use a combination of drilling and carving to create a more complex design. For example, you could drill a pattern of stars around a carved moon, or create a spooky face with drilled eyes and a carved mouth. The possibilities are endless, so let your imagination run wild!
Technique | Tools | Difficulty | Effect |
|---|---|---|---|
Etching | Gouge, Loop Tool | Medium | Subtle Details |
Stippling | Poker Tool, Nail | Medium | Shading, Texture |
Drilling | Drill, Drill Bits | Medium | Patterns of Light |
Displaying Your Carved Pumpkin: Lighting and Preservation Tips
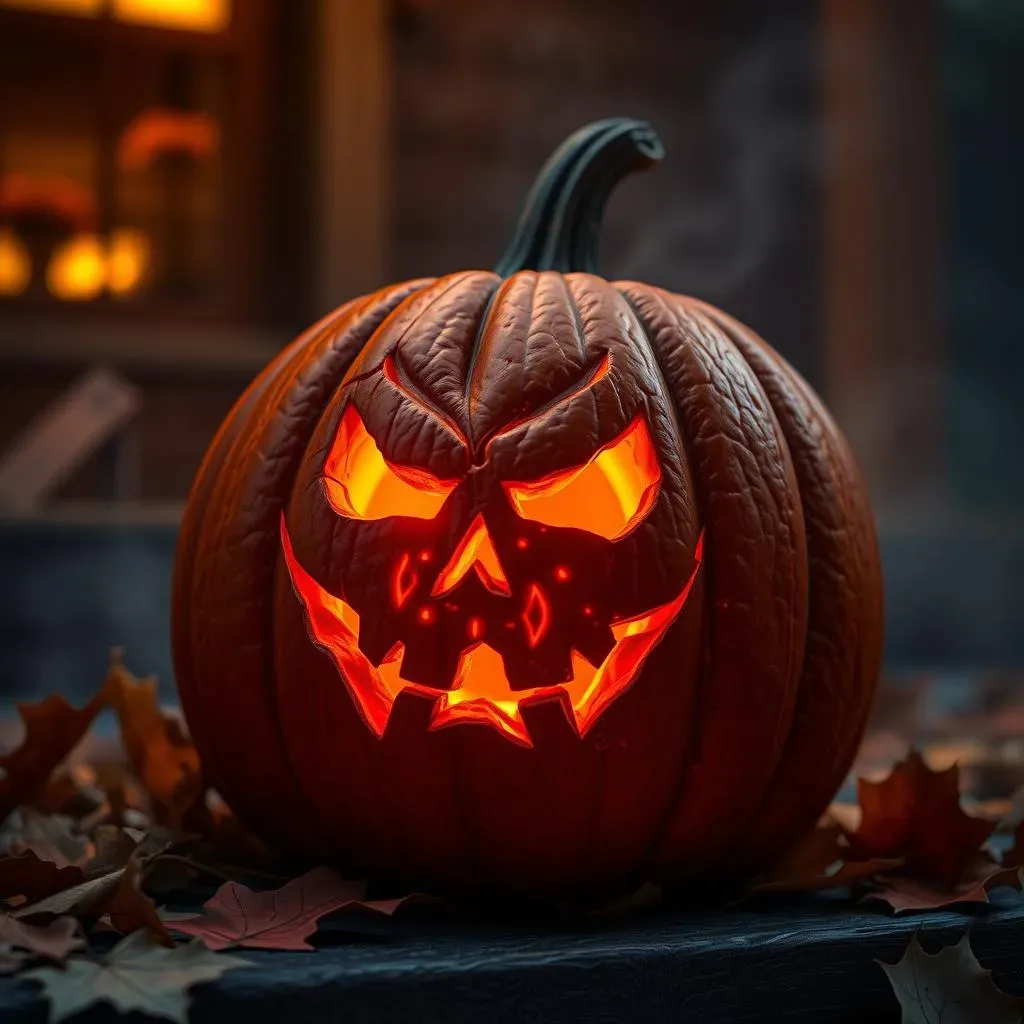
Displaying Your Carved Pumpkin: Lighting and Preservation Tips
Illuminating Your Masterpiece: Choosing the Right Light Source
You've spent hours carving the perfect jack-o'-lantern, now it's time to show it off! But before you plop it on your porch and call it a day, let's talk lighting. The right light source can make or break your pumpkin's spooky appeal. Forget the old-school candles; they're a fire hazard and tend to burn out quickly. These days, we've got way better options. Battery-operated LED lights are the way to go. They're safe, long-lasting, and come in a variety of colors. You can even get flickering LED candles that mimic the look of a real flame without the risk of burning down your house.
Want to take it up a notch? Try using colored lights to create a spooky ambiance. Green or purple lights can give your jack-o'-lantern an eerie glow, while orange or yellow lights will create a warm and inviting atmosphere. You can also experiment with different light placements. Try putting a light inside the pumpkin and shining another one on it from the outside to create a dramatic effect. The key is to experiment and see what looks best with your design. Don't be afraid to get creative and have fun with it!
Keeping Your Pumpkin Fresh: Preservation Techniques
So, you've got your pumpkin carved and lit up, but how do you keep it from turning into a moldy mess before Halloween? Preservation is key to keeping your jack-o'-lantern looking its best for as long as possible. The first step is to clean it thoroughly after carving. Remove all the seeds and stringy bits, and then wipe down the inside with a bleach solution (1 part bleach to 10 parts water). This will help kill any bacteria that could cause the pumpkin to rot.
Another trick is to apply a sealant to the cut edges of your design. Petroleum jelly or vegetable oil can help prevent the pumpkin from drying out and cracking. You can also try spraying the pumpkin with an anti-transpirant spray, which is designed to help plants retain moisture. Just make sure to follow the instructions on the label. Finally, keep your pumpkin in a cool, dry place when it's not on display. Bringing it inside overnight can help prolong its life. With a little bit of care, you can keep your jack-o'-lantern looking fresh and spooky all Halloween season long!
Technique | Materials | Benefits |
|---|---|---|
Bleach Solution | Bleach, Water | Kills Bacteria |
Petroleum Jelly | Petroleum Jelly | Seals Cut Edges |
Anti-Transpirant Spray | Anti-Transpirant Spray | Retains Moisture |
Conclusion: Mastering Basic Pumpkin Carving and Beyond
So, you've conquered the basics of pumpkin carving! From choosing the perfect pumpkin to mastering simple designs and keeping your creation glowing, you're now equipped to bring some spooky fun to your Halloween. Remember, the most important thing is to enjoy the process and let your creativity shine. Don't be afraid to experiment with different designs and techniques as you become more comfortable. And who knows, maybe next year you'll be ready to tackle some truly advanced pumpkin art! Happy carving, and Happy Halloween!