Table of Contents
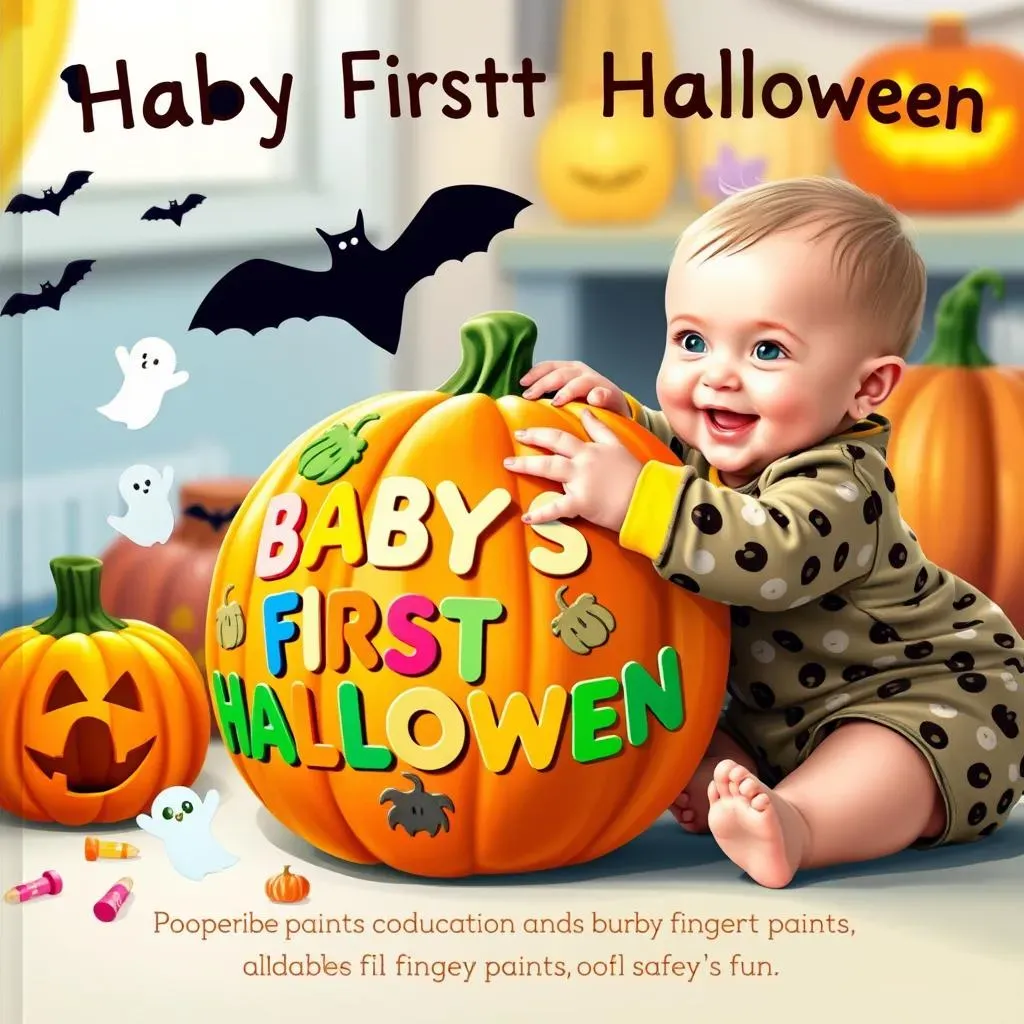
Planning your baby's first Halloween? Get ready for a season of adorable memories with our guide to pumpkin carving ideas baby! Forget the scary monsters, we're focusing on fun, safe, and totally Instagrammable ways to celebrate with your little pumpkin. This isn't about intricate designs that require power tools; it’s about creating lasting keepsakes and capturing those precious first Halloween moments.
Safety First: Pumpkin Carving with Babies Around
Safety First: Pumpkin Carving with Babies Around
Creating a Safe Carving Zone
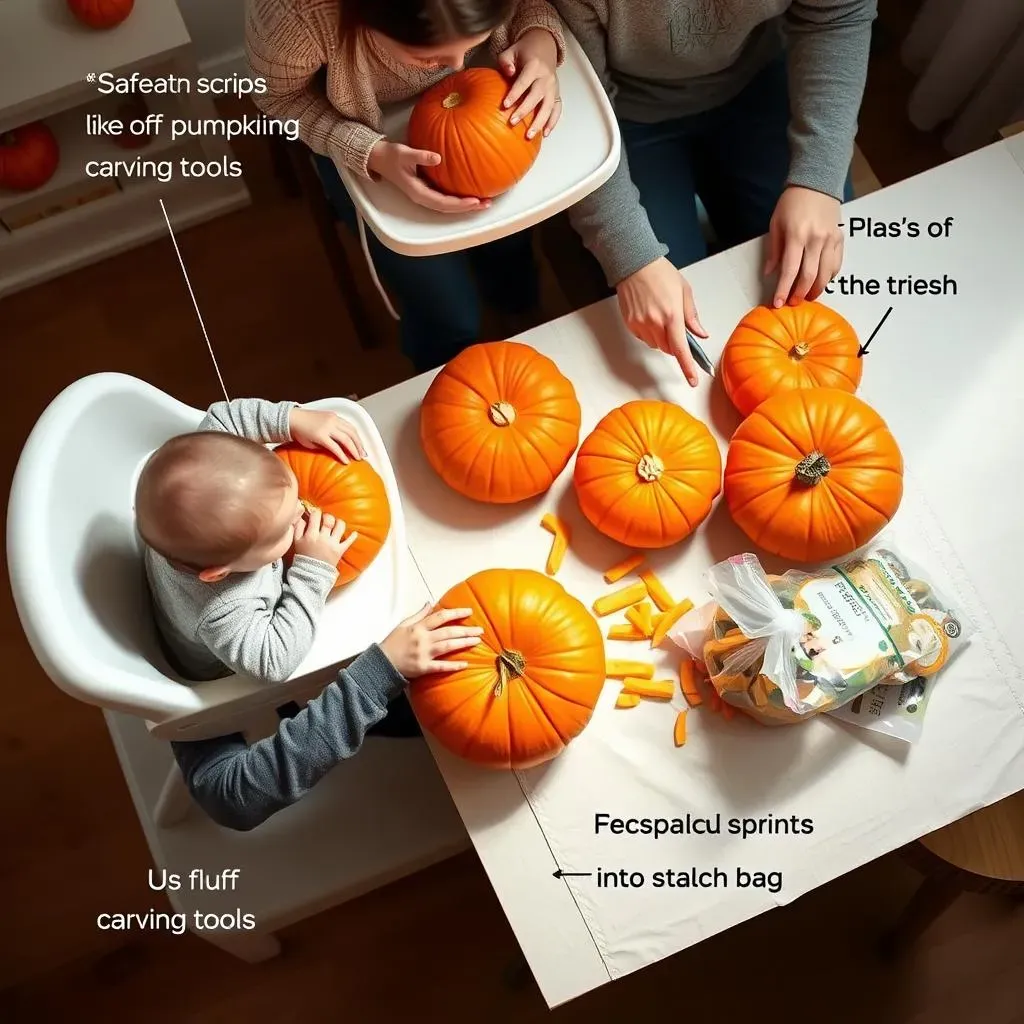
so you're pumped to carve pumpkins, but you've got a little one crawling around? Safety is key. First things first, designate a carving zone that's completely off-limits to your baby. This means a high table, a separate room, or even just a time when someone else can watch them. Trust me, a moment's distraction is all it takes for a curious baby to grab something sharp.
Also, think about your tools. Those fancy carving kits with super sharp saws? Maybe save those for another year. Opt for safer, kid-friendly tools, and always supervise older children if they're helping out. And this might seem obvious, but keep all carving tools out of reach when you're not actively using them. A locked cabinet or high shelf is your best friend here.
Avoiding Choking Hazards and Messes
Pumpkin carving comes with a lot of…stuff. Seeds, pulp, little bits of pumpkin guts everywhere. These are all potential choking hazards for a baby. Keep a trash bag handy and immediately dispose of any scraps. Wipe down surfaces frequently to prevent sticky situations (literally!).
Consider using a large, disposable tablecloth to contain the mess. It makes cleanup a breeze! And when you're done carving, do a thorough sweep of the area to make sure no stray pumpkin pieces are left behind. Remember, babies explore the world with their mouths, so vigilance is crucial.
Safety Tip | Details |
|---|---|
Designated Carving Zone | High table or separate room |
Tool Selection | Kid-friendly, blunt tools preferred |
Constant Supervision | Never leave baby unattended near carving area |
Immediate Cleanup | Dispose of scraps and wipe surfaces |
NoCarve Pumpkin Decorating Ideas for Baby's First Halloween
NoCarve Pumpkin Decorating Ideas for Baby's First Halloween
Safe and Simple Stickers and Decals
Alright, let's ditch the knives and get crafty! When it comes to No-Carve Pumpkin Decorating Ideas for Baby's First Halloween, stickers and decals are your best friends. Think big, soft, and easy-to-handle. Foam stickers are fantastic because they're lightweight and won't pose a hazard if your little one decides to grab them. Look for Halloween-themed shapes like bats, ghosts, and friendly monsters.
You can even personalize the pumpkin with alphabet stickers to spell out your baby's name or "First Halloween." The key here is to make it interactive and fun for both of you. Let your baby help stick the decorations on (with supervision, of course!), and narrate what you're doing. "We're putting a cute little ghost on the pumpkin!" It's a sensory experience and a memory-making moment all in one.
Adorable Painting Techniques for Tiny Artists
Ready to get a little messy? Painting is another fantastic No-Carve Pumpkin Decorating Ideas for Baby's First Halloween option. But instead of traditional paints, let's think about baby-safe alternatives. Edible finger paints made from yogurt and food coloring are a great choice. They're non-toxic and easy to clean up (though maybe not the most appetizing!).
Another fun idea is to use washable markers. Let your baby scribble and draw on the pumpkin to their heart's content. You can always wipe it off later and start again! If you're feeling ambitious, try creating handprint or footprint art on the pumpkin. It's a sweet keepsake that you'll treasure for years to come. Just make sure to use non-toxic paint and wash those little hands and feet immediately afterward! Remember, this is about fun, not perfection. Embrace the mess and enjoy the process!
Decoration Type | Materials | Safety Notes |
|---|---|---|
Stickers & Decals | Foam stickers, large decals | Ensure stickers are securely attached |
Finger Painting | Edible finger paints (yogurt & food coloring) | Supervise closely, wash hands after |
Washable Markers | Non-toxic washable markers | Easy to clean, supervise use |
Handprint/Footprint Art | Non-toxic paint | Wash hands/feet immediately after |
Easy Pumpkin Painting Ideas for Little Hands (and Feet!)
Easy Pumpkin Painting Ideas for Little Hands (and Feet!)
Preparing for a Paint-Filled Adventure
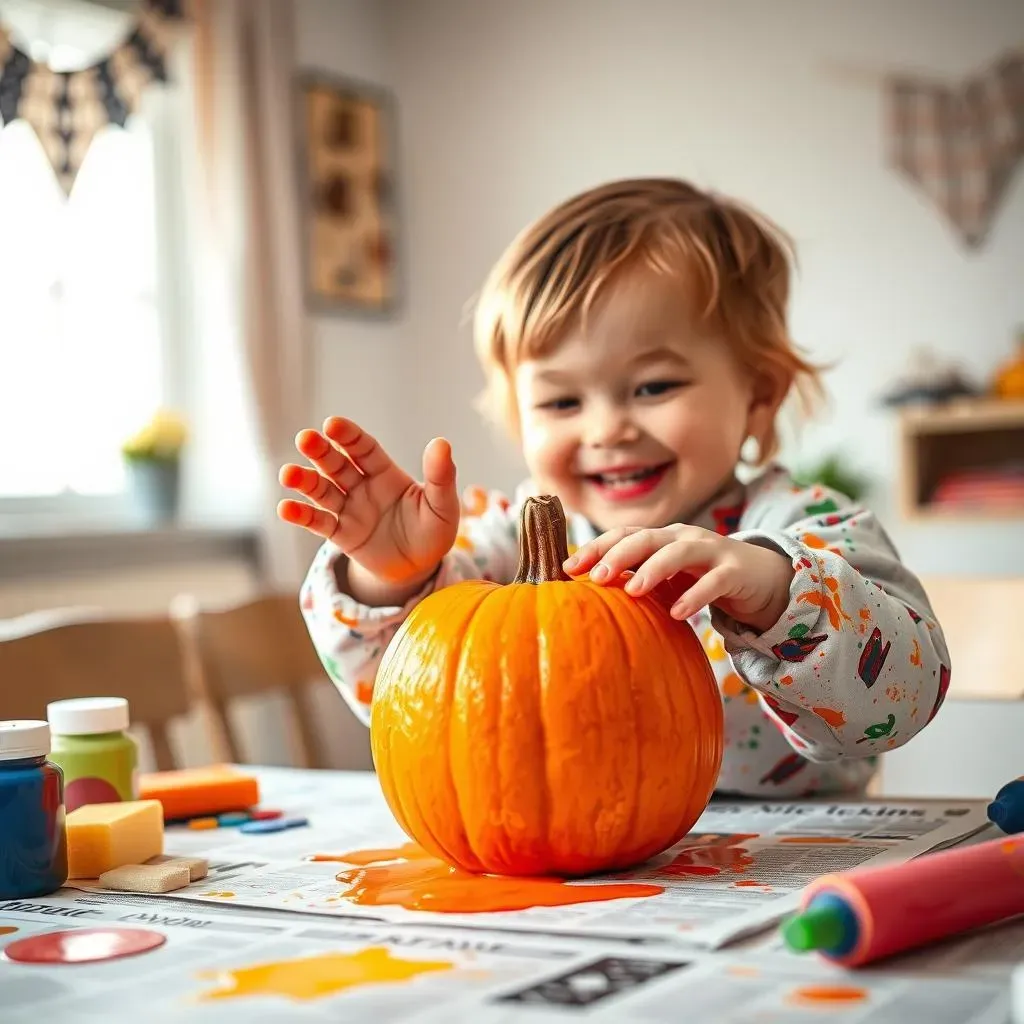
Alright, let's talk Easy Pumpkin Painting Ideas for Little Hands (and Feet!). First off, prep is key! Cover your work area with a disposable tablecloth or newspaper. Trust me, you'll thank me later. Then, gather your supplies: pumpkins (duh!), baby-safe paint, brushes (or sponges!), wet wipes, and a smock or old clothes for your little artist.
For the paint, stick to non-toxic, washable options specifically designed for babies and toddlers. Finger paints are great, but you can also use tempera paint diluted with a bit of water. The consistency should be thin enough to spread easily but not so runny that it drips everywhere. And remember, a little paint goes a long way! You don't need to slather the pumpkin in thick layers. A thin coat will dry faster and prevent smudging.
Creative Painting Techniques for Babies
Now for the fun part! There are tons of Easy Pumpkin Painting Ideas for Little Hands (and Feet!) to try. For the littlest ones, handprint and footprint pumpkins are adorable keepsakes. Simply paint your baby's hand or foot and gently press it onto the pumpkin. You can create a whole family of handprint ghosts or a field of footprint pumpkins.
Another easy technique is sponge painting. Cut sponges into different shapes (stars, hearts, bats) and let your baby dab them onto the pumpkin. Or, if you're feeling brave, let your baby explore the pumpkin with their bare hands! Just squirt a few dollops of paint onto the pumpkin and let them smear it around. It's a sensory explosion! And don't forget the wet wipes for quick cleanup. Remember, it's all about having fun and creating memories. The mess is just part of the process!
Painting Idea | Description | Tips |
|---|---|---|
Handprint Art | Press baby's painted hand onto the pumpkin. | Use non-toxic paint, wash hands immediately. |
Footprint Art | Press baby's painted foot onto the pumpkin. | Easy to clean, supervise use |
Sponge Painting | Dab paint onto the pumpkin with shaped sponges. | Cut sponges into fun shapes, use different colors. |
Finger Painting | Let baby smear paint directly onto the pumpkin. | Use edible finger paints, supervise closely. |
Creating Pumpkin Keepsakes: Handprint and Footprint Art
Creating Pumpkin Keepsakes: Handprint and Footprint Art
Immortalizing Tiny Toes and Fingers
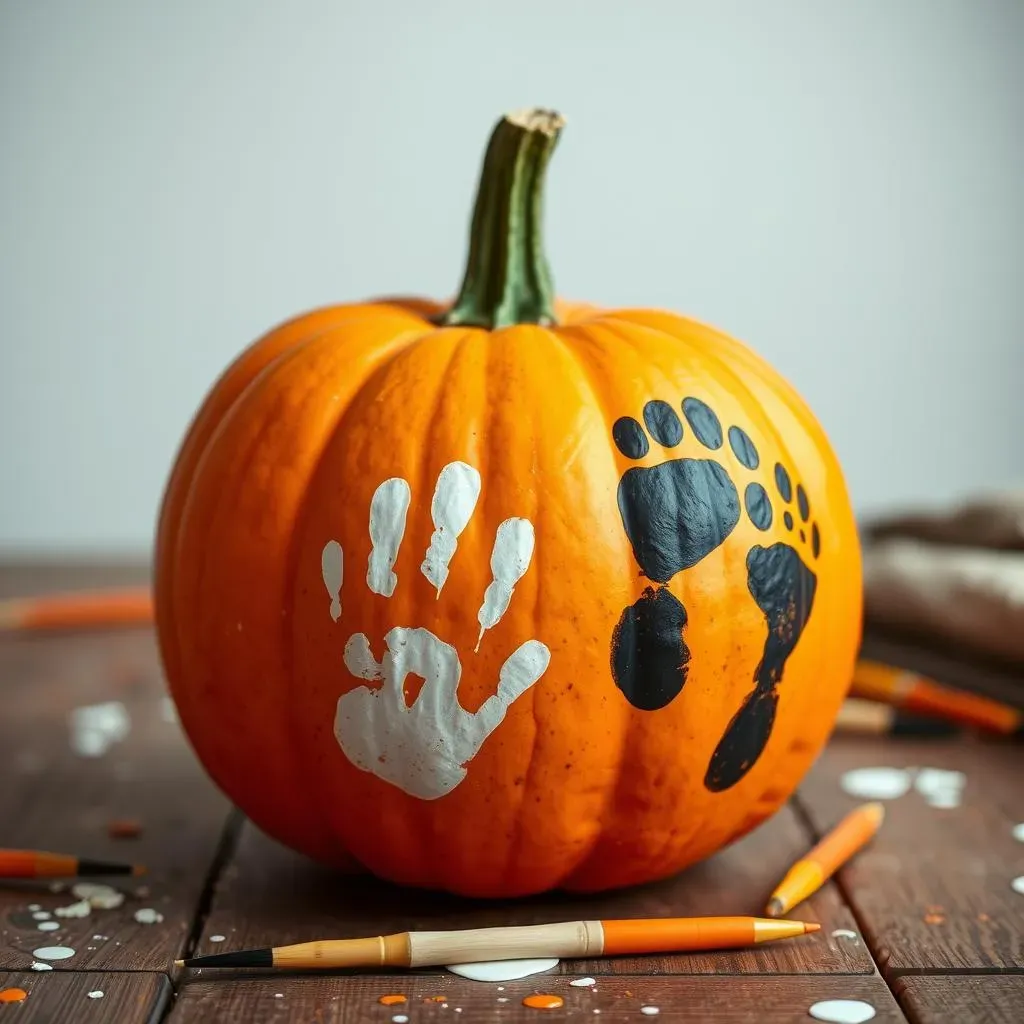
let's talk about the ultimate "aww"-inducing activity: Creating Pumpkin Keepsakes: Handprint and Footprint Art! This isn't just about decorating a pumpkin; it's about capturing a moment in time. Those tiny hands and feet grow so fast, and this is a sweet way to remember just how small they once were. Plus, it makes a super cute Halloween decoration that you can pull out year after year.
Before you start, gather your supplies: a pumpkin (obviously!), non-toxic paint that's safe for babies, a paintbrush or sponge, wet wipes (lots of them!), and a soft towel. You might also want to lay down some newspaper or a disposable tablecloth to protect your work surface. Choose a paint color that will stand out against the pumpkin. White, black, orange, or even metallic colors can look fantastic. And remember, less is more! You don't need to slather your baby's hand or foot in paint. A thin, even coat will do the trick.
Step-by-Step Guide to Handprint and Footprint Pumpkins
Alright, ready to get started with Creating Pumpkin Keepsakes: Handprint and Footprint Art? Here's the game plan: First, make sure your baby is happy and relaxed. A squirmy or fussy baby is not conducive to handprint art! Have someone help you if possible. One person can hold and distract the baby while the other applies the paint.
Next, quickly paint your baby's hand or foot with a thin layer of paint. Then, gently but firmly press it onto the pumpkin. Hold it there for a few seconds to ensure good contact. Lift straight up to avoid smudging. Immediately wipe off any excess paint from your baby's hand or foot with a wet wipe. Repeat as desired! You can create a single handprint or footprint, or make a pattern all around the pumpkin. Once the paint is dry, you can add details with a fine-tipped marker. Turn those handprints into ghosts by adding eyes and a mouth, or transform those footprints into bats with some wings and ears. Get creative and have fun! And don't forget to write your baby's name and the date on the bottom of the pumpkin, so you'll always remember when it was created.
Step | Description | Tips |
|---|---|---|
Preparation | Gather supplies, protect work area. | Choose non-toxic paint, have wet wipes ready. |
Painting | Apply a thin layer of paint to hand or foot. | Work quickly, avoid thick layers of paint. |
Pressing | Gently press hand or foot onto the pumpkin. | Hold firmly for a few seconds, lift straight up. |
Cleanup | Wipe off excess paint immediately. | Have wet wipes and a towel handy. |
Detailing | Add details with a fine-tipped marker (optional). | Turn prints into ghosts, bats, or other designs. |
Photographing Your Baby with Pumpkins: Tips and Tricks
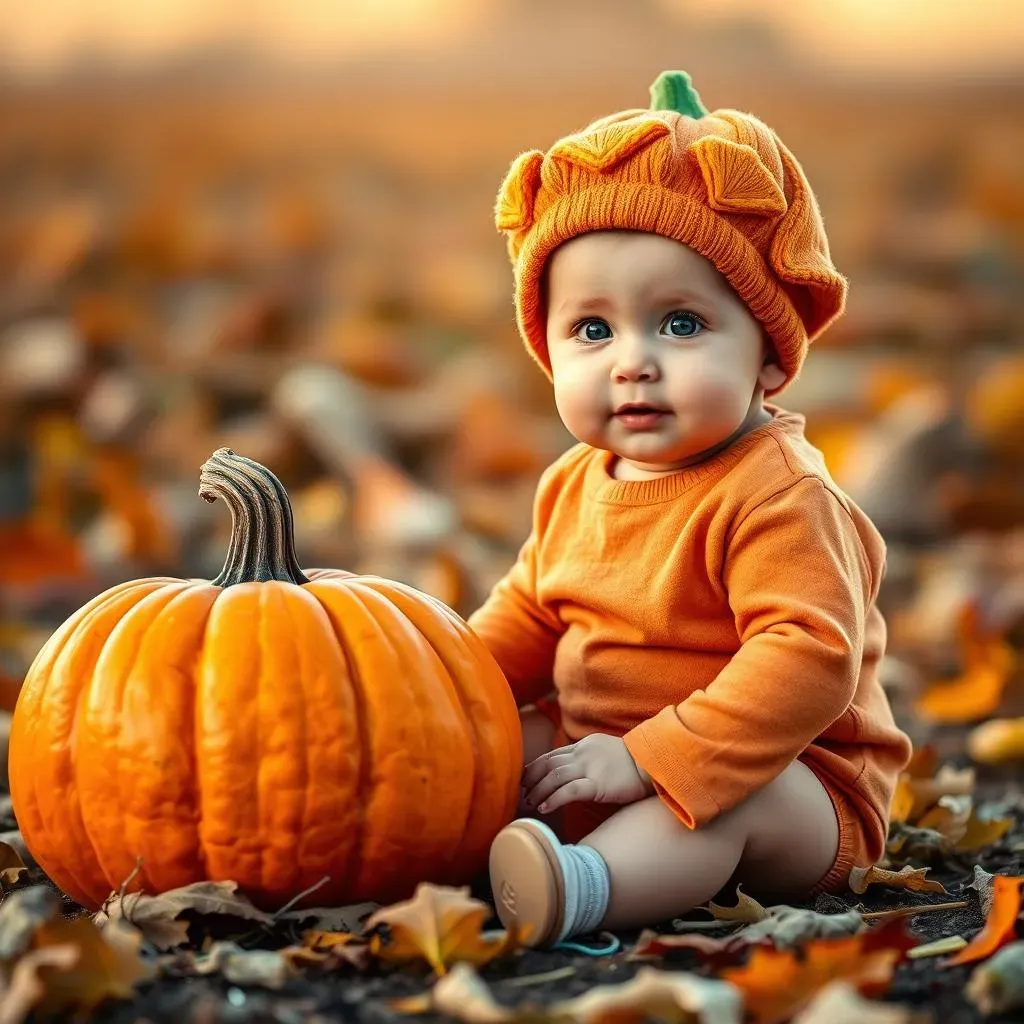
Photographing Your Baby with Pumpkins: Tips and Tricks
Setting the Scene for Adorable Photos
let's talk about capturing those picture-perfect moments! Photographing Your Baby with Pumpkins: Tips and Tricks isn't just about snapping a photo; it's about creating a memory. First, think about your backdrop. A simple, uncluttered background will keep the focus on your baby and the pumpkin. A cozy blanket, a rustic wooden fence, or even just a plain wall can work wonders.
Next, consider the lighting. Natural light is always best, so try to shoot outdoors or near a large window. Avoid harsh sunlight, which can create unflattering shadows. Overcast days are actually ideal! If you're shooting indoors, use soft, diffused lighting. You can achieve this by bouncing the light off a wall or using a lamp with a lampshade. And remember, safety first! Never leave your baby unattended, even for a second. Have someone spot them at all times.
Posing and Capturing the Perfect Shot
Now for the fun part: posing! Photographing Your Baby with Pumpkins: Tips and Tricks is all about capturing your baby's personality. Don't try to force a pose that's uncomfortable or unnatural. Instead, let your baby be themselves! If they're sitting up, let them sit next to the pumpkin. If they're crawling, let them explore it. You can even dress them in a cute Halloween costume to add to the fun.
When it comes to capturing the perfect shot, patience is key. Babies are unpredictable, so be prepared to take lots of photos. Use the burst mode on your camera or phone to capture a series of shots in quick succession. This will increase your chances of getting a great photo. And don't be afraid to get down on their level! Shooting from a low angle will make your baby look bigger and more engaged with the pumpkin. Most importantly, have fun! The more relaxed you are, the more relaxed your baby will be, and the better your photos will turn out.
Photo Tip | Details |
|---|---|
Simple Backdrop | Uncluttered background to focus on baby. |
Natural Lighting | Shoot outdoors or near a window. |
Baby's Personality | Let baby be themselves, don't force poses. |
Burst Mode | Capture a series of shots quickly. |
Low Angle | Shoot from baby's level. |
Creating Lasting Memories with Your Little Pumpkin
Celebrating your baby's first Halloween with these pumpkin carving ideas baby is about more than just decorations; it's about creating cherished memories that will last a lifetime. Whether you choose to paint, stick, or simply pose for adorable photos, the focus is on fun, safety, and capturing the joy of the season. So, embrace the mess, cherish the moments, and enjoy this special milestone with your little one. Happy Halloween!