Table of Contents
Tired of the same old toothy grin on your pumpkins? Yearning to transform your front porch into a gallery of gourd-geous art? Then you've come to the right place. This isn't your grandma's pumpkin carving tutorial. We're diving deep into the world of pumpkin carving ideas advanced, where stencils become blueprints and pumpkins become canvases.
StepbyStep: Mastering Advanced Pumpkin Carving Techniques
StepbyStep: Mastering Advanced Pumpkin Carving Techniques
Choosing Your Canvas: The Perfect Pumpkin
Alright, so you're ready to ditch the basic pumpkin patch picks and snag a real contender. First things first, size matters! Think about the complexity of your design. A massive, intricate dragon? You'll need a bigger pumpkin than if you're planning a spooky silhouette. Look for a pumpkin that's relatively smooth, with minimal blemishes or soft spots. These imperfections can make carving a nightmare, trust me. Give it a gentle tap – you want a firm, solid sound, not a hollow thud. That thud could mean it's starting to rot inside, and nobody wants to carve a mushy mess.
The shape is also key. A slightly flattened pumpkin can be easier to work with, providing a more stable base. And speaking of bases, make sure it sits flat! A wobbly pumpkin is a recipe for disaster when you're wielding sharp tools. Finally, check the stem. A healthy, green stem is a good sign of a fresh pumpkin. Avoid pumpkins with dry, brittle stems, as they might be past their prime. Seriously, spend a little extra time picking the right pumpkin, it will make the entire process smoother and the final result will thank you.
From Photo to Pattern: Creating Your Design
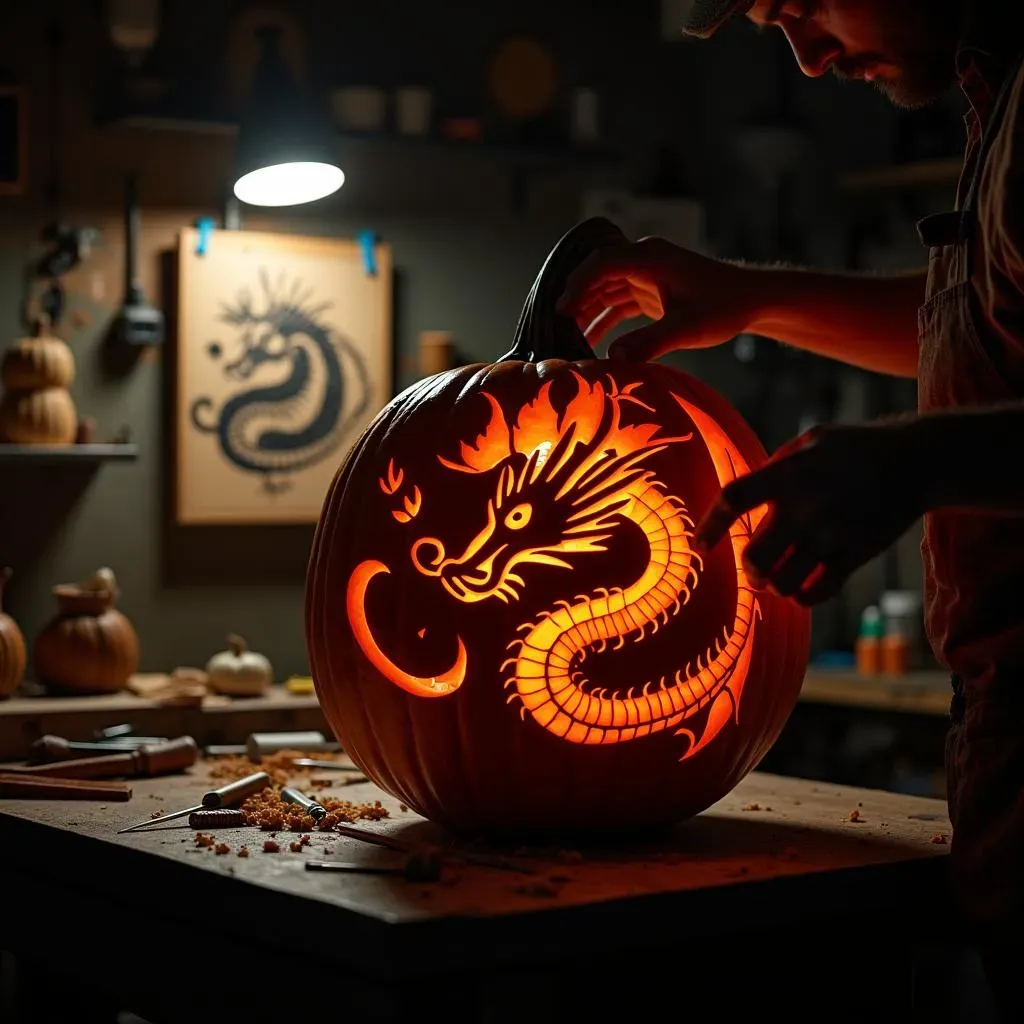
so you've got your perfect pumpkin. Now comes the fun part: the design! Forget those generic stencils you find at the grocery store. We're going custom. Start with a high-contrast image – think black and white photos or bold illustrations. You can even use photo editing software to convert a color image to grayscale and boost the contrast. The clearer the contrast, the easier it will be to translate onto your pumpkin.
Next, simplify! Intricate details are cool, but they can be a pain to carve. Focus on the key elements of your design and eliminate unnecessary clutter. Think in terms of black, white, and gray – black areas will be left untouched, white areas will be completely carved away, and gray areas will be skinned to create shading. Once you're happy with your design, print it out at the appropriate size for your pumpkin. You might need to resize it a few times to get it just right. Remember, this pattern is your roadmap to pumpkin carving glory, so take your time and make sure it's perfect!
From Stencil to Masterpiece: Advanced Pumpkin Carving Patterns

From Stencil to Masterpiece: Advanced Pumpkin Carving Patterns
Alright, so you've got your design, but how do you get that masterpiece onto your pumpkin? Transferring your pattern is where the magic (and a little bit of patience) happens. First, tape your printed pattern securely onto the pumpkin's surface. Make sure it's smooth and wrinkle-free. Now, grab a poking tool – a pin, needle, or even a sharpened pencil will work. Carefully poke holes along the lines of your design, spacing them about 1/8 inch apart. The closer the holes, the more accurate your transfer will be. Think of it like creating a connect-the-dots picture on your pumpkin.
Once you've poked your way around the entire design, remove the paper pattern. You should now have a dotted outline of your image on the pumpkin's surface. If the dots are faint, you can use a marker to connect them and create a clearer outline. For more complex designs, consider using carbon paper to transfer the image. Simply place the carbon paper between the pattern and the pumpkin, then trace over the lines with a pencil. This will leave a more solid and visible outline on the pumpkin. Remember, a clear and accurate transfer is essential for a successful carving, so take your time and double-check your work before you start cutting!
Tools and Tips: Elevating Your Pumpkin Carving Game

Tools and Tips: Elevating Your Pumpkin Carving Game
Sharpen Your Arsenal: Essential Carving Tools
so you've got your design transferred, but now you need the right tools to bring it to life. Forget those flimsy plastic pumpkin carving kits you see at the drugstore. We're talking about serious sculpting here! First, you'll need a good set of serrated knives. Different sizes and shapes will allow you to tackle both large and small areas with precision. A thin, flexible knife is perfect for intricate details, while a larger, sturdier knife is better for cutting out larger sections.
Next up: the X-ACTO knife. This is your secret weapon for skinning. The sharp, precise blade allows you to carefully remove the outer layer of the pumpkin without cutting all the way through. Ribbon tools, the kind used for clay sculpting, are also fantastic for skinning and creating subtle textures. Don't forget a good scoop for gutting your pumpkin – a metal ice cream scoop works great! And finally, invest in a set of wood carving tools. These can be used to create incredibly detailed and intricate designs. Remember, the right tools can make all the difference in the world. It's like comparing finger painting to oil painting – both are art, but one requires a more sophisticated set of tools.
Tool | Use | Why it's awesome |
|---|---|---|
Serrated Knives (various sizes) | Cutting out large sections, basic carving | Versatile, durable, essential for any carver |
X-ACTO Knife | Skinning, fine details, precise cuts | Allows for subtle shading and intricate designs |
Ribbon Tools | Skinning, creating textures, shaping | Offers unique sculpting possibilities |
Wood Carving Tools | Detailed carving, intricate designs, advanced techniques | Unlocks a whole new level of artistry |
Light It Up: Illuminating Your Masterpiece
So, you've spent hours carving your pumpkin, now it's time to show it off! Forget those wimpy tea lights – we're going for maximum impact. Electric lights are the way to go. They're brighter, safer, and last longer than candles. You can use a simple LED light bulb or get fancy with colored lights or even flickering flame effects. Position the light inside the pumpkin so that it shines through the carved areas, highlighting the details of your design.
Experiment with different angles and positions to see what looks best. For added drama, consider placing the pumpkin on a pedestal or platform to elevate it and make it more visible. You can also use spotlights to highlight specific areas of the carving. And don't forget about the surrounding environment! Create a spooky atmosphere with fog machines, cobwebs, and other Halloween decorations. Remember, lighting is just as important as the carving itself. It's what brings your masterpiece to life and makes it truly shine!
Beyond the Basics: Creative Advanced Pumpkin Carving Ideas

Beyond the Basics: Creative Advanced Pumpkin Carving Ideas
3D Pumpkin Projections
so you've mastered the art of skinning and shading. Now it's time to take your pumpkin carving to another dimension – literally! 3D pumpkin projections are all about creating the illusion of depth and dimension on a flat surface. Think of it like optical illusions, but on a pumpkin. This involves strategic carving and skinning to create different layers and levels, making certain areas appear to pop out while others recede into the background.
You can achieve this by carving away more pumpkin in the areas you want to appear further back and leaving more of the pumpkin intact in the areas you want to stand out. Experiment with different light sources and angles to enhance the 3D effect. It's a challenging technique, but the results are truly mind-blowing. Imagine carving a dragon that appears to be bursting out of your pumpkin, or a spooky face that seems to follow you as you walk by. That's the power of 3D pumpkin projections!
Technique | Description | Visual Effect |
|---|---|---|
Layered Carving | Carving different depths to create distinct layers | Creates a sense of depth and dimension |
Strategic Skinning | Removing the outer layer of pumpkin in specific areas | Adds subtle shading and highlights |
Light Play | Using different light sources and angles | Enhances the 3D effect and adds drama |
Pumpkin Carving with Power Tools
Alright, let's get serious. Forget the knives and ribbon tools – we're bringing out the power tools! This is where pumpkin carving becomes a true art form. Dremels, rotary tools, and even power drills can be used to create incredibly detailed and intricate designs that would be impossible to achieve with traditional methods. Think of it like sculpting with a tiny chainsaw – precision and control are key!
You can use a Dremel to carve fine lines, create textures, and even drill small holes for added detail. Rotary tools are perfect for carving large areas quickly and efficiently. And a power drill can be used to create unique patterns and designs. Just be sure to wear safety glasses and gloves, and always practice on a scrap pumpkin before tackling your masterpiece. Pumpkin carving with power tools is not for the faint of heart, but the results are truly spectacular. Imagine carving a portrait with photorealistic detail, or creating a complex geometric design that's both beautiful and mesmerizing. That's the power of power tools!
Carving Out a New Halloween Tradition
So, you've journeyed beyond the basic triangle-eyed grin and dared to explore the realm of advanced pumpkin carving. Armed with new techniques, intricate pattern ideas, and a newfound appreciation for the humble gourd, you're ready to create a jack-o'-lantern that truly stands out. Remember, the most important ingredient is your own creativity. Don't be afraid to experiment, make mistakes, and most importantly, have fun. With a little practice and a dash of daring, you'll be carving out a new Halloween tradition for years to come, one pumpkin masterpiece at a time.