Table of Contents
Halloween's looming, and that means it's time to ditch the kiddie pumpkin carving clichés. Are you ready to move beyond the basic triangle eyes and crooked smiles? This year, let's unleash some serious creativity with pumpkin carving ideas adults will actually appreciate. We're talking about designs that show off your artistic skills, make your neighbors jealous, and maybe even win you some bragging rights. Forget the flimsy stencils and predictable patterns. We're diving headfirst into a world of advanced techniques, inspiring themes, and even no-carve alternatives for those who prefer to keep their fingers intact. Whether you're a seasoned pro with a Dremel or a newbie armed with a spoon and a vision, this guide will equip you with the inspiration and know-how to create a jack-o'-lantern masterpiece. So, grab your gourds, gather your tools, and prepare to transform those ordinary pumpkins into extraordinary works of art. Let's get carving!
Level Up Your JackO'Lantern Game: Advanced Pumpkin Carving Ideas for Adults
Level Up Your JackO'Lantern Game: Advanced Pumpkin Carving Ideas for Adults
Ditch the Stencil: Freehand Carving Techniques
Ready to ditch the training wheels? Freehand carving is where the magic happens. It's about letting your imagination run wild and translating your vision directly onto the pumpkin canvas. Start with a simple sketch using a dry-erase marker – don't worry about perfection, it's just a guide. Then, armed with your carving tools (more on those later), carefully begin removing the pumpkin flesh, following your lines.
Think about varying the depth of your cuts to create different shading effects. Shallow cuts will let more light through, creating a glowing highlight, while deeper cuts will result in darker shadows. Experiment with different textures too – try stippling, cross-hatching, or even swirling patterns to add visual interest. And remember, mistakes can often be incorporated into the design, so don't be afraid to embrace the unexpected!
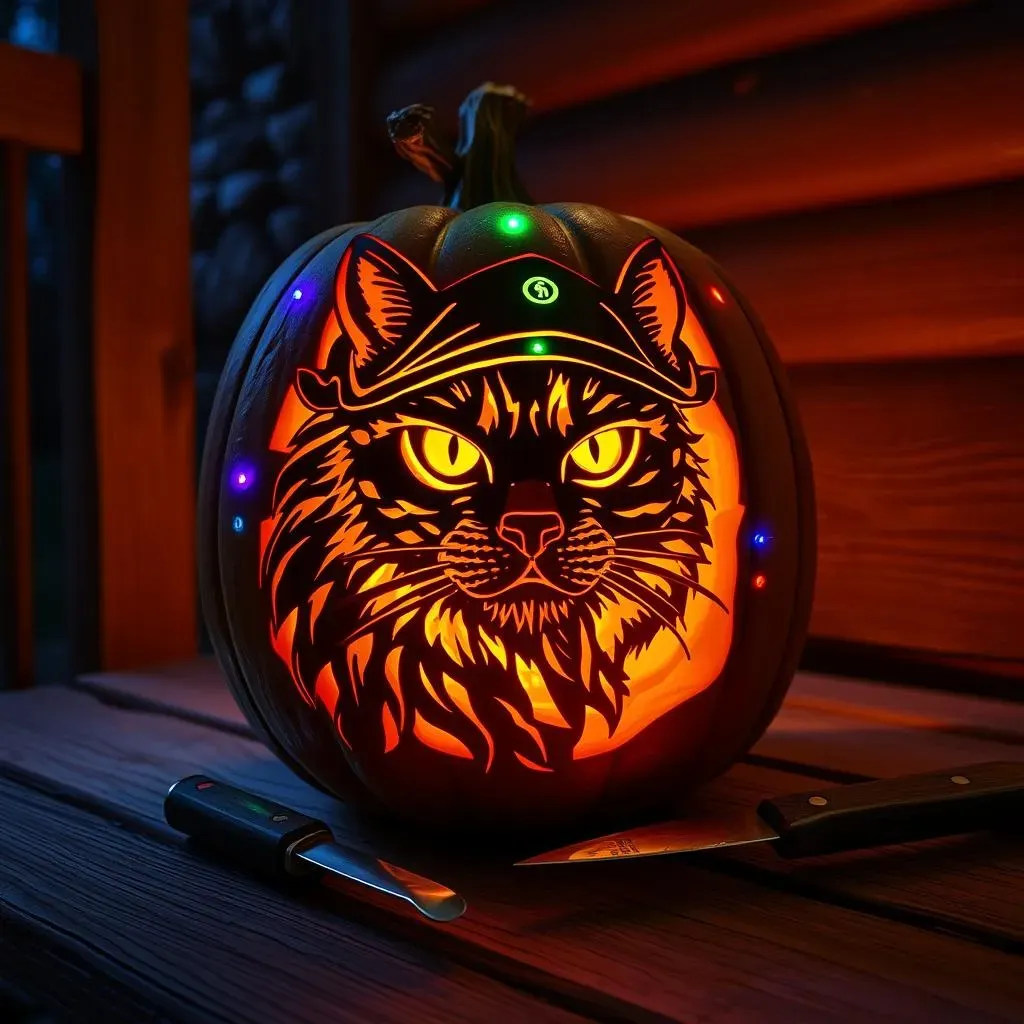
For example, I once tried a portrait of my cat, Mittens, and completely botched the eye. Instead of panicking, I turned it into a spooky, stylized scar – Mittens the Pirate Cat was born! It became the talk of the neighborhood and a testament to the power of creative problem-solving.
Tools of the Trade: Beyond the Basic Pumpkin Carving Kit
let's talk tools. That flimsy plastic saw that comes with most pumpkin carving kits? Yeah, you're gonna need to upgrade. For serious pumpkin carving, invest in a set of wood carving tools. These come in various shapes and sizes, allowing for much greater precision and control. Gouges are great for removing large chunks of pumpkin, while detail knives are perfect for intricate work.
Don't forget about the importance of a good scoop for gutting your pumpkin – a serrated ice cream scoop works wonders. And for those super-fine details, consider using clay sculpting tools or even dental picks. Trust me, having the right tools makes all the difference. I remember struggling for hours with a dull knife, trying to carve a simple spiral. Once I switched to a proper detail knife, the whole process became a breeze. It's like the difference between painting with a crayon and painting with a fine-tipped brush.
Here's a quick rundown of essential tools:
- Wood Carving Tools: Gouges, detail knives, V-tools
- Serrated Scoop: For efficient gutting
- Dry-Erase Marker: For sketching your design
- Pencils & Paper: For brainstorming
- Clay Sculpting Tools/Dental Picks: For fine details
- Power Drill (Optional): For creating patterns of holes
Light It Up: Advanced Illumination Techniques
So, you've carved an amazing pumpkin, but don't let the lighting be an afterthought! A traditional candle is fine, but there are so many ways to take your jack-o'-lantern illumination to the next level. Battery-operated LED lights are a great option – they're safe, long-lasting, and come in a variety of colors.
For a truly dramatic effect, consider using a spotlight to highlight specific areas of your carving. You can even use multiple lights to create different moods and shadows. Another cool trick is to place a mirror behind your pumpkin to amplify the light and create the illusion of depth. I once saw a pumpkin carved with a scene from "Star Wars," and the artist had used fiber optic cables to create the effect of glowing lightsabers – it was mind-blowing! Get creative and experiment with different lighting techniques to bring your carving to life.
Beyond the Basic Triangle: Creative Pumpkin Carving Techniques for Adults
Beyond the Basic Triangle: Creative Pumpkin Carving Techniques for Adults
Embrace the Power of the Silhouette
Forget the traditional jack-o'-lantern face! Silhouettes offer a sophisticated and visually striking alternative. Think of iconic scenes from your favorite movies, intricate nature patterns, or even personalized monograms. The key is to choose a design with strong, defined shapes that will stand out when illuminated. You can find tons of silhouette templates online, or even create your own using a photo editing program. Print out your chosen design, tape it to your pumpkin, and then carefully trace the outline with a pin or awl. This will create a guide for your carving. Then, using your carving tools, carefully remove the pumpkin flesh within the traced lines, leaving the silhouette intact. The result is a dramatic and elegant jack-o'-lantern that's sure to impress. It’s also a great way to use the pumpkin as a canvas, transforming it into a piece of art that reflects your personality.
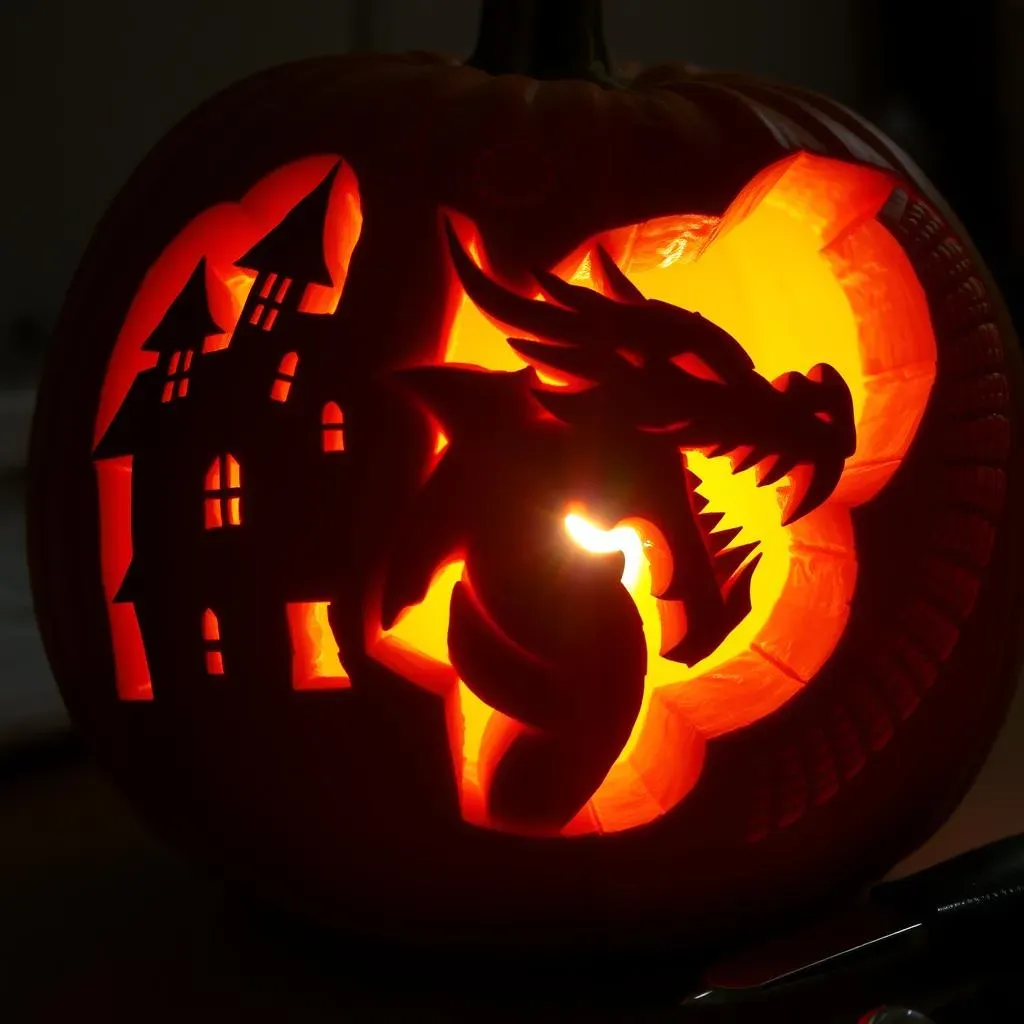
Consider the play of light and shadow. A well-executed silhouette carving can create a stunning visual effect, especially when lit from within. I remember seeing a silhouette carving of a haunted house that was so detailed, it looked like a miniature gothic mansion glowing in the dark. It was truly breathtaking!
Experiment with 3D Carving
Ready to take your pumpkin carving skills to the next dimension? 3D carving involves sculpting the surface of the pumpkin to create raised and recessed areas, adding depth and realism to your design. This technique is perfect for creating portraits, animal figures, or even abstract sculptures. The key to successful 3D carving is patience and a keen eye for detail. Start by sketching your design onto the pumpkin, paying close attention to the contours and shadows. Then, using your carving tools, carefully begin removing small amounts of pumpkin flesh, gradually shaping the surface to create the desired effect. Remember to work slowly and deliberately, and don't be afraid to step back and assess your progress from different angles.
For inspiration, look to classical sculpture or even modern art. Consider how light and shadow play across the surface of the pumpkin, and use this to your advantage to create a dynamic and visually compelling design. It might seem intimidating at first, but with practice, you'll be amazed at what you can achieve. I once attempted a 3D carving of a dragon, and while it wasn't perfect, the process was incredibly rewarding. And the finished product, with its scales and snarling snout, was definitely a step up from the standard jack-o'-lantern face!
Here are some tips for successful 3D pumpkin carving:
- Start with a detailed sketch.
- Use a variety of carving tools.
- Work slowly and deliberately.
- Pay attention to light and shadow.
- Don't be afraid to experiment.
Play with Textures and Patterns
Who says pumpkin carving has to be all about cutting holes? You can create stunning effects by playing with textures and patterns on the surface of the pumpkin. Try using different tools to create a variety of textures, such as stippling, cross-hatching, or swirling patterns. You can also use cookie cutters or stencils to create repeating patterns. Another fun technique is to use a vegetable peeler to create thin strips of pumpkin skin, revealing the lighter flesh underneath. These strips can then be arranged in various patterns to create a unique and eye-catching design. The possibilities are endless!
I remember seeing a pumpkin decorated with a mosaic of tiny pumpkin seeds, glued onto the surface in intricate patterns. It was a beautiful and unexpected way to use the pumpkin as a canvas. So, don't be afraid to think outside the box and experiment with different textures and patterns to create a truly unique jack-o'-lantern.
Technique | Description | Tools |
|---|---|---|
Stippling | Creating a pattern of small dots | Awl, pin, or small carving tool |
Cross-hatching | Creating intersecting lines | Detail knife or V-tool |
Swirling patterns | Creating curved or circular lines | Gouge or round carving tool |
Vegetable peeling | Removing thin strips of pumpkin skin | Vegetable peeler |
From Stencils to Sculptures: Finding Inspiration for Adult Pumpkin Carving Projects
From Stencils to Sculptures: Finding Inspiration for Adult Pumpkin Carving Projects
The Power of Pop Culture: Movie Monsters, TV Characters, and Video Game Icons
Let's face it, sometimes the best inspiration comes from the things we love. Why not pay homage to your favorite movie monster, TV character, or video game icon by carving their likeness into a pumpkin? Think of a menacing Xenomorph bursting from a pumpkin, a stoic Mandalorian helmet glowing in the dark, or a pixel-perfect rendition of your favorite 8-bit hero. The possibilities are endless! The key is to choose a design that's both recognizable and visually striking. Look for images with strong silhouettes and defined features that will translate well onto the pumpkin canvas. You can find tons of reference images online, or even create your own using screenshots or fan art. Just remember to get creative and put your own spin on it!
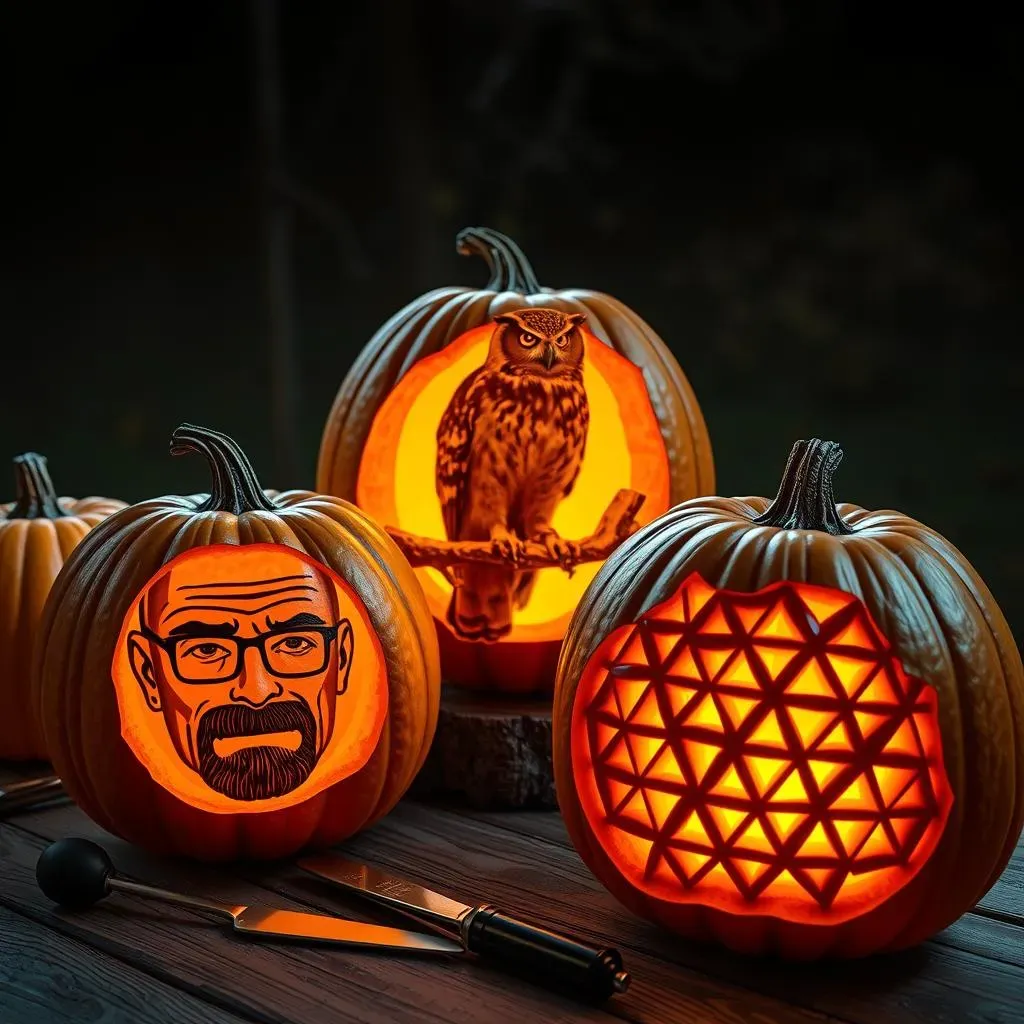
I once saw a pumpkin carved with a stunningly detailed portrait of Walter White from "Breaking Bad," complete with his signature Heisenberg hat. It was a true work of art and a testament to the power of pop culture inspiration. Don't be afraid to let your fandom shine through in your pumpkin carving designs!
Nature's Bounty: Animals, Plants, and Landscapes
If pop culture isn't your thing, why not draw inspiration from the natural world? Carve a majestic owl perched on a branch, a delicate floral pattern, or a sprawling landscape scene. Nature offers an endless source of inspiration, and the possibilities are limited only by your imagination. When choosing a nature-inspired design, consider the shape and texture of the pumpkin itself. A tall, slender pumpkin might be perfect for carving a tree, while a round, squat pumpkin might be better suited for carving a portrait of a plump little hedgehog. And don't be afraid to incorporate natural elements into your design. Glue dried leaves, twigs, or seeds onto the pumpkin to add texture and visual interest.
I once carved a pumpkin with a detailed rendering of a sunflower, complete with realistic petals and textured seeds. It was a beautiful and elegant design that celebrated the beauty of nature. So, step outside, take a deep breath, and let the natural world inspire your pumpkin carving creations!
- Animals: Owls, wolves, cats, bats, spiders
- Plants: Flowers, trees, leaves, vines
- Landscapes: Mountains, forests, oceans, deserts
Abstract Art: Geometric Patterns and Modern Designs
For a truly unique and contemporary look, consider carving an abstract design into your pumpkin. Geometric patterns, swirling lines, and modern art motifs can create a visually stunning and unexpected effect. The beauty of abstract art is that it's open to interpretation, so you can let your creativity run wild and create something that's truly your own. When carving an abstract design, focus on creating interesting shapes and textures. Vary the depth of your cuts to create different shading effects, and experiment with different tools to create a variety of patterns. You can also use stencils or templates to create repeating patterns or geometric shapes.
I once saw a pumpkin carved with a series of interlocking triangles and squares, creating a mesmerizing geometric pattern. It was a simple but effective design that showcased the beauty of abstract art. So, ditch the traditional jack-o'-lantern face and embrace the power of abstraction!
Design Style | Description | Example |
|---|---|---|
Geometric | Uses shapes like triangles, squares, and circles | A pattern of interlocking diamonds |
Organic | Features flowing lines and natural shapes | A swirling vortex of leaves and vines |
Minimalist | Employs simple shapes and negative space | A single, off-center circle |
NoCarve Pumpkin Decorating Ideas: Alternatives for Adults
NoCarve Pumpkin Decorating Ideas: Alternatives for Adults
Paint It Like Picasso: Artistic Pumpkin Painting
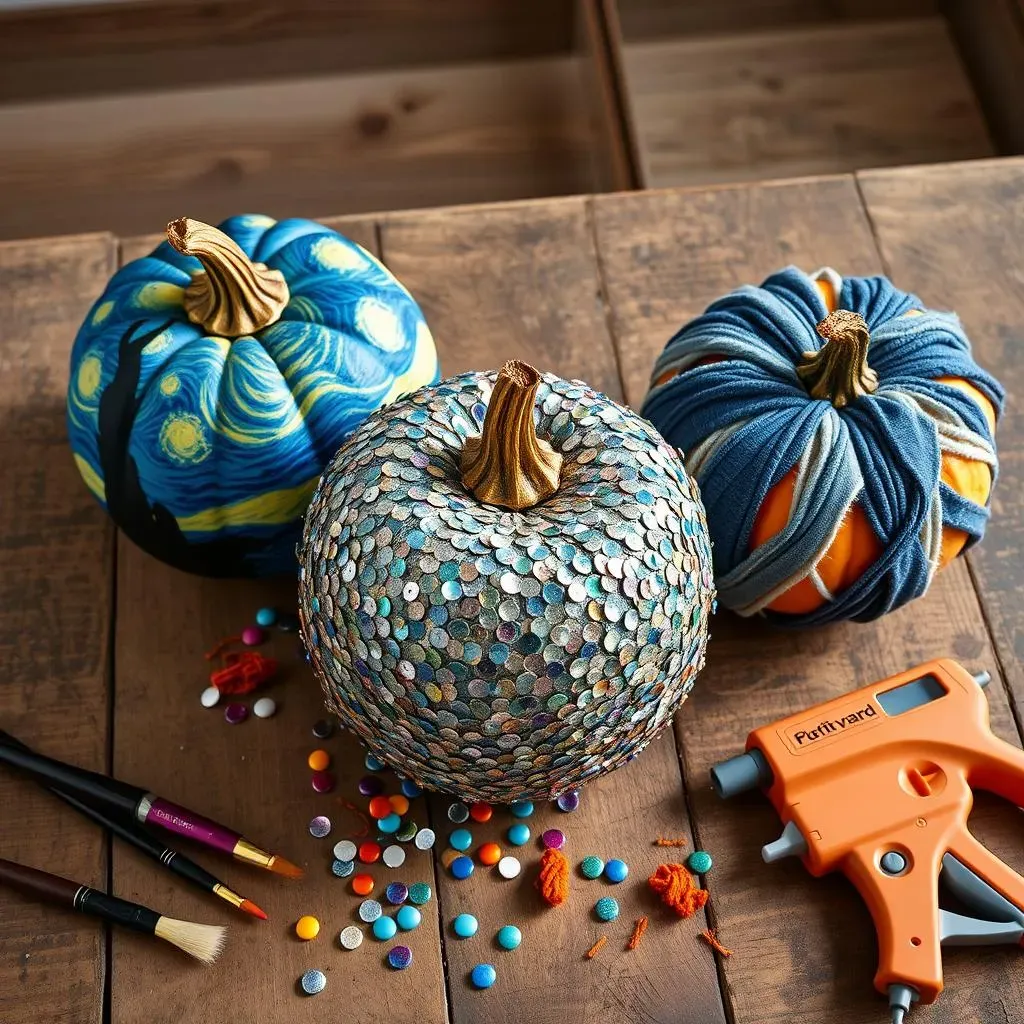
Alright, so maybe wielding a knife isn't your thing. No sweat! Painting pumpkins is a fantastic way to unleash your inner artist without the risk of accidentally amputating a finger. Think beyond the basic orange and black. We're talking metallics, watercolors, acrylics, even chalkboard paint for a customizable message board pumpkin. Get inspired by your favorite artists, replicate famous paintings, or create your own abstract masterpiece. Stencils can still be your friend here – use them to create intricate patterns or add a touch of elegance with delicate floral designs. And don't forget about the power of texture! Use sponges, brushes, or even your fingers to create unique and eye-catching effects. I remember seeing a pumpkin painted to look like a starry night sky, complete with shimmering constellations – it was absolutely breathtaking!
Consider using glow-in-the-dark paint for an extra spooky touch, or add glitter for a touch of glam. The possibilities are truly endless, so let your imagination run wild and create a pumpkin that's as unique as you are.
Glam It Up: Embellishments and Adornments
Who says pumpkins can't be glamorous? Ditch the carving tools and break out the glue gun! Embellishing your pumpkin with various adornments is a fun and easy way to create a show-stopping centerpiece. Think sequins, beads, rhinestones, feathers, ribbons, even old jewelry. Create intricate patterns, add a touch of sparkle, or transform your pumpkin into a dazzling work of art. You can also use natural elements like leaves, twigs, or pinecones to create a rustic and organic look. The key is to choose embellishments that complement the shape and size of your pumpkin, and to arrange them in a way that's both visually appealing and structurally sound.
I once saw a pumpkin completely covered in iridescent sequins, creating a shimmering and mesmerizing effect. It was like a disco ball in pumpkin form! So, raid your craft stash, gather your favorite embellishments, and prepare to transform your pumpkin into a glamorous masterpiece.
Here are some ideas for embellishing your pumpkin:
- Sequins and beads for sparkle
- Feathers for texture and drama
- Ribbons for elegance and color
- Old jewelry for a vintage touch
- Natural elements for a rustic look
Wrap It Up: Fabric, Yarn, and Other Creative Coverings
Looking for a truly unique and unexpected way to decorate your pumpkin? Try wrapping it in fabric, yarn, or other creative coverings. This technique is perfect for adding texture, color, and visual interest to your pumpkin, and it's a great way to use up scraps of fabric or yarn that you have lying around. You can wrap your pumpkin in a single color for a minimalist look, or use multiple colors and patterns to create a vibrant and eclectic design. Try wrapping your pumpkin in burlap for a rustic and farmhouse-chic vibe, or use velvet for a touch of luxury. You can also use yarn to create intricate patterns or add a touch of whimsy with colorful pom-poms.
I saw a pumpkin wrapped in strips of old denim, creating a cool and edgy look. So, get creative, experiment with different materials, and prepare to transform your pumpkin into a textile masterpiece.
Material | Description | Style |
|---|---|---|
Burlap | Rough, woven fabric | Rustic, farmhouse |
Velvet | Soft, luxurious fabric | Elegant, glamorous |
Yarn | Strands of spun fiber | Whimsical, colorful |
Denim | Durable cotton fabric | Edgy, casual |
Adult Pumpkin Carving Party: Tips for a Spooktacular Gathering
Adult Pumpkin Carving Party: Tips for a Spooktacular Gathering
Set the Spooky Scene: Decorations and Ambiance
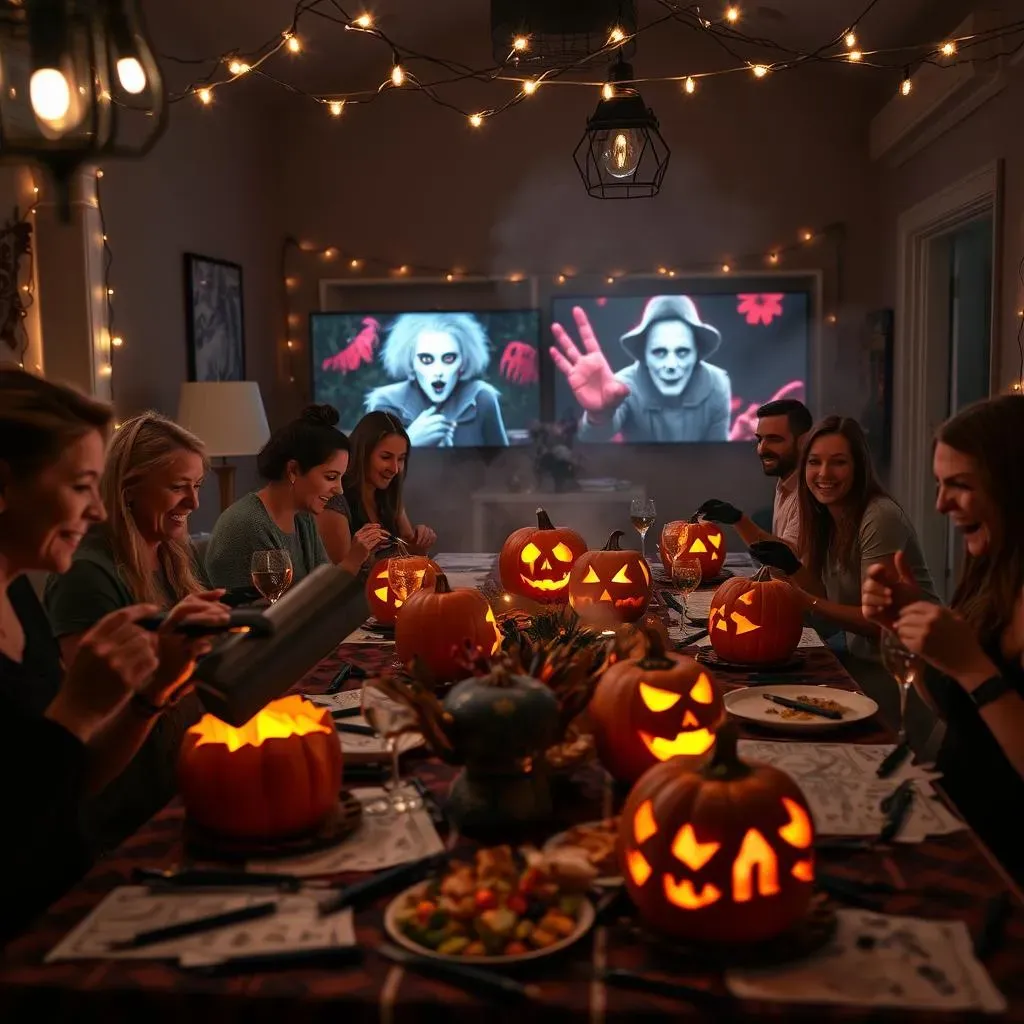
Alright, you've decided to host an adult pumpkin carving party – excellent choice! First things first, you gotta set the mood. Think less "kiddie Halloween," more "haunted chic." Dim the lights, string up some eerie fairy lights, and play a spooky soundtrack (think Bauhaus, not "Monster Mash"). Scatter some faux cobwebs around, hang a few strategically placed skeletons, and maybe even add a fog machine for extra atmosphere. Don't forget the candles – real or battery-operated – to cast a warm and inviting glow. The goal is to create a space that's both festive and a little bit unsettling, setting the stage for a night of creative carving and spooky fun. I once went to a pumpkin carving party where the host had projected classic horror movies onto the wall – it was a brilliant touch!
Consider adding a signature spooky cocktail to the mix, or even a themed snack bar with creepy treats like "witch finger" pretzels or "eyeball" olives. The devil's in the details, so pay attention to every aspect of the ambiance to create a truly immersive experience. Make sure there's enough space for everyone to spread out and carve comfortably, and don't forget to protect your surfaces with tablecloths or drop cloths. You don't want to spend the next day scrubbing pumpkin guts off your furniture!
Equip Your Guests: Tools and Templates
No adult pumpkin carving party is complete without the right tools. Make sure you have enough carving kits for everyone, or encourage guests to bring their own. As we discussed earlier, ditch those flimsy plastic saws and invest in some quality wood carving tools. Gouges, detail knives, and V-tools will allow your guests to create intricate and impressive designs. Provide a variety of templates and stencils for those who need a little inspiration, or encourage guests to come up with their own designs. Don't forget about the importance of safety! Provide carving gloves to protect hands from cuts, and remind everyone to carve away from themselves. It's also a good idea to have a first-aid kit on hand, just in case.
I've found that printing out a selection of pumpkin carving templates ahead of time is a great way to get the creative juices flowing. You can find tons of free templates online, or even create your own using a photo editing program. And don't forget about the power of snacks! Keep your guests fueled with plenty of spooky treats and drinks to keep their energy levels up throughout the night.
Here's a checklist for your pumpkin carving party toolkit:
- Pumpkin carving kits (or individual tools)
- Templates and stencils
- Carving gloves
- First-aid kit
- Tablecloths or drop cloths
- Snacks and drinks
- Trash bags for pumpkin guts
Themed Contest and Prizes: Sparking Friendly Competition
Add some extra excitement to your adult pumpkin carving party by hosting a themed contest with prizes! Choose a theme that's both challenging and inspiring, such as "Movie Monsters," "Nature's Bounty," or "Abstract Art." Encourage guests to get creative and put their own spin on the theme. Set a time limit for the carving, and then have everyone vote for their favorite pumpkin. Offer prizes for the winners, such as gift cards, bottles of wine, or even bragging rights. The contest is a great way to spark friendly competition and encourage guests to push their creative boundaries. I once attended a pumpkin carving party where the theme was "Political Satire," and the results were hilarious! Everyone got really into it, and the competition was fierce.
Consider offering prizes for different categories, such as "Most Creative," "Scariest," or "Funniest." This will give everyone a chance to win, regardless of their skill level. And don't forget about the losers! Offer consolation prizes, such as candy or small trinkets, to make sure everyone feels like a winner. The goal is to create a fun and inclusive atmosphere where everyone can enjoy the process of pumpkin carving, regardless of the outcome.
Contest Category | Description | Prize Ideas |
|---|---|---|
Most Creative | The most original and innovative design | Gift card to an art supply store |
Scariest | The most terrifying and spine-chilling pumpkin | Bottle of spooky-themed wine |
Funniest | The most humorous and lighthearted design | Bag of Halloween candy |
Best Technical Skill | The most precise and detailed carving | Set of wood carving tools |
Conclusion: Carve Out Some Halloween Fun
So, there you have it – a treasure trove of pumpkin carving ideas adults can truly sink their teeth into (metaphorically speaking, of course!). From intricate designs to clever no-carve options, the possibilities are as endless as your imagination. Whether you're aiming for spooky, sophisticated, or downright silly, remember that the most important thing is to have fun and let your creativity shine. Now go forth, grab a pumpkin, and create a Halloween masterpiece that's sure to impress!