Table of Contents
Tired of the same old triangle-eyed jack-o'-lanterns? Want to seriously impress your neighbors (and maybe even win that Halloween decorating contest)? Then it's time to ditch the basic carving kit and dive headfirst into the world of pumpkin carving ideas 3d! We're not talking about slightly curved lines here; we're talking about transforming your humble gourd into a mind-blowing work of art. This isn't your grandma's pumpkin carving guide. We're going beyond simple stencils and exploring the realm of realistic sculpting, intricate details, and jaw-dropping designs. Whether you're a seasoned artist or a complete beginner, we'll equip you with the knowledge and inspiration to create a 3D pumpkin masterpiece. Ready to level up your Halloween game? We'll start with the fundamental techniques, highlighting the essential tools you'll need to bring your vision to life. Then, we'll explore a range of 3D pumpkin carving ideas, from beginner-friendly projects to advanced sculptures that will test your skills. Get ready to unleash your inner artist and create a pumpkin that's truly unforgettable!
Level Up Your JackO'Lantern: Exploring 3D Pumpkin Carving Techniques

Level Up Your JackO'Lantern: Exploring 3D Pumpkin Carving Techniques
Understanding the Basics of 3D Carving
Forget everything you thought you knew about pumpkin carving! 3D carving is all about creating depth and dimension, making your design pop off the surface. Instead of just cutting through the pumpkin, you'll be using various tools to shave away layers of the pumpkin's flesh, creating shadows and highlights that give the illusion of three dimensions. Think of it like sculpting, but with a pumpkin! The goal is to use light and shadow to create depth and realism, transforming a simple pumpkin into a captivating work of art.
It's all about understanding how light interacts with the different depths you create. Shallower cuts will allow more light to pass through, creating brighter areas, while deeper cuts will create shadows. By carefully controlling the depth of your cuts, you can create incredibly detailed and realistic designs.
Essential 3D Carving Techniques
There are a few core techniques that every 3D pumpkin carver needs to master. The first is layering, which involves gradually removing thin layers of pumpkin to create smooth transitions and subtle curves. This is crucial for creating realistic facial features or intricate details. Then there's undercutting, where you carve beneath the surface layer to create shadows and add depth. This technique is perfect for creating protruding features like noses or chins.
Another key technique is blending, which involves smoothing out the transitions between different depths to create a seamless look. This can be achieved using specialized tools or even just your fingers. Finally, don't forget about lighting! The way you light your finished pumpkin can dramatically affect its appearance. Experiment with different light sources and angles to find what works best for your design.
Inspiration and Design Considerations
Before you even pick up a carving tool, it's important to have a clear idea of what you want to create. Start by gathering inspiration from various sources. Browse online galleries, check out pumpkin carving books, or even look to nature for ideas. Consider the shape and size of your pumpkin, as this will influence the type of design you can create. A tall, slender pumpkin might be perfect for a spooky portrait, while a round pumpkin could be ideal for a whimsical character.
Also, think about the level of detail you want to achieve. Are you aiming for a simple, stylized design, or a hyper-realistic sculpture? Keep in mind that more detailed designs will require more time and skill. Don't be afraid to start small and gradually work your way up to more complex projects. The most important thing is to have fun and let your creativity flow!
Once you have a general idea, sketch out your design on paper or directly onto the pumpkin using a washable marker. This will serve as a guide as you begin carving. Remember, you can always adjust your design as you go, so don't be afraid to experiment and make changes.
Tools of the Trade: Essential Gear for 3D Pumpkin Carving Success
Tools of the Trade: Essential Gear for 3D Pumpkin Carving Success
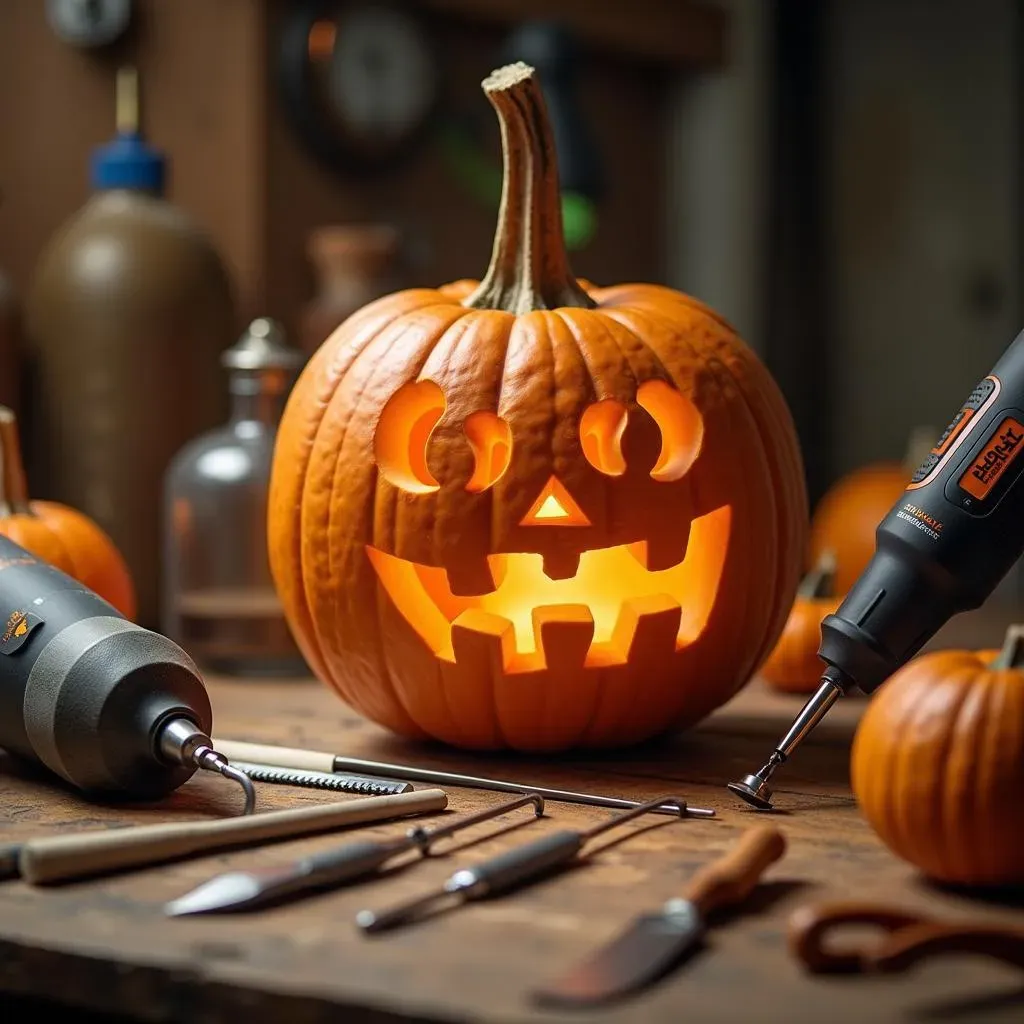
The Essential Carving Kit: Beyond the Basic Knife
so you're serious about taking your pumpkin carving to the next level. That means ditching that flimsy plastic knife that came with your grocery store pumpkin! For true 3D carving, you need a set of tools that offer precision, control, and versatility. Think of it like this: you wouldn't try to paint a masterpiece with a crayon, would you? The same goes for pumpkin carving. Invest in a good set of carving tools, and you'll be amazed at the difference it makes.
A basic 3D carving kit should include a variety of tools, such as small saws for cutting out large sections, gouges for creating curved surfaces, and loop tools for removing thin layers of pumpkin flesh. You'll also want a detail knife for fine work and a scraper for smoothing out surfaces. Don't be afraid to experiment with different tools to find what works best for you. Each tool offers a unique way to shape and sculpt the pumpkin.
Here's a quick checklist to get you started:
- Small saws: For cutting out large sections and creating openings.
- Gouges: For creating curved surfaces and adding depth.
- Loop tools: For removing thin layers of pumpkin flesh and refining details.
- Detail knife: For fine work and intricate designs.
- Scraper: For smoothing out surfaces and removing imperfections.
Power Tools: Taking Your Carving to the Next Level
For those who want to take their 3D pumpkin carving to the extreme, power tools can be a game-changer. Rotary tools, like a Dremel, offer incredible precision and control, allowing you to create incredibly detailed designs. With a variety of attachments, you can use a rotary tool to carve, grind, sand, and polish your pumpkin. However, power tools require a bit of practice and caution. Always wear safety glasses and gloves, and start with a low speed until you get a feel for the tool.
Another useful power tool is a jigsaw, which can be used to cut out large sections of pumpkin quickly and easily. This is especially helpful for creating intricate silhouettes or removing the top of the pumpkin. Again, safety is key when using power tools. Be sure to read the instructions carefully and take your time.
Tool | Use | Safety |
|---|---|---|
Rotary Tool (Dremel) | Detailed carving, grinding, sanding, polishing. | Wear safety glasses and gloves. Start with low speed. |
Jigsaw | Cutting out large sections quickly. | Read instructions carefully. Take your time. |
Beyond the Carving: Prep and Finishing Touches
It's not just about the carving tools themselves. You'll also need a few other essential items to prepare your pumpkin and add the finishing touches. A good quality scoop is essential for removing the seeds and pulp from the inside of the pumpkin. Look for one with a sturdy handle and a sharp edge. You'll also want a washable marker for sketching your design onto the pumpkin. Choose a color that contrasts with the pumpkin's skin so you can easily see your lines.
Finally, don't forget about lighting! A flickering candle can add a spooky ambiance, but LED lights are a safer and more reliable option. They also come in a variety of colors, allowing you to create different moods and effects. Consider using a spotlight to highlight specific areas of your design. With the right lighting, your 3D pumpkin carving will truly come to life!
Here's a list of items to prepare your pumpkin:
- Good quality scoop: Removing the seeds and pulp from the inside of the pumpkin.
- Washable marker: Sketching your design onto the pumpkin.
- LED lights: Safter and more reliable option.
From Inspiration to Creation: Easy 3D Pumpkin Carving Ideas and Tutorials

From Inspiration to Creation: Easy 3D Pumpkin Carving Ideas and Tutorials
Simple 3D Faces: Getting Started with Depth
so you've got your tools, you've got your pumpkin, and you're ready to carve. But where do you start? A great way to ease into 3D carving is by creating simple faces. Instead of just cutting out the eyes, nose, and mouth, try carving them at different depths. For example, you can carve the eye sockets deeper than the surface of the pumpkin, creating a more sunken and realistic look. Use your loop tools to gently shave away the pumpkin flesh around the eyes, creating subtle curves and shadows.
For the nose, try creating a slightly protruding shape by carving away the surrounding area. You can use your gouges to round out the edges and create a more three-dimensional effect. The mouth can be carved in a similar way, with the corners of the mouth slightly deeper than the center. Remember, the key is to experiment with different depths and angles to see what works best. Don't be afraid to make mistakes – that's how you learn!
Pro Tip: Use stencils as a guide! Print out a simple face stencil and trace it onto your pumpkin. Then, instead of just cutting along the lines, use the stencil as a guide for carving at different depths. This will help you create a more consistent and professional-looking result.
Cartoon Characters: Adding Personality to Your Pumpkin
Want to add a touch of whimsy to your Halloween display? Try carving a 3D cartoon character into your pumpkin! This is a great way to showcase your personality and create a fun and playful design. Choose a character with simple shapes and features, such as Mickey Mouse, Snoopy, or a Minion. These characters are easy to recognize and translate well into 3D carvings.
Start by sketching out the basic shapes of the character onto your pumpkin. Then, use your carving tools to create depth and dimension. For example, you can carve the character's eyes deeper than the surface of the pumpkin, creating a more expressive look. Use your loop tools to smooth out the edges and create subtle curves. Don't be afraid to add your own personal touches to the design. Maybe give your Mickey Mouse pumpkin a spooky grin or add a Halloween hat to your Minion.
Here are a few popular cartoon character ideas:
- Mickey Mouse
- Snoopy
- Minions
- Pokemon (Pikachu)
- Spongebob Squarepants
3D Lettering: Spooky Messages and Monograms
Looking for a more sophisticated and personalized 3D pumpkin carving idea? Try carving 3D lettering into your pumpkin! This is a great way to display a spooky message, a family name, or even just a simple monogram. Choose a font that is easy to read and translate well into a 3D carving. Bold, sans-serif fonts tend to work best.
Start by sketching out the letters onto your pumpkin. Then, use your carving tools to create depth and dimension. Carve away the pumpkin flesh around the letters, leaving the letters raised above the surface. You can use your gouges to round out the edges of the letters and create a more three-dimensional effect. Consider adding some spooky details, such as cobwebs, bats, or spiders, to enhance the Halloween theme.
Beyond the Basics: Advanced 3D Pumpkin Carving Ideas and Expert Tips
Beyond the Basics: Advanced 3D Pumpkin Carving Ideas and Expert Tips
Realistic Portraits: Capturing Likeness in a Pumpkin
Ready to really challenge yourself? Try carving a realistic portrait into your pumpkin! This is where 3D pumpkin carving truly becomes an art form. Start by choosing a high-quality photograph of your subject. Pay close attention to the lighting and shadows in the photo, as this will be crucial for creating depth and dimension in your carving. Sketch out the basic features of the face onto your pumpkin, focusing on the proportions and angles.
Then, begin carving away the pumpkin flesh, gradually building up the different planes of the face. Use your loop tools to create subtle curves and shadows, and your detail knife to refine the finer details, such as the eyes, nose, and mouth. Remember, the key to a successful portrait is capturing the likeness of your subject. Take your time and pay attention to the smallest details. It's a marathon, not a sprint!
Pro Tip: Work in layers! Don't try to carve everything at once. Instead, focus on gradually building up the different planes of the face, one layer at a time. This will give you more control over the final result and help you avoid making mistakes.
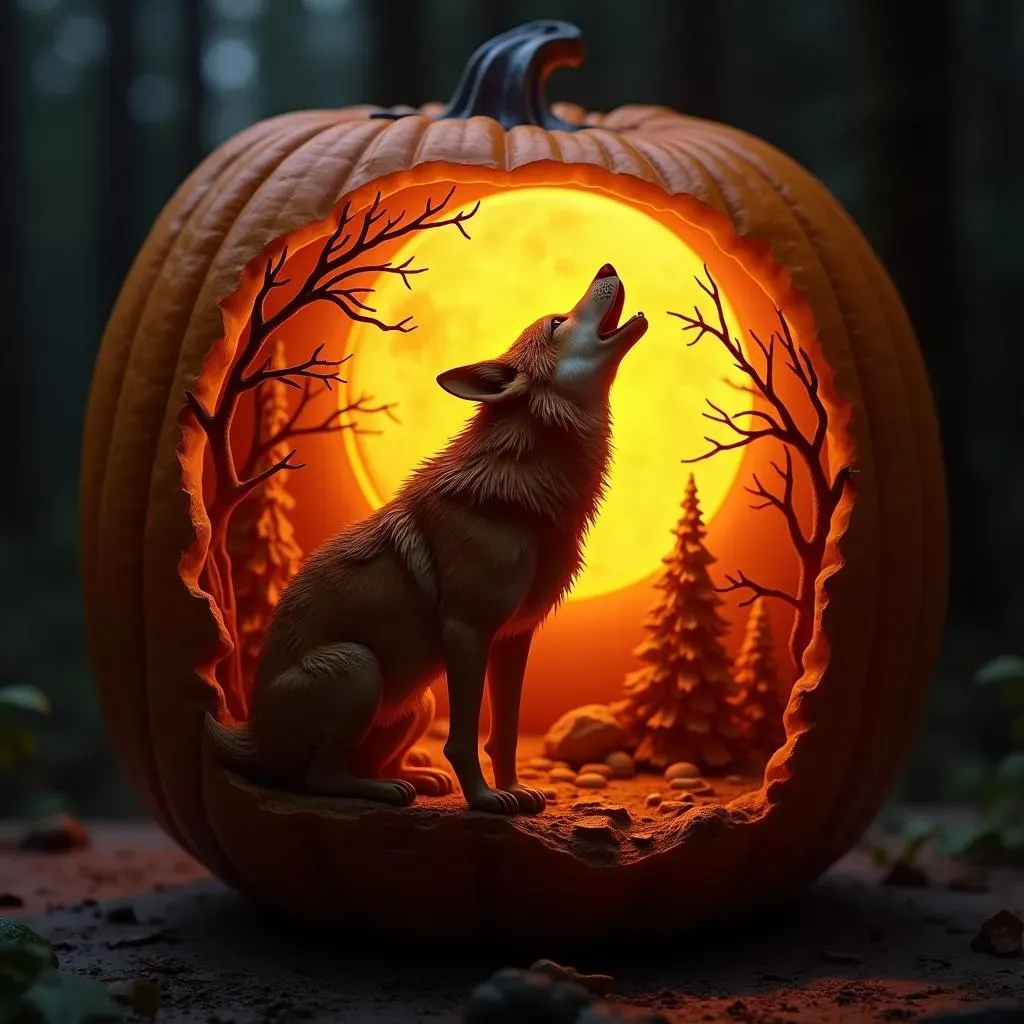
Animals and Creatures: Bringing Wildlife to Life
Want to add a touch of the wild to your Halloween display? Try carving a 3D animal or creature into your pumpkin! This is a great way to showcase your carving skills and create a truly unique and eye-catching design. Choose an animal with interesting textures and features, such as an owl, a wolf, or a dragon. These animals offer plenty of opportunities to create depth and dimension.
Start by sketching out the basic shapes of the animal onto your pumpkin. Then, use your carving tools to create depth and dimension. For example, you can carve the animal's fur or feathers by using your loop tools to create small, overlapping strokes. Use your gouges to round out the edges and create a more three-dimensional effect. Consider adding some accessories, such as a hat, a scarf, or even a pair of glasses, to give your animal some personality.
Animal | Difficulty | Tips |
|---|---|---|
Owl | Medium | Focus on feather texture. |
Wolf | Hard | Pay attention to facial structure. |
Dragon | Very Hard | Intricate details, scales. |
Extreme Carving: Pushing the Boundaries of Pumpkin Art
So, you've mastered the basics, carved realistic portraits, and brought animals to life. What's next? It's time to push the boundaries of pumpkin art and explore the world of extreme carving! This is where you take your skills to the next level and create truly mind-blowing designs. Think intricate patterns, gravity-defying sculptures, and pumpkins that seem to defy the laws of physics.
Extreme carving often involves using a combination of techniques, including layering, undercutting, and power carving. It also requires a lot of patience, creativity, and a willingness to experiment. Don't be afraid to try new things and push yourself beyond your comfort zone. The possibilities are endless!
Inspiration Alert: Check out the work of artists like Ray Villafane for inspiration. His realistic pumpkin sculptures are truly awe-inspiring. He's a master of the craft, and his work is a testament to the power of 3D pumpkin carving.
From Gourd to Grand: Mastering the Art of 3D Pumpkin Carving
So, you've journeyed from simple inspiration to complex carving techniques. You've learned about the tools, explored different ideas, and hopefully, even attempted your own 3D pumpkin creation. Remember, the most important thing is to have fun and let your creativity flow. Don't be afraid to experiment, make mistakes, and learn from them. Each pumpkin is a canvas, and each carving is an opportunity to express your unique artistic vision. This Halloween, step away from the ordinary and embrace the extraordinary world of 3D pumpkin carving. Your neighbors (and your Instagram followers) will thank you for it!