Table of Contents
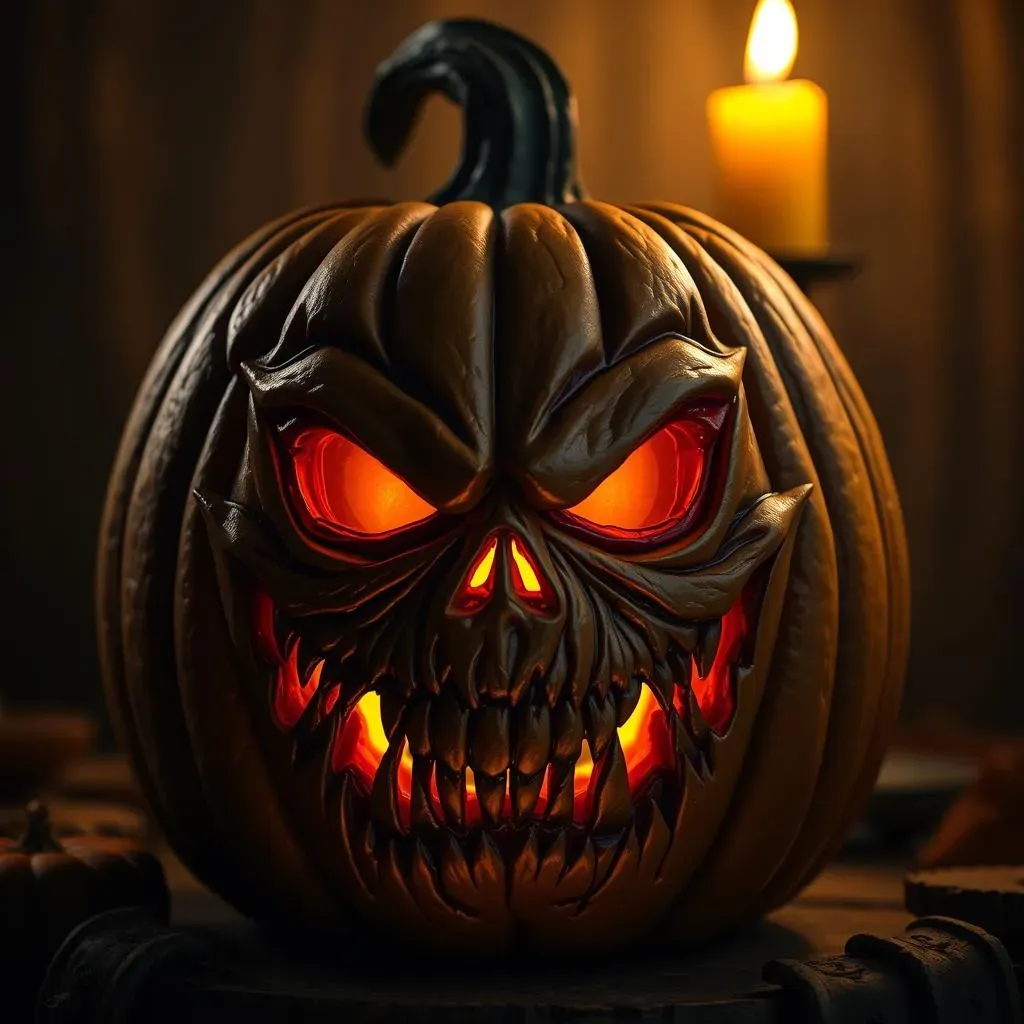
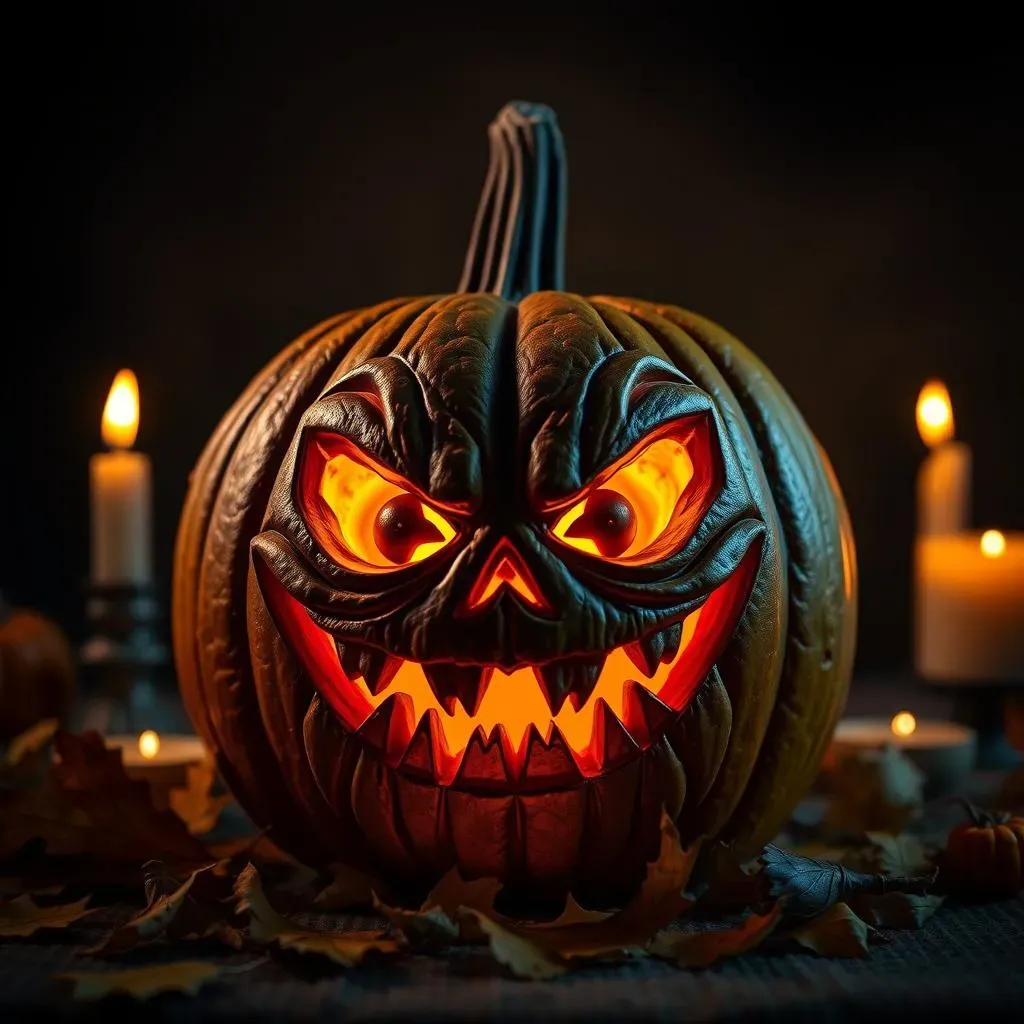
Halloween's not complete without a jack-o'-lantern grinning (or grimacing) from your porch. Forget the friendly, toothy smiles; we're diving headfirst into the realm of "pumpkin carving ideas 2022 scary." Think less cute, more creepy – zombies clawing their way out, menacing monsters, and eerie apparitions that'll make trick-or-treaters think twice. This isn't your grandma's pumpkin carving guide.
Level Up Your Jacko'Lantern Game: Scary Pumpkin Carving Ideas 2022
Level Up Your Jacko'Lantern Game: Scary Pumpkin Carving Ideas 2022
Brainstorming Your Nightmares: Finding the Perfect Scary Concept
Alright, so you want to scare the neighborhood kids? Excellent! First things first: ditch the generic ghost. Let’s dive into some seriously twisted inspiration. Think about your favorite horror movies, books, or even urban legends. What imagery sticks with you? Is it the creepy clowns, the zombie hordes, or the lurking shadows? Jot down all those ideas, no matter how bizarre they seem. This is your brainstorming session, and no idea is too out there.
Consider the overall vibe you're aiming for. Do you want outright gore, psychological horror, or something more subtly unsettling? A blood-dripping zombie pumpkin is definitely different from a pumpkin carved with a sinister, barely-there smile. The devil is in the details, so think about the story you want your pumpkin to tell.
Tools of Terror: Gearing Up for Your Carving Session
Now that you have an idea brewing, let's talk tools. Forget that flimsy plastic knife that comes in the pumpkin carving kit. You need some serious hardware to bring your vision to life. A good serrated knife is essential for cutting open the pumpkin and removing the guts. But for the intricate details, you'll want a set of carving tools – think small saws, gouges, and loop tools. These will allow you to create fine lines, textures, and even 3D effects.
Don't forget about lighting! A flickering candle is classic, but LED lights offer more versatility and safety. You can even find color-changing LEDs to add an extra layer of creepiness to your creation. And lastly, protect your workspace! Lay down some newspaper or a plastic tablecloth to catch all the pumpkin guts. Trust me, you'll thank me later.
Tool | Use | Why You Need It |
|---|---|---|
Serrated Knife | Cutting open the pumpkin | Provides a clean, sturdy cut |
Carving Tools (Saws, Gouges) | Detailed carving | Allows for intricate designs |
LED Lights | Illumination | Safer and more versatile than candles |
From Sketch to Scare: Transferring Your Design to the Pumpkin
Alright, you've got your concept and your tools. Time to get that design onto your pumpkin. If you're feeling artistic, you can freehand it with a marker. But if you want a more precise result, consider using a stencil. You can find tons of free stencils online, or even create your own. Print out your stencil and tape it to the pumpkin. Then, use a poking tool (like an awl or even a thick needle) to poke holes along the lines of the stencil. Remove the stencil, and you'll have a dotted outline on your pumpkin.
Now, connect the dots! Use a thin marker to trace over the dotted lines, creating a clear guide for your carving. Remember, this is just a guideline. Feel free to add your own personal touches and embellishments. Once you're happy with your design, it's time to start carving!
Classic Monsters Reimagined: Timeless Scary Pumpkin Designs
Classic Monsters Reimagined: Timeless Scary Pumpkin Designs
Vampires: Beyond the Basic Fangs
vampires. We've all seen the standard fangs and maybe a little blood dripping down. But let's elevate this, shall we? Think about the *essence* of a vampire: seduction, mystery, and a touch of tragic romance (even if it's twisted). Instead of just carving fangs, try capturing the vampire's piercing gaze, a subtle sneer, or even the intricate details of their high-collared cloak. Consider using different depths of carving to create shadows that accentuate their features and give them an almost hypnotic allure. Remember, the goal is to make people feel a little uneasy, like they're being watched from the darkness.
You could even incorporate elements of the vampire's backstory. A subtle hint of a crest from their noble lineage, or a miniature bat carved into the corner of the pumpkin. It’s all about adding layers of intrigue.
Zombies: Rotting Realism
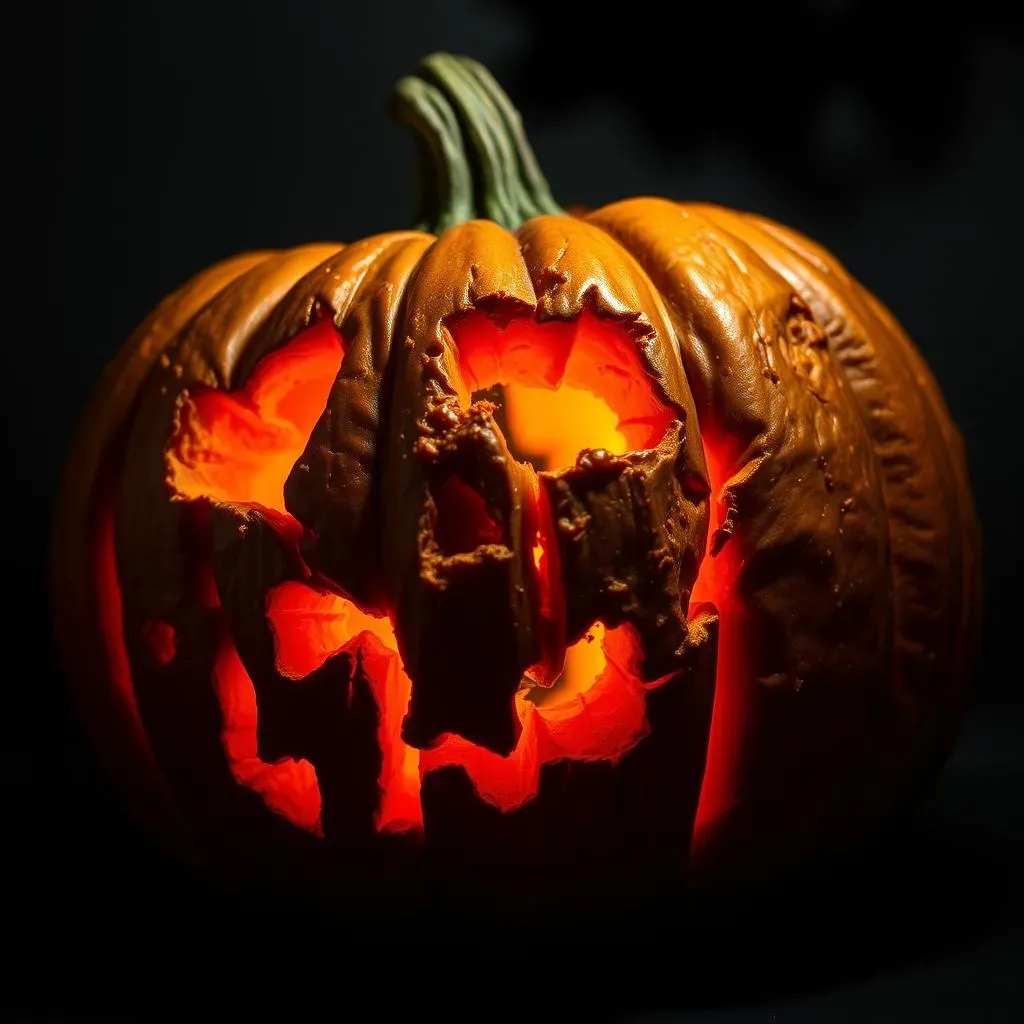
Zombies are a Halloween staple, but let's move beyond the generic, outstretched arms. Think about decay, texture, and the sheer horror of reanimation. Focus on the details: rotting flesh, exposed bone, and vacant, lifeless eyes. Use carving tools to create a rough, uneven surface that mimics the texture of decaying skin. Don't be afraid to get messy! The more gruesome, the better.
Consider adding some "gore" using pumpkin seeds mixed with red food coloring. Or, carve out sections of the pumpkin and insert pieces of cheesecloth to simulate dangling flesh. The key is to make it look as realistic (and disgusting) as possible. Remember, a truly scary zombie pumpkin should make people want to double-check their doors and windows.
Zombie Detail | Carving Technique | Creepiness Factor |
|---|---|---|
Rotting Flesh | Rough, uneven carving with gouges | High |
Exposed Bone | Deep, precise cuts to reveal the pumpkin's inner wall | Medium |
Vacant Eyes | Hollowed-out sockets with subtle shading | High |
Werewolves: The Beast Within
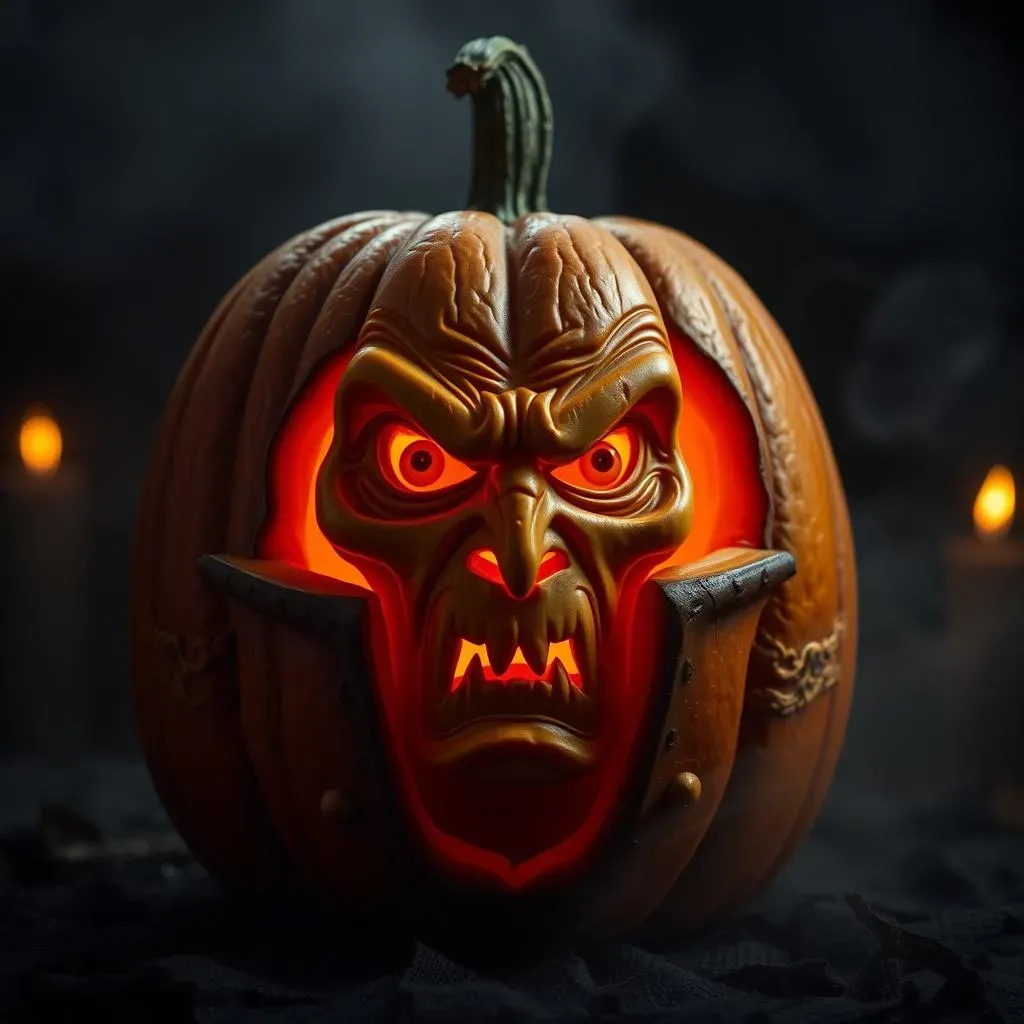
The werewolf offers a fantastic opportunity to play with animalistic ferocity and the struggle between man and beast. Instead of just carving a wolf's head, try capturing the transformation in progress. Imagine the pumpkin as the werewolf's face contorting and shifting, with one side showing human features and the other revealing the snarling muzzle of a wolf.
Pay close attention to the details of the fur, the sharp teeth, and the intense, predatory eyes. Use different carving techniques to create a sense of texture and movement. For example, short, choppy strokes can simulate the bristling of fur, while deep, angular cuts can emphasize the sharpness of the teeth. A well-carved werewolf pumpkin should evoke a sense of primal fear and the untamed wildness that lurks within us all.
Beyond the Basics: Advanced Scary Pumpkin Carving Techniques for 2022
Beyond the Basics: Advanced Scary Pumpkin Carving Techniques for 2022
Sculpting Shadows: Mastering Depth and Dimension
Alright, ready to take your pumpkin game from flat to fantastic? Forget simple cut-outs; we're talking about sculpting light and shadow. This is where you use different carving depths to create a 3D effect. Imagine the planes of a face – the brow bone, the cheekbones, the jawline. You can replicate these on your pumpkin by carving some areas deeper than others. The deeper you carve, the more light will pass through, creating brighter highlights. Shallower carving will create darker shadows, adding depth and dimension to your design.
Think about using specialized tools like loop tools or ribbon tools to shave away thin layers of pumpkin flesh. This allows for subtle gradations in light and shadow, giving your carving a more realistic and nuanced appearance. It's like sculpting with light!
The Power of Texture: Adding Realistic Details
Texture is key to creating a truly believable scary pumpkin. Think about the textures you see in horror movies: rotting flesh, gnarled wood, rough stone. You can replicate these textures on your pumpkin using a variety of carving techniques. Try using a rasp or a coarse sanding tool to create a rough, uneven surface. Or, use a wood-burning tool to add fine details like wrinkles, scars, or even the texture of hair.
Don't be afraid to experiment with different materials, too. You can glue on dried leaves, twigs, or even bits of fabric to add extra layers of texture and realism. The more tactile your pumpkin is, the more unsettling it will be to look at.
Texture | Technique | Tool |
|---|---|---|
Rotting Flesh | Rasping, uneven carving | Rasp, gouge |
Gnarled Wood | Wood-burning, deep cuts | Wood-burning tool, small saw |
Rough Stone | Stippling, light hammering | Awl, small hammer |
DIY Horror Show: Easy Scary Pumpkin Carving Ideas with Stencils
DIY Horror Show: Easy Scary Pumpkin Carving Ideas with Stencils
Stencils to the Rescue: Your Shortcut to Spooky
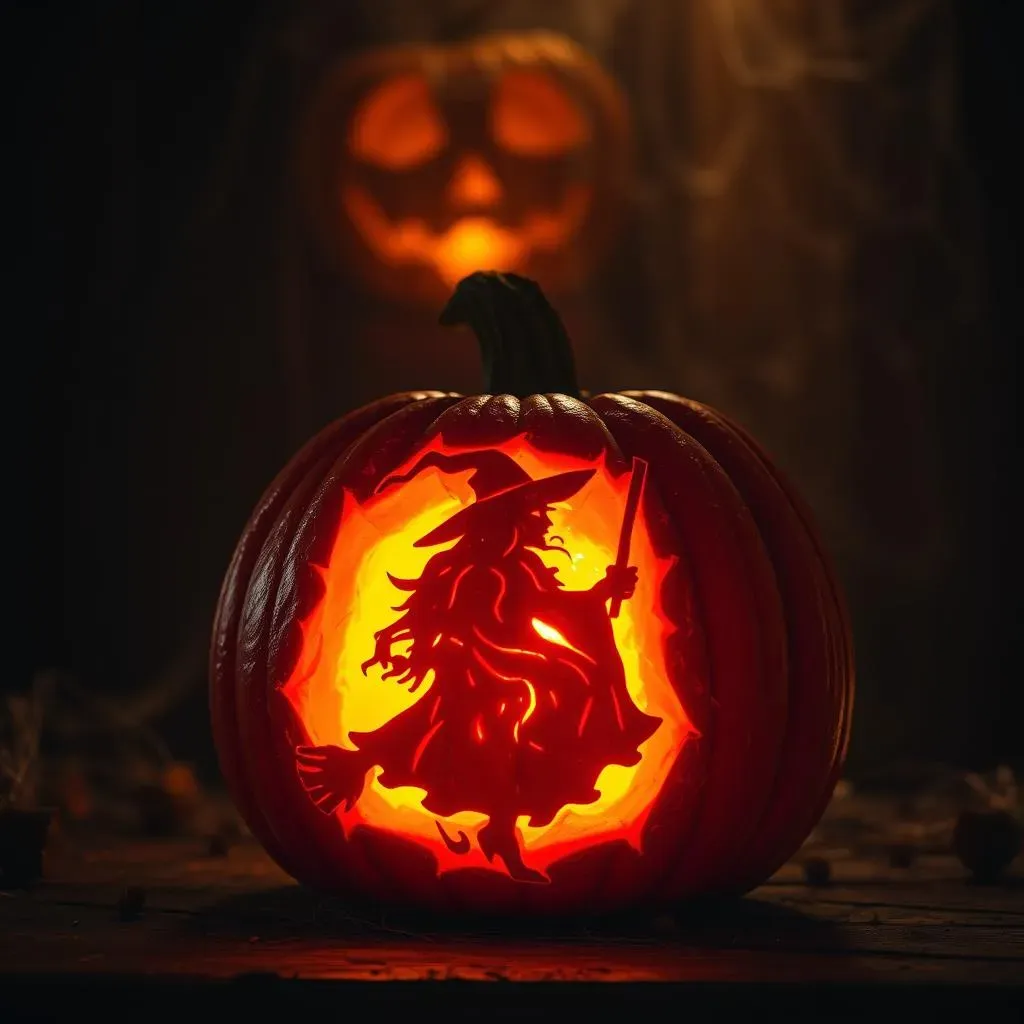
so maybe you're not ready to sculpt a masterpiece. No sweat! Stencils are your secret weapon for creating seriously scary pumpkins without needing the artistic skills of a Hollywood special effects artist. The beauty of stencils is their simplicity. You find a design you love (think witches, spiders, ghosts, or even creepy clowns), print it out, and tape it to your pumpkin. Then, you simply trace the design onto the pumpkin using a poking tool, and carve along the lines. Boom! Instant spooky satisfaction.
The key to success with stencils is choosing the right design for your skill level. Start with something relatively simple, with clean lines and minimal detail. As you get more comfortable, you can move on to more complex designs. And don't be afraid to customize your stencils! Add your own little touches to make them truly unique.
From Bland to Bloodcurdling: Simple Stencil Transformations
Even with a basic stencil, you can add extra details to elevate your scary pumpkin. Think about using different carving depths to create shadows and highlights. Or, add some texture by stippling the surface of the pumpkin with a poking tool. You can also use paint or markers to add extra details, like blood splatters or glowing eyes. The possibilities are endless!
Another great trick is to use multiple stencils on the same pumpkin. For example, you could use a stencil of a haunted house as the main design, and then add smaller stencils of bats or ghosts around it. This creates a more complex and visually interesting composition. Remember, the goal is to have fun and let your creativity shine (or, in this case, glow in the dark)!
Stencil Type | Scary Factor | Difficulty |
|---|---|---|
Witch Silhouette | Medium | Easy |
Spiderweb | Medium | Easy |
Creepy Clown Face | High | Medium |
From Inspiration to Execution: Tips for a Killer Scary Pumpkin Carving Session
From Inspiration to Execution: Tips for a Killer Scary Pumpkin Carving Session
Safety First, Screams Later: Protecting Yourself and Your Pumpkin
Alright, before you start hacking away at that gourd, let's talk safety. Pumpkin carving can be surprisingly dangerous, especially when you're wielding sharp knives and pointy tools. First and foremost, always carve in a well-lit area. You need to see what you're doing! And never, ever carve towards yourself. Always carve away from your body, and keep your fingers out of the path of the blade. Seriously, a trip to the ER is not a fun Halloween accessory.
Consider wearing gloves to protect your hands, especially if you're working with messy materials like pumpkin guts or paint. And if you're carving with kids, make sure they're supervised at all times. Maybe let them decorate the pumpkin with markers or stickers instead of using sharp tools. Remember, a safe carving session is a fun carving session!
Preserving Your Masterpiece: Keeping the Horror Alive Longer
So, you've poured your heart and soul (and a whole lot of pumpkin guts) into creating the ultimate scary jack-o'-lantern. Now, how do you keep it from rotting into a mushy mess before Halloween night? The key is to prevent dehydration and mold growth. Start by thoroughly cleaning the inside of your pumpkin, removing all the seeds and stringy bits. Then, soak the pumpkin in a solution of water and bleach (about a tablespoon of bleach per gallon of water) for a few hours. This will kill any mold spores and help to prevent rot.
After soaking, dry the pumpkin thoroughly and apply a sealant to the cut surfaces. You can use petroleum jelly, vegetable oil, or even a commercial pumpkin preservative. This will help to lock in moisture and prevent the pumpkin from drying out. Finally, store your pumpkin in a cool, dry place, away from direct sunlight. With a little bit of care, you can keep your scary masterpiece looking fresh and terrifying for days!
Preservation Method | How It Works | Longevity Boost |
|---|---|---|
Bleach Soak | Kills mold spores | Extends life by several days |
Sealant (Petroleum Jelly) | Locks in moisture | Prevents drying and cracking |
Cool Storage | Slows down decay | Keeps pumpkin fresher longer |
Unleash Your Inner Ghoul: Mastering Scary Pumpkin Carving
So, you've journeyed through the shadowy depths of scary pumpkin carving ideas 2022. From terrifying twists on classic monsters to mastering advanced techniques and embracing easy stencils, you're now equipped to create a jack-o'-lantern that'll send shivers down spines. Remember, the key is to unleash your creativity, embrace the spooky spirit, and most importantly, have fun! Now go forth, carve your nightmares into reality, and let your porch be the most haunted on the block. Happy haunting!