Table of Contents
Halloween's just around the corner, and what better way to celebrate than with some awesome pumpkin carving for display? Forget those wobbly, snaggle-toothed grins; we're aiming for show-stopping, jaw-dropping pumpkin art this year! I'm here to spill all the secrets, from picking the perfect pumpkin to making your masterpiece last well past October 31st. We'll start with the basics, gathering the right tools and prepping your pumpkin like a pro. Then, we'll unleash a torrent of creative carving ideas, so your display is the envy of the neighborhood. Finally, I’ll share some crucial tips on lighting, placement, and preservation, ensuring your pumpkin carving for display looks amazing for as long as possible. So, grab your carving tools, and let's turn those humble gourds into breathtaking works of art! This isn't just about carving; it's about crafting memorable Halloween magic.
Getting Started: Tools and Pumpkin Prep for Carving Display

Getting Started: Tools and Pumpkin Prep for Carving Display
Gather Your Gear
Alright, let's talk tools. You wouldn't try to build a house with a spoon, would you? Same goes for pumpkin carving! First, you'll need a good carving kit. Don't grab that flimsy plastic thing from the grocery store; invest in something with a bit of heft. Look for a small, serrated saw – it’s way better than a kitchen knife. You'll also want a scoop (or a large spoon, if you’re feeling old-school), some smaller detail tools for the finer bits, and a poker or skewer for transferring patterns. Oh, and don't forget a marker to draw your design. And if you are like me, grab some gloves to keep your hands from getting all gooey.
Beyond the basic kit, think about what makes your carving life easier. A sturdy work surface is a must. I like using a big cutting board. Newspaper or some sort of covering is a lifesaver to catch all the pumpkin guts. A damp cloth or paper towels will be handy for wiping your tools and hands. And if you're planning to go all out, a small power drill can be your secret weapon for creating intricate patterns. Trust me; it's a total game-changer. Finally, grab a bowl to put all the insides.
Prepping Your Pumpkin Like a Pro
Now, let's talk pumpkins. You don't just grab the first one you see. Look for one that's firm, with a smooth surface and no soft spots. A flat bottom is crucial for a stable display. Also, make sure it's not too heavy, or it will be hard to work with. Once you've got your pumpkin, it's time for surgery. Cut a hole in the back, not the top, so you can keep the stem intact. It also makes it easier to place a light inside. Make sure it’s big enough to get your hand in there. And then comes the not so fun part, scooping out the seeds and pulp. Get it all out, and scrape the inside walls as clean as you can. This makes carving easier and helps your pumpkin last longer. I like to use a metal spoon.
Before you even think about carving a face, take a moment to plan your design. Sketch it out on paper or, if you’re feeling brave, right onto the pumpkin with a marker. Remember, simple is sometimes better. If you're using a stencil, tape it securely to the pumpkin. If you are drawing freehand, use a marker that is easy to see. And don’t be afraid to make mistakes, that’s how we learn! Now, you're all set to make the magic happen. One more thing, always carve on a stable surface.
Tool | Purpose | Why it's Important |
|---|---|---|
Serrated Carving Saw | Cutting out large shapes | More effective and safe than a kitchen knife |
Scoop or large spoon | Removing seeds and pulp | Gets the pumpkin clean for carving |
Detail Carving Tools | Making fine cuts and details | Adds intricate designs to your pumpkin |
Poker/Skewer | Transferring patterns | Helps to trace design onto the pumpkin |
Marker | Drawing your design | Allows you to plan before carving |
Gloves | Protection | Keeps your hands from getting messy |
Creative Pumpkin Carving Ideas for an Amazing Display
Creative Pumpkin Carving Ideas for an Amazing Display
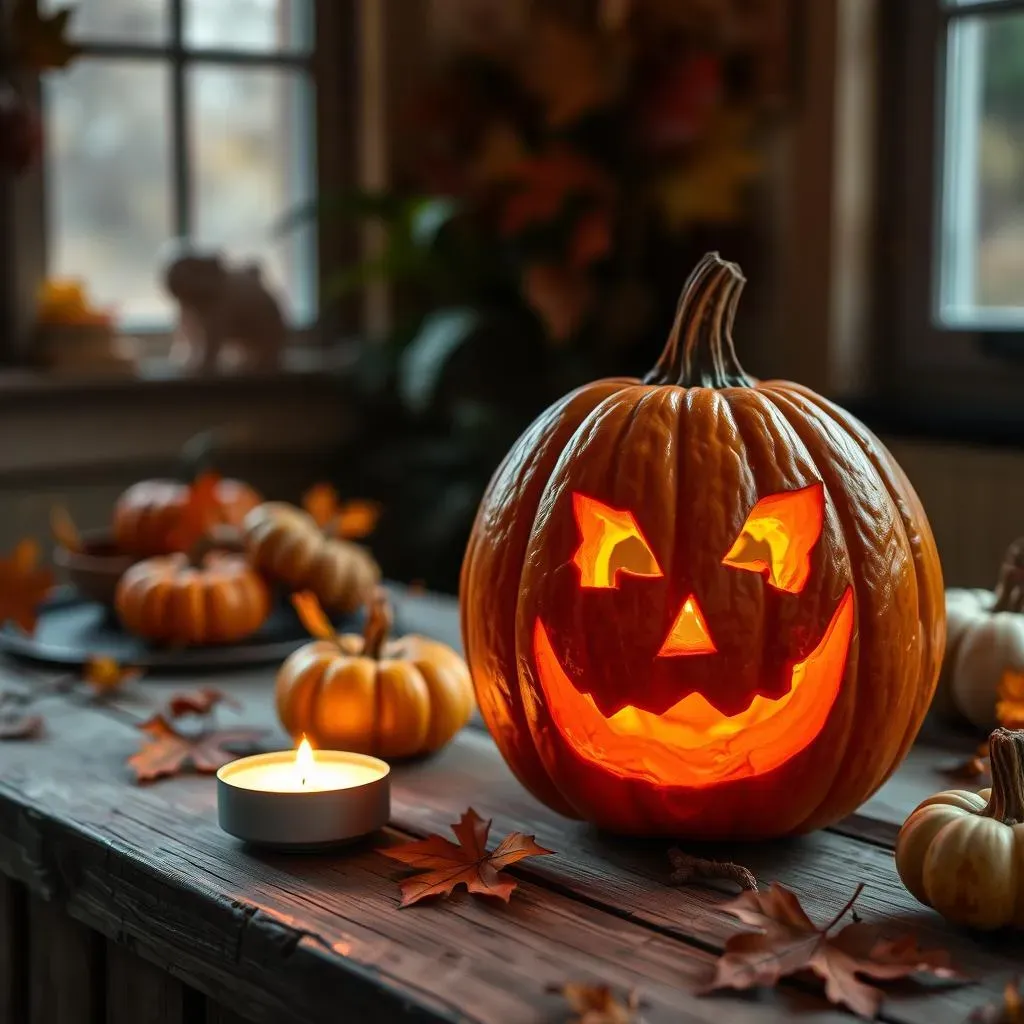
Classic with a Twist
Okay, so you've prepped your pumpkin, but now what? Don't feel like you have to stick to the same old triangle eyes and goofy grin. Let's start with some classic ideas and give them a little twist. Instead of the usual jagged teeth, try making them rounded or even heart-shaped. How about turning those triangle eyes into stars or crescent moons? Think about using cookie cutters to make simple shapes. Press them firmly into the pumpkin skin, then use your carving tool to follow the outline. It's a super easy way to get clean, precise shapes. Another great idea? Use a drill to create patterns of small holes. When you put a candle or light inside, it makes a super cool, almost magical effect. These small changes can make a huge difference in your display.
Let's talk about stencils for a second. You don't have to use the same basic stencils everyone else uses. There are tons of free stencils online, and you can even make your own! Try downloading a silhouette of your favorite animal or a spooky pattern. Tape it to your pumpkin and use a poking tool or skewer to trace the design. Then, just carve along the dotted lines. Stencils are a great way to make something that looks super intricate but is actually quite easy. And remember, you can always combine different elements. Maybe a classic jack-o'-lantern face with some drilled star patterns. That is how you create a unique design.
Beyond the Basics
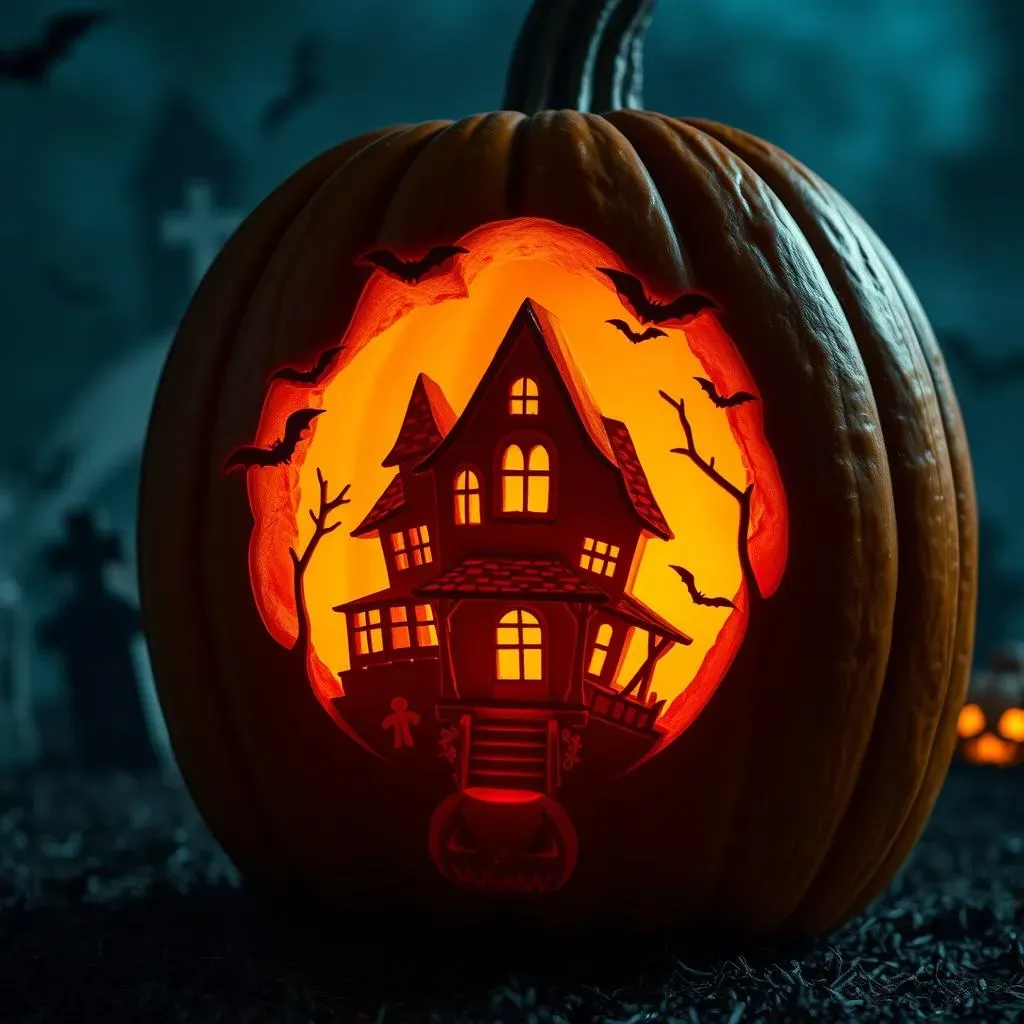
Now, if you're feeling a bit more adventurous, let's move beyond the usual faces. How about turning your pumpkin into a scene? I saw one where someone carved a haunted house with tiny windows and bats flying around. It was amazing! You could also do a graveyard scene with tombstones and ghosts. Or, if you're into nature, try carving leaves, branches, or even a whole forest scene. Think about the different textures you can create by carving at different depths. Some areas can be cut all the way through, while others can be just lightly carved to create a shadowy effect. This is where those detail tools really come in handy.
Another amazing idea is to use your pumpkin as a canvas for a character. Think about your favorite movie monster, a cartoon character, or even a historical figure. Use a reference photo and sketch it out on your pumpkin. Then, slowly and carefully start to carve. Remember, it's okay to make mistakes. You can always adjust things as you go. Finally, don't forget that pumpkins don't have to be orange! You can use different colored pumpkins, or even paint your pumpkin to create an even more unique display. A white pumpkin with black carvings can look incredibly spooky, or a green pumpkin with purple accents can look very whimsical. The possibilities are endless!
Idea | Description | Skill Level |
|---|---|---|
Twisted Classic | Classic faces with unique shapes and patterns | Easy |
Stencil Art | Using stencils for intricate designs | Easy to Medium |
Scene Carving | Creating scenes on the pumpkin | Medium |
Character Carving | Carving a character on the pumpkin | Medium to Hard |
Painted Pumpkins | Painting the pumpkin with unique designs | Easy to Hard |
Pumpkin Display Tips: Lighting, Placement, and Preservation
Pumpkin Display Tips: Lighting, Placement, and Preservation
Light 'Em Up!
Okay, you've got your amazing carved pumpkin, but a dark pumpkin is like a concert with no lights—kind of a bummer. Lighting is key to making your pumpkin carving for display pop! Forget those old-school candles; they're a fire hazard and can dry out your pumpkin. Battery-operated tea lights are my go-to. They're safe, cheap, and come in all sorts of colors. You can even get flickering ones that mimic the look of a real flame. If you want to get fancy, try using a small LED light puck. They're brighter and can really illuminate those intricate designs. You can even find color-changing ones for extra pizzazz. And don't just stick one light in the middle, think about using multiple lights to highlight different parts of your design. It makes a huge difference.
Another cool trick is to use different colors of light to create different moods. A green light can give your pumpkin a spooky feel, while a warm white light can make it look cozy and inviting. You can also use colored cellophane or tissue paper inside the pumpkin to create colored light effects. Just make sure whatever you put inside the pumpkin is not flammable. And don’t forget about the outside! If you have a scene carved on your pumpkin, think about using a spotlight to highlight certain areas. You can even use a string of fairy lights around the base to add extra sparkle. Good lighting is the secret weapon to making your pumpkin carving for display a real showstopper.
Location, Location, Location!
So, you've got your lit-up masterpiece, but where should you put it? Placement is just as important as the carving itself. You want to put your pumpkin somewhere it can be seen and appreciated. If you’re displaying your pumpkin outside, make sure it’s in a place where it won’t be knocked over or get rained on. A covered porch or entryway is ideal. Think about creating a whole display, not just one pumpkin. Group different sizes and designs together for a more impactful look. Add some fall foliage, gourds, or corn stalks to complete the scene. You can even use hay bales as a base to elevate your pumpkins. If you're displaying your pumpkins inside, think about placing them near a window or on a mantel. And don't forget about the background. A plain wall can make your pumpkin stand out, or a textured background can add some extra visual interest.
Now, let's talk about preservation. Sadly, carved pumpkins don't last forever. But there are a few things you can do to extend their lifespan. First, make sure you've cleaned out all the pulp and seeds. This will help prevent mold from growing. You can also try spraying the inside and outside of your pumpkin with a mixture of water and bleach. This will help kill bacteria and slow down the rotting process. If it’s getting cold, bringing your pumpkin inside at night can help. And finally, keep your pumpkin out of direct sunlight, as it can dry out and shrivel. Remember, even with the best care, carved pumpkins won't last forever. So, enjoy your amazing pumpkin carving for display while it lasts, and be ready to carve another one next year!
Tip | Details | Why It Matters |
|---|---|---|
Battery-Operated Lights | Use tea lights or LED pucks | Safe, long-lasting, and versatile |
Colored Lights | Use different colors for moods | Adds visual interest and spookiness |
Outdoor Placement | Covered porch or entryway | Protects from weather and ensures visibility |
Group Displays | Combine multiple pumpkins with other decorations | Creates a more impactful look |
Preservation | Clean, bleach spray, and avoid direct sunlight | Extends the life of your carved pumpkin |