Table of Contents
October rolls around, and suddenly, there's a bright orange globe sitting on your porch or kitchen counter, staring back at you. The unspoken pressure to turn it into something spooky, silly, or at least recognizable as a face can feel a bit much, especially if you're not exactly a master sculptor with a set of specialized tools. Forget those intricate, multi-layered designs you see online that look like they require an art degree and three days off work. This year, we're keeping it simple, effective, and fun. We're diving into **pumpkin carving faces ideas easy** enough for anyone to tackle, whether you're a complete beginner or just short on time.
Getting Started: Essential Tools for Easy Pumpkin Carving Faces

Getting Started: Essential Tools for Easy Pumpkin Carving Faces
The Absolute Basics: What's Already in Your Kitchen?
let's talk turkey, or rather, pumpkin guts. You don't need to drop fifty bucks on a fancy carving kit with tools that look like they belong in a dentist's office. For simple **pumpkin carving faces ideas easy** to pull off, you probably have half of what you need sitting in your kitchen drawers right now. Think sturdy spoons – big ones are great for scooping out the goop and seeds, smaller ones for scraping the inside walls smooth. A sharp kitchen knife, medium-sized is usually best, is your primary cutting tool for the larger shapes. Just be careful; these are sharp. A small paring knife can handle some of the finer details if you're feeling brave, but honestly, the bigger knife gets most of the job done for basic shapes.
Stepping Up Slightly: Affordable Additions for Cleaner Cuts
While kitchen knives work, they can be a bit unwieldy for tight corners or small details. This is where a cheap, dedicated pumpkin carving saw kit comes in handy. You can find these everywhere around Halloween for under ten bucks. They usually include a few different sized serrated saws. These are designed to cut through thick pumpkin flesh without getting stuck and are much safer than using a sharp kitchen knife for intricate parts. A simple poker tool, often included in these kits or easily substituted with a sturdy skewer or even a ballpoint pen (without the ink cartridge, obviously), is perfect for transferring your design template onto the pumpkin's surface by making small dots. Trust me, these few extra tools make executing those easy pumpkin carving faces ideas a whole lot smoother.
- Large Spoon (for scooping)
- Sharp Kitchen Knife (medium size for main cuts)
- Paring Knife (optional, for smaller details)
- Pumpkin Carving Saw Kit (safer for cuts)
- Poker Tool or Skewer (for transferring designs)
Classic Spooky & Silly: Timeless Pumpkin Carving Faces Ideas Easy

Classic Spooky & Silly: Timeless Pumpkin Carving Faces Ideas Easy
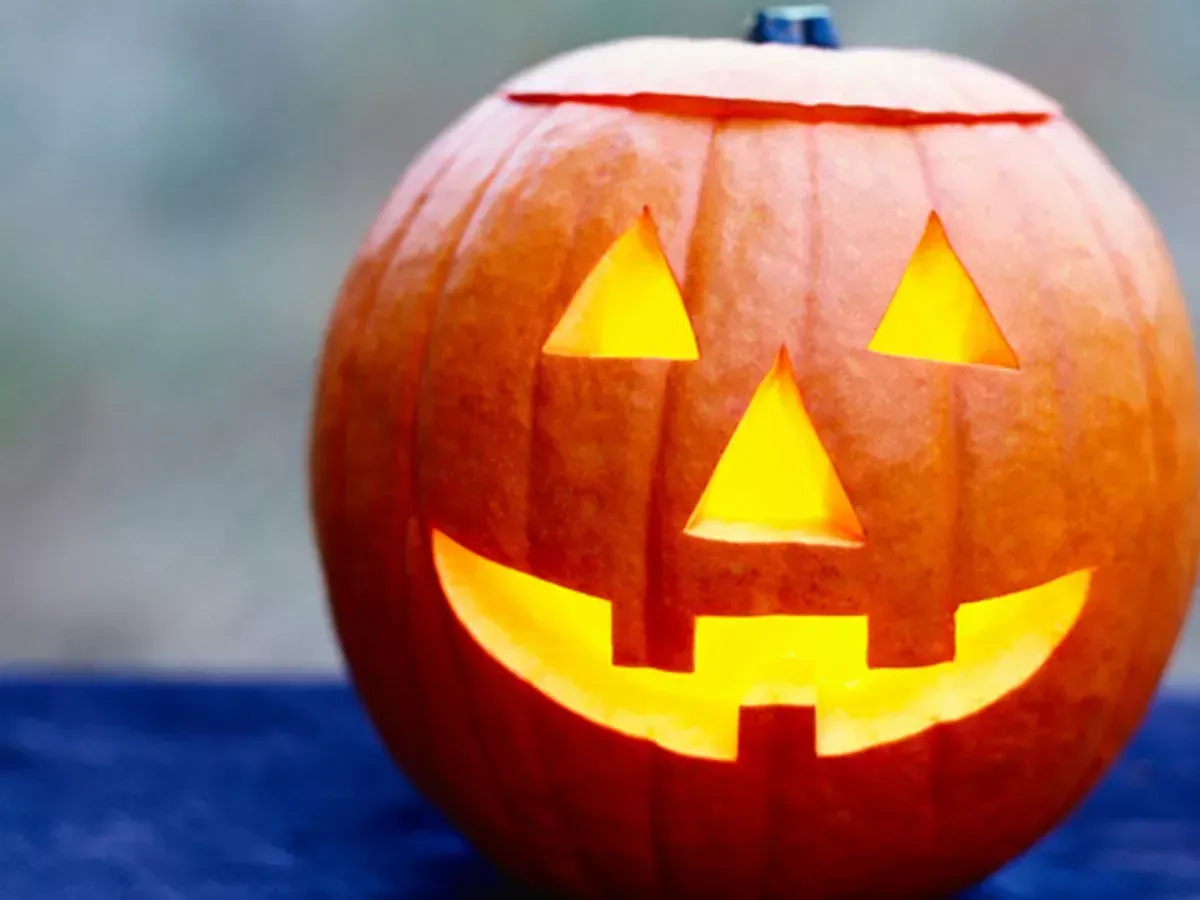
Alright, so you've got your pumpkin hollowed out and your basic tools ready. Now comes the fun part: giving this gourd some personality. When you're aiming for **pumpkin carving faces ideas easy**, you can't go wrong with the classics. Think back to the pumpkins you drew as a kid – simple shapes, big impact. The go-to is the classic spooky face: two triangular eyes, a triangular nose, and a jagged, toothy grin. It's simple geometry, really. Cut out the triangles for the eyes and nose, making sure they're roughly symmetrical (or not, imperfection adds character). For the mouth, draw a wavy or zigzag line and cut it out. You can leave it open or cut out individual teeth shapes along the edge. This formula is foolproof and instantly recognizable.
What's your favorite classic pumpkin face shape?
- Triangle Eyes
- Triangle Nose
- Jagged Grin
- Circle Eyes
- Silly Grin with few teeth
Thinking Outside the Triangle: Creative Pumpkin Carving Faces Ideas Easy
Thinking Outside the Triangle: Creative Pumpkin Carving Faces Ideas Easy
Beyond Basic Geometry: Circles, Ovals, and Squiggles
triangles are fine, they're a classic for a reason. But if you want your pumpkin to stand out from the block's worth of pointy-eyed gourds, you don't have to suddenly become Michelangelo. We're still aiming for **Thinking Outside the Triangle: Creative Pumpkin Carving Faces Ideas Easy**. Instead of triangles, try circles for eyes – think wide-eyed surprise, spooky O's, or even mismatched sizes for a goofy look. Ovals work well for eyes too, or maybe a simple oval for a nose instead of a triangle. For the mouth, ditch the jagged line. A simple, wavy line can look like a melting grin, a few curved lines can suggest a stitched mouth, or just a single, wide curve creates a friendly smile. These shapes are just as easy to cut as triangles but offer a whole different vibe.
Asymmetrical and Quirky: Giving Your Gourd Character
Who says a pumpkin face needs to be perfectly symmetrical? Real faces aren't, and neither should your pumpkin's. For creative pumpkin carving faces ideas easy to execute, embrace asymmetry. Give your pumpkin one big eye and one small one. Put the nose off-center. Make the mouth a lopsided grin or a crooked frown. You can even use simple shapes like stars or crescent moons for eyes if you want something truly different but still easy to cut. The key is not to overthink it. Grab your poker tool, sketch out some wonky shapes, and start cutting. Imperfection is your friend here; it gives the pumpkin character and makes it look less like it came off an assembly line.
What simple, non-triangle shape are you going to try first?
- Circles
- Ovals
- Wavy lines
- Stars
- Crescent Moons
Adding Personality: Simple Details for Your Easy Pumpkin Face

Adding Personality: Simple Details for Your Easy Pumpkin Face
Giving Your Gourd Some Expression Beyond the Grin
you've got the basic eye, nose, and mouth shapes cut out. It looks like a pumpkin face, sure, but maybe it feels a bit... flat? Like it's just going through the motions. This is where **Adding Personality: Simple Details for Your Easy Pumpkin Face** comes in. You don't need to carve intricate wrinkles or dimples. Think simple additions that change the whole mood. For instance, adding eyebrows is a game-changer. Two simple curved cuts above the eyes can make your pumpkin look angry, sad, or mischievous depending on their shape and angle. Little notches or small circles around the mouth can suggest stubble or freckles. Even a single, off-center cut below one eye can look like a tear, instantly adding a touch of pathos to your otherwise simple design. These small tweaks take minimal effort but yield maximum character.
Accessorizing Your Autumn Artwork
Carving isn't the only way to add flair. Sometimes the easiest details don't involve cutting at all. Consider adding elements *to* the pumpkin face. Maybe use toothpicks to attach corn kernels for crooked teeth, or dried beans for warts (if you're going for a witchy vibe). Yarn or straw can become hair or a beard, giving your pumpkin a whole new look. Even simple painted-on details, like rosy cheeks or exaggerated eyelashes (using non-toxic paint, obviously), can transform a basic carved face into something memorable. These are incredibly easy ways to enhance your **Adding Personality: Simple Details for Your Easy Pumpkin Face** without risking splitting the pumpkin wall with too many cuts. It's like giving your pumpkin a little costume.
What simple accessory are you adding to your pumpkin's face this year?
- Corn kernel teeth
- Yarn hair
- Painted freckles
- Dried bean warts
Keeping Your Easy Pumpkin Carving Faces Looking Fresh

Keeping Your Easy Pumpkin Carving Faces Looking Fresh
Keeping Your Easy Pumpkin Carving Faces Looking Fresh
You've put in the minimal effort for maximum spooky/silly payoff with your **Keeping Your Easy Pumpkin Carving Faces Looking Fresh**, and now you want it to last longer than a single chilly evening. Carved pumpkins, exposed to the elements (or just your dry living room air), start to dehydrate and wrinkle faster than a raisin in the sun. The cut edges dry out and curl, the vibrant orange dulls, and eventually, the dreaded mold sets in. To slow this inevitable decay, you need a few simple tricks. A common method is to give your carved pumpkin a bath in a bucket of cold water for a few hours each day, or at least every other day. This rehydrates the flesh. Another trick is to lightly mist the cut areas with a spray bottle filled with water mixed with a few drops of bleach (about a teaspoon per quart) to ward off mold and bacteria. Some folks swear by rubbing petroleum jelly on the cut edges to seal in moisture, though this can make the surface look a bit greasy.
How often do you rehydrate your carved pumpkin?
- Daily
- Every other day
- Just once
- Never
Finishing Your Easy Pumpkin Masterpiece
So there you have it. Turning a plain pumpkin into a character doesn't require surgical precision or a workshop full of gadgets. We've covered the essentials, looked at some go-to **pumpkin carving faces ideas easy** to execute, and even touched on adding a few simple touches to make it yours. The point isn't perfection; it's taking a knife, making some holes, and ending up with something that vaguely resembles a face and lights up in the dark. Grab your pumpkin, pick an idea that doesn't make you sweat, and give it a shot. It's probably easier than you think, and worse comes to worst, you can always turn the failed attempt into soup.