Table of Contents
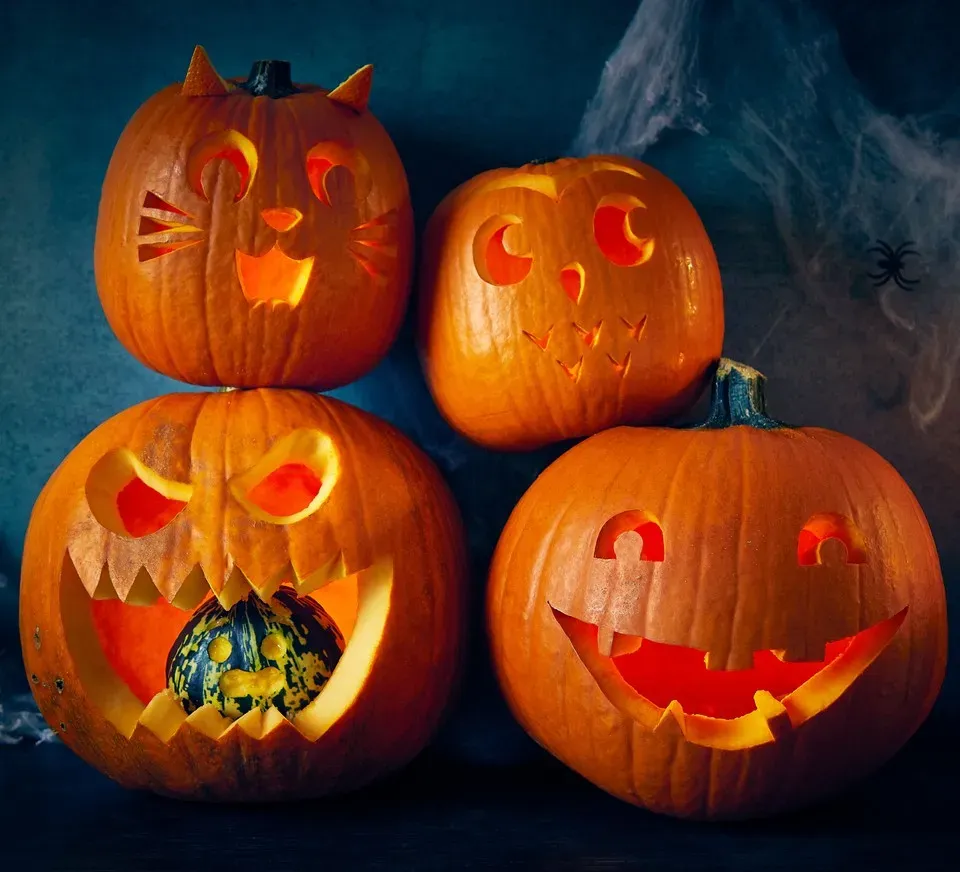
Alright, let's talk pumpkins. Every fall, you see those ridiculously intricate carvings online and maybe feel a pang of inadequacy. You picture yourself hunched over a giant gourd, wrestling with a saw, ending up with something that looks less like a spooky masterpiece and more like a lopsided, toothless grin. Forget the stress. We're here to tell you that impressive results don't require an art degree or surgical precision. This year, we're focusing squarely on pumpkin carving easy ideas that won't make you want to throw the whole thing in the compost pile.
Why Pumpkin Carving Easy Ideas Save Your Sanity

Why Pumpkin Carving Easy Ideas Save Your Sanity
Ditch the Dread, Embrace the Done
Let's be honest. The thought of wrestling with a large, slippery gourd and specialized tools can make you want to just buy a plastic one. Intricate patterns look fantastic online, but attempting them often leads to snapped knives, uneven cuts, and a general sense of failure. This is precisely why focusing on Why Pumpkin Carving Easy Ideas Save Your Sanity is crucial. It's about lowering the barrier to entry. Instead of aiming for a photorealistic portrait of your pet, which, let's face it, is probably going to look more like a melted potato, you aim for achievable, recognizable designs. Simple shapes, classic spooky faces, geometric patterns – these are your friends. They don't require hours of painstaking work, and the result is almost guaranteed to be something you're actually proud to display, not hide in the backyard.
More Fun, Less Frustration
Complex carving isn't just technically difficult; it's a time sink. You can easily lose an entire afternoon hunched over a pumpkin, only to mess up the last crucial cut and ruin the whole thing. That kind of frustration is the opposite of holiday cheer. Opting for pumpkin carving easy ideas means you spend less time stressing and more time actually enjoying the process, maybe even with family or friends. Think about it: twenty minutes for a simple, effective design versus two hours ending in tears and pumpkin guts everywhere. The choice seems pretty obvious when you frame it like that.
- Save Time: Finish a project in under an hour.
- Reduce Mess: Fewer complex cuts mean less scraping and fewer stray bits.
- Lower Stress: Achieve a great look without needing expert skills.
- Boost Confidence: Actually finish something you started and have it look good.
Manage Expectations, Get Results
Social media has convinced us everything needs to be a masterpiece. But holiday decorating should be fun, not another source of pressure. Why Pumpkin Carving Easy Ideas Save Your Sanity because they realign your expectations with reality. You're not entering a competition; you're making a festive decoration. A simple, well-executed design is far more charming and effective than a mangled attempt at something overly ambitious. It's about creating atmosphere, not museum pieces. Plus, when it's easy, you're more likely to do it year after year instead of remembering the trauma and opting out.
"The goal isn't perfection; it's participation and a bit of spooky fun."
Beyond the Knife: NoCarve Pumpkin Easy Ideas
Beyond the Knife: NoCarve Pumpkin Easy Ideas
Why Skip the Blade?
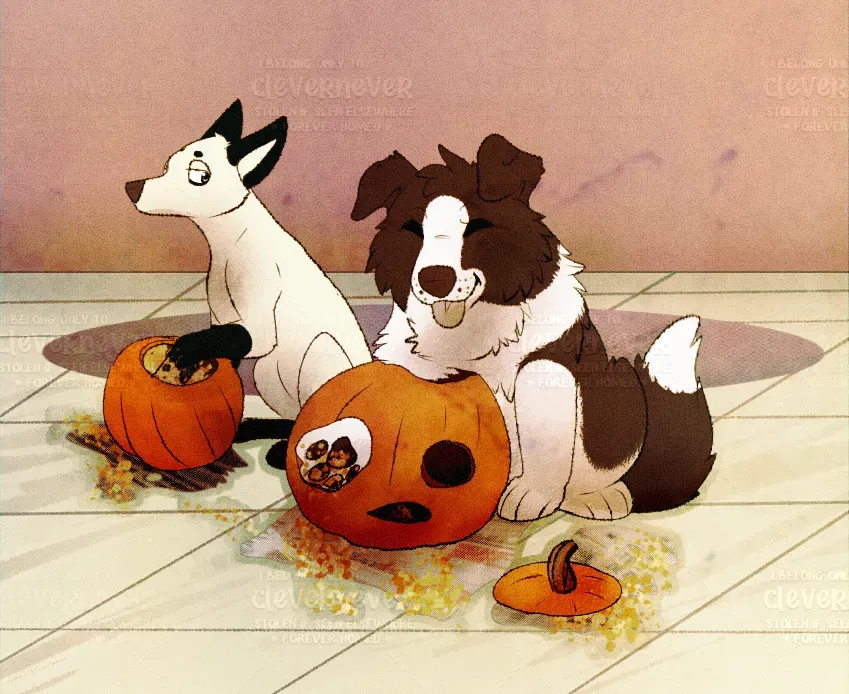
let's talk about avoiding the mess entirely. Sometimes, the best pumpkin carving easy ideas don't involve a knife at all. Seriously. Think about it: no sharp tools, no slimy guts to scoop out, no worrying about slicing off a finger. No-carve methods are fantastic for families with younger kids, or just anyone who wants a quick, clean, and still totally festive result. It opens up a whole new world of decoration possibilities that go beyond the traditional jack-o'-lantern face. Plus, no-carve pumpkins tend to last a lot longer since you haven't broken the skin, slowing down the inevitable rot. It’s a practical, less stressful route to holiday decor.
Simple Techniques for Big Impact
So, what can you do without carving? Plenty. Paint is your best friend here. Acrylic paints work great and dry relatively fast. You can go classic spooky with black and white, make them colorful and whimsical, or even try a trendy metallic or pastel look. Stickers, googly eyes, yarn, buttons – anything you can glue on is fair game. Washi tape creates cool geometric patterns. Even just using a permanent marker for a simple drawn face is faster and safer than carving. These methods allow for a ton of creativity without the stress of precision cutting. It's about decorating the surface, not excavating it.
- Paint them solid colors or add patterns.
- Stick on felt shapes, foam stickers, or googly eyes.
- Wrap them in yarn or twine for texture.
- Use permanent markers to draw faces or designs.
- Apply glitter or sequins for sparkle (outside, preferably).
Tools of the Trade for Easy Pumpkin Carving Success
Tools of the Trade for Easy Pumpkin Carving Success
Skip the Fancy Gadgets, Grab the Basics
Look, you don't need a seventeen-piece professional pumpkin carving kit that looks like something a dental surgeon would use. Those tiny saws snap, those loop tools require a delicate touch most of us don't possess after a few minutes of wrestling a gourd. For pumpkin carving easy ideas, you need simple, sturdy tools that get the job done without making you want to rage-quit. Think kitchen essentials and maybe one or two specialized items designed for beginners. A good, sharp scoop is non-negotiable for clearing out the guts. A simple serrated knife, preferably one with a shorter blade, works just fine for basic cuts. Don't overcomplicate it right from the start.
The Right Knife Makes All the Difference
Forget the big kitchen knife; it's unwieldy and dangerous for detailed work, even on easy designs. A purpose-built pumpkin carving saw, often found in basic kits, is serrated and thin, designed to glide through pumpkin flesh without getting stuck. These are much easier to control for cutting out shapes like triangles for eyes or a simple jagged mouth. You can find decent ones for a few bucks. Pair that with a sturdy spoon or a dedicated pumpkin scoop, and you're pretty much set for tackling most pumpkin carving easy ideas. Seriously, resist the urge to buy the kit with the questionable drill attachments.
- Sturdy Pumpkin Scoop: Essential for clearing seeds and pulp.
- Small Serrated Saw: Easier control than a kitchen knife for cutting shapes.
- Drill with large bits (optional): Can create perfect circles for eyes or patterns quickly.
- Dry Erase Marker: For drawing your design directly on the pumpkin.
Safety First, Simplicity Always
Even with the right Tools of the Trade for Easy Pumpkin Carving Success, you're still working with sharp objects and a round, potentially unstable surface. Always carve on a flat, stable surface. Cut away from yourself, obviously. If you're using a serrated saw, use a gentle back-and-forth motion, don't try to force it. For scooping, a firm grip and a steady hand are key to getting all that slimy stuff out efficiently. Remember, the goal is easy and fun, not a trip to the emergency room. Simple tools encourage simple techniques, which directly supports those easy pumpkin carving ideas we're aiming for.
Simple Stencils and Shapes: Pumpkin Carving Easy Ideas for Beginners
Simple Stencils and Shapes: Pumpkin Carving Easy Ideas for Beginners
Why Stencils Are Your New Best Friend
so maybe freehanding a perfect spooky face feels a bit daunting. That's where stencils come in. Think of them as training wheels for your carving knife. Using a stencil takes the guesswork out of the design phase, which is half the battle when you're tackling Simple Stencils and Shapes: Pumpkin Carving Easy Ideas for Beginners. You don't have to worry about drawing a symmetrical ghost or getting the fangs just right. The stencil does the heavy lifting on the design front, leaving you to focus on the actual cutting. This dramatically reduces the potential for error and boosts your chances of ending up with something that looks intentional, not like it lost a fight with a raccoon.
Finding and Using Simple Patterns
You can find tons of free stencils online – simple geometric shapes, classic cat faces, basic "BOO" lettering. Print them out, tape them securely to your pumpkin, and use a poker tool or even a sharp pencil to transfer the outline by poking small holes along the lines. Connect the dots later with your carving saw. Another approach for Simple Stencils and Shapes: Pumpkin Carving Easy Ideas for Beginners is focusing on fundamental shapes. Triangles make easy eyes and noses. A simple jagged line works for a mouth. Circles, if you have a drill or a large apple corer, are incredibly fast. Combining these basic elements in different ways lets you create variety without complexity.
- Look for free printable stencils online (keyword: "easy pumpkin stencil").
- Print and tape the stencil firmly to a smooth section of the pumpkin.
- Use a poker tool or pencil to trace the design by making small, close-together holes through the paper into the pumpkin skin.
- Remove the stencil and connect the dots with your carving saw.
- Alternatively, draw simple shapes directly onto the pumpkin with a dry-erase marker (mistakes wipe off!).
Focus on the Cut, Not the Curve
The trickiest part of carving is often navigating tight curves and intricate details. Simple Stencils and Shapes: Pumpkin Carving Easy Ideas for Beginners lean heavily on straight lines and gentle curves, which are much easier to manage with a small serrated saw. Instead of a complex spiderweb, try parallel lines or simple crosshatching. A blocky, pixelated monster face is far simpler to execute than something with flowing lines. The key is to choose a design where most of the cuts are relatively straight or involve large, sweeping curves. This minimizes the chances of your saw getting stuck or snapping and keeps the process moving smoothly, which is the whole point of focusing on *easy* ideas.
Making it Last: Caring for Your Easy Carved Pumpkin
Making it Last: Caring for Your Easy Carved Pumpkin
Simple Steps to Extend the Spookiness
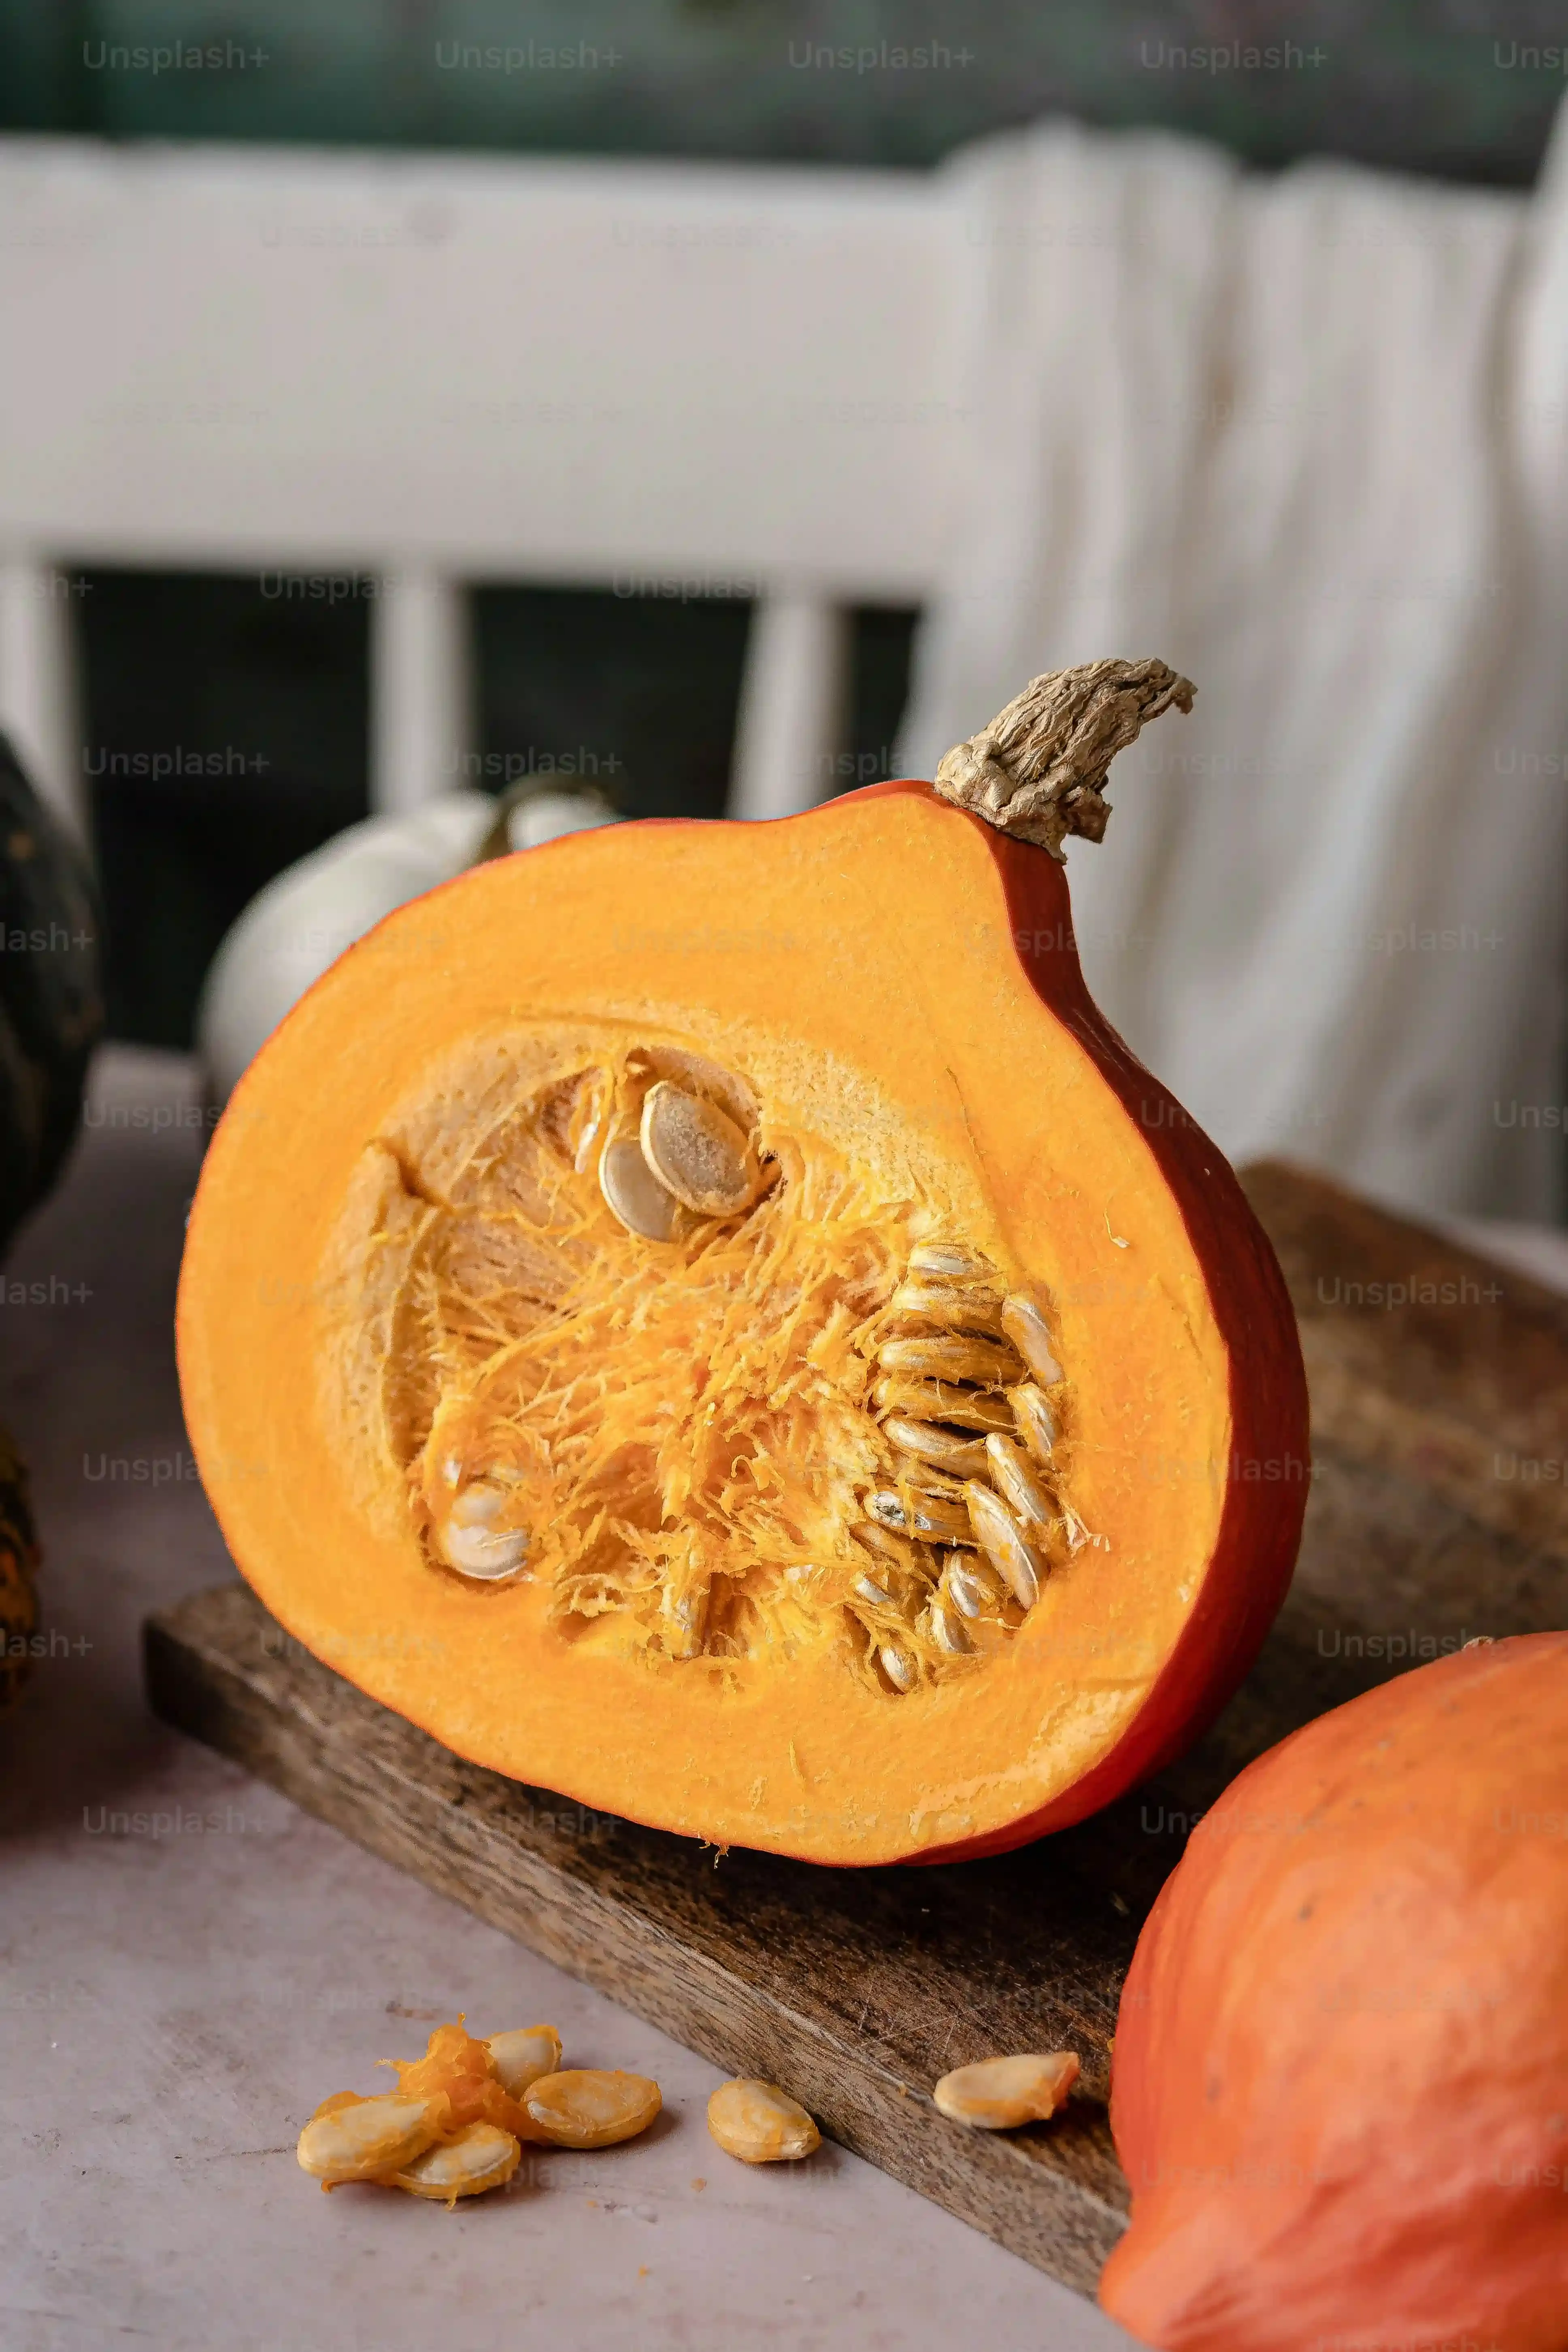
you've picked your pumpkin, maybe used some pumpkin carving easy ideas, and now you've got your spooky creation sitting on the porch. The sad reality is, once you break that skin, the clock starts ticking. It's going to start wilting, maybe growing a lovely patch of mold, and generally looking less festive by the day. But you don't have to just accept its rapid decline. There are a few simple tricks you can use for Making it Last: Caring for Your Easy Carved Pumpkin that can buy you a few extra days, sometimes even a week, of spooky display time. It's not magic, but it helps slow down the inevitable decay. Think of it as basic pumpkin first aid.
The main enemies are dehydration and bacteria. When you carve, you expose the moist inner flesh to the air, which dries it out. You also introduce all sorts of tiny microbes that are just waiting for a tasty pumpkin snack. So, your strategy is twofold: keep it moist and keep it clean. A simple spritz of water daily on the cut edges can help prevent them from shriveling up too quickly. Some folks swear by petroleum jelly rubbed on the cut surfaces to seal in moisture. Another common tip is giving the whole carved pumpkin a quick bath in a bleach solution (about one teaspoon of bleach per gallon of water) for a few minutes, then letting it air dry. This kills some of the surface bacteria and mold spores. Just be careful with the bleach and maybe wear gloves.
- Mist daily with water, especially the cut edges.
- Apply petroleum jelly or vegetable oil to cut surfaces to seal moisture.
- Submerge briefly in a weak bleach solution (1 tsp bleach per gallon water).
- Avoid direct sunlight or extreme heat.
- Bring it inside during freezing temperatures.
Where you put your pumpkin matters too. Direct sunlight will bake it and speed up the wilting process. Extreme cold can cause the cell walls to break down, making it mushy. A cool, shaded spot on your porch is ideal. If it gets really cold overnight, bringing it inside might save it from collapsing into a sad, frozen mess. None of these steps will make your pumpkin last forever, obviously, but they can definitely stretch its lifespan beyond just a couple of days, giving you more time to enjoy your hard work and those easy pumpkin carving ideas you put into action.
So, What's the Takeaway?
Look, nobody's saying you have to win a national carving competition this year. The point of tackling pumpkin carving with easy ideas is to avoid the frustration and actually have a bit of fun. You've got options beyond the complex patterns that require surgical tools and patience you probably don't possess. Whether you're opting for a simple carve, a no-carve approach, or just sticking to basic shapes, you can still create something that looks decent on your porch. So grab a pumpkin, maybe a simple stencil, and accept that minor imperfections add character. It's just a gourd, after all.