Table of Contents
The crisp autumn air arrives, leaves turn fiery shades, and suddenly, every grocery store aisle features stacks of bright orange gourds. Halloween is just around the corner, and with it comes the timeless tradition of pumpkin carving. But let's be honest, how many times can you carve the same basic jack-o'-lantern face before it feels a bit... repetitive? If you're tired of the usual spooky grin and triangle eyes, and ready to impress your neighbors and maybe even scare a few trick-or-treaters with something truly original, you're in the right place.
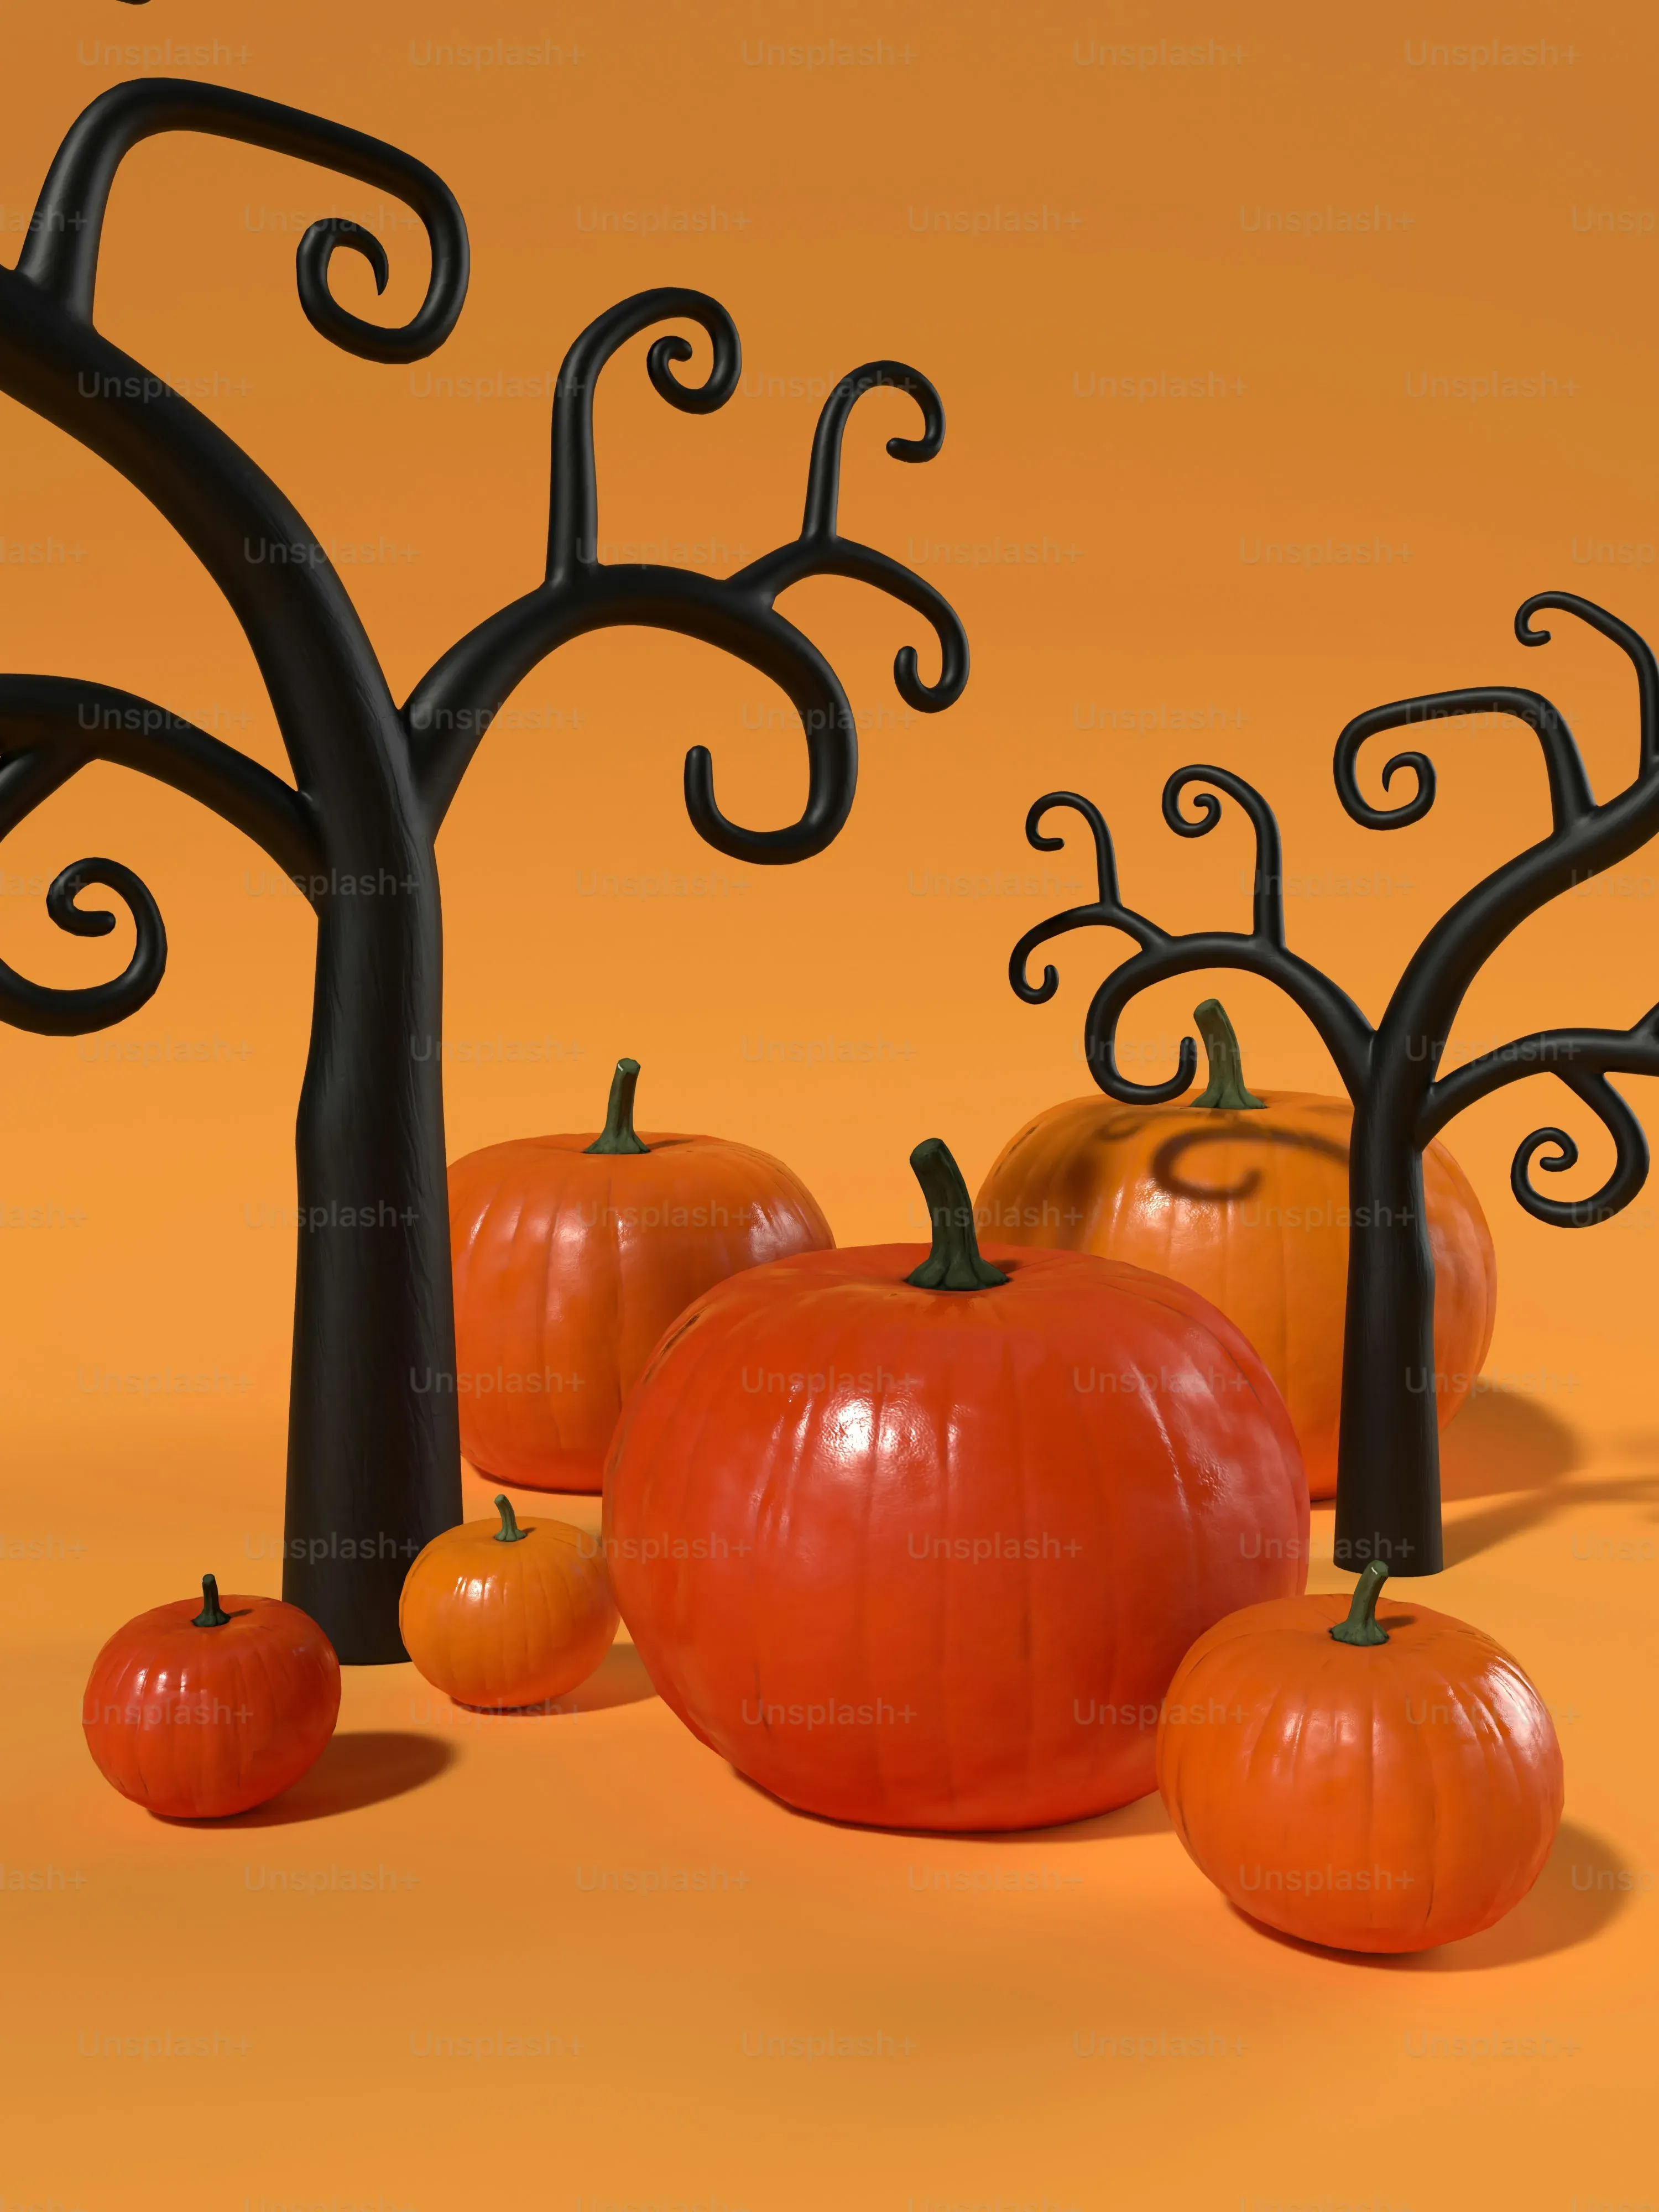
Picking the Perfect Gourd: Your Canvas for Cool Ideas
Picking the Perfect Gourd: Your Canvas for Cool Ideas
The Foundation of Your Masterpiece
Look, you can have the most intricate design floating around in your head, the sharpest tools money can buy, but if you start with a dud pumpkin, your efforts are likely headed for the compost bin. Think of the pumpkin as your canvas. A lumpy, bruised, soft canvas isn't going to hold up, no matter how talented the artist. Finding the right gourd is the absolutely critical first step in bringing your pumpkin carving cool ideas to life. Don't just grab the first orange thing you see. Take a minute, be picky. Your future glowing creation depends on it.
Checking for Quality Control
So, what are you looking for? First, tap it. It should sound hollow, like a drum. Avoid anything that feels heavy or makes a dull thud; that could mean thick, tough walls or, worse, rot brewing inside. Run your hands over the surface. You want smooth skin, free of soft spots, deep gashes, or weird, moldy patches. A few minor blemishes are okay, character even, but anything significant will make carving a headache. Check the bottom too – sometimes rot starts there, hidden from view. And the stem? It should be firmly attached and look green and healthy, not dry and brittle. That stem is like the pumpkin's handle; you don't want it snapping off before you even get it home.
- Avoid pumpkins with soft spots or bruises.
- Steer clear of those with deep cuts or punctures.
- Don't pick one with a detached or moldy stem.
- Skip pumpkins that feel heavy or don't sound hollow when tapped.
Shape and Size Matter
Now, consider the design you're aiming for. A tall, skinny pumpkin might be great for a spooky face with long features, while a wide, squat one lends itself better to a broad, grinning mouth or a detailed scene. If you're planning a complex portrait or a landscape, you'll need a pumpkin with a relatively flat, smooth surface on the side you plan to carve. Size is also key. A tiny pumpkin is cute, but limits detail. A giant one is impressive, but takes forever and requires serious muscle. Match the pumpkin's physique to your pumpkin carving cool ideas. It just makes sense.
Tools of the Trade: Getting Ready for Pumpkin Carving Cool Ideas
Tools of the Trade: Getting Ready for Pumpkin Carving Cool Ideas
Beyond the Kitchen Knife: Basic Carving Gear
let's talk tools. You *can* technically carve a pumpkin with just a big kitchen knife and a spoon, but trust me, it's like trying to paint a masterpiece with a broom. For any serious pumpkin carving cool ideas, you need a few basic pieces of equipment. Start with a sturdy, sharp knife for cutting the top off – something with a relatively thin blade works best. Don't use your best chef's knife; pumpkin goo is sticky and can dull it. You also need a good, strong spoon or scoop to get all that stringy pulp and seeds out. Get everything cleaned out thoroughly; it makes the carving much easier and less messy.
Stepping Up Your Game: Specialized Kits
If you're moving past simple triangles and want to attempt some more intricate pumpkin carving cool ideas, investing in a dedicated pumpkin carving kit is a smart move. These kits usually come with a variety of small saw-like tools, loop tools for scraping and detailing, and sometimes even small drills or punches. The little saws are key for cutting precise lines and tight corners that a knife just can't manage. Loop tools are fantastic for skinning or etching designs without cutting all the way through the pumpkin wall, adding texture and depth. Think of these as your precision instruments.
- Small carving saws: For cutting lines and shapes.
- Loop tools: For scraping and etching designs.
- Scoops: For cleaning out the pumpkin's insides.
- Poker/Drill: For making small holes or pilot points.
- Detail knives: For fine work and small features.
Setting Up Your Carving Station: Safety First
Carving can get messy, and sharp tools are, well, sharp. Before you start hacking away at your gourd and bringing those pumpkin carving cool ideas to life, set up a proper workspace. Cover your table or floor with newspaper, a plastic tablecloth, or even a garbage bag to make cleanup easy. Make sure you have good lighting so you can see what you're doing. And seriously, pay attention to where your fingers are. Always cut away from yourself, and don't try to force a tool that's sticking. If it's hard to cut, your tool might be dull, or you might be trying to go through a tough spot. Slow down, adjust your angle, or switch tools. A little caution saves a trip to the emergency room.
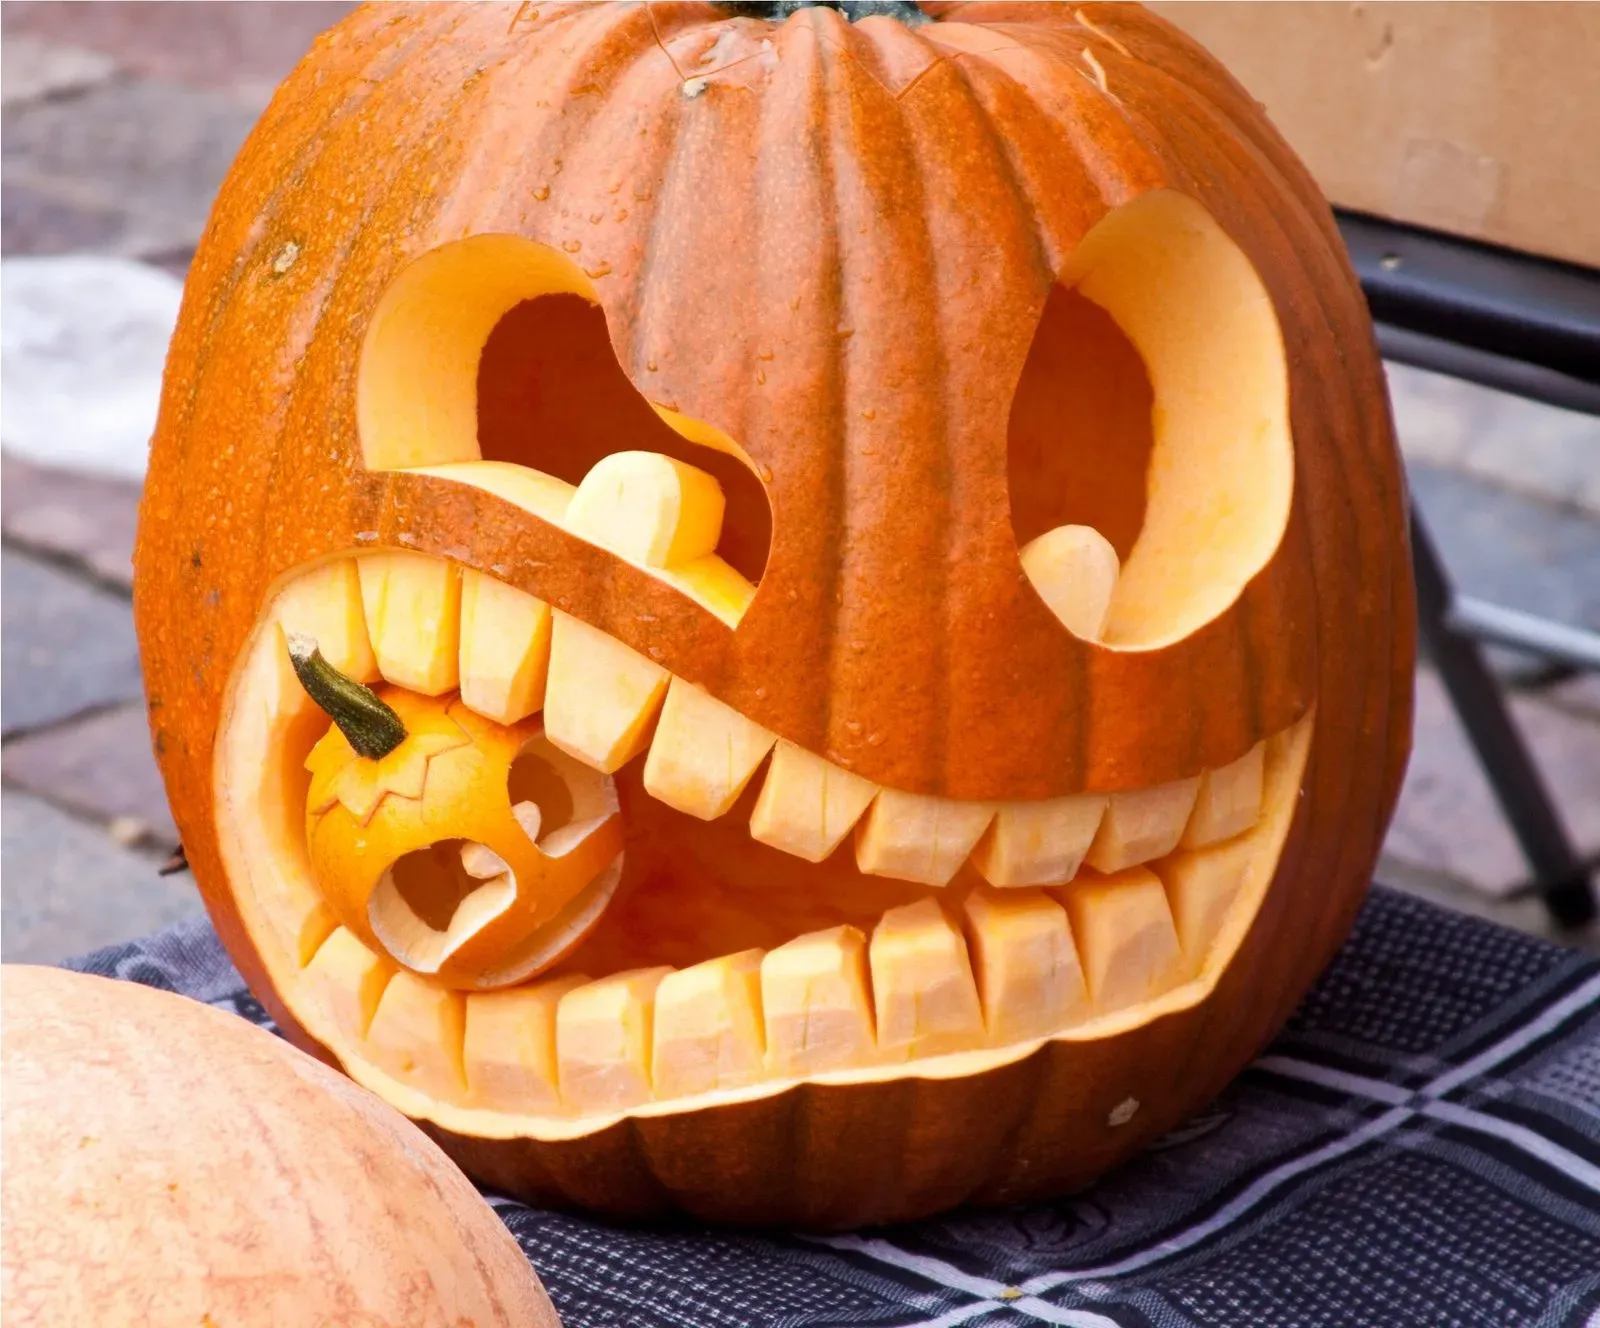
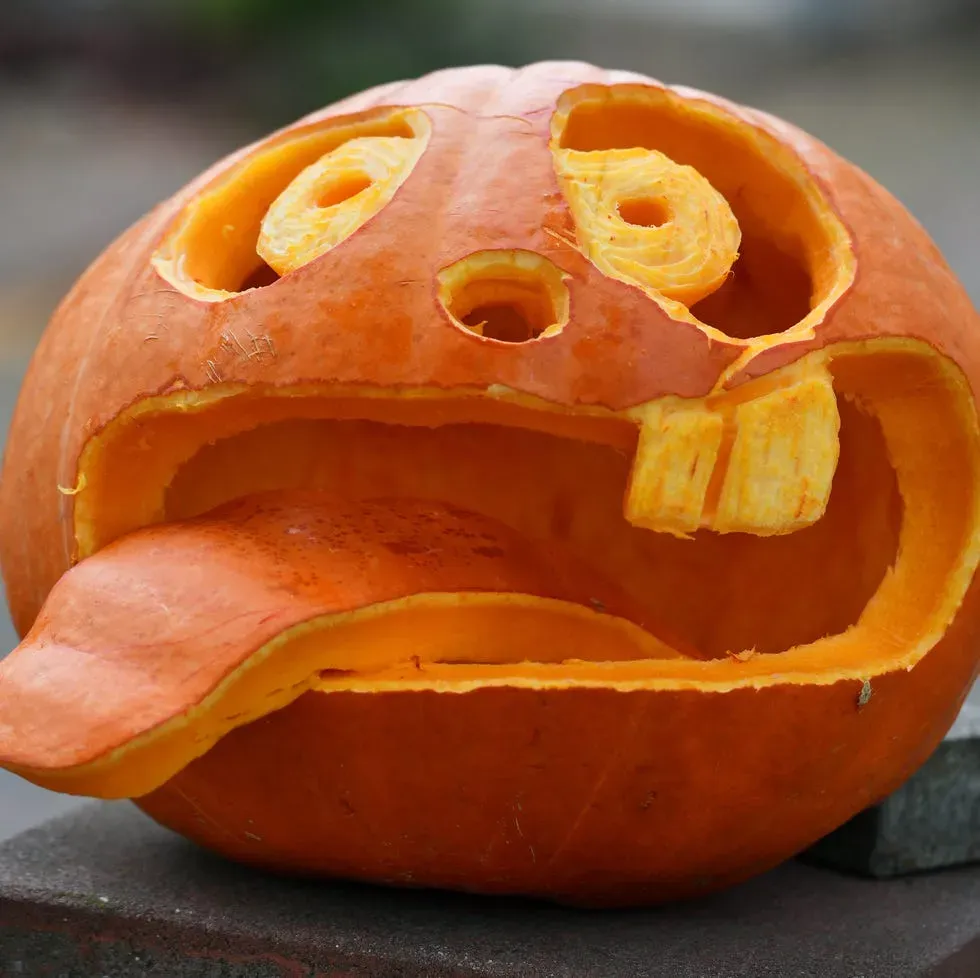
From Simple Shapes to Spooky Scenes: Beginner Pumpkin Carving Cool Ideas
From Simple Shapes to Spooky Scenes: Beginner Pumpkin Carving Cool Ideas
Starting Simple: The Classic Faces and Basic Shapes
Alright, you've got your perfect pumpkin, your basic tools are laid out, and maybe you're feeling a mix of excitement and pure dread. Relax. Not everyone needs to carve a multi-layered masterpiece their first time out. Some of the most effective pumpkin carving cool ideas for beginners are also the simplest. Think classic. A simple, toothy grin with big, expressive eyes carved as triangles or squares can be incredibly spooky when a candle flickers inside. Geometric shapes are your friend here. Stars, moons, simple circles, maybe even just a pattern of different sized holes drilled strategically – these are all totally valid and look fantastic, especially when grouped together.
Don't underestimate the power of simplicity. A clean design, even a very basic one, executed well, looks far better than an overly ambitious design that ends up looking like a melted mess. Focus on clean cuts and smooth lines. Practice on a smaller, cheaper pumpkin first if you're really nervous. Seriously, nobody's judging your practice gourd. The goal here is to get comfortable with the tools and the feel of carving without biting off more than you can chew. Master the basics, and you build confidence for those more complex pumpkin carving cool ideas down the line.
- Classic triangle eyes and jagged mouth
- Simple geometric cutouts (stars, circles, squares)
- Basic silhouettes (cat, ghost shape)
- Patterns of drilled holes
- Simple initials or numbers
Using Stencils and Simple Silhouettes
Feeling slightly more adventurous but not ready to freehand a portrait of your favorite ghoul? Stencils are a beginner's best friend when exploring pumpkin carving cool ideas. You can find tons of free stencils online, from simple spooky words like "BOO" to basic outlines of bats, spiders, or black cats. Print one out, tape it firmly to your pumpkin, and use a poker tool (or even a push pin) to make small holes along the lines of the design. These holes act as a guide, a connect-the-dots for your carving saw.
Once you've outlined the entire design with pinpricks, remove the stencil and use your small carving saw to carefully cut along the dotted lines. Go slow. If the saw gets stuck, don't force it; wiggle it gently or pull it out and start from a different angle. Simple silhouettes, where you cut out the entire shape rather than intricate details within it, are also great for beginners. A spooky tree branch, a flying bat, or a crescent moon against the pumpkin's side can be very effective and are relatively easy to execute with a stencil and a steady hand. It's a fantastic way to get cool results without needing advanced artistic skills right away.
Level Up Your Jacko'Lantern: Advanced Pumpkin Carving Cool Ideas
Level Up Your Jacko'Lantern: Advanced Pumpkin Carving Cool Ideas
you've mastered the basic cutouts, perhaps even tackled a stencil or two, and now you're looking at those elaborate pumpkins online thinking, "How the heck did they do that?" Welcome to the deep end of pumpkin carving cool ideas. This is where you move beyond just cutting holes and start thinking about the pumpkin's surface as a medium for sculpting and etching. Forget slicing all the way through for every element. Advanced techniques involve removing just the outer layer of skin to create different shades and textures, adding dimension without needing a light source behind every part of the design. You'll be using detail knives, various scraping tools, and maybe even a Dremel tool (carefully!) to shave away layers, creating highlights, shadows, and intricate patterns that stand out even in daylight.
Wrapping Up Your Gourdly Endeavors
So there you have it. A whole mess of pumpkin carving cool ideas to pull from, far beyond the tired triangle eyes and jagged grins of yesteryear. You've seen that a little planning goes a long way, the right tools make a difference, and sometimes, the simplest idea executed well looks better than an overly ambitious mess. Don't just stare at the list; grab a pumpkin, clear off the kitchen table (or set up outside, trust me), and get to it. Whether you nail it on the first try or end up with something vaguely abstract, the point is to make a mess and have a laugh. Your neighbors are probably carving the same old thing anyway, so yours, whatever it looks like, will stand out. Now go make some orange pulp fly.