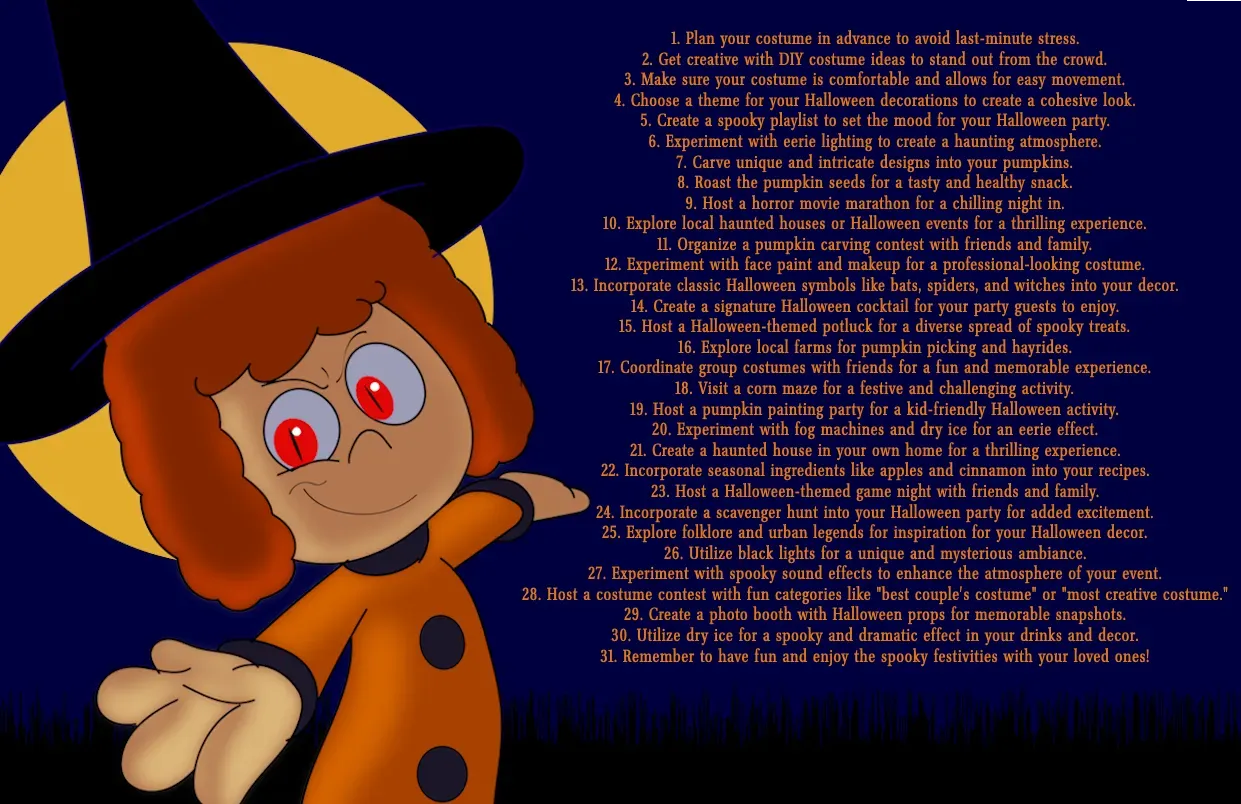
Table of Contents
Halloween is just around the corner, and you've got your pumpkin ready. But maybe the thought of intricate designs and sharp tools feels a bit daunting, or perhaps you're just short on time. You're not alone. Many of us want that festive glow on our porch without the hours of scraping and detailed cutting that can sometimes lead to frustration (and maybe a few band-aids). If you're looking for ways to get that classic Halloween look without the fuss, you're in the right place. We've gathered a collection of pumpkin carve ideas easy enough for beginners, kids, or anyone who just wants a simple win this spooky season.
Getting Started: Simple Pumpkin Carve Ideas Easy

Getting Started: Simple Pumpkin Carve Ideas Easy
Gathering Your Gear for Easy Carving
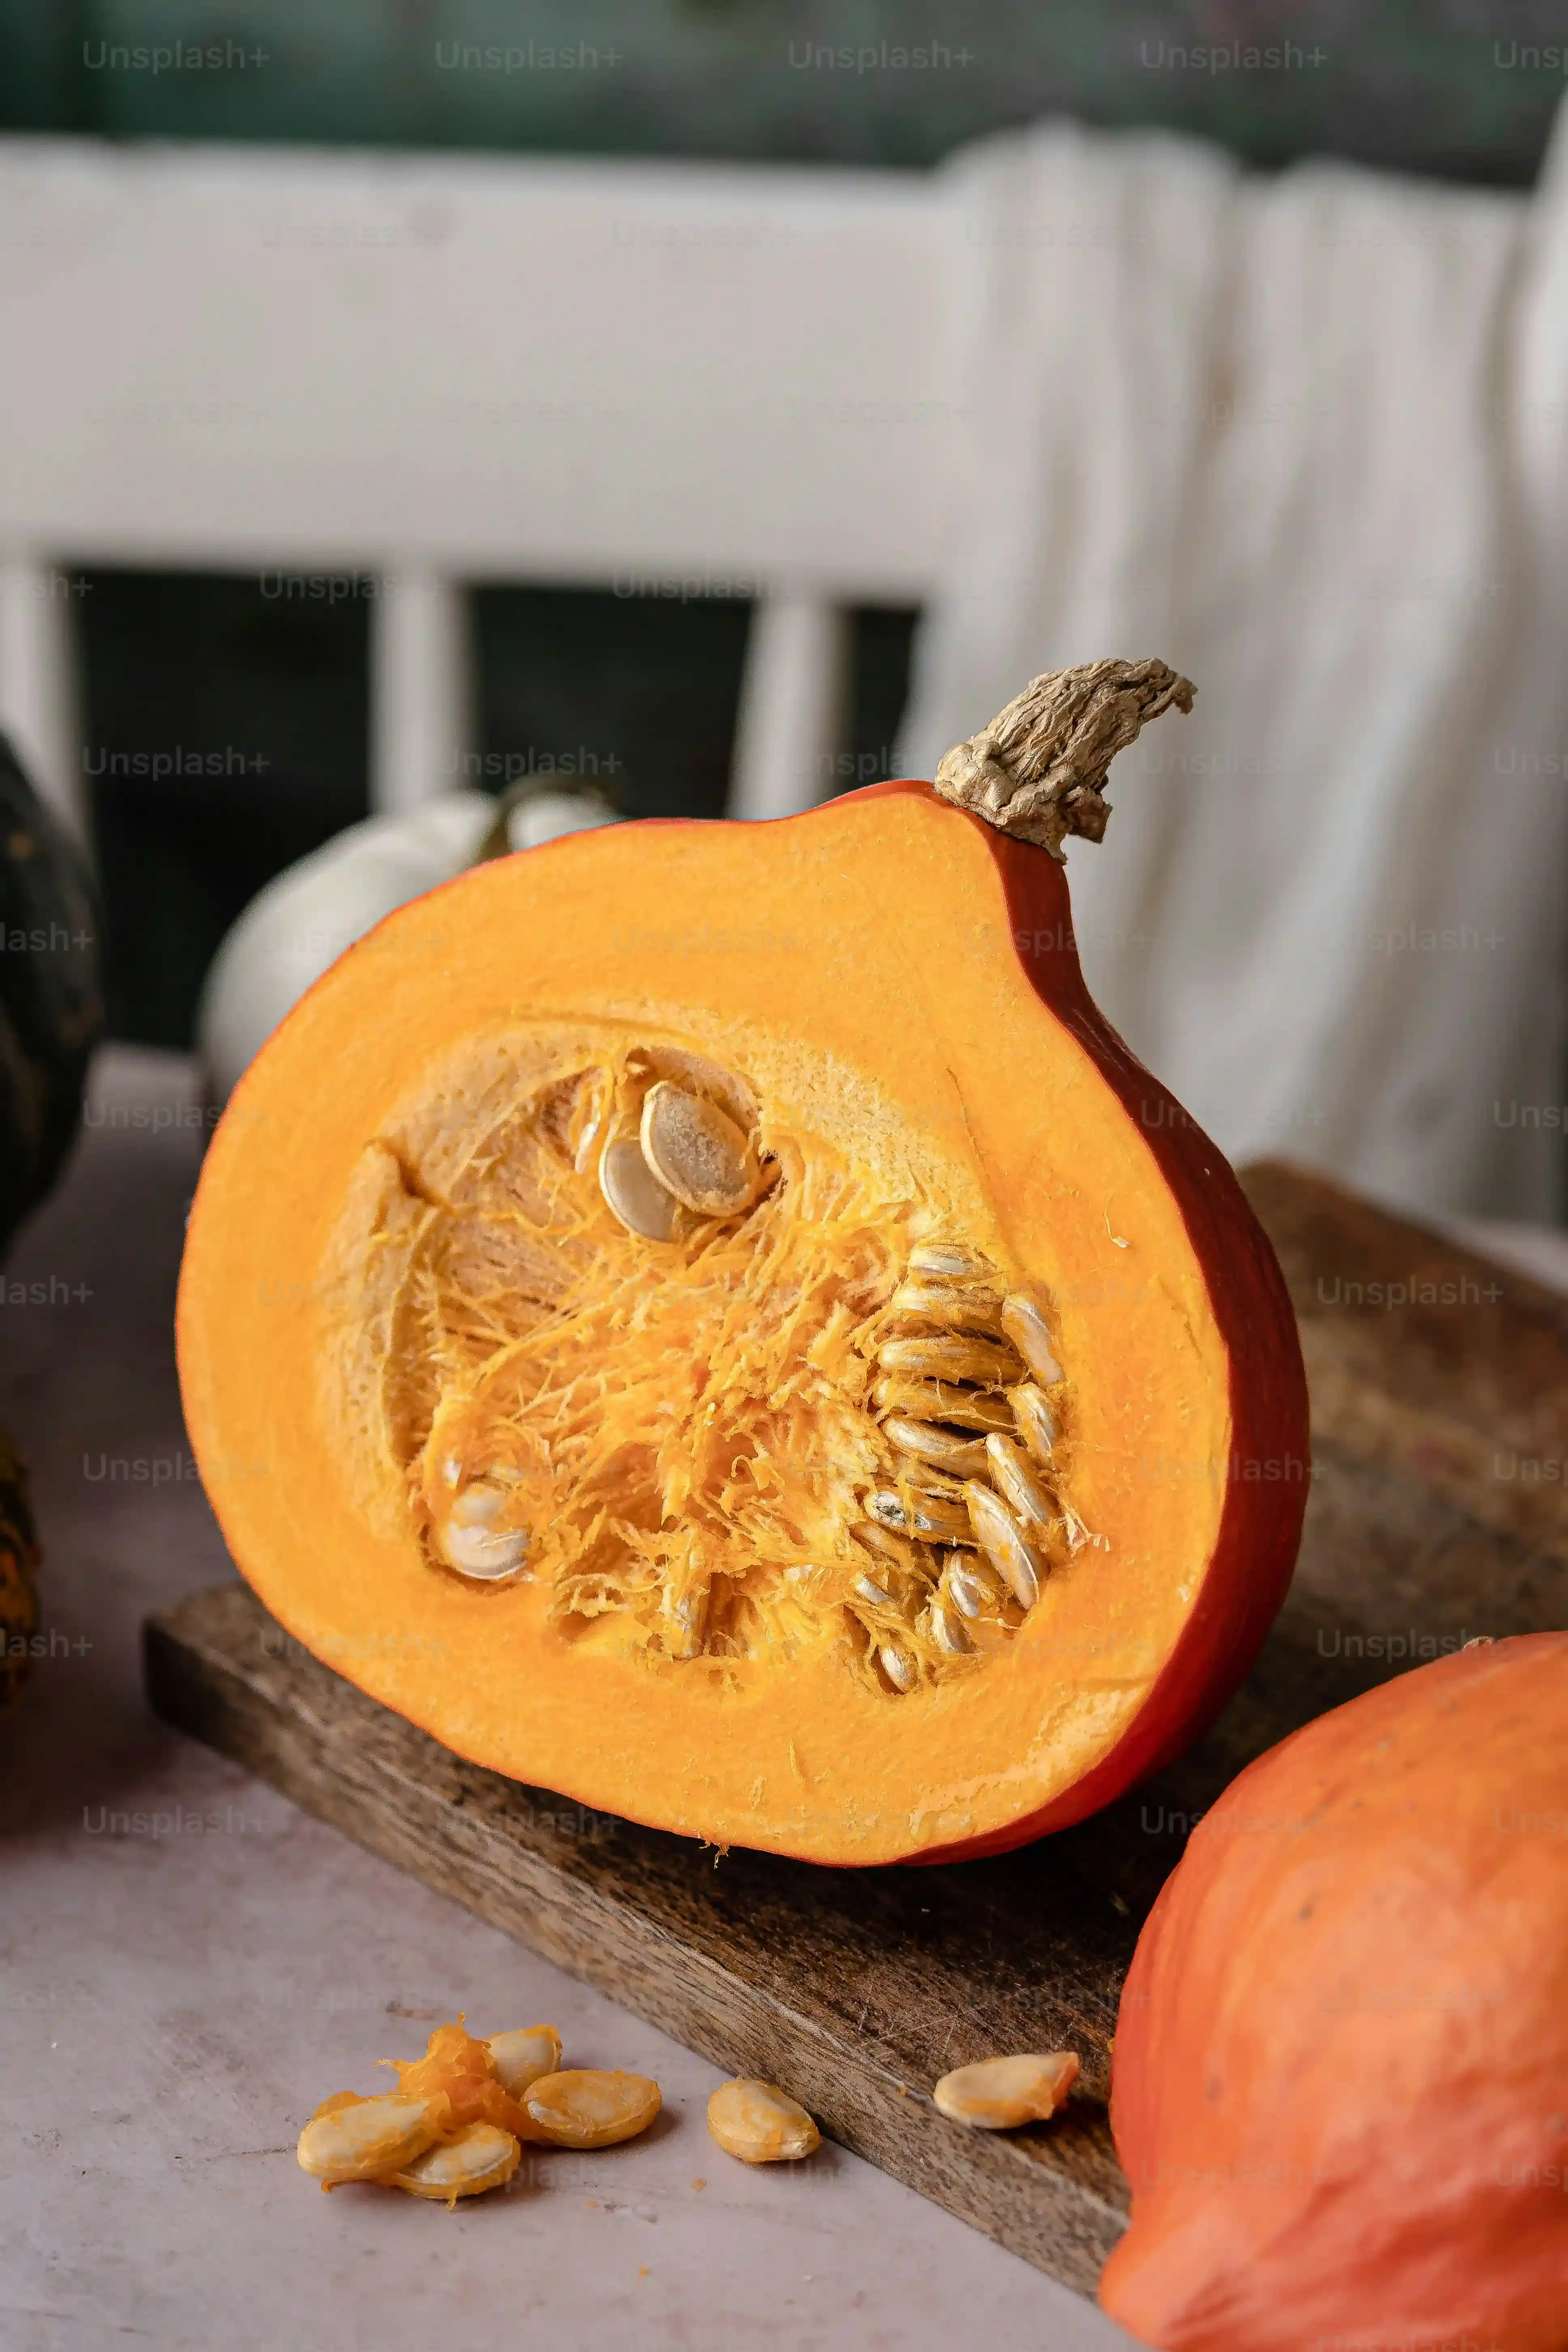
so you've got the pumpkin. Now what? First things first, you don't need a fancy, expensive carving kit to pull off pumpkin carve ideas easy. A basic, sharp kitchen knife works for cutting the lid (adults only, obviously). For the actual carving part, those cheap, small serrated tools you find everywhere this time of year are actually pretty effective for simple shapes. They aren't designed for surgery, but they handle basic triangles and circles just fine. Grab a sturdy spoon or a dedicated pumpkin scoop for cleaning out the insides – that's arguably the messiest but most crucial step.
Don't forget a bowl for the guts and seeds (roast those seeds later, trust me), and some newspaper or an old tablecloth to protect your workspace. Carving gets messy, fast. A permanent marker is handy for drawing your design before you cut. And maybe a damp rag or paper towels, because sticky pumpkin goo is a real thing. Getting started with pumpkin carve ideas easy means having the right simple tools at hand, not needing a woodworking shop.
Making the First Cuts: Simple Shapes are Your Friend
When you're tackling pumpkin carve ideas easy, think simple shapes. Forget the intricate spiderwebs or portraits of your cat. We're talking classic jack-o'-lantern faces here. Triangles for eyes, a triangle or jagged line for a nose, and a simple smile or frown for the mouth. These are forgiving shapes. If your cut isn't perfectly straight, it just adds character, right? Start by cutting the lid. Angle your knife inward slightly so the lid has a lip and won't fall into the pumpkin later. Scoop out everything inside until the walls are reasonably smooth.
Draw your simple shapes on the pumpkin with your marker. Don't press too hard. Then, using your small carving tool or a sharp paring knife (carefully!), follow your lines. Take your time. Push the tool through the pumpkin wall and gently saw back and forth. Don't try to force it. Simple cuts are much less likely to break or crack the pumpkin. This is the core of making pumpkin carve ideas easy – keeping the design basic and the technique controlled.
Tool | Why It's Useful for Easy Carving |
|---|---|
Sharp Kitchen Knife | Cutting the lid (adult supervision required) |
Small Serrated Carving Tool | Making simple cuts like triangles and squares |
Sturdy Spoon or Scoop | Removing seeds and pulp efficiently |
Permanent Marker | Drawing your simple design first |
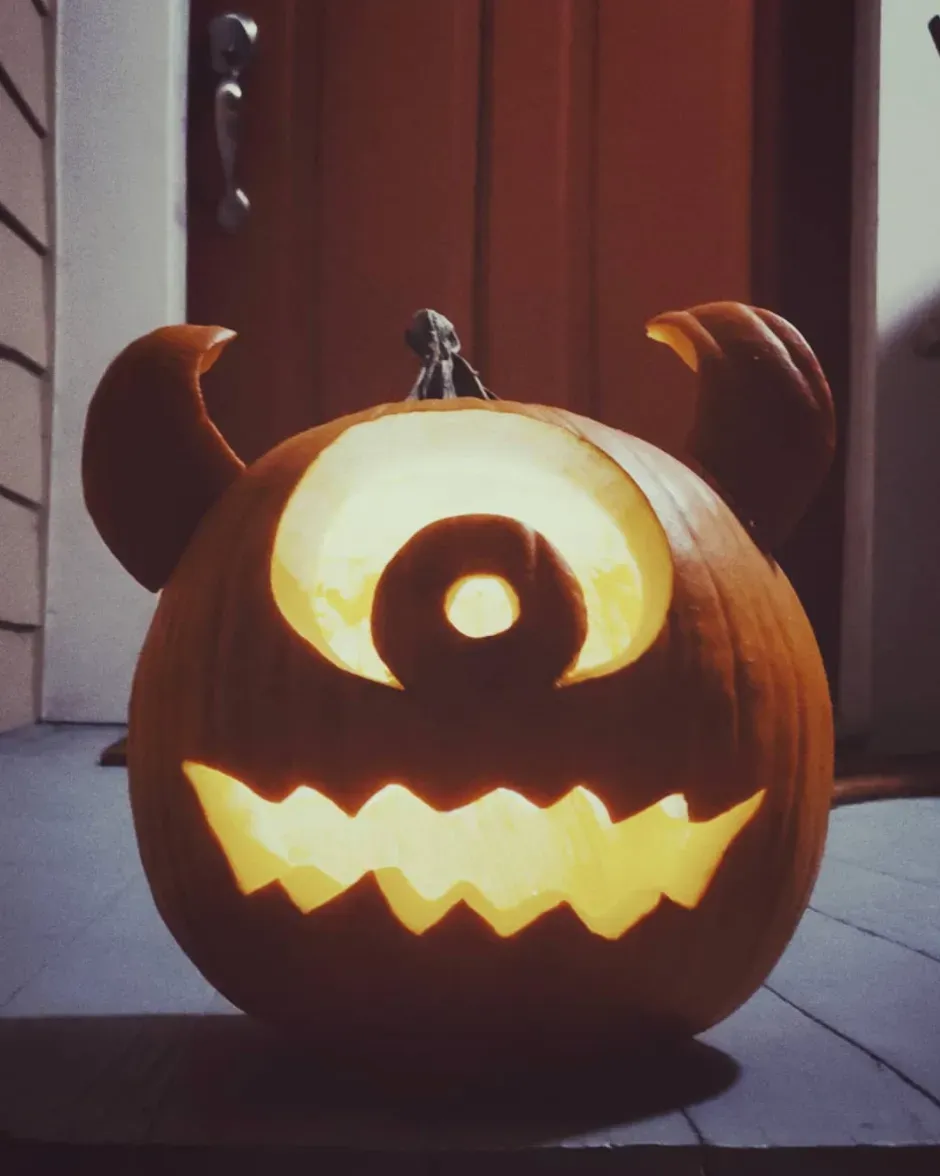
Classic Designs: Easy Pumpkin Carve Ideas That Never Fail
Classic Designs: Easy Pumpkin Carve Ideas That Never Fail
Classic Designs: Easy Pumpkin Carve Ideas That Never Fail
Alright, so you've got your pumpkin prepped and your basic tools lined up. Now, let's talk about the tried-and-true designs, the ones that everyone recognizes and, more importantly, are genuinely easy to pull off. We're heading straight for the classics because, frankly, they work. Think simple geometric shapes for eyes – triangles are the go-to for a reason. They're quick to cut and give that immediate, spooky vibe. A simple triangle or square for the nose? Perfect. And for the mouth, you can go with a simple straight line, a jagged edge (also surprisingly easy), or even just a couple of squares for teeth. These classic easy pumpkin carve ideas require minimal precision but deliver maximum Halloween impact. No need to overthink it; sometimes, the simplest face is the most effective.
- Triangle Eyes
- Square or Triangle Nose
- Simple Straight or Jagged Mouth
- Two Square Teeth
Beyond the Knife: NoCarve Pumpkin Decorating Ideas (Still Easy!)
Beyond the Knife: NoCarve Pumpkin Decorating Ideas (Still Easy!)
Beyond the Knife: No-Carve Pumpkin Decorating Ideas (Still Easy!)
so maybe wielding a sharp object isn't your idea of a relaxing afternoon, or perhaps you're wrangling little hands that aren't quite ready for carving tools. No problem. You can still create awesome, festive pumpkins without making a single cut. This opens up a whole new world of pumpkin carve ideas easy – or rather, pumpkin *decorate* ideas easy. Think paint. Acrylic paints work great, and you can do simple solid colors, stripes, or polka dots. Grab some googly eyes and glue, maybe some yarn for hair. Washi tape comes in a million patterns and sticks well to pumpkin surfaces. Permanent markers are fantastic for drawing faces or intricate (but still easy) patterns directly onto the rind. Stickers, glitter glue, puff paint – the craft aisle is your friend here. It's less about precision carving and more about getting creative with surfaces, making it incredibly accessible and mess-free (well, less messy than carving, anyway).
Creative Twists: More Pumpkin Carve Ideas Easy for Fun Shapes
Creative Twists: More Pumpkin Carve Ideas Easy for Fun Shapes
Going Beyond the Face: Simple Shapes with a Twist
so you've mastered the basic triangle face. Feeling a little bolder, but not ready for advanced surgery? Let's look at some pumpkin carve ideas easy that add a touch more creativity without requiring a steady hand or intricate detail. Instead of just eyes, a nose, and a mouth, think about repeating simple patterns. Stars, moons, or even just different sized circles scattered across the pumpkin can look really effective, especially when lit up. You can use cookie cutters for these! Just press a metal cookie cutter into the pumpkin skin and tap it with a hammer or mallet until it goes most of the way through. Then, you can usually push the shape out or use a small knife to carefully cut along the impression. This is fantastic for achieving uniform shapes quickly. Try a pattern of small circles or stars all over for a starry night effect. It's minimal effort for a cool look.
Mixing and Matching: Combining Simple Elements Creatively
Another way to add a creative twist to pumpkin carve ideas easy is by combining those simple shapes in unexpected ways. How about using two different sized circles for eyes, or adding eyebrows made of simple curved lines? You could create a silly monster by giving it three triangle eyes and a zig-zag mouth that goes all the way around the pumpkin. Or, instead of a traditional face, carve out a simple shape like a single large star or a ghost outline. Stencils designed for painting can also be used as guides for carving simple shapes; just trace the outline with a marker and then cut along the line. The key is to stick to large, uncomplicated shapes and focus on placement and repetition rather than detail. These aren't complex masterpieces, but they are definitely beyond the standard jack-o'-lantern while remaining firmly in the "easy" category.
- Use cookie cutters for perfect stars or circles.
- Scatter small shapes like circles or stars across the pumpkin.
- Combine different simple shapes for unique faces (e.g., three eyes).
- Carve a single large, simple shape instead of a face.
- Trace stencils for easy outlines.
Making Your Easy Pumpkin Carve Ideas Last
Making Your Easy Pumpkin Carve Ideas Last
Keeping Your Pumpkin Hydrated
So, you've put in the minimal effort for your pumpkin carve ideas easy, and they look great. Now you want them to last longer than a day, right? The biggest enemy of a carved pumpkin is dehydration. That nice, firm flesh starts to shrink and wrinkle the moment you expose it to air. Think of it like leaving a piece of fruit out on the counter; it just dries up. To combat this, you can give your pumpkin a spa treatment. After carving, give it a bath in cold water for a few hours. Some folks even add a splash of bleach to the water (like a teaspoon per gallon) to help ward off early mold, but plain cold water works wonders for hydration.
Once it's had its soak, pat it dry gently. You can also rub a thin layer of petroleum jelly or vegetable oil on the cut edges. This creates a barrier that locks in moisture. It might sound weird, but it really helps slow down that shriveling process. Reapply it every day or two, especially if you live in a dry climate. Keeping the pumpkin's skin and cut surfaces from drying out is key to extending the life of your simple design.
Fighting Off the Fuzzy Green Stuff (Mold)
Hydration is one battle, but mold is the silent, fuzzy killer of many a carved pumpkin. Even with pumpkin carve ideas easy designs, mold spores are everywhere, just waiting for a damp, organic surface to land on. Once they take hold, it's a losing battle. You can try spraying the inside and cut edges with a bleach solution (again, maybe one part bleach to ten parts water). Let it sit for a few minutes, then pat it dry. This kills some of the surface spores before they get comfortable.
Another trick is using a commercial pumpkin preservative spray, which you can find in most Halloween aisles. These often contain antifungal agents. Just spray it generously inside and on all cut surfaces according to the product directions. While nothing will stop nature forever, these steps can definitely buy you some extra days of spooky display before your easy pumpkin starts looking like a science experiment gone wrong. Nobody wants a fuzzy jack-o'-lantern unless that was the original plan.
- Soak pumpkin in cold water after carving.
- Rub petroleum jelly or oil on cut edges.
- Spray inside and cuts with dilute bleach solution (1:10).
- Use a commercial pumpkin preservative spray.
- Keep the pumpkin cool and dry when not displayed.
Smart Placement for Longevity
Where you put your carved pumpkin matters just as much as how you treat it. Direct sunlight is a pumpkin's worst enemy. It's like putting it in a dehydrator. Heat speeds up decomposition and drying. Try to place your easy pumpkin carve ideas in a shaded spot on your porch or yard. If you bring it inside, keep it away from heat sources like radiators or direct sun through a window. A cool, dry location is ideal. Bringing it inside overnight, especially if it's cold or damp outside, can also help protect it from the elements and pests.
Consider putting your pumpkin on a mat or stand rather than directly on damp soil or grass, which can encourage mold from the bottom up. If you're using a candle, the heat from the flame inside can also cook the pumpkin from the inside out, speeding up decay. LED lights are a much better option for illumination if you want your easy carving to last as long as possible. They provide light without the damaging heat, making your efforts worthwhile for more than just one night.
Wrapping Up Your Easy Pumpkin Project
So there you have it. Tackling your Halloween pumpkin doesn't require an art degree or a steady hand trained in surgical procedures. Whether you opted for a few simple geometric shapes, a classic toothy grin, or skipped the knife entirely for paint and accessories, you've created something festive for your doorstep. The point of these pumpkin carve ideas easy isn't about winning a neighborhood competition; it's about getting into the Halloween spirit without the stress. You've proven that a little creativity and a willingness to keep it simple are all you need. Now go enjoy the spooky season you've just helped create, and maybe save those complex designs for when you have significantly more patience (or a professional carver on speed dial).