Table of Contents
Alright, let's talk pumpkins. Halloween is just around the corner, and for many families, that means dragging a big, bumpy gourd home and staring at it, wondering how to turn it into something spooky or silly without losing a finger. If the thought of carving with little ones brings a slight sense of dread, especially when trying to find **kid pumpkin carving ideas easy** enough for small hands and short attention spans, you're not alone.
Setting Up for Easy Kid Pumpkin Carving
Setting Up for Easy Kid Pumpkin Carving
Prep the Area, Save the Sanity
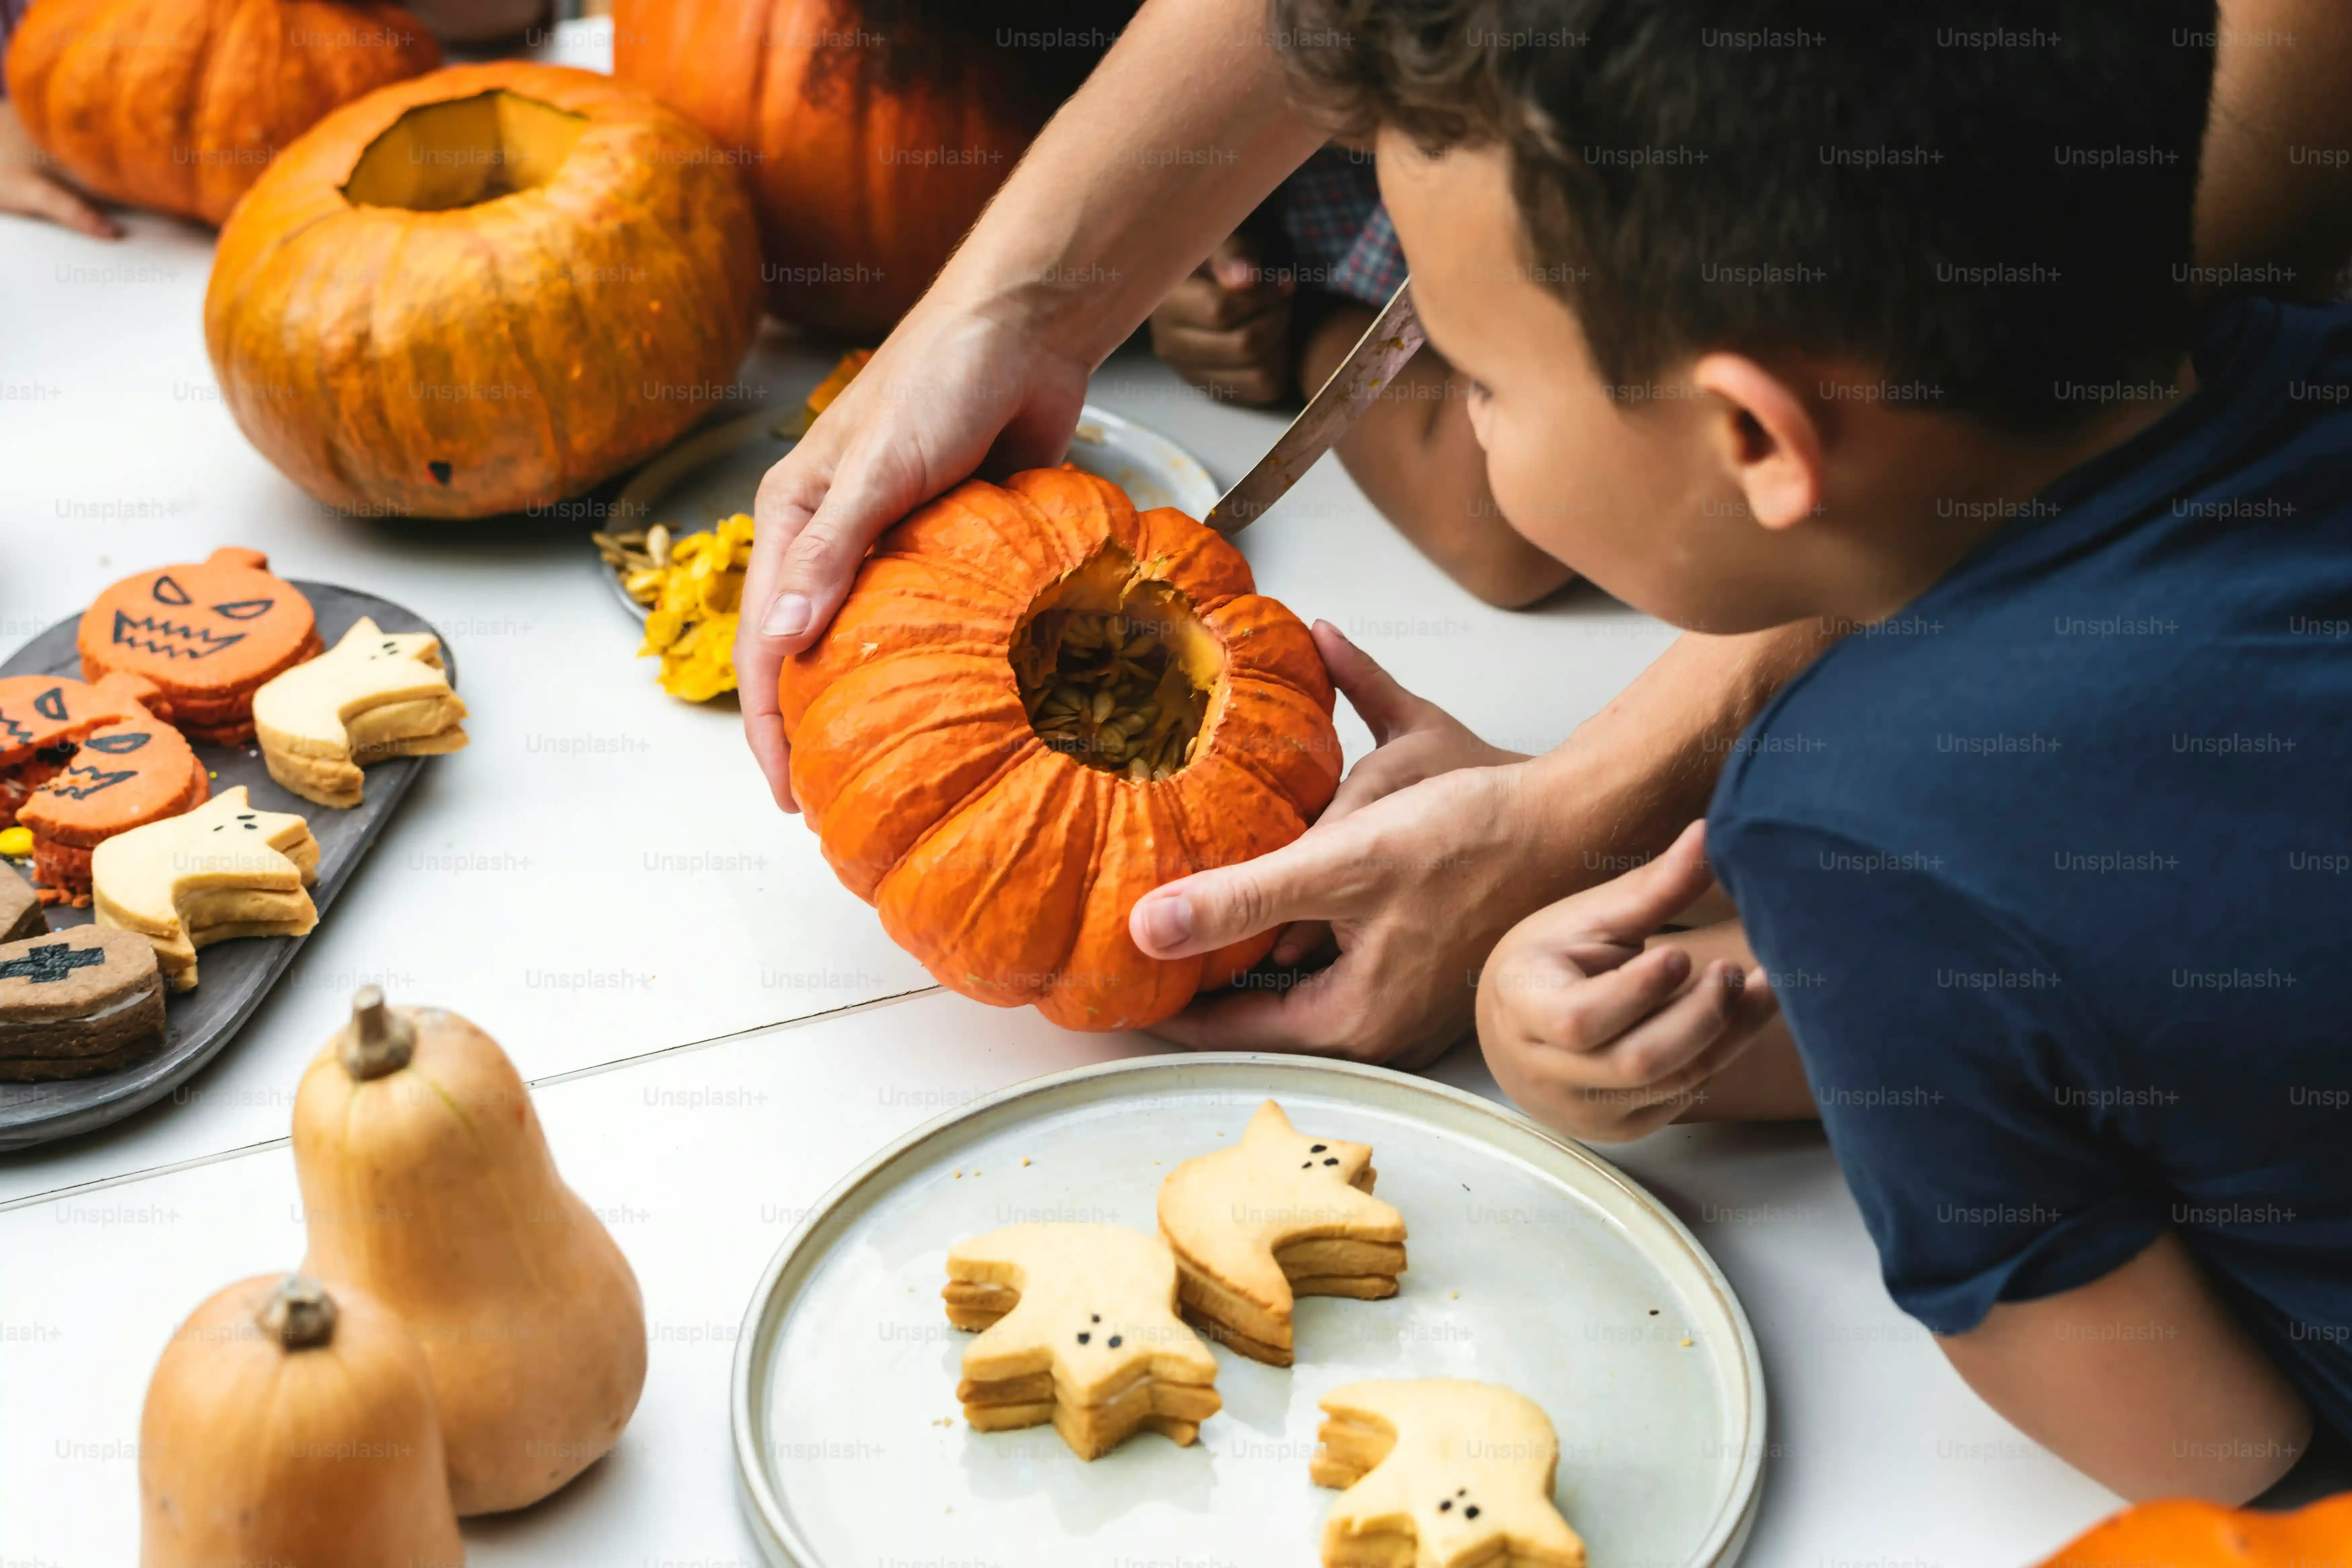
Look, letting kids loose with sharp objects and messy gourds in your living room is a recipe for regret. Before you even think about bringing out the pumpkins, get your workspace ready. Find a spot that can handle some chaos – the kitchen table covered in old newspapers or a plastic tablecloth works, or even outside if the weather cooperates. Lay down plenty of protection; pumpkin guts are surprisingly sticky and stain. Gather all your tools beforehand so you aren't scrambling mid-carve. Think scoops, markers, maybe some stencils if you're feeling ambitious, and crucially, the right carving tools. For **setting up for easy kid pumpkin carving**, safety is paramount, so ditch the adult knives for kid-friendly kits with plastic or blunt-edged scoopers and saws.
Choosing the Gourd and Setting Ground Rules
Not all pumpkins are created equal when it comes to carving with kids. Pick pumpkins with relatively smooth, flat surfaces. Avoid ones with deep grooves or weird bumps, they just make things harder. Give them a good wash and dry them off before you start. This makes drawing designs easier. Now, for the rules: lay them out clearly before anyone touches a tool. Hands stay behind the pumpkin, tools point away from bodies, and cutting is strictly an adult job unless you're using those super-safe kid saws (and even then, close supervision is mandatory). Explain that pumpkin guts are... well, gutty, and not for flinging across the room. Setting these expectations upfront prevents a lot of tears and messes down the line.
Here’s a quick checklist for your setup:
- Cover your workspace completely (newspapers, tablecloth).
- Gather all tools: scoopers, markers, stencils, kid-safe saws.
- Choose pumpkins with smooth, flat areas.
- Wash and dry the pumpkins.
- Establish clear safety rules: hands away from tools, tools point away from bodies.
- Designate who does the cutting (likely the adult).
Classic & Simple Kid Pumpkin Carving Ideas
Classic & Simple Kid Pumpkin Carving Ideas
The Timeless Jack-o'-Lantern Face
Let's be honest, the classic toothy grin and triangular eyes never go out of style. This is the bread and butter of **kid pumpkin carving ideas easy**. It's instantly recognizable, and best of all, forgiving. Don't aim for perfection here. Grab a dry-erase marker first – mistakes wipe right off. Let the kids draw the shapes: big triangles for eyes, a wobbly rectangle for a nose, and a simple curve with a few squares or triangles for teeth. Keep the shapes large and simple. Once the design is drawn, the adult takes over with the carving tools. Remember, the goal is clean cuts, not fine art. Thick lines are your friend.
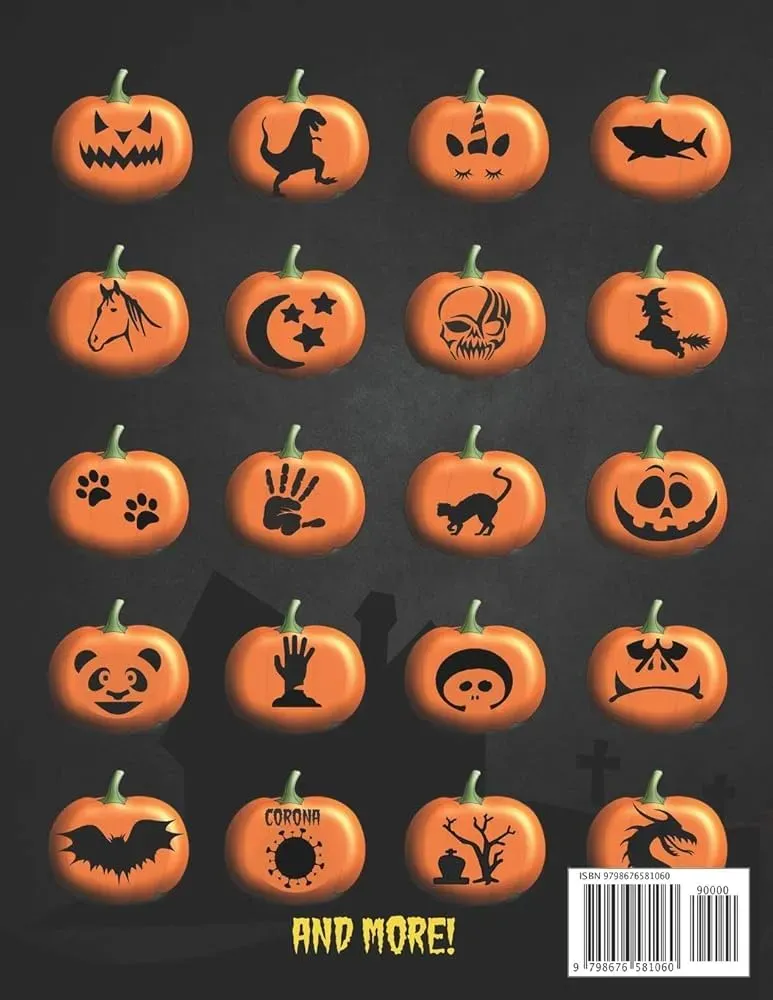
Simple Shapes and Patterns
Who says you need a face? Simple geometric shapes or repeating patterns can be just as effective and often much easier for little hands to draw (and for you to cut). Think circles, squares, stars, or even just random dots. You can make a pattern of different sized holes. Or carve out a few simple shapes scattered across the pumpkin. It’s less pressure than getting a whole face right. Plus, a pumpkin covered in carved stars looks pretty cool when lit up. This approach is fantastic for younger kids who might get frustrated with more complex designs.
Here are some easy shapes to try:
- Circles (different sizes)
- Squares or Rectangles
- Triangles
- Stars (simple five-point)
- Dots (using a drill bit or apple corer)
- Simple wavy lines
Using Stencils and Cookie Cutters
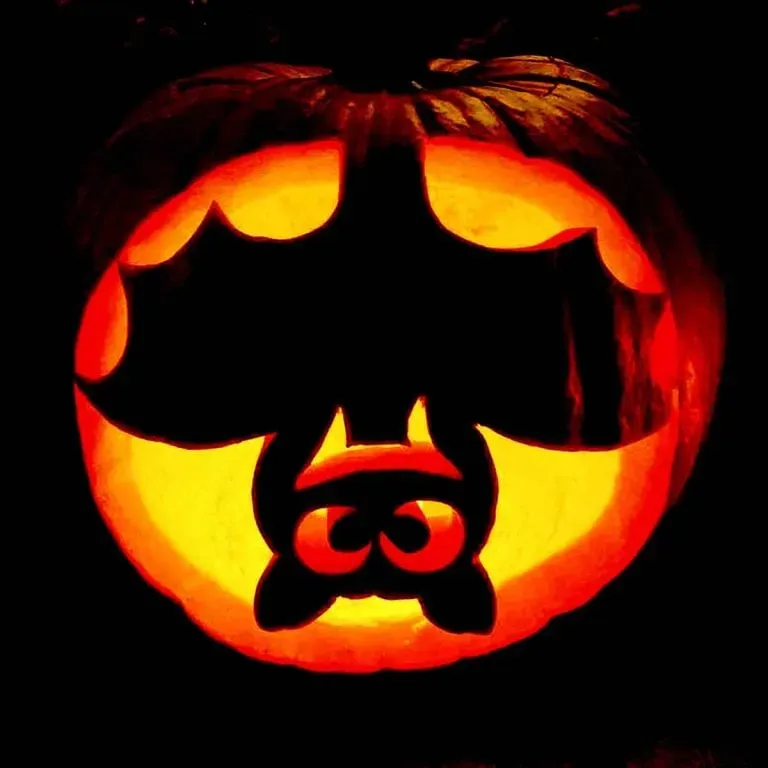
Cheat? Maybe. Smart? Absolutely. For genuinely easy **kid pumpkin carving ideas easy**, stencils and cookie cutters are your secret weapons. You can find tons of free printable stencils online with simple shapes or basic Halloween icons like bats or ghosts. Tape the stencil firmly to the pumpkin and use a marker or a poker tool from a carving kit to trace the outline by making small holes close together. Then, the adult connects the dots with the carving tool. For cookie cutters, especially metal ones, you can often tap them gently with a mallet to push them through the pumpkin skin. Just make sure the pumpkin wall isn't too thick for this method. It's quick, gives a clean shape, and the kids get the satisfaction of seeing a recognizable form appear.
Beyond the Basic: More Easy Kid Pumpkin Carving Fun
Beyond the Basic: More Easy Kid Pumpkin Carving Fun
Beyond the Basic: More Easy Kid Pumpkin Carving Fun
so you've mastered the classic grin and simple shapes. Feeling a bit more adventurous, but still want to keep it firmly in the "kid pumpkin carving ideas easy" zone? Good. We're not talking about sculpting Michelangelo's David here, but we can step it up slightly. Think simple scenes or characters. Instead of just a face, maybe carve a simple house shape and a moon above it. Or try a basic animal silhouette – a cat with an arched back, a simple ghost outline. You can use those same stencils or freehand it with a marker. The key is breaking down slightly more complex ideas into really simple, large shapes. It looks impressive to a five-year-old (and let's be honest, sometimes to us too) but doesn't require intricate cuts. It's about adding layers without adding complexity.
FAQs on Easy Kid Pumpkin Carving

FAQs on Easy Kid Pumpkin Carving
Your Burning Questions, Answered
let's get down to the nitty-gritty you're probably wondering about after wading through all those adorable **kid pumpkin carving ideas easy**. Like, seriously, which tools won't result in a trip to the ER? Forget the giant kitchen knife your grandma used; invest in a cheap, dedicated pumpkin carving kit. They have small, serrated saws designed specifically for this job, and while they aren't foolproof, they're a lot safer than standard cutlery. Another common question is how to make the darn thing last longer than 48 hours before it turns into a moldy mess. A thin layer of petroleum jelly on the cut edges can help prevent dehydration, and a quick spray inside with a bleach solution (like one part bleach to ten parts water) can fend off mold for a bit. And what if your kid is suddenly obsessed with carving a photo-realistic rendering of their favorite cartoon character? Gently steer them towards a simpler version or suggest painting that one instead. Manage expectations – yours and theirs.
- Best tools: Dedicated pumpkin carving kits with small saws.
- Making it last: Petroleum jelly on cuts, bleach spray inside.
- Complex designs: Suggest simpler versions or painting as an alternative.
- Lighting: Use battery-powered LED lights, never real candles with kids.
Wrapping Up Our Pumpkin Carving Adventure
So there you have it. Pumpkin carving with kids doesn't have to be a chaotic mess or an artistic endeavor worthy of a gallery. With a little planning, the right tools (or lack thereof!), and focusing on simple, achievable designs, you can absolutely create fun and memorable Halloween decorations together. Whether you go for a classic goofy grin or something a bit more unique, the point is the shared experience. Grab those gourds, get a little messy, and enjoy the process – the slightly lopsided, perfectly imperfect results are often the best anyway.