Table of Contents
Alright, let's talk pumpkins. That annual ritual where you brave the patch, haul home an oversized gourd, and then face the messy reality of turning it into something vaguely festive without losing a finger or your sanity. Especially when little hands are involved. The dream is a picture-perfect jack-o'-lantern glowing on the porch; the reality is often sticky seeds everywhere, frustration, and a lopsided grin that looks more like a grimace. But it doesn't have to be a horror show. This year, we're skipping the stress and focusing on genuinely fun, genuinely achievable kid easy pumpkin carving ideas.
Getting Started Safely: Prepping for Kid Easy Pumpkin Carving

Getting Started Safely: Prepping for Kid Easy Pumpkin Carving
Picking the Right Spot and Protecting Surfaces
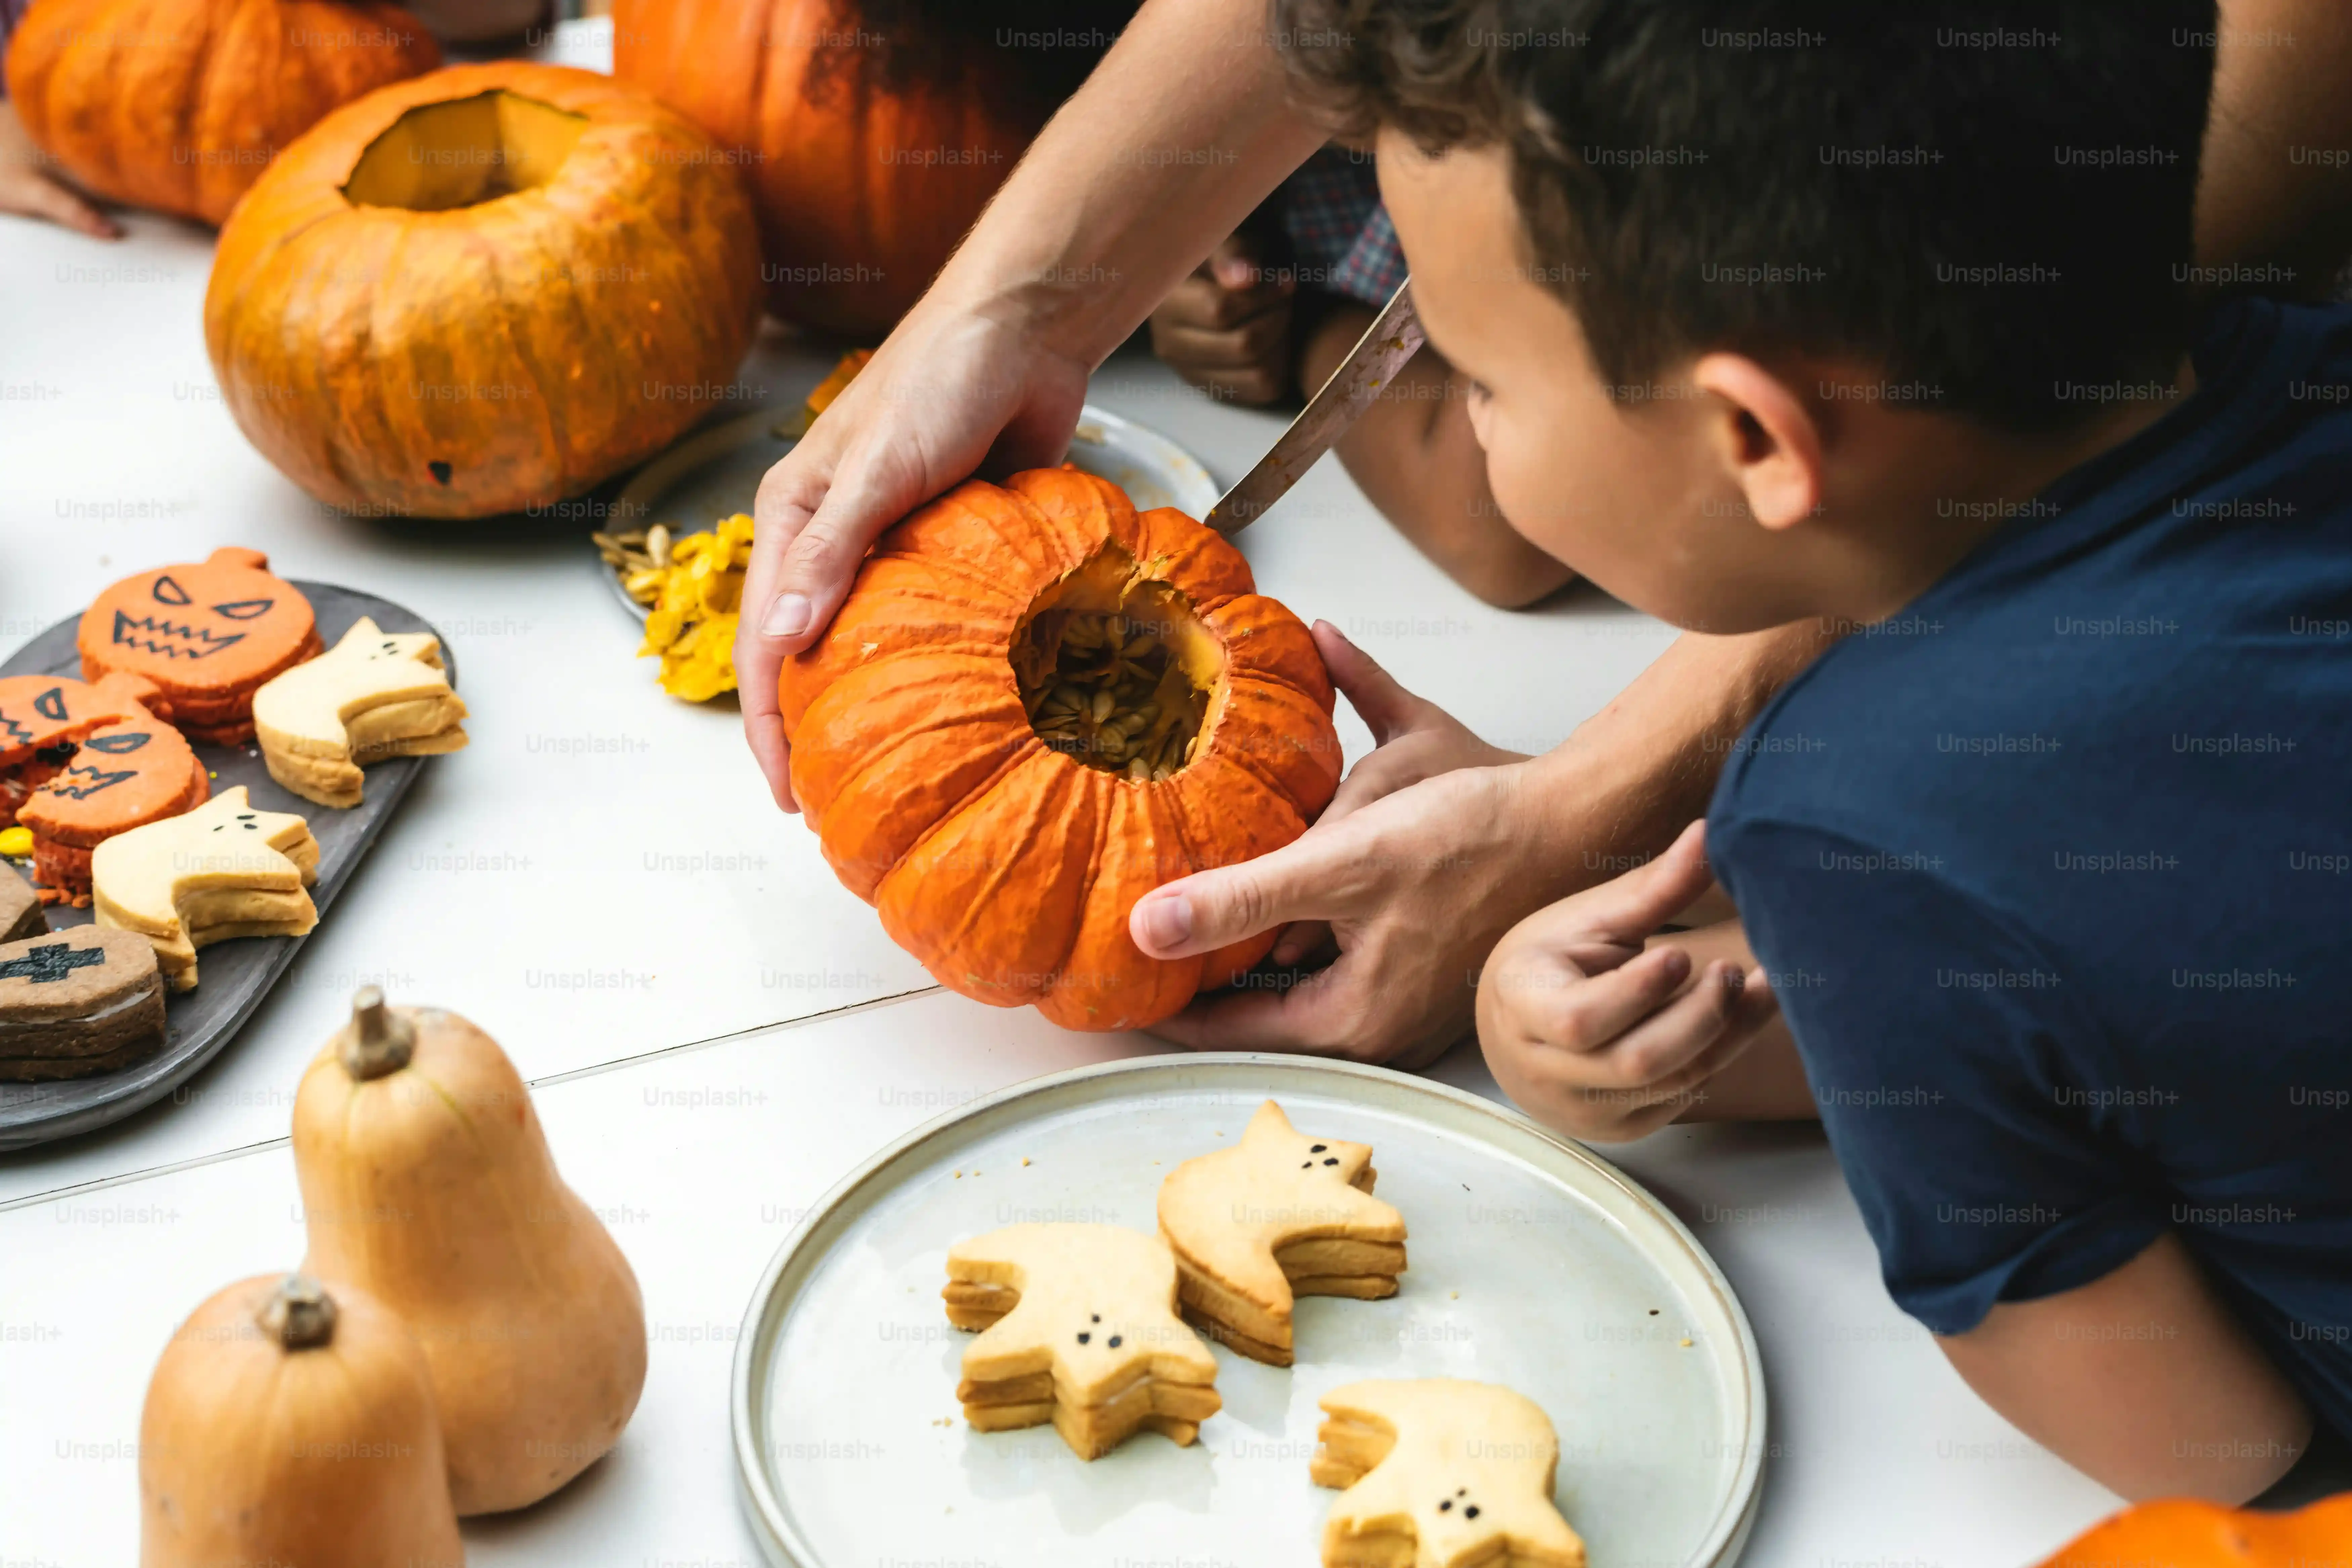
before any carving happens, you need a battlefield. Or, you know, a workspace. Pumpkin guts go everywhere. Seriously. So, step one in Getting Started Safely: Prepping for Kid Easy Pumpkin Carving is choosing a spot that's easy to clean. The kitchen table covered in old newspapers or a plastic tablecloth works wonders. Maybe even take it outside if the weather's decent. You want a flat, stable surface. Nothing wobbly or cramped. Give everyone enough elbow room so nobody's accidentally jabbing their sibling or, worse, you, with a carving tool. Think of it as setting the stage for less chaos and more creative fun.
Choosing the Right Tools (Hint: Not Always the Sharpest Knife)
This is where safety really kicks in, especially with kid easy pumpkin carving ideas. Put away your chef's knives. Seriously. Kids and super-sharp blades are a recipe for an emergency room visit. There are tons of kid-friendly pumpkin carving kits out there now. They often have plastic or duller metal tools specifically designed for scraping and sawing through pumpkin flesh without being razor-sharp. Look for tools with comfortable handles that little hands can grip easily. You'll still need a grown-up for the initial lid-cutting and maybe some trickier bits, but these kits empower kids to do a lot of the work themselves safely.
Here's a quick checklist for your carving zone:
- Plenty of old newspapers or a plastic tablecloth
- A sturdy, flat surface
- A bowl for seeds (roasting them later is a bonus!)
- Another bowl for the scraped-out pulp
- Paper towels or rags for inevitable messes
- Kid-safe carving tools
- One adult-only, sharp knife for the lid (used ONLY by the adult)
Top Tips for Making Pumpkin Carving Easy for Kids
Top Tips for Making Pumpkin Carving Easy for Kids
Keep Designs Simple (Like, Really Simple)
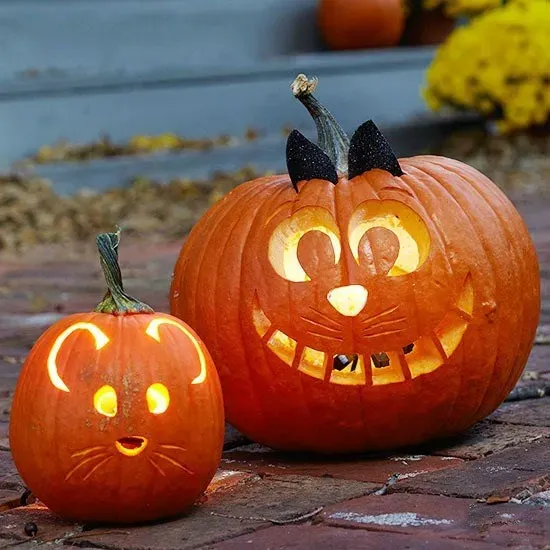
Look, those intricate, movie-poster-worthy pumpkin carvings? They're probably done by adults with way too much time or professional artists. When you're tackling kid easy pumpkin carving ideas, the golden rule is simplicity. Think basic shapes: triangles for eyes, a jagged line or a simple curve for a mouth. Maybe a circle nose. That's it. Trying to recreate a detailed character face with a wobbly plastic saw is just asking for tears (yours or theirs). Simple designs are less frustrating for little hands to execute and often look just as charming when lit up. A classic, slightly goofy face is always a winner.
Master the Poke and Saw Technique
For kid easy pumpkin carving ideas, ditch the idea of smooth, sweeping cuts. Pumpkin walls are thick and resisting. The most effective method for kids using those safety tools is the "poke and saw." They poke the tool through the pumpkin wall to start a hole, then use a gentle sawing motion to connect the dots they've drawn. It's slower, yes, but it gives them more control and reduces the chance of the tool slipping. Encourage them to take their time and focus on small sections. Think of it less like carving and more like carefully excavating.
Here are a few techniques that make it easier:
- Use a dry-erase marker to draw the design directly on the pumpkin – easy to correct mistakes.
- Start with smaller pumpkins; they are easier for kids to handle and cut through.
- Scrape the inside walls thin where you plan to carve; this makes sawing much less work.
- Have an adult pre-poke the outline with a skewer or drill bit (carefully!) for the kids to follow.
Let Them Take the Lead (Within Reason)
This is probably the hardest tip for control-freak parents (raises hand). The point of kid easy pumpkin carving ideas is the *kid* part. Let them choose the design (from your pre-approved simple options, naturally). Let them do the drawing (even if it's lopsided). Let them do the poking and sawing. Yes, it might not be perfect. It will likely be messy. But that's okay. Your job is supervision, safety, and maybe the initial lid removal. Their job is the creative, messy fun. Stepping back allows them a sense of accomplishment that a perfectly carved, adult-dominated pumpkin can't provide. Embrace the slightly wonky outcome; it has character.
Fun & Simple Kid Easy Pumpkin Carving Ideas (Character, Classic, Spooky)
Fun & Simple Kid Easy Pumpkin Carving Ideas (Character, Classic, Spooky)
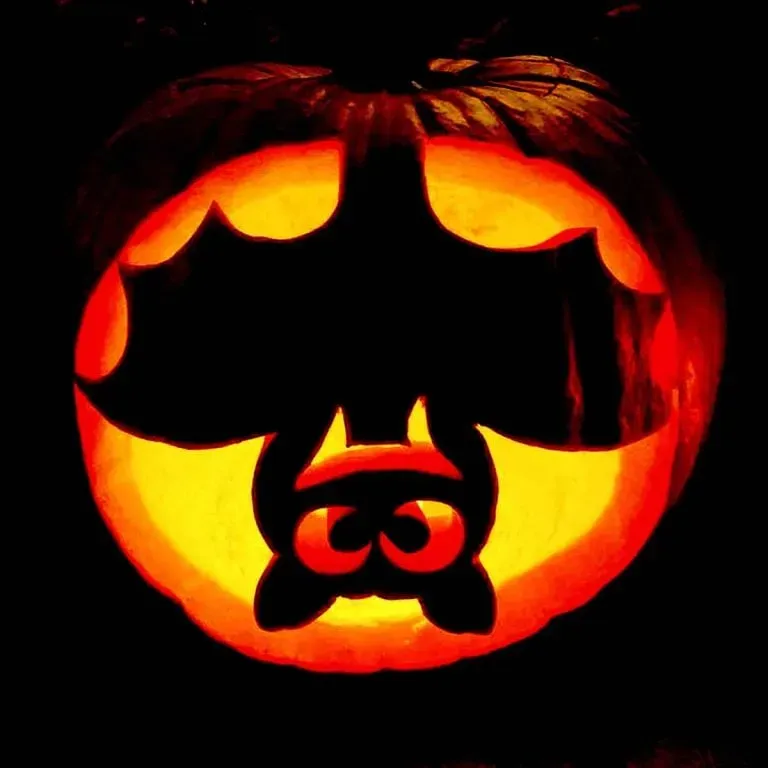
Now for the fun part: deciding what spooky (or not-so-spooky) face will stare out from your porch. When it comes to kid easy pumpkin carving ideas, think broad strokes, not fine details. Character pumpkins are huge, obviously, but trying to carve SpongeBob's actual pores? Skip it. Instead, think simple outlines or focusing on one key feature. A round eye and a lightning bolt scar for a certain wizard, perhaps, or just big, goofy mouse ears traced and carved out. Classic Halloween shapes are always a safe bet – jagged-tooth grins, simple triangle eyes, or maybe a basic ghost outline. For "spooky" that's still kid-friendly, think silly monsters, not terrifying ghouls. A single cyclops eye, a few random teeth, or maybe just carving out the word "BOO!" is often exactly the right level of spooky for the under-10 crowd.
Beyond the Knife: Easy Decoration Alternatives & Preservation Hacks
Beyond the Knife: Easy Decoration Alternatives & Preservation Hacks
Decorating Without Carving: The Mess-Free Magic
Let's be real, sometimes even kid easy pumpkin carving ideas feel like too much. Or maybe you've got really young kids who aren't ready for even the dullest plastic saw. Good news! You can create amazing pumpkins without ever touching a carving tool. Think paint, markers, googly eyes, yarn hair, felt shapes, stickers – the possibilities are endless and significantly less hazardous. Painting is a classic for a reason; grab some acrylic paints and let them go wild. You can paint silly faces, spooky scenes, or just abstract art. Markers work great for drawing details or patterns. Hot glue (adult supervision required!) or even craft glue can attach all sorts of fun things like pipe cleaners for arms, buttons for eyes, or felt hats. This bypasses the sharp tools entirely and lets creativity flow freely on the surface.
Keeping Your Masterpiece Alive: Preservation Hacks
You spent all that time on your kid easy pumpkin carving ideas, got them just right, and now you want them to last longer than two days before collapsing into a sad, moldy mess. Totally understandable. Carved pumpkins are basically food, and they start decomposing pretty fast, especially in warmer temps. There are a few tricks to slow down the inevitable. One popular method is giving the carved pumpkin a bleach bath – a quick dip in a solution of about one teaspoon of bleach per gallon of water. Swish it around, get the inside and carved edges, then let it air dry completely. This kills some of the mold and bacteria. Another trick is to rub petroleum jelly on all the cut edges. It seals in moisture and prevents drying out, which can make the pumpkin shrivel and collapse.
Here's how to help your carved pumpkin survive the week:
- Clean the inside thoroughly – the more pulp left, the faster it rots.
- Give it a quick bleach bath (1 tsp bleach per gallon water).
- Rub petroleum jelly or vegetable oil on all cut surfaces.
- Avoid placing it directly under harsh sunlight or heat.
- Consider using a battery-powered LED light instead of a candle – less heat means less decay.
Wrapping Up Your Pumpkin Project
So there you have it. Tackling pumpkins with kids doesn't require a degree in sculpture or the patience of a saint. It just takes a little planning, the right tools (or lack thereof, depending on the method), and a willingness to embrace the perfectly imperfect. Whether you end up with a classic toothy grin, a character face, or just a bunch of cool shapes, the point is the time spent together, the mess made, and the small victory of a glowing pumpkin on Halloween night. Don't stress about perfection; focus on the process and the fact that you survived the great gourd excavation. And hey, there's always next year to try something even simpler.