Table of Contents
Halloween is creeping closer, and what better way to celebrate than with a jack-o'-lantern that screams (or leers) from your front porch? Forget friendly smiles and goofy grins; we're diving headfirst into the realm of the frightening with **ideas for pumpkin carving scary** enough to make the trick-or-treaters think twice. This isn't your grandma's pumpkin carving guide. We're talking menacing monsters, creepy crawlies, and downright disturbing designs that will set your house apart as the spookiest on the block.
Classic Scary Faces: Timeless Pumpkin Carving Ideas
Classic Scary Faces: Timeless Pumpkin Carving Ideas
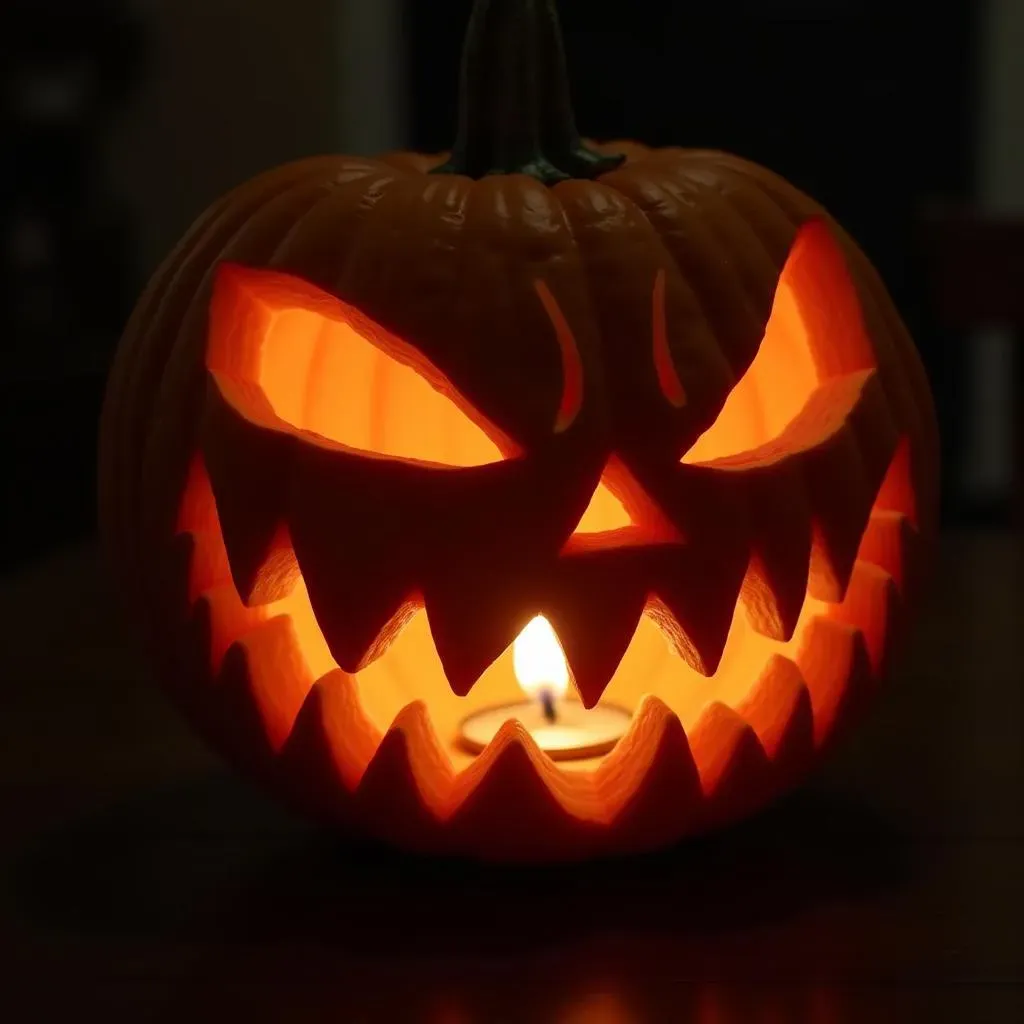
The OG Jack-O'-Lantern: A Guaranteed Spook
Let's be honest, you can't go wrong with the classic scary face. It's the pumpkin carving equivalent of a little black dress – always in style, and always effective. Think jagged teeth, wide, menacing eyes, and a brow furrowed in eternal anger. The beauty of this design is its simplicity. Even if you're a complete beginner, you can achieve a terrifying result. The key is to focus on sharp angles and asymmetry. Perfectly symmetrical features are boring; a truly scary face is slightly off-kilter, hinting at something sinister lurking within.
Want to amp up the fear factor? Consider adding details like a crooked nose, a scar across the cheek, or even just varying the size and shape of the teeth. Remember, the goal is to create a face that looks unsettling and unpredictable. Don't be afraid to experiment and let your inner monster guide you. After all, even the most iconic horror villains have their own unique quirks.
Evolving the Classics: Adding Your Own Twist
While the classic scary face is a solid foundation, don't be afraid to put your own spin on it. Think about what *you* find scary and try to incorporate those elements into your design. Maybe you're terrified of spiders – add some creepy crawlies emerging from the pumpkin's mouth. Perhaps clowns give you the heebie-jeebies – create a demented clown face with exaggerated features and a sinister grin. The possibilities are endless!
Another way to elevate the classic scary face is to play with light and shadow. Carve deeper in some areas to create more dramatic shadows, and leave other areas shallower to allow light to shine through. This technique can add depth and dimension to your design, making it even more unsettling in the dark. Experiment with different carving depths and see how they affect the overall look. You might be surprised at the terrifying results you can achieve.
Beyond the Basics: Creative Scary Pumpkin Carving Concepts
Beyond the Basics: Creative Scary Pumpkin Carving Concepts
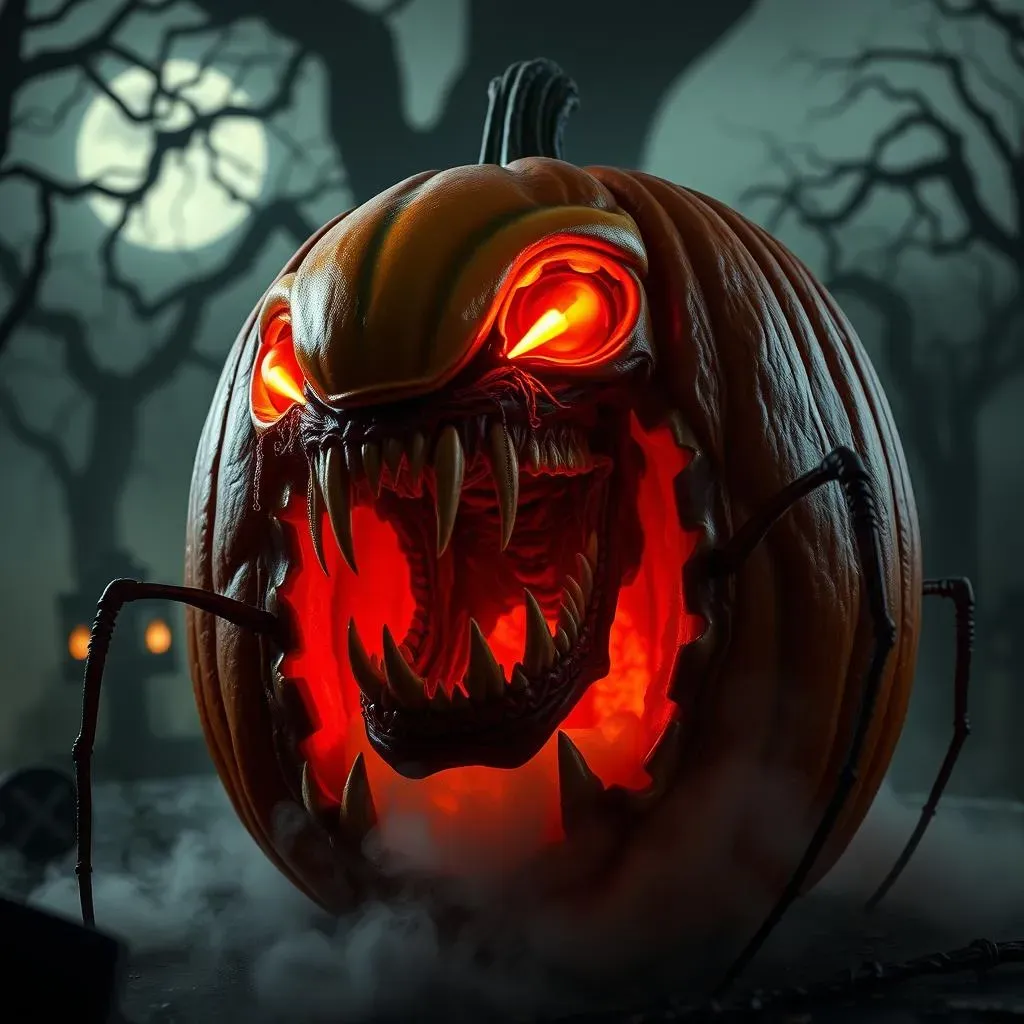
Monster Mashups: Combining Classic Horror Elements
Tired of the same old vampire fangs and zombie eyes? Why not mix and match different monster features to create something truly unique and terrifying? Imagine a pumpkin with the gaping maw of a xenomorph, the spindly legs of a spider, and the glowing red eyes of a demon. The more bizarre and unsettling the combination, the better! This approach allows you to tap into a wider range of fears and create a pumpkin that is both familiar and utterly alien.
Consider incorporating elements from different horror subgenres. Blend classic monster movie tropes with psychological thriller imagery, or combine supernatural horror with body horror elements. The key is to think outside the box and challenge your own preconceptions of what makes something scary. Don't be afraid to get weird, get creative, and most importantly, get scary!
Monster Element | Possible Pumpkin Application |
|---|---|
Xenomorph Jaw | Elongated, toothed opening with inner mouth details |
Spider Legs | Wire or carved extensions attached to the pumpkin |
Demon Eyes | Glowing red LED lights or strategically carved holes for candlelight |
Scene Setting: Carving a Narrative
Instead of just carving a face, why not carve an entire scene onto your pumpkin? This could be anything from a graveyard with gnarled trees and looming tombstones, to a haunted house with flickering windows and shadowy figures lurking within. The more detail you include, the more immersive and terrifying the scene will be. Think about creating depth and perspective by carving different elements at varying depths.
To really bring your scene to life, consider adding special effects like fog or lighting. A small fog machine placed inside the pumpkin can create an eerie, atmospheric effect, while strategically placed LED lights can highlight specific details and create a sense of drama. You can even use stencils to create intricate patterns and textures that add to the overall sense of realism. With a little planning and creativity, you can transform your pumpkin into a miniature horror movie scene.
Advanced Techniques for Seriously Scary Pumpkin Carvings
Advanced Techniques for Seriously Scary Pumpkin Carvings
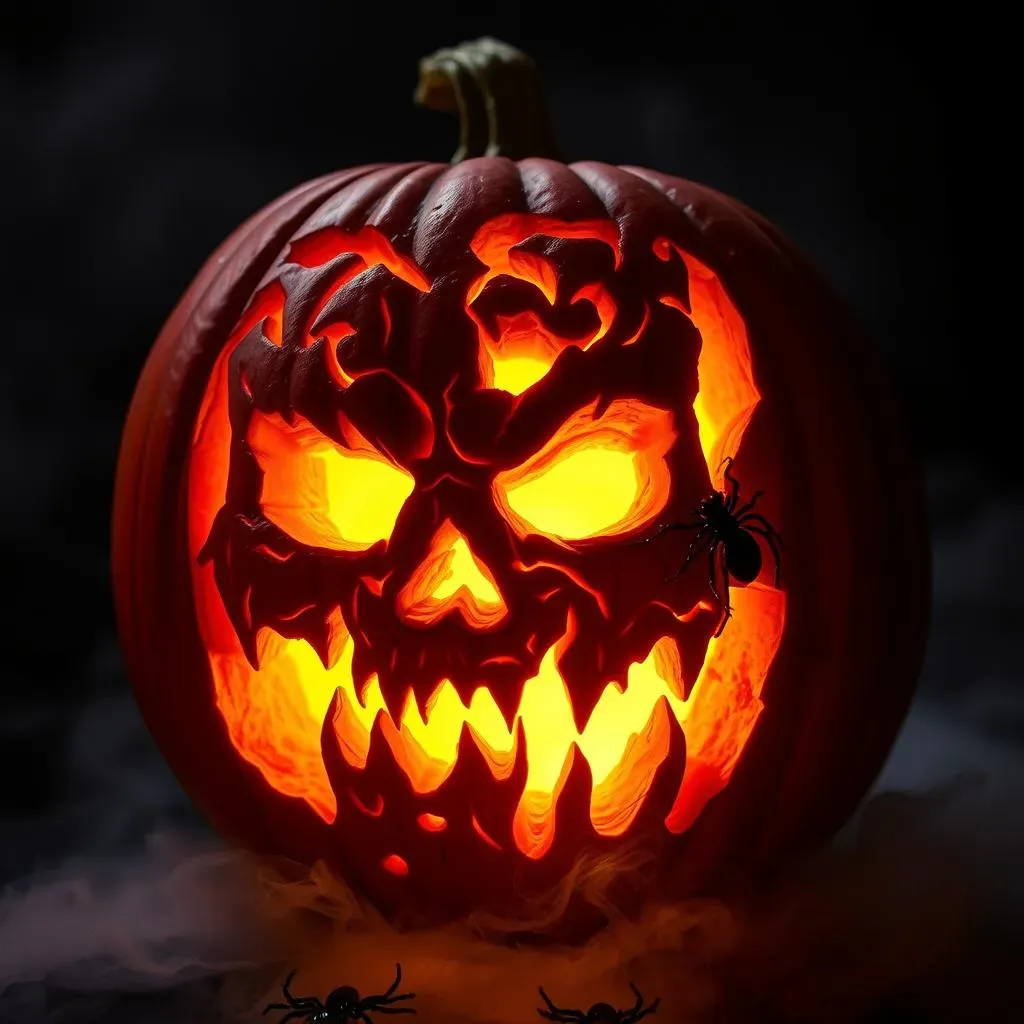
Sculpting with Light and Shadow: The Power of Depth
Ready to move beyond simple cutouts? This is where things get interesting. Advanced pumpkin carving is all about manipulating light and shadow to create a three-dimensional effect. Think of your pumpkin as a canvas and your carving tools as sculpting instruments. Instead of cutting all the way through the pumpkin's flesh, experiment with different depths to create varying levels of translucency. This will allow light to shine through in some areas and be blocked in others, creating a dramatic interplay of light and shadow.
Start by sketching out your design on the pumpkin's surface. Then, use a variety of carving tools to remove the pumpkin's flesh in layers, gradually building up the desired depth. Remember, the deeper you carve, the more light will shine through. Use this to your advantage to highlight key features and create a sense of depth and dimension. For example, you might carve the eyes of a monster deeper to make them appear to glow with an eerie intensity.
Using Stencils for Intricate Designs: Precision is Key
For complex designs with intricate details, stencils are your best friend. You can find a wide variety of stencils online, or even create your own using image editing software. Once you have your stencil, carefully transfer the design onto the pumpkin's surface using a poking tool or tracing wheel. Then, use a variety of carving tools to carefully cut out the stencil's design, paying close attention to detail.
The key to using stencils effectively is precision. Take your time and work carefully, making sure to follow the stencil's lines exactly. Use a sharp carving tool to avoid tearing the pumpkin's flesh, and be patient. Remember, the more precise you are, the more impressive the final result will be. Once you've finished carving, remove the stencil and admire your handiwork. You'll be amazed at the level of detail you can achieve with a stencil and a little bit of patience.
Stencil Type | Difficulty | Best For |
|---|---|---|
Simple Shapes | Easy | Beginners, basic designs |
Intricate Patterns | Medium | Intermediate carvers, detailed backgrounds |
Complex Images | Hard | Advanced carvers, realistic portraits |
Adding Special Effects: Making Your Pumpkin Come Alive
Want to take your scary pumpkin carving to the next level? Consider adding special effects to really make it come alive. As mentioned earlier, fog machines and LED lights can add an eerie atmosphere and highlight specific details. But don't stop there! You can also use other materials to create unique and terrifying effects. For example, you could use fake blood to create a gruesome scene, or attach plastic spiders to make your pumpkin extra creepy.
Another fun technique is to use a drill to create small holes that mimic the look of insect bites or bullet holes. You can also use a hot glue gun to attach different materials to the pumpkin's surface, such as twigs, leaves, or even small bones. The possibilities are endless! Just remember to use caution when working with sharp tools and hot materials, and always prioritize safety.
Tools and Tips for Mastering Scary Pumpkin Carving
Tools and Tips for Mastering Scary Pumpkin Carving
Essential Carving Tools: Setting Yourself Up for Success
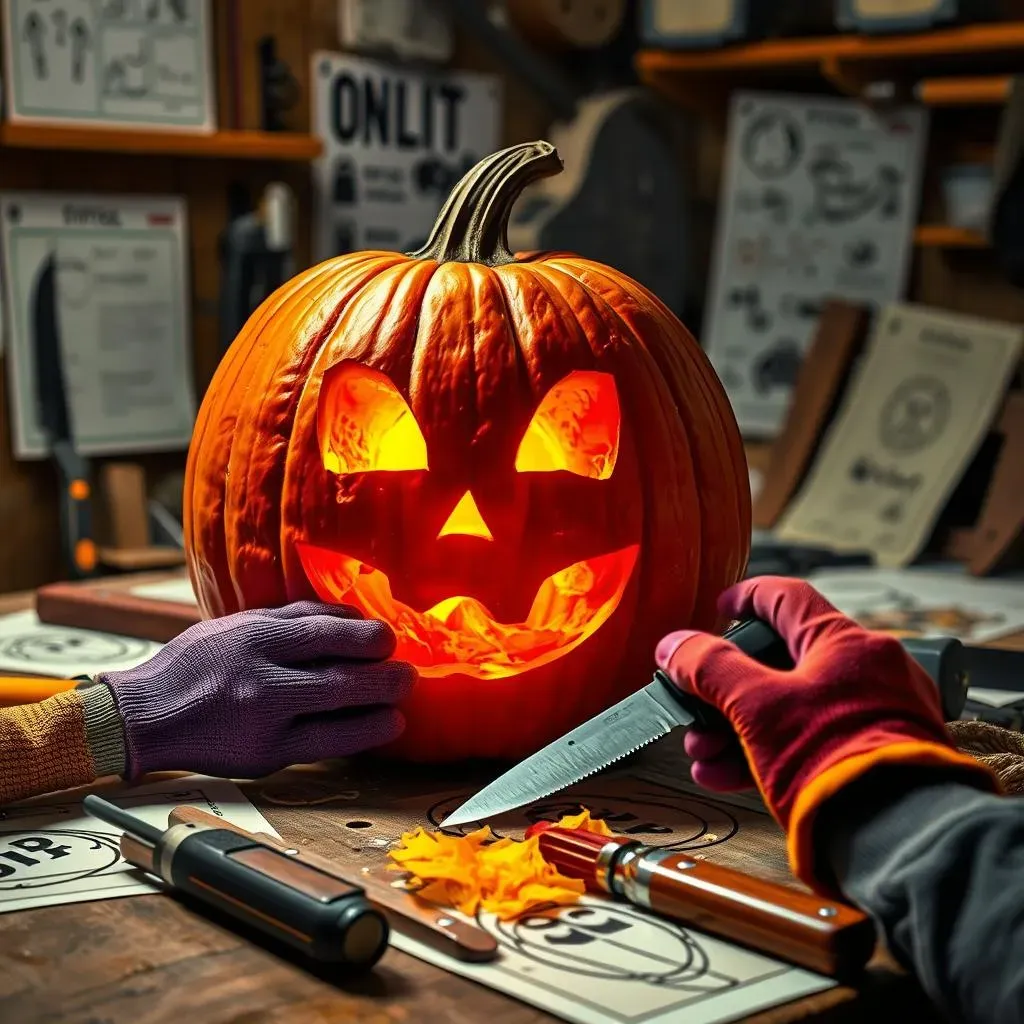
Alright, let's talk tools! You can't carve a masterpiece with a butter knife. Having the right tools not only makes the process easier, but also safer and more enjoyable. A good pumpkin carving kit is a great starting point, but don't be afraid to expand your arsenal. Look for tools with comfortable grips and sharp blades. Dull tools are more likely to slip and cause injury.
Beyond the basic saws and scoops, consider investing in some specialized tools like detail knives, gouges, and even wood carving tools. These will allow you to create more intricate designs and achieve a higher level of detail. And don't forget about lighting! A good headlamp or work light will help you see what you're doing, especially when working on complex designs.
- Pumpkin Carving Kit: Includes various saws and scoops.
- Detail Knives: For fine lines and intricate details.
- Gouges: For creating depth and texture.
- Wood Carving Tools: For advanced sculpting techniques.
- Headlamp/Work Light: To illuminate your workspace.
Pumpkin Prep is Key: From Selection to Stencil
The carving process starts way before you even pick up a knife. Choosing the right pumpkin is crucial. Look for one that is firm, with a smooth surface and a sturdy stem. Avoid pumpkins with bruises, soft spots, or cracks. The size and shape of the pumpkin will also influence your design. A tall, narrow pumpkin might be perfect for a creepy character, while a round pumpkin might be better suited for a classic scary face.
Once you've selected your pumpkin, it's time to clean it out. Remove all the seeds and pulp, scraping the inside walls clean. The thinner the walls, the easier it will be to carve. Finally, transfer your design onto the pumpkin's surface using a stencil or freehand drawing. Use a poking tool to create small holes along the lines of your design. This will make it easier to see the design when you start carving.
Safety First: Carve Smart, Not Hard
Pumpkin carving can be a fun and rewarding activity, but it's important to prioritize safety. Always carve in a well-lit area and use a stable work surface. Keep your hands dry and wear gloves to improve your grip. Never force a carving tool. If it's not cutting easily, try a different tool or technique. And most importantly, supervise children closely when they are carving pumpkins.
Consider using battery-operated candles or LED lights instead of traditional candles. These are much safer and won't pose a fire hazard. And when you're finished carving, be sure to clean up your workspace and dispose of the pumpkin guts properly. With a little common sense and some basic safety precautions, you can enjoy a fun and safe pumpkin carving experience.
Safety Tip | Description |
|---|---|
Well-Lit Area | Ensures clear visibility. |
Stable Work Surface | Prevents accidents. |
Dry Hands & Gloves | Improves grip. |
Supervise Children | Ensures their safety. |
Battery-Operated Lights | Eliminates fire hazard. |
Embrace the Fright: Your Spooky Pumpkin Awaits
So, there you have it – a cauldron full of scary pumpkin carving ideas to ignite your Halloween spirit. Whether you opt for a classic menacing grin or a more elaborate, spine-chilling design, remember that the key is to have fun and let your creativity run wild. With the right tools, a little patience, and a dash of daring, you can transform an ordinary pumpkin into a terrifying masterpiece that will haunt your neighborhood for years to come. Happy carving, and may your Halloween be filled with delightful frights!