Table of Contents
Halloween looms, and with it, the annual pressure to produce a pumpkin masterpiece. Forget the intricate, multi-layered designs that look like they belong in a museum – unless you have hours, specialized tools, and the patience of a saint. Most of us just want a cool-looking jack-o'-lantern without losing a finger or spending an entire afternoon scraping out pumpkin guts. That's where focusing on ideas for pumpkin carving easy comes in. This isn't about settling for boring; it's about smart choices and simple techniques that deliver maximum spooky impact with minimum fuss. We'll cut through the complexity, showing you straightforward approaches. We'll cover the right tools that make a difference, explore classic and fresh easy designs, and even look at ways to get a great look without touching a carving knife. Stick around, and you might actually enjoy the process this year.
Starting Simple: Why Easy Pumpkin Carving Ideas Make Sense
Starting Simple: Why Easy Pumpkin Carving Ideas Make Sense
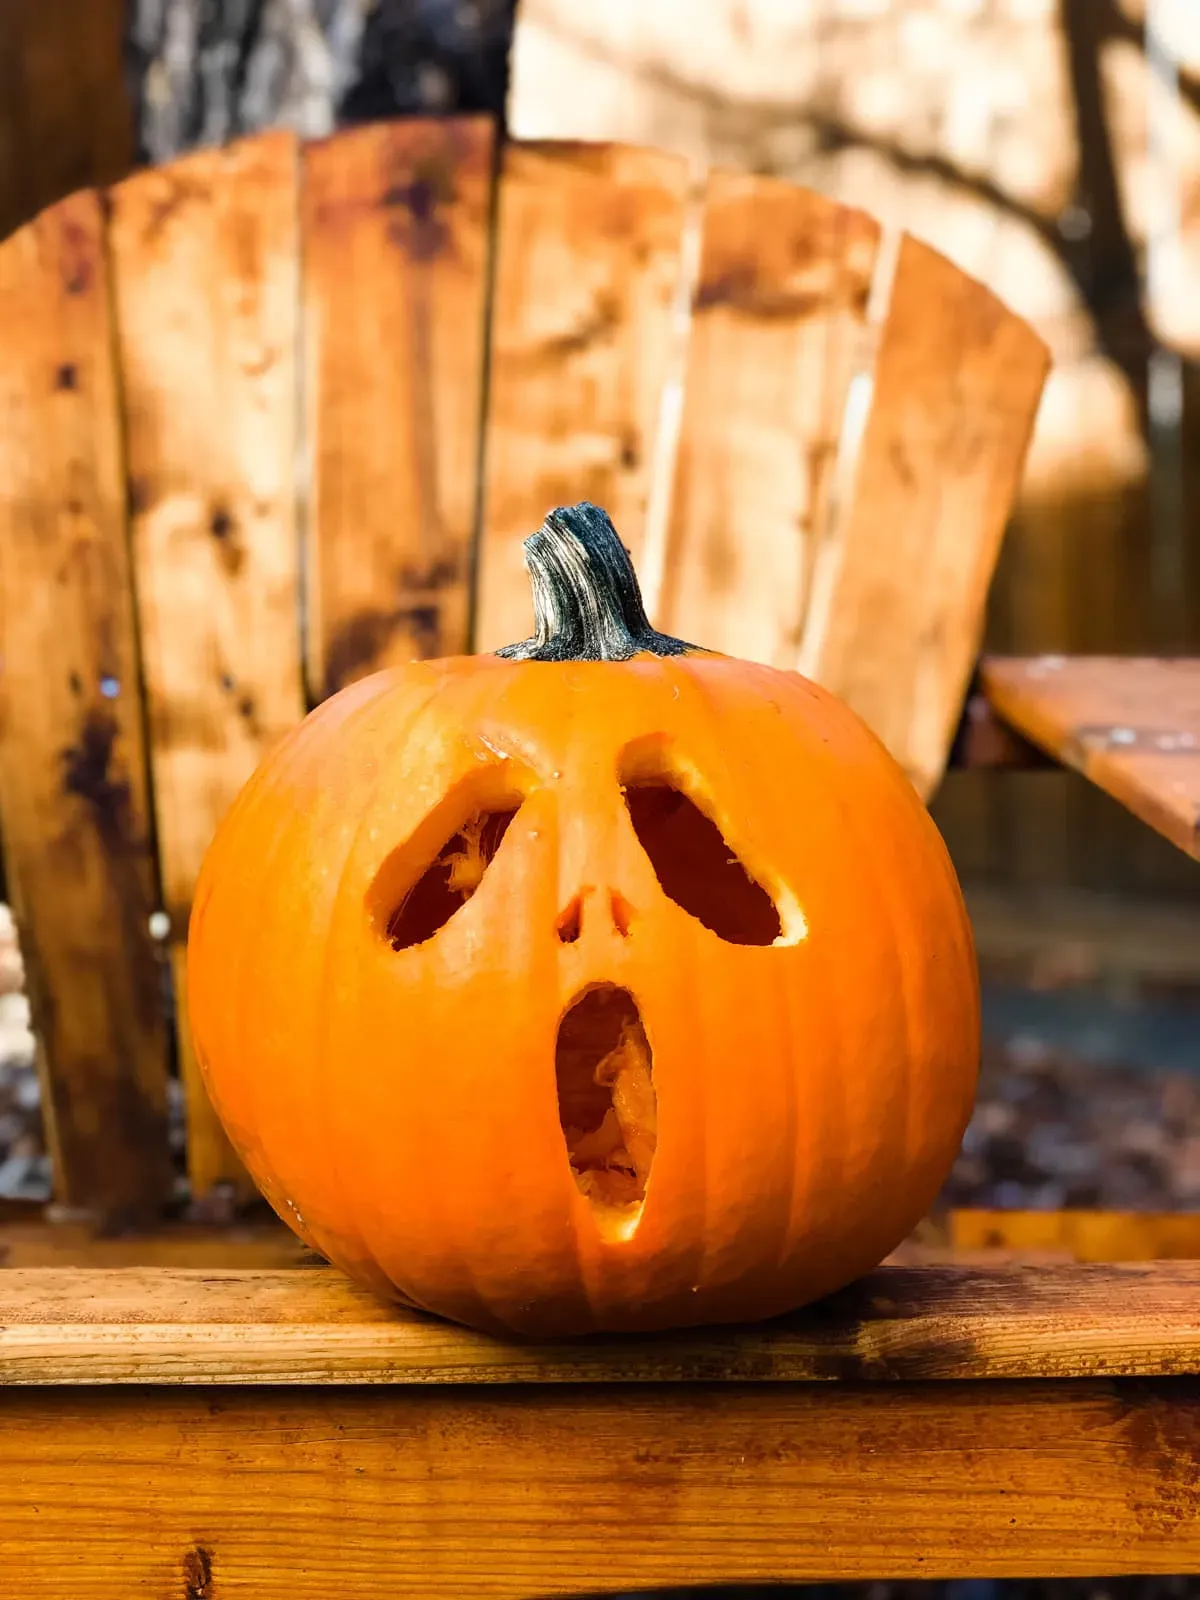
Look, let's be real. Not everyone is Martha Stewart with a carving kit. Some of us just want a pumpkin that looks decent on the porch without requiring an engineering degree or a trip to the emergency room. That's precisely why focusing on Starting Simple: Why Easy Pumpkin Carving Ideas Make Sense is the way to go for most folks. You get to participate in the fun Halloween tradition, your result is recognizable as a jack-o'-lantern (or whatever simple design you choose), and you don't end up spending three hours hunched over a slippery gourd, covered in seeds, questioning all your life choices. It cuts down on frustration, saves time, and honestly, a classic spooky face or a simple pattern often looks better than a complicated mess gone wrong.
Tools and Tricks for Easy Pumpkin Carving
Tools and Tricks for Easy Pumpkin Carving
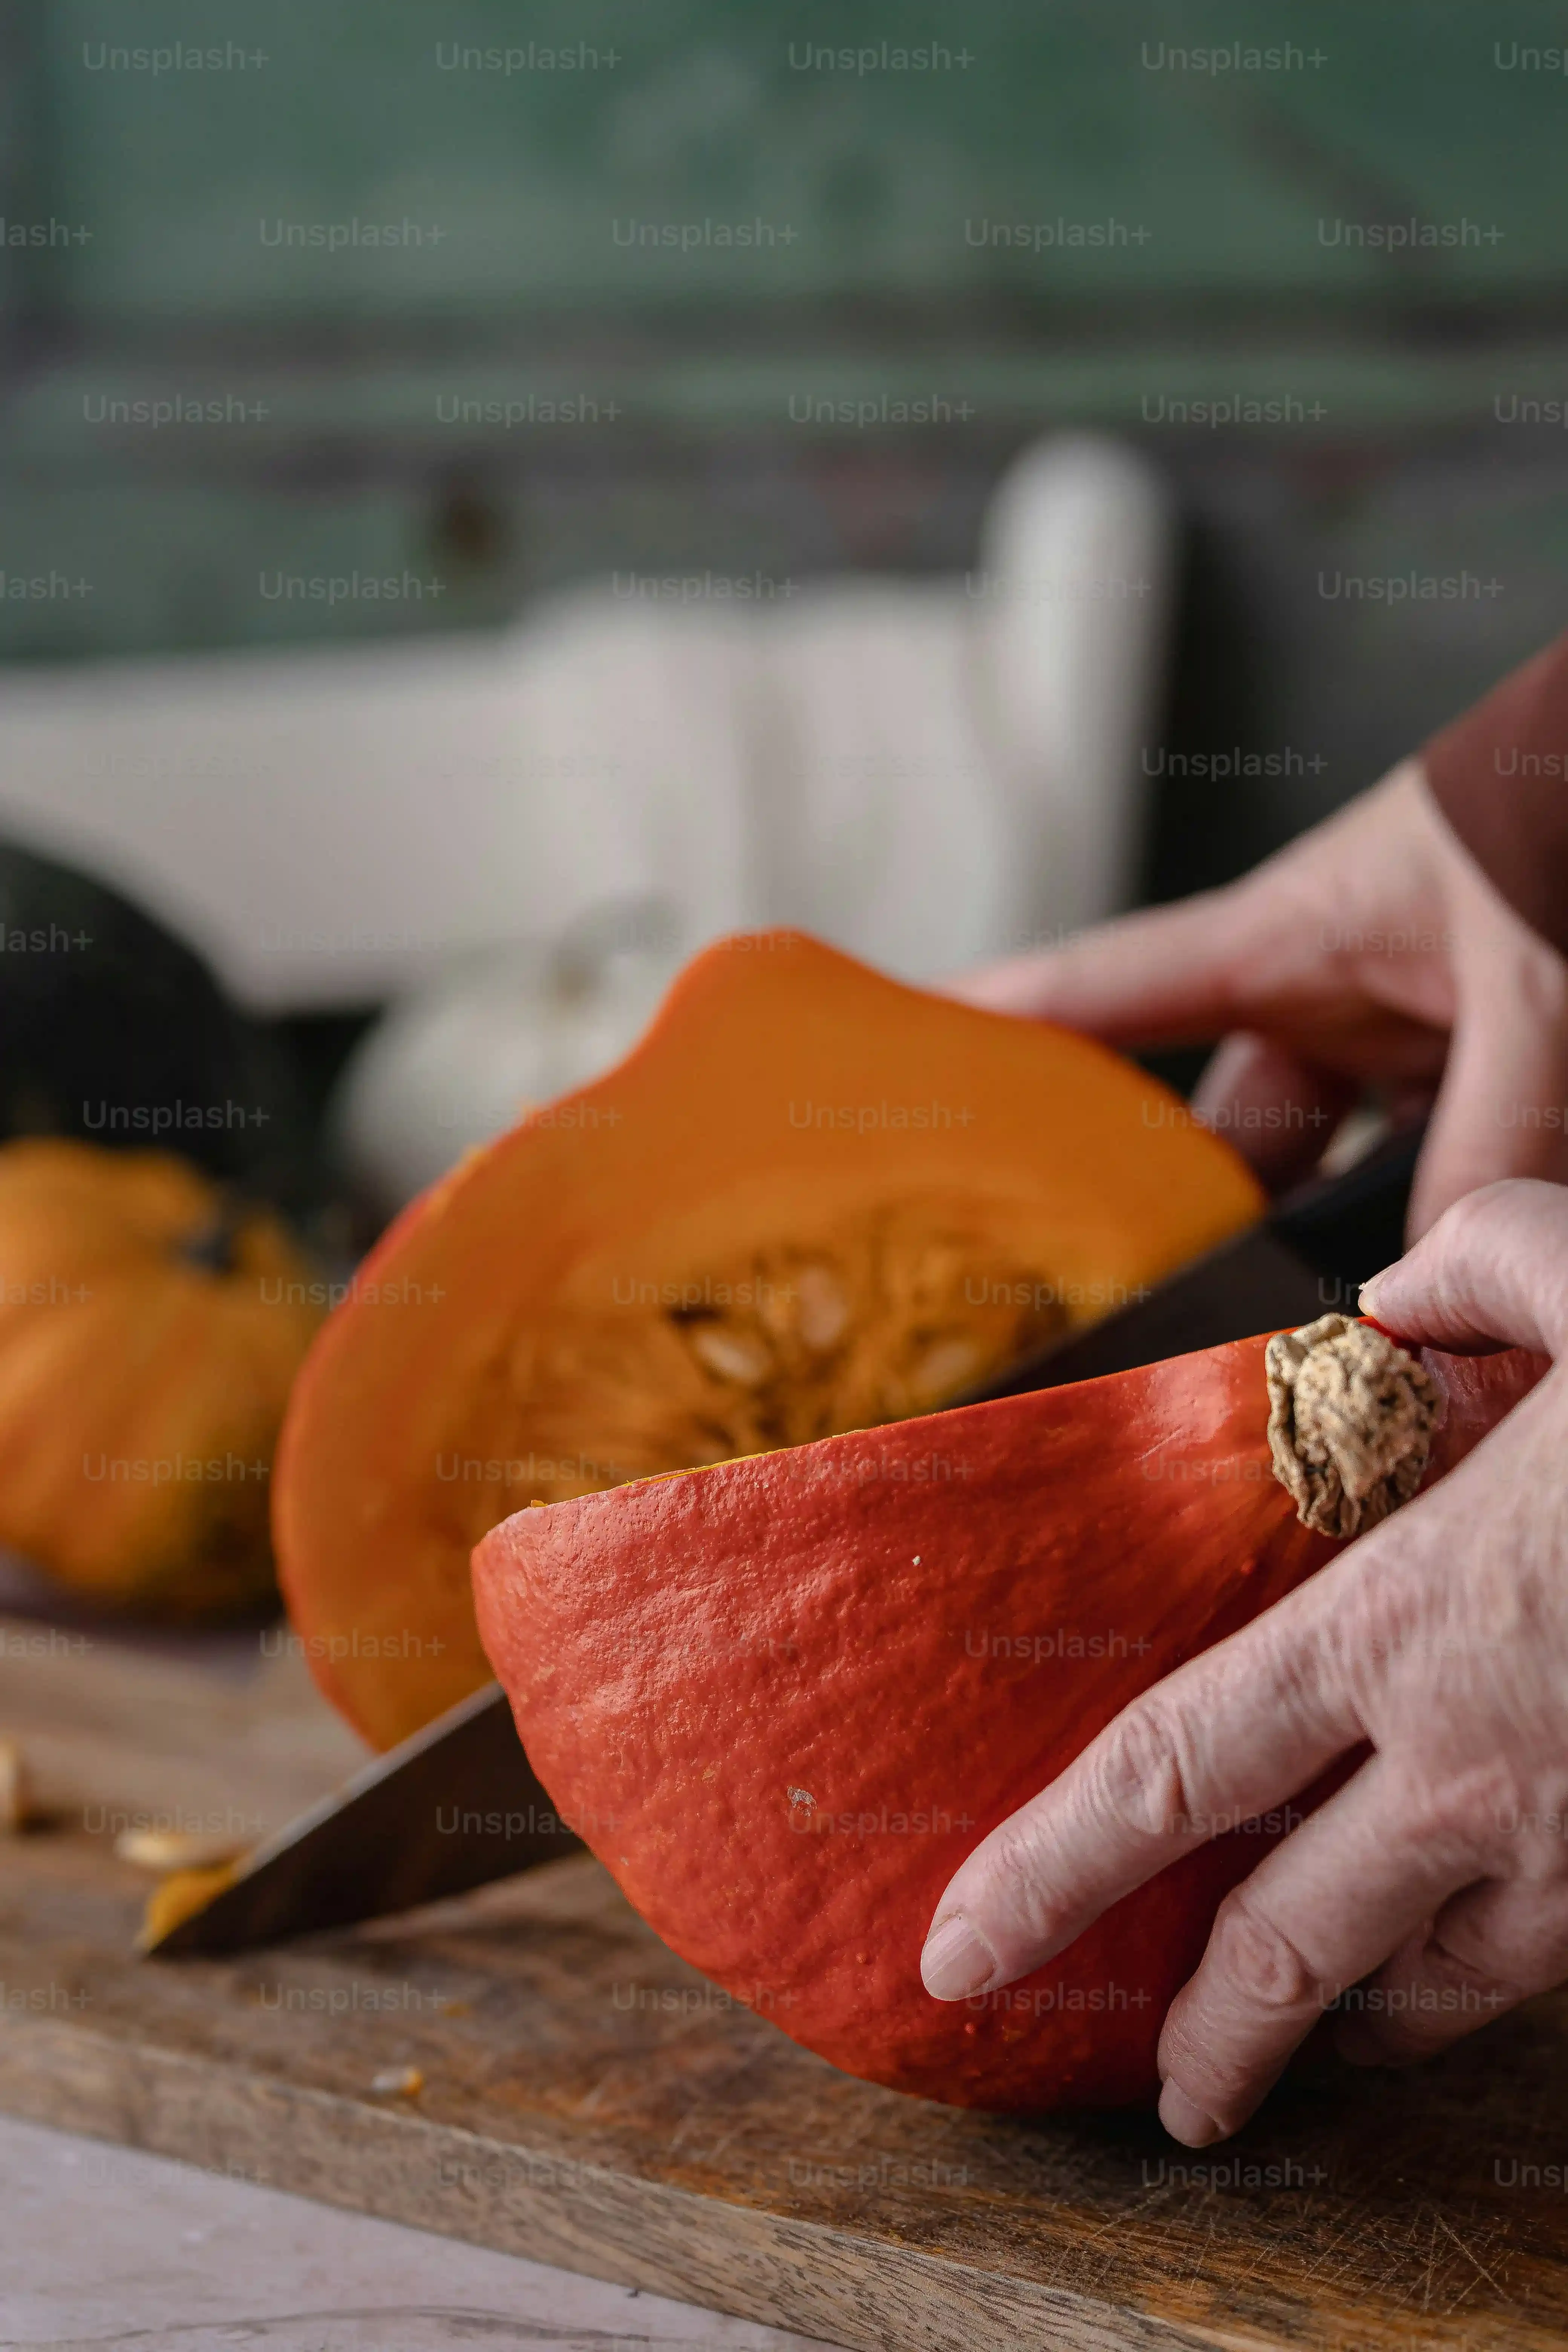
Alright, so you've decided to keep it simple this year with your ideas for pumpkin carving easy. Good call. Now, let's talk gear and sneaky little hacks. You don't need a professional sculpting set that costs more than the pumpkin patch itself. A basic, inexpensive carving kit you can grab at the grocery store is usually sufficient for simple designs. Those little saws are surprisingly effective for straight lines and gentle curves. But here’s a trick: don't underestimate the power of a sharp kitchen knife (used carefully, obviously) for cutting the lid and scraping out the bulk of the guts. And for getting those stubborn strings off the inside walls? A large metal spoon or even an ice cream scoop works wonders – way faster and less messy than the flimsy plastic scoop in those kits. Simple tools, used smart, make the whole process less of a wrestling match.
Classic and Creative Ideas for Pumpkin Carving Easy
Classic and Creative Ideas for Pumpkin Carving Easy
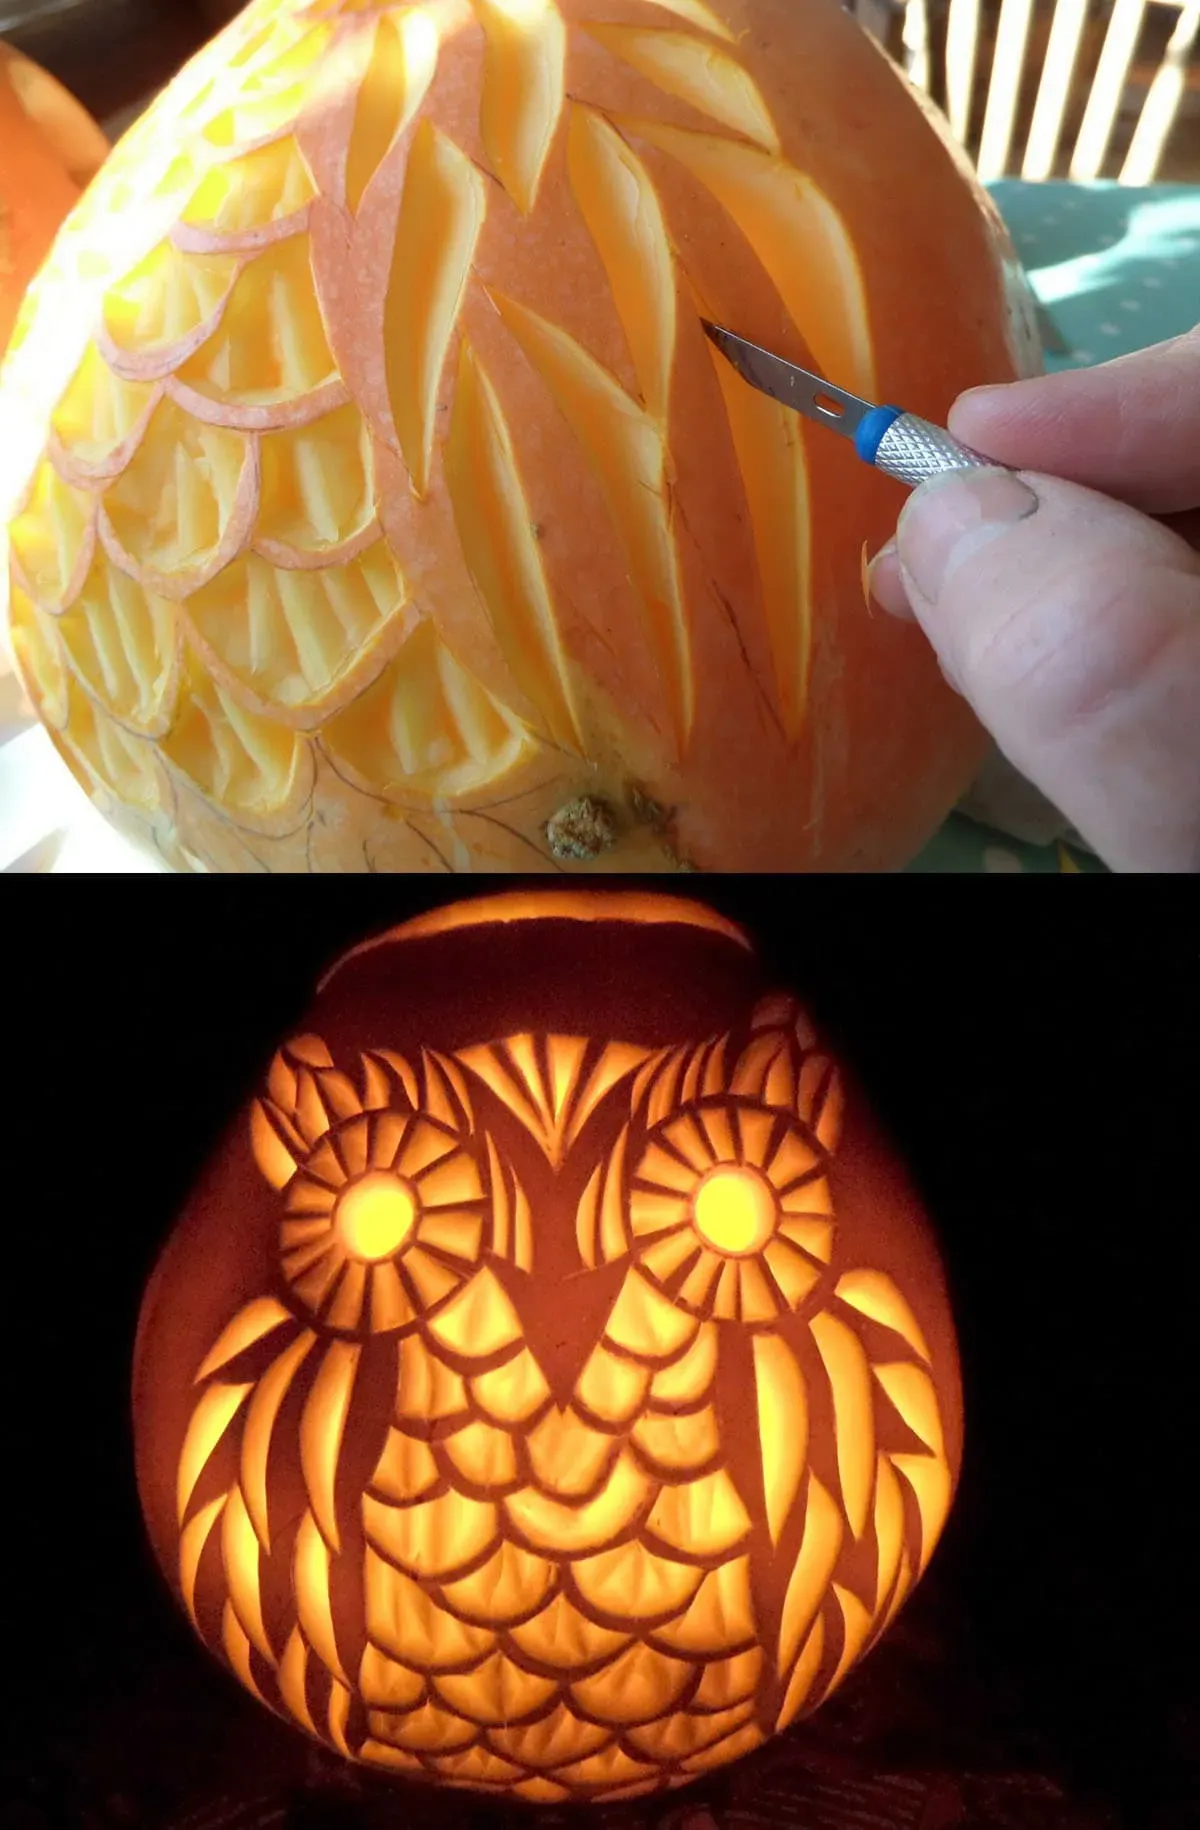
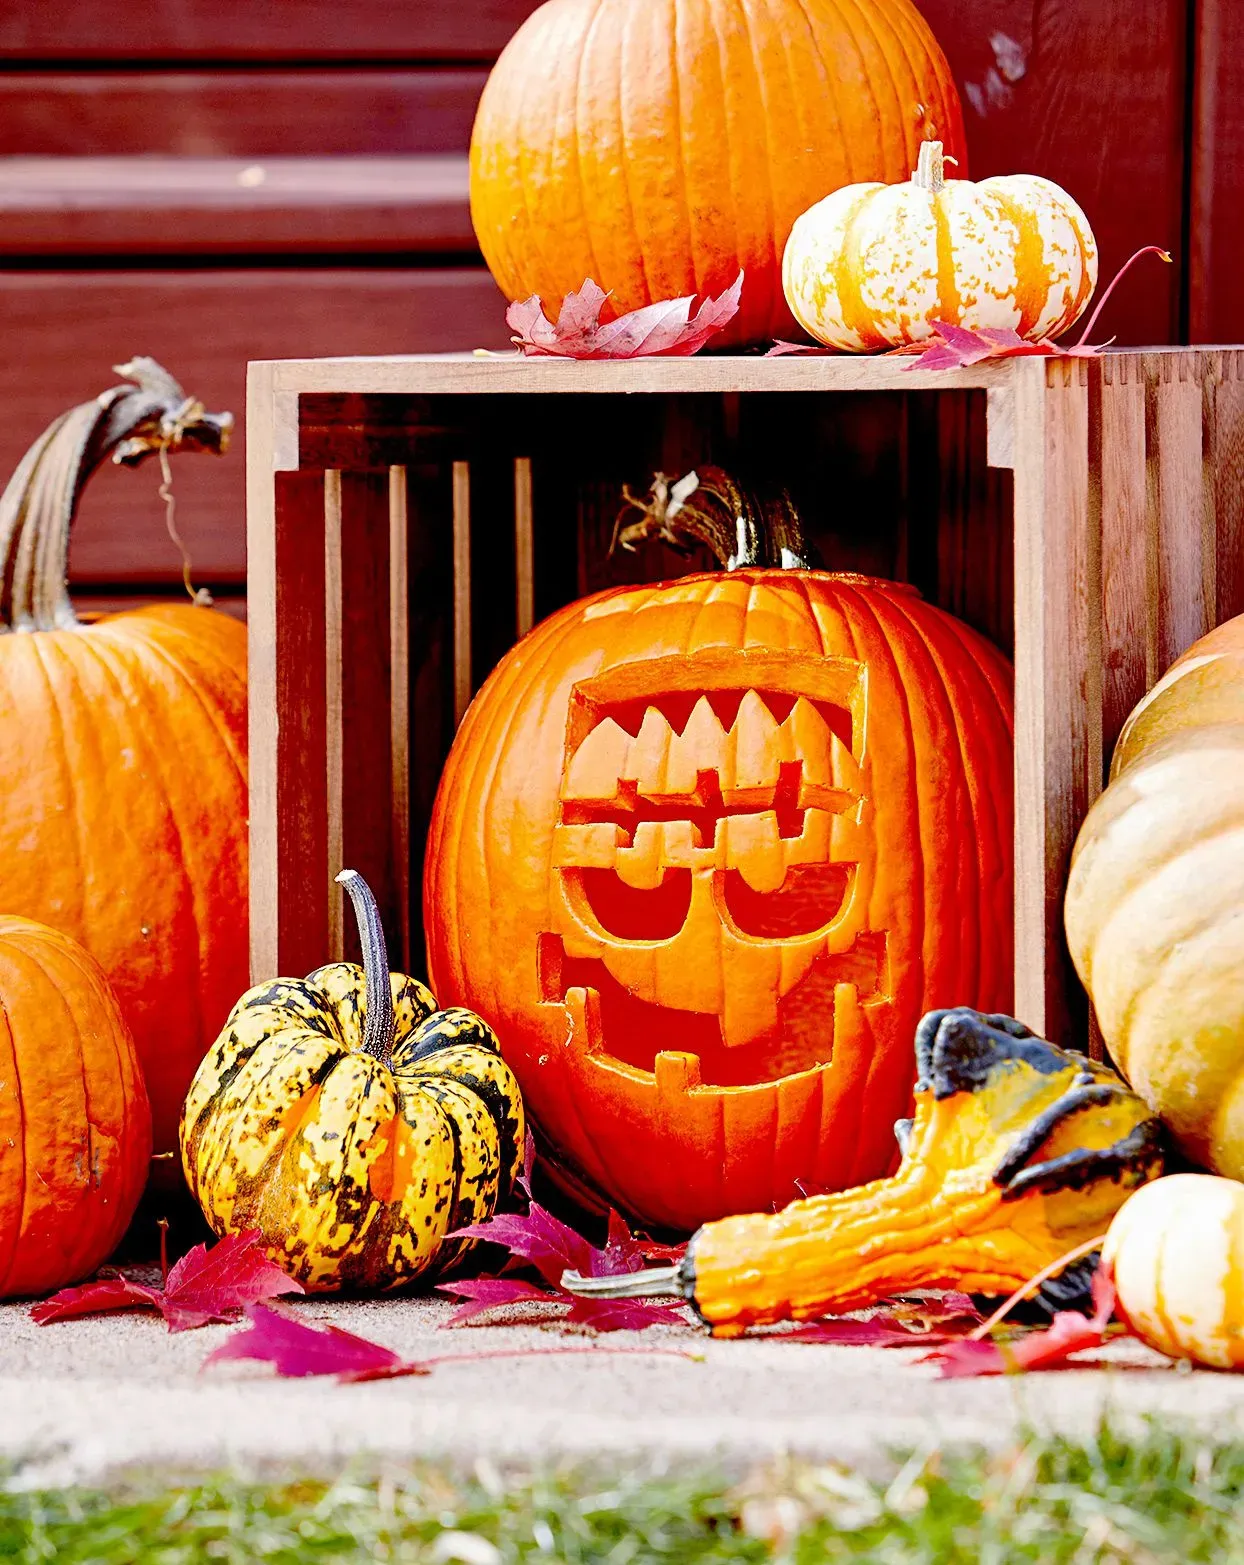
so you've got your basic tools sorted, maybe even tried that ice cream scoop trick (game changer, right?). Now for the fun part: what to actually put on the pumpkin? When it comes to ideas for pumpkin carving easy, you don't need to reinvent the wheel. The classic triangle eyes and jagged smile are iconic for a reason – they're simple and instantly recognizable. But you can get a little creative even with basics. Think about varying the size or shape of the triangles, giving one eye a lazy droop, or making the mouth off-center for a goofy look. Beyond faces, simple geometric shapes work great: stars, moons, or even just varying sizes of circles cut out randomly create a cool, modern look with minimal effort. Stencils are your best friend here; just tape one on and follow the lines. Easy peasy, spooky squeezy.
NoCarve Alternatives: Simple Ways to Decorate Pumpkins

NoCarve Alternatives: Simple Ways to Decorate Pumpkins
Why Skip the Knife? Embracing No-Carve Ideas
Maybe the idea of scooping out slimy pumpkin guts makes you gag a little. Or perhaps you've had one too many carving mishaps that resulted in a lopsided mess. No judgment here. Sometimes, the best ideas for pumpkin carving easy don't involve carving at all. Opting for no-carve decoration is a fantastic way to get a good-looking pumpkin that lasts longer – seriously, a painted pumpkin will outlive its carved cousin by weeks. It's also way cleaner, much safer, especially if little hands are involved, and opens up a whole different world of decorative possibilities beyond the standard spooky face. Think glitter bombs, elegant painted patterns, or even just wrapping them in cool textures. It's proof you can still be festive without wielding a blade.
Simple No-Carve Techniques That Actually Work
So, you're on board with the no-carve revolution. Great. Let's get practical. The simplest approach? Paint. Acrylic paints work well, dry fast, and come in every color imaginable. You can go for a solid color – matte black is always chic and spooky – or try simple patterns like polka dots or stripes. Painter's tape helps keep lines clean if you're feeling ambitious. Another easy win is using markers, especially paint pens, which show up well on pumpkin skin. You can draw intricate (or not so intricate) designs, write spooky messages, or just doodle. And for texture? Think yarn wrapped around the pumpkin, stick-on googly eyes for a silly monster, or even just gluing on leaves or sequins. The possibilities are vast, and none require risking a trip to the ER.
- Wrap it in yarn or twine for a rustic look.
- Use paint pens to draw intricate or simple patterns.
- Glue on googly eyes for instant silly monsters.
- Apply temporary tattoos or stickers for easy designs.
- Dip the bottom in glitter or paint for a modern touch.
Keeping Your Easy Pumpkin Creation Looking Fresh
Keeping Your Easy Pumpkin Creation Looking Fresh
you've nailed the easy design and your pumpkin looks fantastic on the porch. Now comes the slightly depressing part: carved pumpkins don't last forever. They're literally decaying organic matter. The good news is you can slow down the inevitable rot and keep your creation looking presentable for longer, especially if you followed some of the ideas for pumpkin carving easy and didn't create super thin, fragile sections. The key to Keeping Your Easy Pumpkin Creation Looking Fresh is moisture control and preventing bacteria. After carving, give the inside and all cut edges a good spray with a bleach and water solution (about one tablespoon of bleach per quart of water). This kills mold spores. Let it dry for a bit, then rub petroleum jelly or vegetable oil onto all the cut surfaces. This seals in moisture and keeps the edges from drying out and shriveling up too fast. For no-carve pumpkins, they generally last much longer anyway, but keeping them out of direct sun and rain helps.
Wrapping Up Your Easy Pumpkin Project
So there you have it. Tackling pumpkin carving doesn't require an art degree or a workshop full of power tools. By sticking to ideas for pumpkin carving easy, you can avoid the frustration and mess often associated with this tradition and still end up with a festive, eye-catching decoration. Simple shapes, smart tool choices, and even leaning into no-carve options mean you can get a great result without spending hours hunched over a gourd. The goal is a bit of spooky fun, not competitive pumpkin sculpting. Pick a design you like, grab the right gear, and enjoy the process – or at least, tolerate it enough to get a cool pumpkin on your porch.