Table of Contents
Halloween's just around the corner, and what better way to celebrate than by carving a spectacular pumpkin? This year, ditch the wobbly, lopsided jack-o'-lanterns of the past and learn how to carve a pumpkin like a true artist! This guide will walk you through everything you need to know, from selecting the perfect pumpkin to illuminating your masterpiece. We'll cover essential tools, safety tips, and step-by-step instructions to help you create a design that's both unique and impressive. Whether you're a seasoned pro or a complete beginner tackling "how to carve a pumpkin" for the first time, this comprehensive guide has something for you. Get ready to unleash your creativity and transform a simple gourd into a breathtaking Halloween decoration. We'll even explore some fun alternatives to traditional carving if you're looking for a less messy or more creative approach. So grab your carving tools, and let's get started on creating the most amazing pumpkin this side of the haunted graveyard!
Choosing the Perfect Pumpkin: Size, Shape, and Health
Choosing the Perfect Pumpkin: Size, Shape, and Health
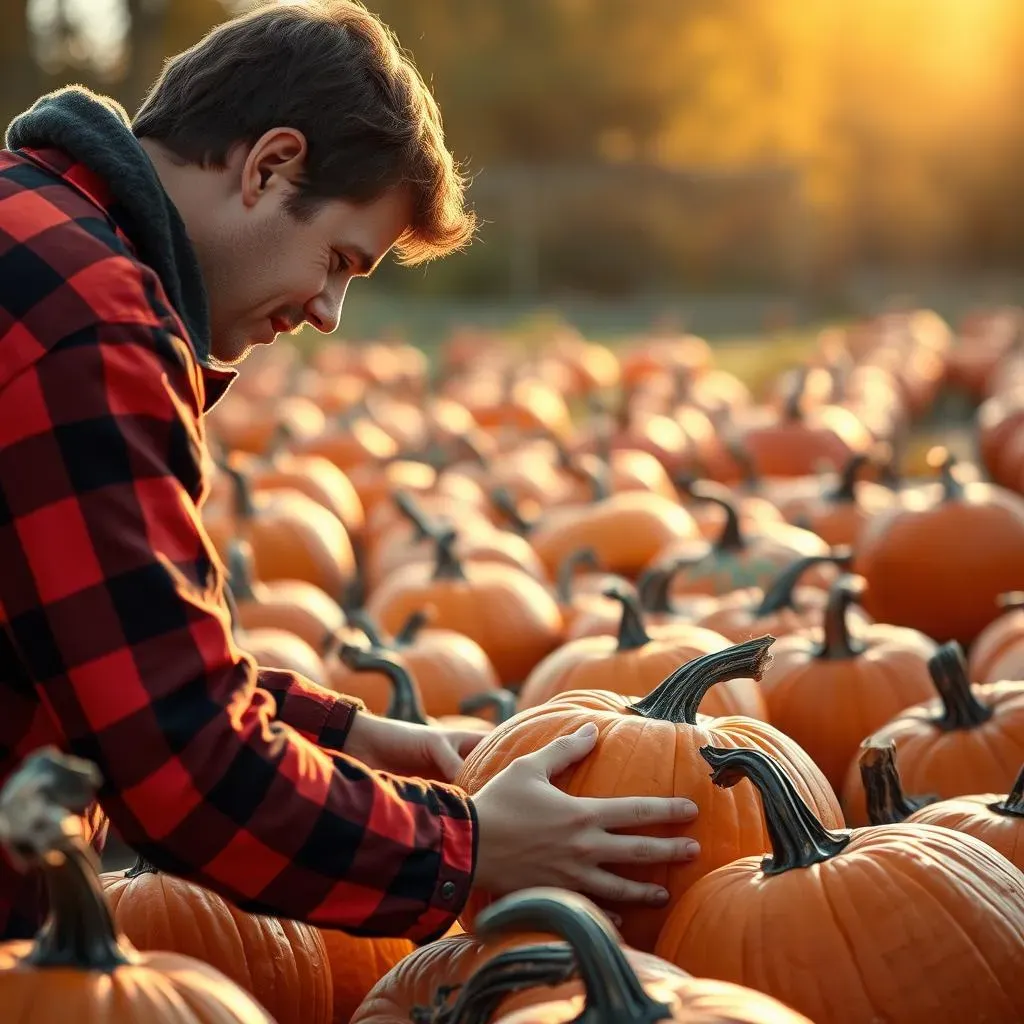
Picking the right pumpkin is half the battle! You want one that's sturdy enough to handle your carving skills without crumbling, and large enough for your design. Look for a pumpkin that's firm to the touch – avoid any that feel soft or squishy, as those are likely to rot quickly. A nice, symmetrical shape makes carving easier, and a flat bottom is a bonus for stability. Think of it like choosing a canvas for a painting – you wouldn't start with a warped or damaged one, would you? Also, check for any bruises or cuts that could compromise your pumpkin's structural integrity. A healthy pumpkin is key to a long-lasting jack-o'-lantern. For more advanced carving techniques, check out our guide on pumpkin carving techniques to elevate your pumpkin carving game.
Pumpkin Characteristic | Ideal Feature | Why It Matters |
|---|---|---|
Size | Medium to Large | Provides ample space for intricate designs and less chance of breaking. |
Shape | Symmetrical | Easier to carve and creates a more visually appealing jack-o'-lantern. |
Firmness | Firm to the touch | Indicates a healthy pumpkin less prone to rotting. |
Remember, a well-chosen pumpkin is the foundation of a fantastic jack-o'-lantern. Don't rush the selection process; take your time and find the perfect gourd for your artistic vision. Once you've got your pumpkin, it's time to gather your tools! We'll cover that in the next section, but before we move on, let’s consider some additional factors.
- Inspect the stem: A strong, intact stem is a good sign of a healthy pumpkin.
- Check for blemishes: Avoid pumpkins with significant bruises, cuts, or soft spots.
- Consider the weight: A heavier pumpkin for its size usually indicates it’s well-hydrated.
Essential Tools and Safety First: Gearing Up for Carving
Essential Tools and Safety First: Gearing Up for Carving
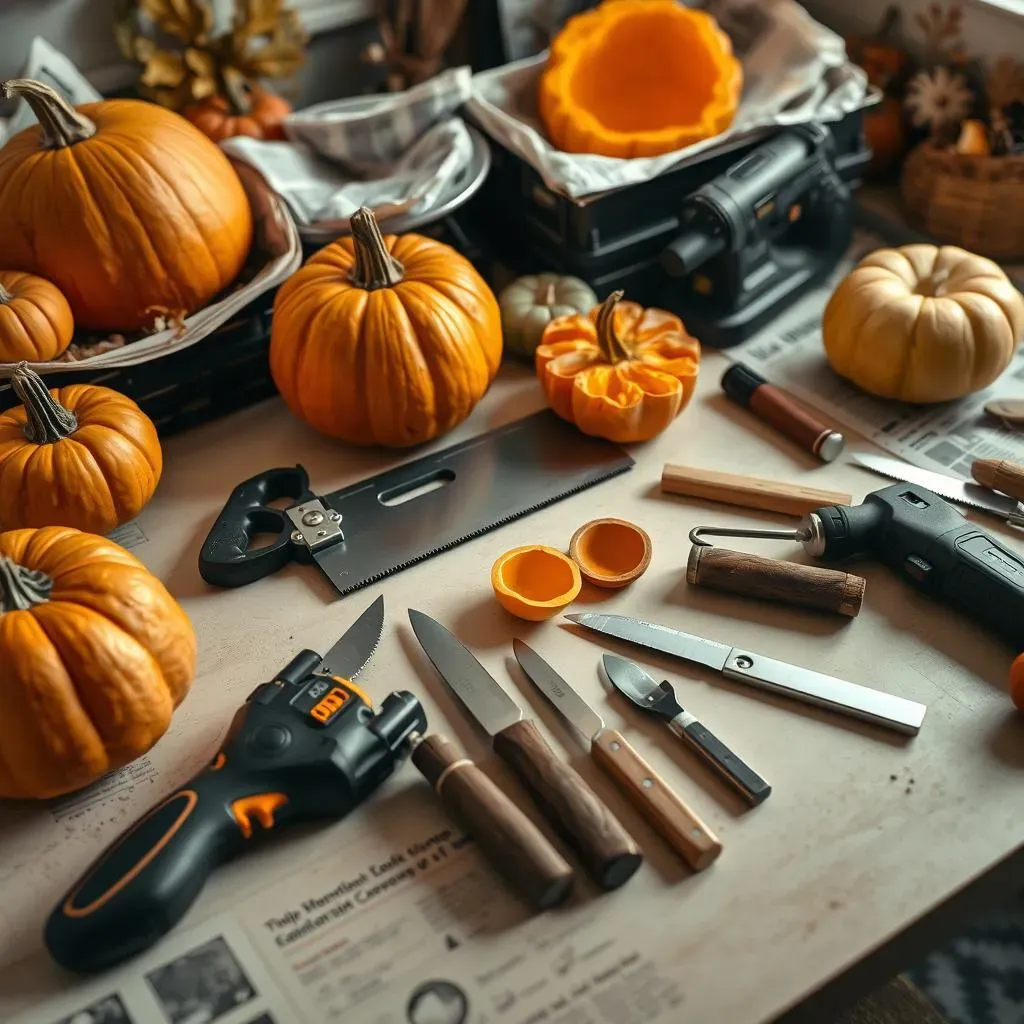
Gathering Your Arsenal: Essential Pumpkin Carving Tools
Before you even think about tackling your pumpkin, you need the right tools! Think of this as prepping for a battle – you wouldn't go into a sword fight with a butter knife, would you? First up, you'll need a good, sturdy saw. A keyhole saw is perfect for cutting the lid, but a serrated knife works too. Next, you'll want some sculpting tools – these can range from simple scoops (to gut the pumpkin) to more detailed tools for intricate designs. A small, sharp paring knife is great for fine details. You might also consider adding a drill (for making holes, like for eyes) and a sturdy spoon to scoop out the pumpkin guts. For really intricate designs, you might want to check out our guide on advanced pumpkin carving techniques.
- Keyhole saw or serrated knife
- Scooping tools (spoon or pumpkin gutting tool)
- Small paring knife
- Drill (optional, for holes)
- Pencil or marker
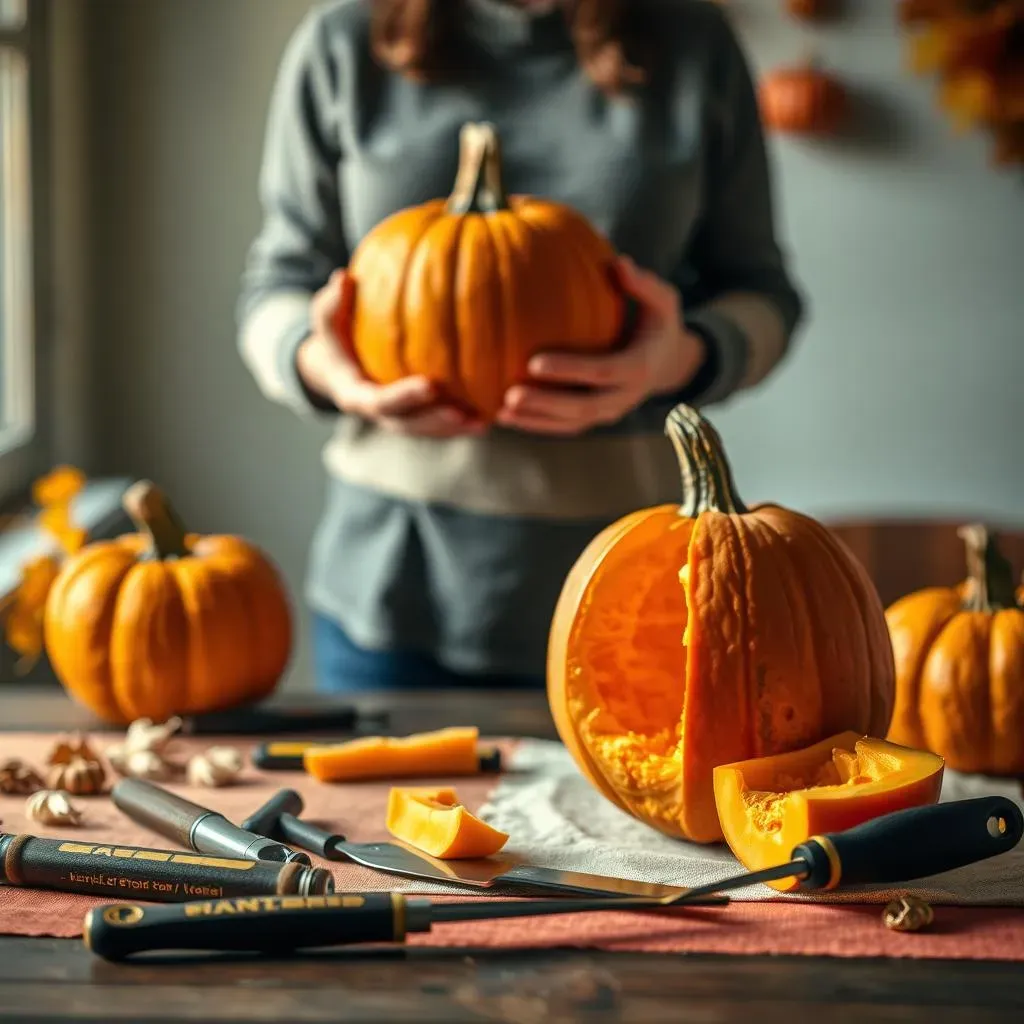
Safety First! Protecting Yourself and Your Surroundings
Carving pumpkins can be messy and, let's be honest, a little dangerous if you're not careful. Always have an adult supervise younger carvers – sharp tools and slippery pumpkin guts are a recipe for disaster. Work on a stable surface, and consider using newspaper or a drop cloth to protect your workspace from pumpkin guts and stray saw marks. Keep your tools sharp – dull tools require more force, increasing the risk of slips and accidents. And remember, always point the sharp end away from yourself and others. This isn't just about avoiding injuries; it's about creating a safe and fun carving experience for everyone involved. If you're feeling overwhelmed, remember it's okay to ask for help! And if you need inspiration, check out our other articles on unique pumpkin carving designs.
Safety Measure | Why It's Important |
|---|---|
Adult Supervision | Prevents accidents, especially with children. |
Stable Work Surface | Reduces the risk of spills and tool slippage. |
Protective Covering | Protects your workspace from pumpkin mess. |
Sharp Tools | Requires less force, reducing the risk of injury. |
StepbyStep Carving Guide: From Design to Illumination
StepbyStep Carving Guide: From Design to Illumination
Creating Your Pumpkin Masterpiece: Design and Transfer
Now for the fun part – designing your pumpkin! You can freehand it, use stencils (easily found online or in craft stores), or even project an image onto the pumpkin. Once you've decided on your design, carefully transfer it to the pumpkin's surface. A light pencil sketch works well, but you can also use a washable marker. Remember, less is more, especially when you're starting out. A simple design is easier to carve and will look just as impressive. For more inspiration, check out our article on advanced pumpkin carving techniques for some amazing ideas. Once your design is on, it's time to start carving!
- Sketch your design lightly with a pencil.
- Use stencils for easier designs.
- Project an image (using a projector) for complex designs.
- Keep it simple, especially if you're a beginner.
Carving Your Design: Techniques and Tips
Now comes the actual carving! Start by carefully cutting along the outlines of your design. Use your saw for the larger cuts and your paring knife for smaller details. Work slowly and steadily – rushing will likely lead to mistakes. If you're carving intricate designs, take your time. Remember, practice makes perfect! Don't be afraid to experiment with different techniques; for example, you can use a drill to create holes for eyes or other small details. And if you're feeling ambitious, you could even try some advanced pumpkin carving techniques, like 3D carving. Once your carving is complete, it's time to illuminate your masterpiece!
Carving Step | Tool Recommendation | Tip |
|---|---|---|
Cutting Outlines | Keyhole saw or serrated knife | Work slowly and steadily. |
Small Details | Paring knife | Use gentle pressure to avoid slips. |
Holes (eyes, etc.) | Drill | Use a low speed to prevent shattering. |
Beyond the Knife: Creative Alternatives and Pumpkin Preservation
Beyond the Knife: Creative Alternatives and Pumpkin Preservation
Beyond the Knife: Creative Alternatives and Pumpkin Preservation
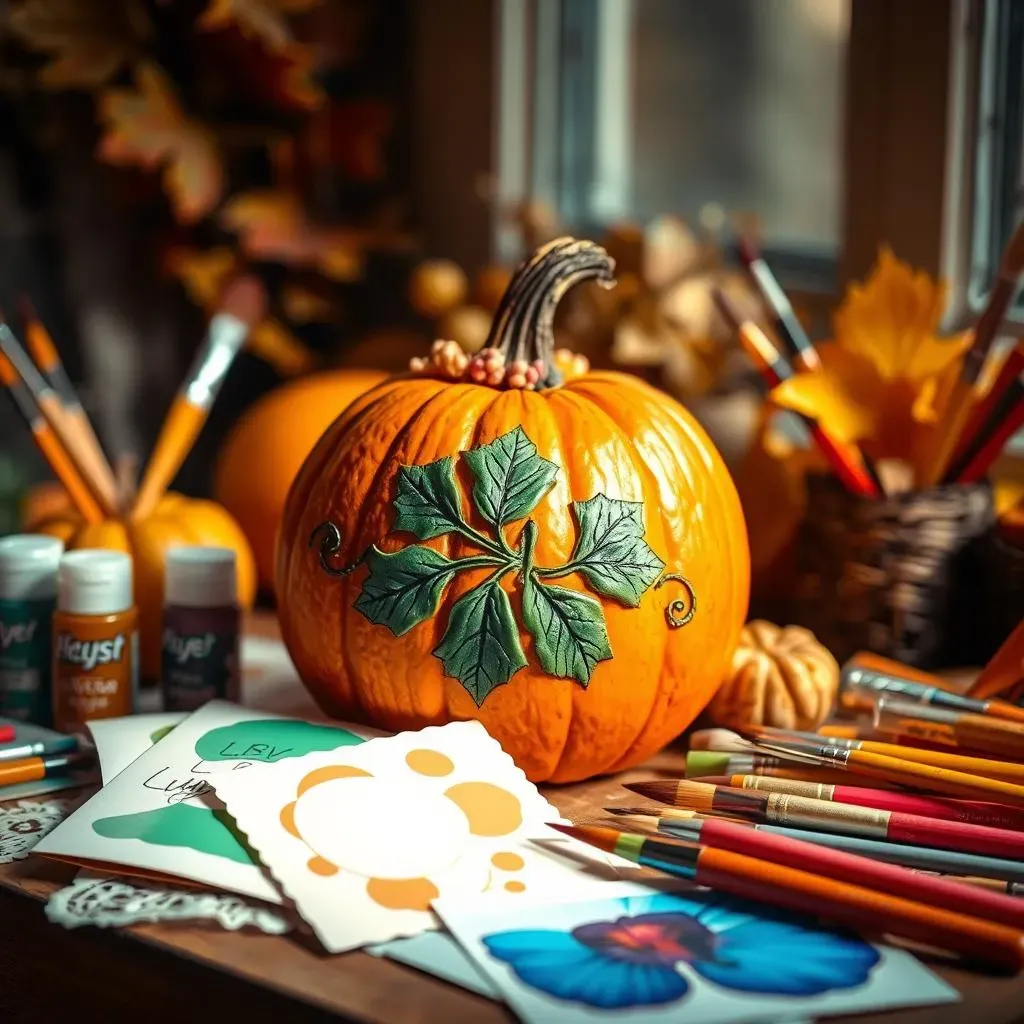
Not a fan of carving? No worries! There are tons of creative alternatives to get your pumpkin on this Halloween. Painting is a fantastic option, especially for younger kids. You can use acrylic paints, stencils, or even just freehand designs. Etching is another fun choice – use a needle or awl to create designs by scratching the pumpkin's surface. For a truly unique look, try decoupage! This involves gluing decorative paper, fabric, or other materials onto the pumpkin. And if you're feeling adventurous, why not combine techniques? Try painting a design and then adding some etched details. The possibilities are endless! For more advanced techniques, explore our guide on advanced pumpkin carving techniques for inspiration.
- Painting: Use acrylics, stencils, or freehand designs.
- Etching: Scratch designs into the pumpkin's surface.
- Decoupage: Glue decorative materials onto the pumpkin.
- Combine techniques: Mix and match for unique results.
Once you've created your masterpiece (however you chose to do it!), you'll want it to last as long as possible. To keep your pumpkin looking its best, try these preservation tips. First, spray it with a mixture of water, dish soap, and a few drops of peppermint oil. This helps to prevent mold and keeps away pests. Second, apply a thin layer of petroleum jelly or vegetable oil to the cut surfaces—this helps prevent browning and drying. Finally, keep your pumpkin in a cool, dry place, away from direct sunlight. With a little care, your pumpkin can stay looking spooky for weeks! But even with the best care, pumpkins are perishable items. If you want to learn more about extending the life of your pumpkin, consider checking our detailed guide on pumpkin preservation techniques.
Preservation Tip | Benefit |
|---|---|
Soap, water, and peppermint oil spray | Prevents mold and pests. |
Petroleum jelly or vegetable oil | Prevents browning and drying. |
Cool, dry location | Slows down decomposition. |