Table of Contents
Halloween is just around the corner, and what better way to celebrate than by creating your own spooky jack-o'-lantern? Forget those basic triangle eyes and goofy grins! This year, it's time to unleash your inner artist and learn how to carve a cool pumpkin that will be the envy of the neighborhood. Whether you're aiming for terrifyingly intricate or hilariously quirky, a well-carved pumpkin is the ultimate Halloween statement piece.
Essential Tools and Materials for Pumpkin Carving
Essential Tools and Materials for Pumpkin Carving
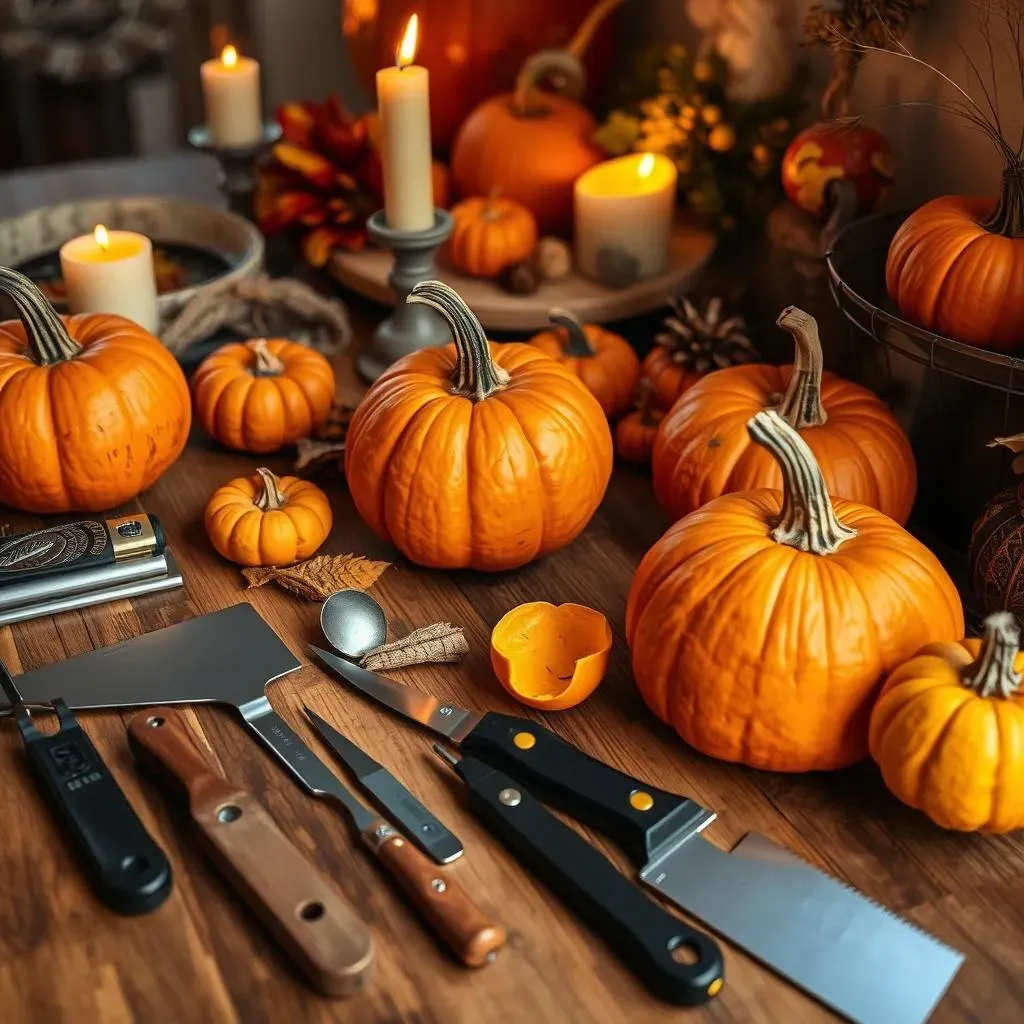
Alright, so you're ready to dive into pumpkin carving? Awesome! But before you start hacking away, let's make sure you've got the right gear. Trust me, having the right tools will make your life SO much easier and your pumpkin SO much cooler. We're not talking about just any old kitchen knife here; we need precision, control, and maybe even a little bit of magic. Think of it like prepping for a surgery, but instead of saving a life, you're creating a spooky masterpiece. So, let's get our operating room – I mean, carving station – ready!
First up, you'll need a good pumpkin carving kit. Most kits come with a variety of saws, gouges, and scrapers designed specifically for pumpkin flesh. These are way better than trying to use your steak knives, I promise. A sturdy scoop is essential for getting all those stringy guts out – nobody wants a slimy pumpkin! And don't forget a poking tool or a marker for transferring your design onto the pumpkin's surface. These tools will help you create cleaner lines and more intricate designs. Now, let's talk about the specifics...
Tool | Purpose | Why You Need It |
|---|---|---|
Pumpkin Carving Saw | Cutting out detailed designs | Offers precision and control |
Scoop | Removing seeds and pulp | Makes gutting the pumpkin easier |
Poking Tool/Marker | Transferring designs | Ensures accurate carving |
Paring Knife | Fine detailing | Adds intricate touches |
Beyond the basics, consider a few extras that can really up your carving game. A good set of clay sculpting tools can be fantastic for adding depth and texture to your design. Think about using a Dremel with various bits for even more intricate details. And, of course, don't forget safety! A pair of carving gloves can protect your hands from accidental slips, and a well-lit workspace is crucial for seeing what you're doing. Speaking of safety, always carve away from yourself!
StepbyStep Guide on How to Carve a Cool Pumpkin Design
StepbyStep Guide on How to Carve a Cool Pumpkin Design
Prep Your Pumpkin and Design
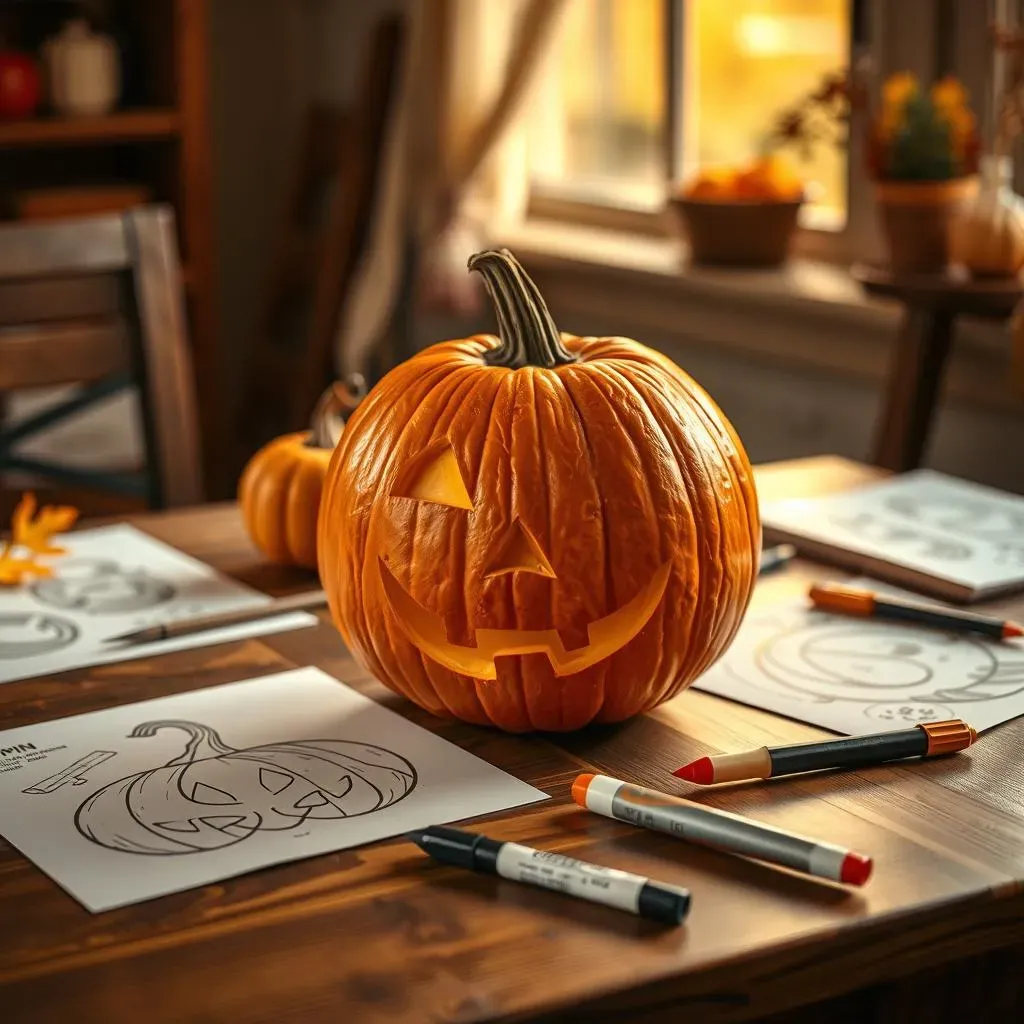
you've got your tools, now let's get down to business! First, give your pumpkin a good scrub. You want a clean canvas for your masterpiece, right? Pat it dry and find a stable surface to work on. Now, here's a pro tip: instead of cutting the traditional hole at the top, cut a hole in the back. Why? Because it's less likely to weaken the structure of your pumpkin, plus it's easier to sneak in a light later.
Once you've got your access point, it's time to get those guts out! Use your sturdy scoop to remove all the seeds and stringy bits. Scrape the inside walls smooth – this will make carving easier. Now, for the fun part: the design. You can either freehand it with a marker or use a stencil. There are tons of free templates online, from spooky ghosts to intricate patterns. Just tape the template to your pumpkin and use a poking tool to transfer the design. Remember, a well-planned design is half the battle!
- Clean and dry the pumpkin
- Cut a hole in the back
- Scoop out seeds and pulp
- Transfer your design
Carving with Precision
Alright, design's on, pumpkin's prepped – let's carve! Now, this is where your pumpkin carving saw comes in handy. Start by carefully following the lines of your design. Use short, controlled strokes to avoid slipping. Remember, it's easier to remove small pieces than to try and put them back, so take your time. For intricate designs, start with the smallest details first.
As you carve, gently push the cut pieces out from the inside. If you're having trouble, use your poking tool to help release them. And remember, safety first! Keep your fingers out of the path of the saw, and always carve away from yourself. If you're working with kids, make sure they're supervised at all times. Carving should be fun, not a trip to the ER! Once you have finished carving your pumpkin, it's time to show it off!
Tips and Tricks for Preserving Your Carved Pumpkin
Tips and Tricks for Preserving Your Carved Pumpkin
Combatting Dehydration
Alright, you've poured your heart and soul into carving this epic pumpkin, but now you're facing the harsh reality: pumpkins don't last forever. The biggest enemy? Dehydration. Once that pumpkin is cut, it starts losing moisture, leading to shriveling and collapse. But fear not! We've got some tricks up our sleeves to keep your jack-o'-lantern hydrated and happy. Think of it as giving your pumpkin a spa day, every day. Let's keep that masterpiece looking fresh!
One of the easiest methods is to give your pumpkin a bath. Yep, you heard me right. Fill a large tub or bucket with cold water and submerge your carved pumpkin for a few hours, or even overnight. This will help it rehydrate and plump back up. For an extra boost, add a tablespoon of bleach to the water to kill any mold or bacteria that might be lurking. Just be sure to rinse it thoroughly before putting it back on display. Another great option is to spray your pumpkin daily with a mixture of water and a bit of peppermint oil. The peppermint oil not only helps keep it hydrated but also deters pests.
Method | Ingredients | Instructions |
|---|---|---|
Water Soak | Cold water, 1 tbsp bleach (optional) | Submerge pumpkin for several hours |
Daily Spray | Water, Peppermint oil | Spray pumpkin daily |
Fighting Off Mold and Pests
Dehydration isn't the only threat; mold and pests are also out to ruin your fun. Mold loves damp, dark places, and a carved pumpkin is basically a mold paradise. Pests like squirrels and insects see your jack-o'-lantern as a tasty snack. But don't worry, we've got some strategies to keep these unwelcome guests at bay. It's all about creating an inhospitable environment for mold and pests while keeping your pumpkin looking its best. Let's make your pumpkin the fortress of Halloween!
A simple solution is to spray your pumpkin with a bathroom cleaner containing bleach. Bleach is a natural mold killer and will help keep your pumpkin fresh. Just be sure to do this in a well-ventilated area and avoid getting it on your clothes. Another trick is to rub petroleum jelly on all the cut surfaces. This creates a barrier that helps seal in moisture and prevent mold growth. And for those pesky pests, try sprinkling some cayenne pepper around the base of your pumpkin. Squirrels and insects hate the smell and taste, so they'll steer clear. Just remember to reapply after it rains!
Creative Ideas to Carve a Cool Pumpkin and Display It
Creative Ideas to Carve a Cool Pumpkin and Display It
Beyond the Basic Jack-o'-Lantern
so you know how to carve a pumpkin, but let's ditch the same old triangle eyes and crooked smiles. This year, we're going for something truly unique! Think about your favorite movies, books, or even memes. Why not carve a portrait of your pet or a scene from your favorite video game? The possibilities are endless! If you're feeling ambitious, try a 3D carving, where you create depth and texture by carving away layers of the pumpkin's skin. This takes a bit more skill, but the results are seriously impressive. And don't be afraid to experiment with different tools – clay sculpting tools, linoleum cutters, even power drills can add amazing details.
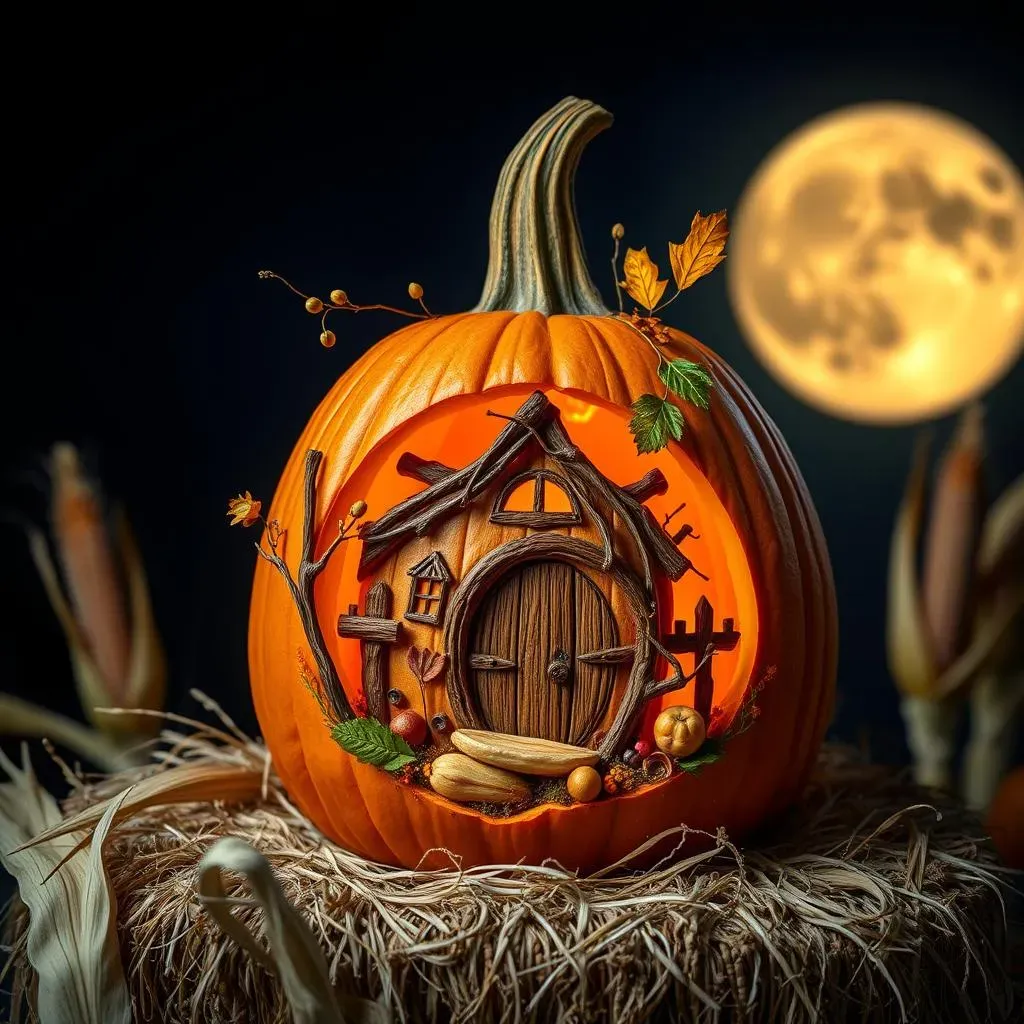
Another cool idea is to incorporate natural elements into your design. Use leaves, twigs, or seeds to create a more organic and whimsical look. For example, you could carve a fairy house and use twigs to create a tiny door and windows. Or, you could carve a spiderweb and use black beans to create the spiders. Get creative and let your imagination run wild! The goal is to create something that reflects your personality and style. Let's make those pumpkins scream "you!"
Idea | Description | Difficulty |
|---|---|---|
Movie Scene | Carve a scene from your favorite movie | Medium |
Pet Portrait | Carve a portrait of your furry friend | Medium-Hard |
3D Carving | Create depth and texture by carving layers | Hard |
Fairy House | Incorporate twigs and leaves for a whimsical look | Medium |
Displaying Your Pumpkin Masterpiece
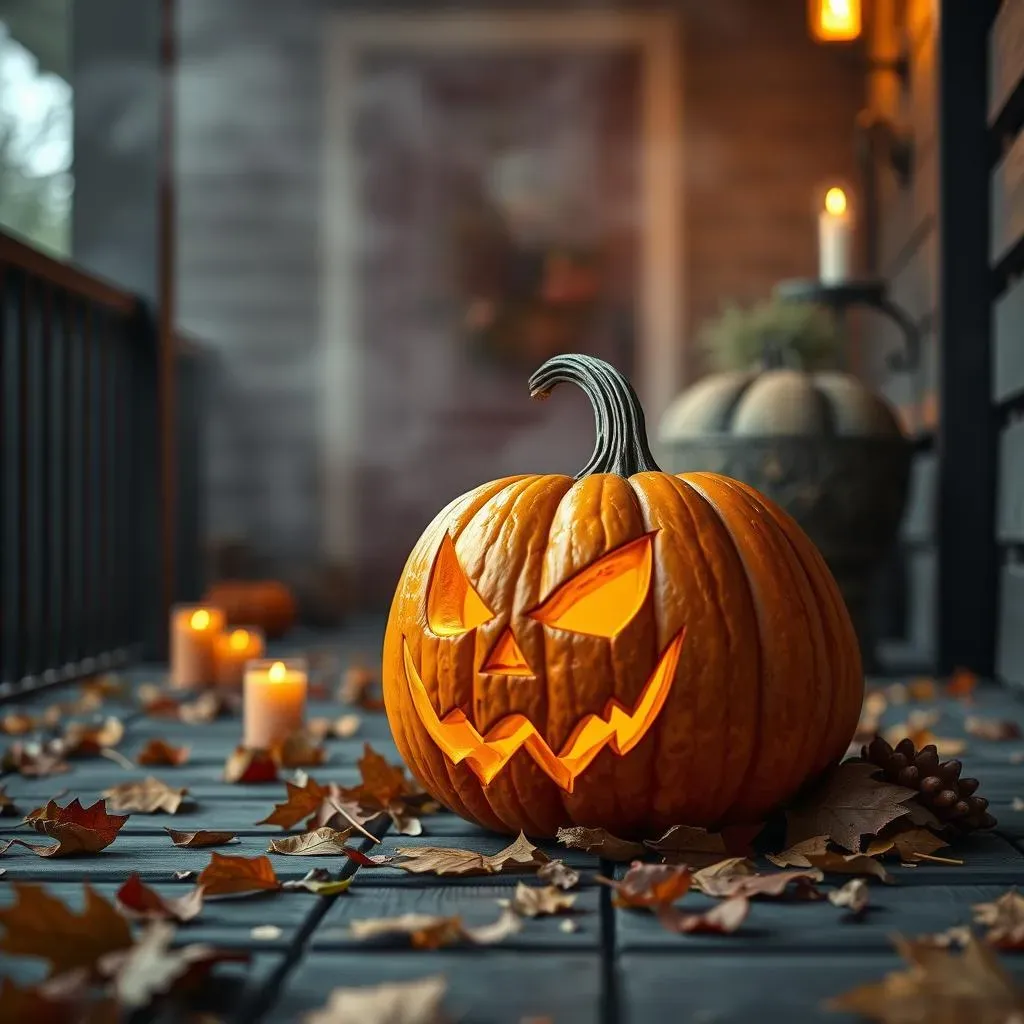
So, you've created this amazing pumpkin, now what? Don't just stick it on your porch and call it a day! Let's think about how to display your creation to really make it shine. Lighting is key. Forget those boring tea lights; let's get creative! LED lights come in all sorts of colors and can be used to create different moods. You can even get battery-operated flickering candles that look surprisingly realistic. For an extra spooky effect, try using a strobe light or a black light. And don't forget about the environment around your pumpkin. Use hay bales, corn stalks, or other Halloween decorations to create a festive scene.
Think about the placement of your pumpkin. Is it visible from the street? Is it well-lit at night? Consider elevating your pumpkin on a pedestal or creating a small stage for it. You could even create a whole pumpkin family, each with its own unique personality and display them together. And if you're really feeling ambitious, why not enter your pumpkin in a local carving contest? It's a great way to show off your skills and maybe even win a prize! So, go ahead, let your pumpkin shine!
Conclusion: Carve a Cool Pumpkin and Light Up the Night!
So, there you have it! You're now equipped with the knowledge and inspiration to carve a cool pumpkin that's sure to impress. Remember, the most important thing is to have fun and let your creativity shine. Don't be afraid to experiment with different designs, techniques, and lighting options to create a truly unique jack-o'-lantern. Whether you go for spooky, funny, or artistic, your carved pumpkin will be a festive addition to your Halloween decorations. Now go forth, carve with confidence, and light up the night with your awesome pumpkin creation!