Table of Contents
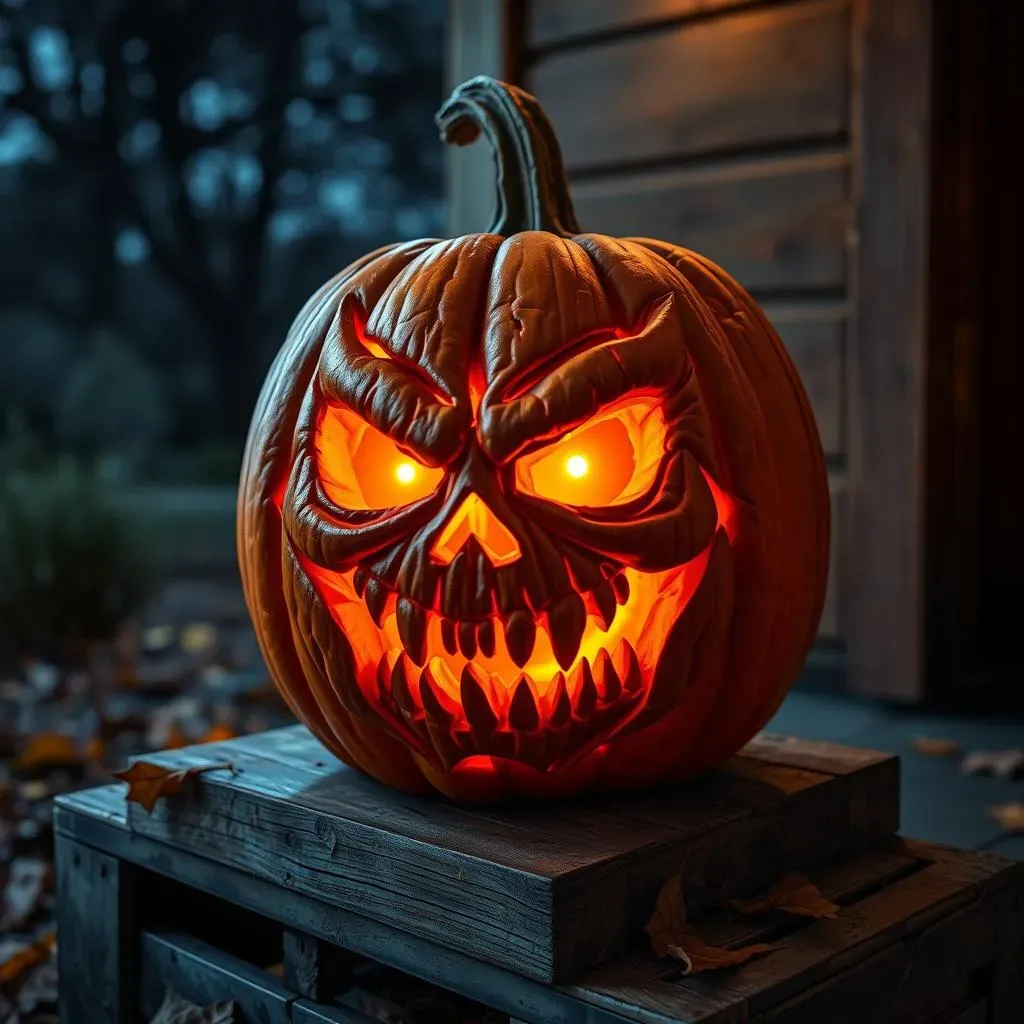
Tired of the same old smiley-face jack-o'-lantern? Ready to unleash some serious Halloween horror? Then grab your carving tools and prepare to dive headfirst into the world of hard scary hard pumpkin carving ideas! This isn't your grandma's pumpkin patch; we're talking intricate designs, menacing monsters, and creations so terrifying they'll make the neighbors scream (with delight, of course). We're not just slapping a triangle-eyed grin on a gourd; we're crafting miniature masterpieces of macabre art. This guide is your one-stop shop for taking your pumpkin carving skills from basic to bloodcurdling. We'll explore the essential tools you'll need to tackle these challenging projects, from trusty carving kits to specialized sculpting tools. We'll break down the process of transferring complex stencils and patterns onto your pumpkin canvas, ensuring your design is as sharp as your knives. Then, we'll delve into advanced techniques like undercutting, etching, and creating 3D effects that will elevate your carving to a whole new level of fright. Finally, we'll show you how to illuminate your creation to maximize its spooky impact. So, sharpen your skills, steel your nerves, and get ready to carve some truly terrifying pumpkins!
Level Up Your JackO'Lantern Game: Embracing Hard and Scary Pumpkin Carving
Level Up Your JackO'Lantern Game: Embracing Hard and Scary Pumpkin Carving
Why Go Hard or Go Home?
so you're thinking about taking your pumpkin carving to the next level? Awesome! But why even bother with the "hard" and "scary" part? Because let's face it, anyone can carve a basic jack-o'-lantern. But a truly terrifying, intricately designed pumpkin? That's a statement. It's a chance to unleash your creativity, impress your friends and neighbors, and maybe even give a few trick-or-treaters a delightful fright. Plus, the satisfaction of completing a challenging project is seriously rewarding. Think of it as pumpkin art therapy, with a spooky twist.
Imagine the look on people's faces when they see your pumpkin glowing on your porch, a testament to your skill and dedication. It’s not just a decoration; it’s a conversation starter, a work of art, and a symbol of your Halloween spirit. So, ditch the easy routes and embrace the challenge. The harder, the scarier, the better!
Assessing Your Skill Level: Are You Ready?
Before you jump into carving a hyper-realistic zombie face, be honest with yourself about your current skill level. Have you carved pumpkins before? Are you comfortable using carving tools? Do you have a steady hand? If you're a complete beginner, it might be wise to start with a slightly simpler design before tackling a masterpiece. There's no shame in starting small and working your way up. Think of it as training for the Pumpkin Carving Olympics. You wouldn't try to run a marathon without any prior training, would you?
However, don't let fear hold you back. Even if you're a novice, you can still create something impressive with the right guidance and a little patience. This guide will walk you through the process step-by-step, providing tips and tricks to help you overcome any challenges. Remember, the goal is to have fun and create something you're proud of. So, take a deep breath, grab your tools, and let's get carving!
Choosing Your Weapon: Picking the Perfect Pumpkin
Not all pumpkins are created equal. When it comes to hard and scary carvings, the type of pumpkin you choose can make a big difference. Look for a pumpkin that is relatively smooth, with a consistent thickness and minimal blemishes. A thicker-walled pumpkin will be easier to carve intricate details into, and it will also last longer. Avoid pumpkins that are bruised, soft, or have any signs of rot. These pumpkins are more likely to collapse during carving or decay quickly after completion.
Pumpkin Characteristic | Ideal | Avoid |
|---|---|---|
Surface Texture | Smooth | Bumpy, uneven |
Wall Thickness | Thick | Thin |
Overall Health | Firm, no blemishes | Bruised, soft spots, rot |
Consider the size of your pumpkin as well. A larger pumpkin will give you more surface area to work with, allowing for more complex designs. However, it will also require more time and effort to carve. A smaller pumpkin might be easier to handle, but it will limit the level of detail you can achieve. Ultimately, the best pumpkin is the one that feels right for you and your project. So, take your time, browse your local pumpkin patch, and choose wisely!
Tools of Terror: Essential Gear for Hard Scary Pumpkin Carving Success
Tools of Terror: Essential Gear for Hard Scary Pumpkin Carving Success
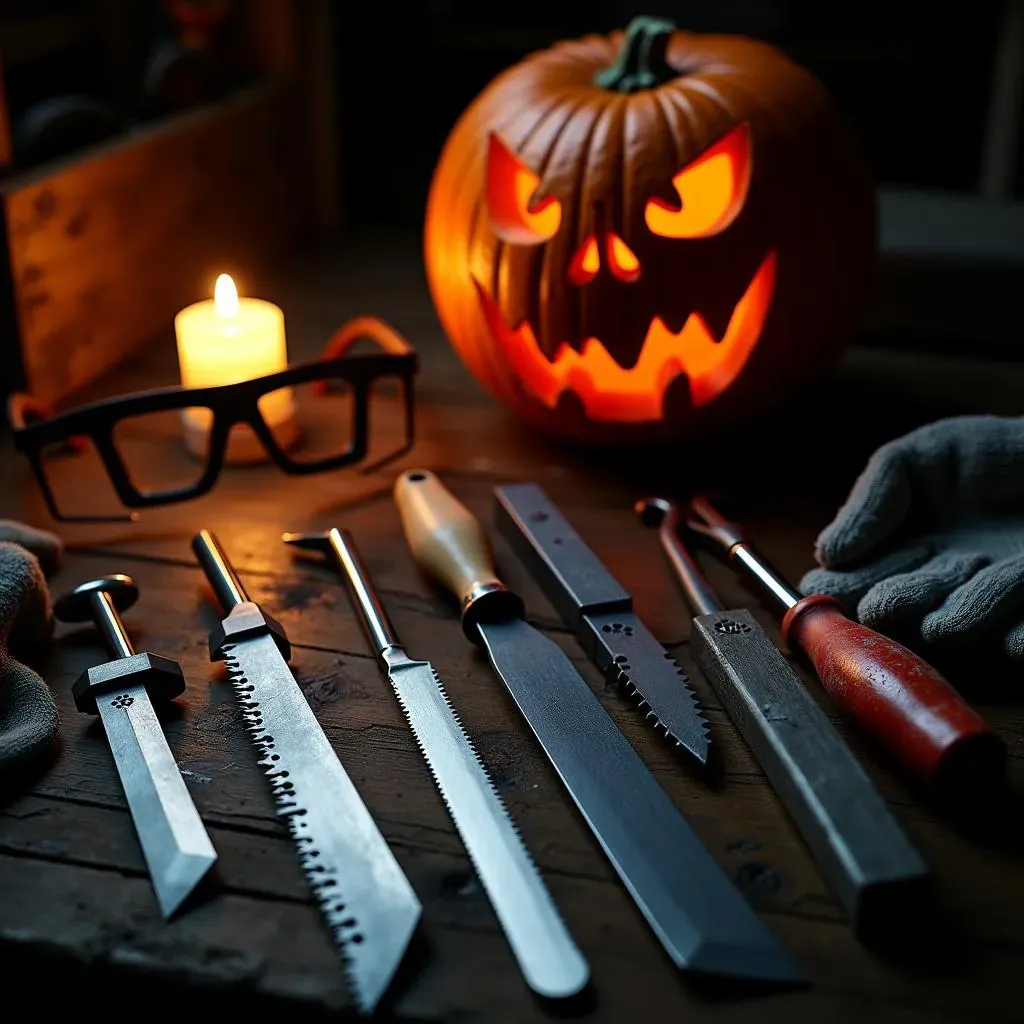
The Basic Arsenal: Essential Carving Tools
Alright, so you've got your pumpkin, now it's time to arm yourself! Forget those flimsy plastic saws that come in the cheapo kits. If you're serious about hard and scary pumpkin carving, you need some proper tools. A good starter kit should include a variety of serrated saws in different sizes for cutting out large sections and finer details. You'll also want a scoop for gutting the pumpkin (unless you enjoy getting your hands covered in pumpkin guts – some people do!). Don't underestimate the power of a good poker tool for transferring your stencil design. Think of these tools as your basic infantry – they'll get the job done, but you'll need reinforcements for the really intense stuff.
Beyond the basics, consider investing in some specialized tools that will take your carving to the next level. Detail knives with replaceable blades are essential for creating intricate lines and textures. Wood carving gouges can be used to create depth and dimension, adding a whole new level of realism to your designs. And don't forget about clay sculpting tools! These can be incredibly useful for shaping and refining small details, especially when working with softer pumpkin flesh. Remember, the right tools can make all the difference between a mediocre carving and a masterpiece of terror.
Safety First, Screams Second: Protective Gear and Lighting
Before you start hacking away at your pumpkin, let's talk safety. Carving can be dangerous, especially when you're working with sharp tools and intricate designs. Always wear gloves to protect your hands from cuts and scrapes. Safety glasses are also a must, especially when using power tools or carving hard pumpkins. A well-lit workspace is essential for precision and preventing accidents. Make sure you have plenty of light so you can see exactly what you're doing.
Once you've finished carving your masterpiece, you'll want to illuminate it to maximize its spooky impact. Traditional candles can work, but they're a fire hazard and don't provide consistent lighting. Battery-operated LED lights are a much safer and more reliable option. You can even find flickering LED candles that mimic the look of a real flame. For an extra touch of terror, consider using colored lights to create a spooky ambiance. Green or purple lights can add an eerie glow, while red lights can simulate the look of blood. Remember, the lighting is just as important as the carving itself. It's what brings your creation to life and makes it truly terrifying!
Tool/Gear | Purpose | Why You Need It |
|---|---|---|
Serrated Saws (various sizes) | Cutting out large sections and fine details | Essential for basic carving |
Detail Knives | Creating intricate lines and textures | Adds precision and realism |
Wood Carving Gouges | Creating depth and dimension | Elevates carving to a new level |
Clay Sculpting Tools | Shaping and refining small details | Useful for softer pumpkin flesh |
Gloves | Protecting hands from cuts | Safety first! |
Safety Glasses | Protecting eyes from debris | Another safety essential! |
LED Lights | Illuminating the carving | Safer and more reliable than candles |
From Stencil to Scream: Mastering Intricate Designs for Hard Scary Carvings
From Stencil to Scream: Mastering Intricate Designs for Hard Scary Carvings
Finding the Perfect Fright: Sourcing Stencils and Inspiration
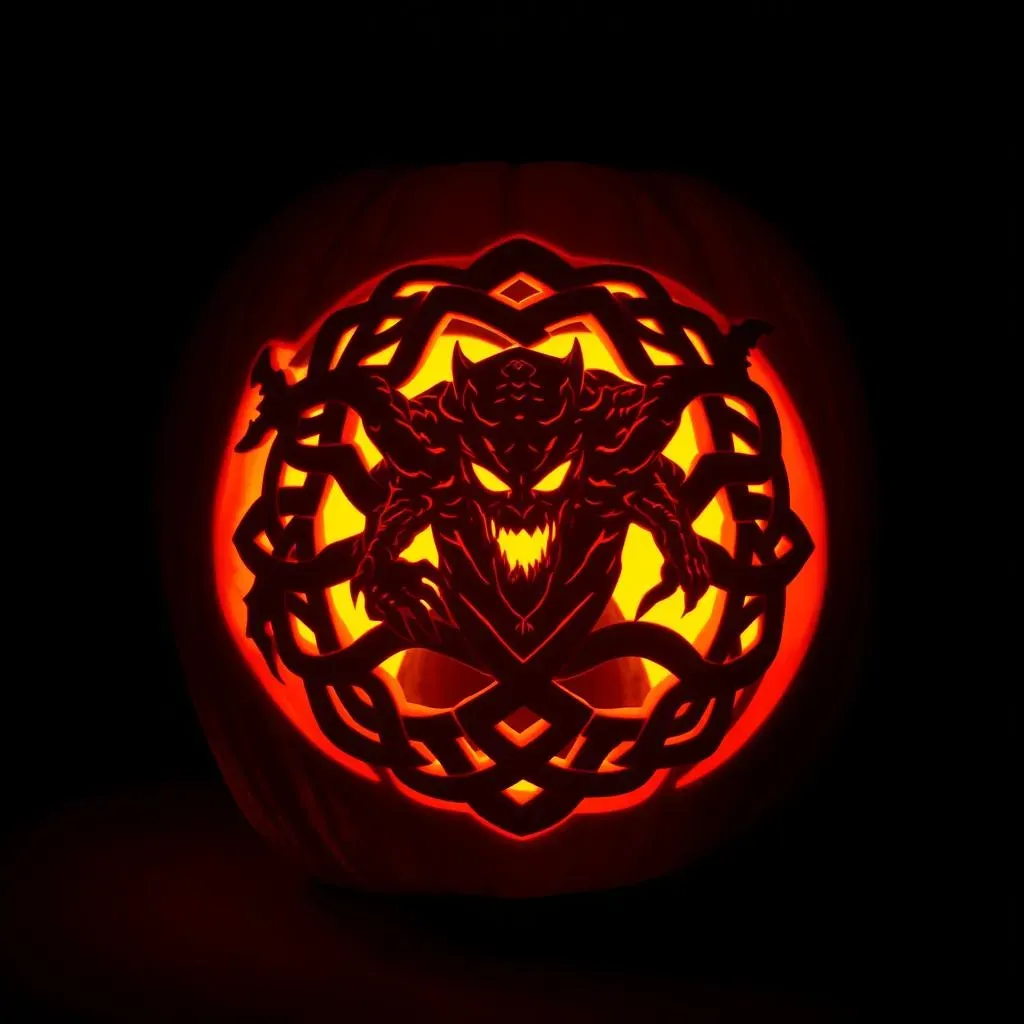
so you're ready to unleash your inner artist, but staring at a blank pumpkin can be intimidating, right? That's where stencils come in! They're your roadmap to creating a complex, eye-catching design. The internet is a treasure trove of free and paid stencils, ranging from classic horror movie monsters to intricate Celtic knots. Websites like Pinterest, Etsy, and even some pumpkin carving supply stores offer a wide variety of options. Look for stencils that match your skill level and the size of your pumpkin. Don't be afraid to modify a stencil to make it your own! Add extra details, change the expression, or combine elements from multiple stencils to create something truly unique. Inspiration can come from anywhere – movies, books, nature, even your own nightmares!
But don't limit yourself to just stencils! Consider using images as reference points for freehand carving. Find a picture of a scary face, a creepy creature, or a spooky scene, and try to replicate it on your pumpkin. This is a more advanced technique, but it can yield stunning results. Remember, the key is to start with a clear image and break it down into simple shapes and lines. With practice, you'll be able to carve anything you can imagine!
Transferring Terror: Accurate Stencil Application Techniques
You've got your stencil, now what? Getting that design accurately onto your pumpkin is crucial. Tape the stencil firmly to the pumpkin's surface, making sure it's smooth and wrinkle-free. Use a poker tool or a pin to prick holes along the stencil lines, transferring the design onto the pumpkin. The closer the holes, the more accurate your outline will be. If you're using a paper stencil, you can also try tracing the design with a ballpoint pen, pressing firmly enough to leave an indentation on the pumpkin. For more complex designs, consider using a transfer paper technique, similar to what tattoo artists use. This will give you a clear, precise outline to follow.
Before you start carving, take a step back and examine your transferred design. Make sure all the lines are clear and accurate. If you see any mistakes, correct them now before you start cutting. Remember, accuracy is key when it comes to intricate carvings. A little extra time spent on the transfer process can save you a lot of headaches later on. Think of it as laying the foundation for your masterpiece. A solid foundation will ensure a stunning final result!
Technique | Tools | Pros | Cons |
|---|---|---|---|
Poking | Poker tool or pin | Simple, effective | Can be time-consuming |
Tracing | Ballpoint pen | Easy, quick | Less precise |
Transfer Paper | Transfer paper, pen | Very precise | Requires special materials |
Beyond the Basics: Elevating Your Hard Scary Pumpkin Carving with Advanced Techniques
Beyond the Basics: Elevating Your Hard Scary Pumpkin Carving with Advanced Techniques
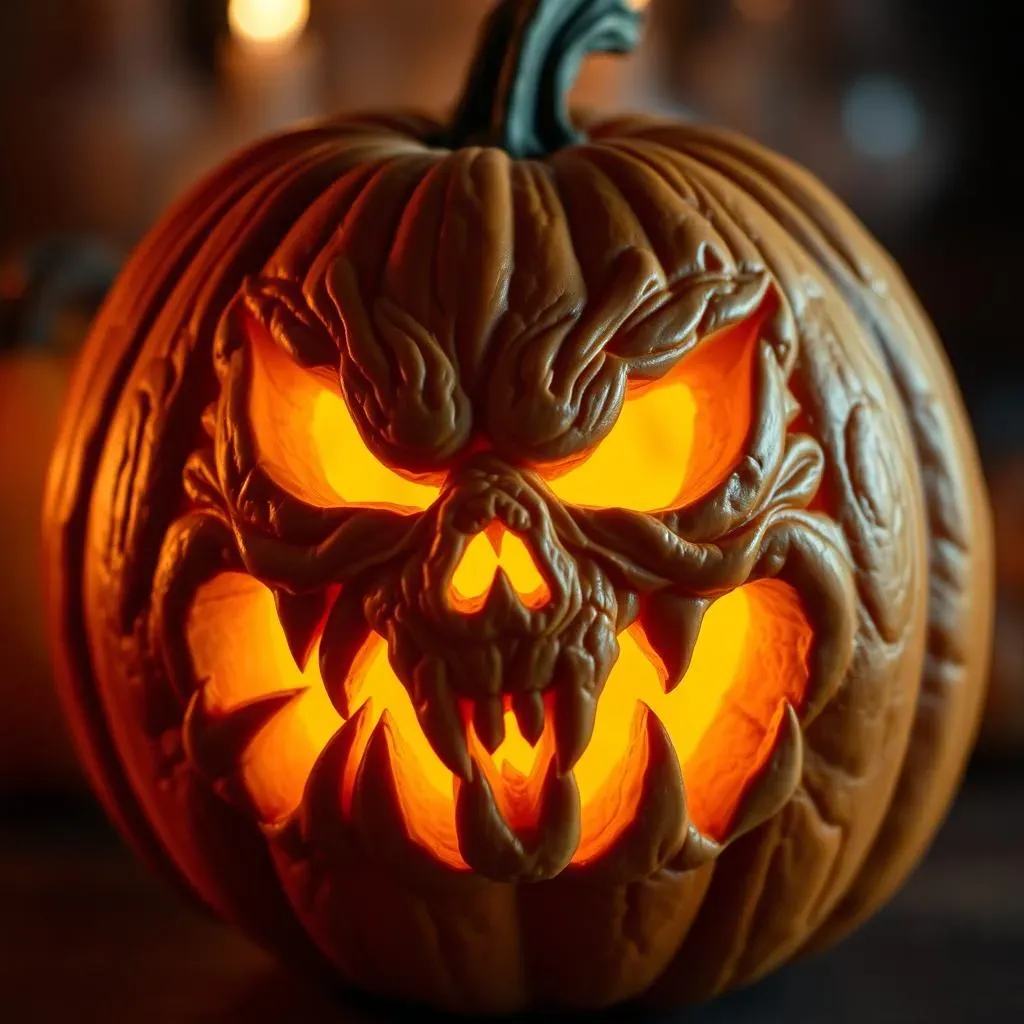
Undercutting: Creating Depth and Dimension
Ready to make your carvings pop? Undercutting is the secret! It's a technique where you carve away pumpkin flesh *underneath* the surface design, creating a 3D effect. Imagine carving a zombie's face and undercutting the brow line to make it jut out menacingly. Or undercutting the teeth to make them appear sharper and more prominent. It takes patience and a steady hand, but the results are seriously impressive. Start by carving your surface design as usual. Then, using a detail knife or a small gouge, carefully remove small pieces of pumpkin flesh from underneath the edges of your design. The more you undercut, the more dramatic the effect will be. Just be careful not to go too deep, or you'll risk weakening the pumpkin's structure. Think of it as sculpting with light and shadow – you're using undercutting to create depth and make your design come alive!
Undercutting can also be used to create a stained-glass effect. Carve a design with thin lines and then undercut the areas between the lines. When you light the pumpkin from within, the light will shine through the thin areas, creating a beautiful and eerie glow. This technique is perfect for creating intricate patterns or spooky silhouettes. Experiment with different levels of undercutting to achieve different effects. A little bit of undercutting can add subtle dimension, while a lot of undercutting can create a dramatic, eye-catching display. Don't be afraid to push the boundaries and see what you can create!
Etching and Texturing: Adding Fine Details and Realism
Want to take your carvings from scary to *hyperrealistic* scary? Then it's time to embrace etching and texturing! Etching involves using a sharp tool to scratch or scrape away the surface of the pumpkin, creating subtle details and shading. Think of adding wrinkles to a witch's face, scales to a monster's skin, or hair to a werewolf's snout. Texturing involves using different tools and techniques to create a variety of surface effects. You can use a rasp to create a rough, bumpy texture, a wire brush to create a scratchy texture, or even sandpaper to create a smooth, polished texture. The possibilities are endless!
When etching, use a light touch and work in layers. Start with a light scratching and gradually increase the pressure until you achieve the desired effect. For texturing, experiment with different tools and techniques on a scrap piece of pumpkin before applying them to your carving. This will help you get a feel for how the different tools work and what kind of effects they create. Remember, the key to successful etching and texturing is subtlety. A little bit of detail can go a long way in adding realism and depth to your carvings. Think of it as adding the finishing touches to a painting – it's the small details that make all the difference!
Technique | Tools | Effect |
|---|---|---|
Etching | Detail knife, etching tool | Subtle details, shading |
Rasping | Rasp | Rough, bumpy texture |
Wire Brushing | Wire brush | Scratchy texture |
Sanding | Sandpaper | Smooth, polished texture |
Illuminating the Fright: Displaying Your Hard Scary Pumpkin Carving Masterpiece
Illuminating the Fright: Displaying Your Hard Scary Pumpkin Carving Masterpiece
Setting the Stage: Choosing the Perfect Location
Alright, you've poured your heart and soul into this terrifying creation, now it's time to show it off! But where you display your hard scary pumpkin carving masterpiece is just as important as the carving itself. Think about visibility – you want your pumpkin to be seen by as many people as possible, right? A prominent spot on your porch, near the front door, or even in a window is ideal. Consider the background as well. A plain backdrop will help your pumpkin stand out, while a cluttered background can distract from its impact. And don't forget about the elements! If you live in an area with harsh weather, you might want to consider displaying your pumpkin indoors or in a covered area to protect it from the rain and wind.
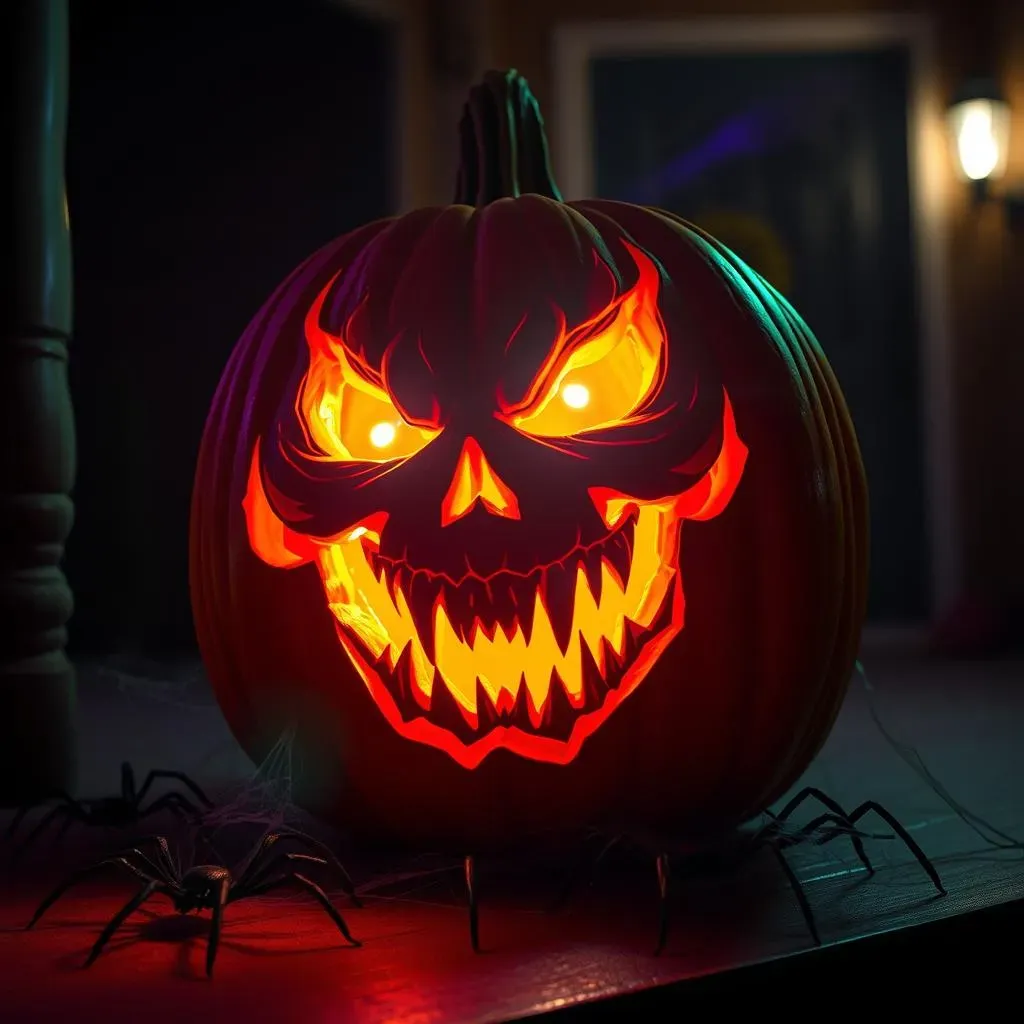
Think about creating a spooky scene around your pumpkin to enhance its effect. Add some cobwebs, fake spiders, or even some creepy lighting to create a truly immersive experience. You can also use props to tell a story. For example, if you've carved a zombie pumpkin, you could surround it with fake tombstones and bloody handprints. The goal is to create an atmosphere of fear and excitement that will draw people in and leave them with a lasting impression. Remember, the display is an extension of your carving – it's your chance to take your creation to the next level and truly unleash its terrifying potential!
Light It Up: Choosing the Right Illumination
We talked about lighting earlier, but it's worth revisiting because it's THAT important! The right lighting can make or break your hard scary pumpkin carving. Forget those weak, flickering tea lights – you need some serious firepower! Battery-operated LED lights are the way to go. They're safe, reliable, and come in a variety of colors and brightness levels. Consider using multiple lights to create a more dramatic effect. You can place one light inside the pumpkin to illuminate the carving from within, and then use spotlights to highlight specific details from the outside.
Experiment with different colors to create a spooky ambiance. Green and purple lights can add an eerie glow, while red lights can simulate the look of blood. You can even find color-changing LED lights that will cycle through a variety of different colors. For an extra touch of terror, consider using a strobe light to create a flickering effect. This will make your pumpkin look like it's alive and moving, adding a whole new level of fright. Remember, the lighting is what brings your carving to life. It's what transforms a simple pumpkin into a terrifying masterpiece. So, take your time, experiment with different options, and find the lighting that best suits your design!
Lighting Option | Pros | Cons |
|---|---|---|
LED Lights | Safe, reliable, versatile | Requires batteries |
Spotlights | Highlights details | Requires external power |
Colored Lights | Creates spooky ambiance | Can be too dramatic for some |
Strobe Lights | Creates a flickering effect | Can be disorienting |
Conquering the Carving: Your Hard Scary Pumpkin Masterpiece Awaits
So, you've journeyed through the terrifying terrain of hard scary pumpkin carving ideas. You've armed yourself with the right tools, mastered intricate designs, and learned advanced techniques to elevate your carving game. Now, it's time to unleash your inner artist and create a pumpkin masterpiece that will haunt the neighborhood for years to come. Remember, the key is patience, precision, and a healthy dose of Halloween spirit. Don't be afraid to experiment, push your boundaries, and most importantly, have fun! With these skills in your arsenal, you're ready to transform ordinary pumpkins into extraordinary works of art. Happy carving, and may your Halloween be filled with frightfully fantastic creations!