Table of Contents
Halloween is creeping closer, and that means it's time to unleash your inner artist and conjure up some truly terrifying jack-o'-lanterns. Forget the same old toothy grins; we're diving deep into the realm of good pumpkin carving ideas scary enough to make your neighbors jump. This isn't just about sticking a knife into a gourd; it's about crafting miniature masterpieces of horror that will haunt your porch all season long.
Embracing the Eerie: Why Scary Pumpkin Carvings Reign Supreme
Embracing the Eerie: Why Scary Pumpkin Carvings Reign Supreme
The Allure of the Frightful Jack-o'-Lantern
Let's be honest, a cute pumpkin is fine, but a scary pumpkin? That's where the real Halloween magic happens. There's something deeply satisfying about tapping into our primal fears and channeling them into a creative outlet. It's like a controlled dose of adrenaline, a way to confront the darkness in a playful, festive way. Think about it: every flickering candlelit grimace is a tiny rebellion against the mundane, a declaration that we're not afraid to embrace the spooky side of life.
Plus, in a world saturated with sweetness and light, a touch of the macabre can be surprisingly refreshing. Carving a scary pumpkin isn't just about following a trend; it's about expressing a different facet of our personalities, a side that appreciates the unsettling, the mysterious, and the downright terrifying. It's a chance to stand out from the crowd and say, "Yeah, I like things a little…twisted."
More Than Just a Decoration: A Cultural Connection
Beyond the thrill of the scare, there's a rich history and cultural significance woven into the tradition of scary pumpkin carvings. Jack-o'-lanterns, with their menacing faces, were originally meant to ward off evil spirits and protect homes from the darkness. They're a tangible link to ancient folklore and a reminder of the enduring power of symbols and rituals. By carving a scary pumpkin, you're not just decorating your porch; you're participating in a time-honored tradition that stretches back centuries.
And let's not forget the sheer fun of it all. Gathering with friends and family, brainstorming ideas, and getting your hands dirty while creating something truly unique – it's an experience that transcends age and background. Whether you're a seasoned artist or a first-time carver, the satisfaction of bringing a scary pumpkin to life is undeniable. It's a chance to unleash your creativity, bond with loved ones, and create memories that will last long after the last trick-or-treater has gone home.
- Expressing creativity
- Bonding with loved ones
- Creating lasting memories
Classic Horror Icons: Timeless Good Pumpkin Carving Ideas Scary
Classic Horror Icons: Timeless Good Pumpkin Carving Ideas Scary
Dracula: The Count of Carved Darkness
Ah, Dracula, the OG of all things spooky. Carving the Count into your pumpkin is a surefire way to add a touch of gothic elegance to your Halloween display. Think sharp fangs, piercing eyes, and that iconic widow's peak. You can go for a classic Bela Lugosi portrayal or put a modern twist on it with a more contemporary Dracula design. The key is to capture that sense of brooding menace that makes him so unforgettable.
For an extra touch of authenticity, consider adding some subtle details like bats flying around his head or a gothic-style frame around his portrait. And don't forget the lighting! A strategically placed candle or LED can cast eerie shadows that will accentuate his features and send shivers down the spines of trick-or-treaters.
Frankenstein's Monster: A Bolt of Inspiration
Frankenstein's Monster is another go-to choice for scary pumpkin carvings, and for good reason. His iconic flat head, stitched-up face, and neck bolts are instantly recognizable and relatively easy to replicate on a pumpkin canvas. The beauty of Frankenstein is that you can really play with the details. Add some extra scars, give him a menacing grin, or even carve in some exposed circuitry for a more sci-fi vibe.
One cool idea is to use different sized carving tools to create varying depths and textures on his face. This will add dimension and make him look even more realistic (or, you know, as realistic as a reanimated corpse can look). And if you're feeling ambitious, you could even try carving in some of his signature green skin tone using a thin layer of pumpkin flesh.
The Wicked Witch: A Spellbinding Design
No collection of classic horror icons would be complete without the Wicked Witch. Whether you're channeling the green-skinned terror from "The Wizard of Oz" or a more generic pointy-hatted sorceress, a witch-themed pumpkin is a guaranteed crowd-pleaser. Focus on her gnarled features, her hooked nose, and her piercing eyes that seem to see right through you. A crooked smile and a few strategically placed warts can also add to the overall creepiness.
Consider adding some extra elements to enhance the witchy vibe. Carve in a flying broomstick, a bubbling cauldron, or even a black cat perched on her shoulder. And don't forget the lighting! A green or purple light inside the pumpkin can create an eerie glow that will make your witch truly spellbinding.
- Dracula
- Frankenstein
- Wicked Witch
Beyond the Basics: Elevating Your Good Pumpkin Carving Ideas Scary with Advanced Techniques
Beyond the Basics: Elevating Your Good Pumpkin Carving Ideas Scary with Advanced Techniques
3D Carving: Adding Depth and Dimension
Ready to take your pumpkin carving to the next level? Ditch the flat, two-dimensional designs and embrace the world of 3D carving! This technique involves using different depths of carving to create a more realistic and visually striking effect. Think sunken eyes, protruding cheekbones, and gnarly wrinkles that seem to leap off the pumpkin's surface. It might sound intimidating, but with a little practice and the right tools, you can achieve truly stunning results.
The key to 3D carving is to think of your pumpkin as a sculpture rather than a drawing. Start by sketching out your design, paying close attention to the highlights and shadows. Then, use a variety of carving tools – from small detail knives to larger gouges – to carefully remove layers of pumpkin flesh, gradually building up the desired depth and texture. Remember, it's always better to start small and remove more material as you go. You can always take away more, but you can't put it back!
Using Power Tools: Speed and Precision
For those who are serious about their pumpkin carving, power tools can be a game-changer. Rotary tools, like Dremels, allow you to carve with incredible speed and precision, making it possible to create intricate details and complex designs that would be nearly impossible to achieve by hand. Plus, they're just plain fun to use! However, safety is paramount when working with power tools. Always wear safety glasses and gloves, and take your time to get comfortable with the tool before tackling a complex design.
When using a rotary tool, start with a low speed and gradually increase it as needed. Use a variety of bits – from small engraving bits to larger cutting bits – to achieve different effects. And don't be afraid to experiment! Power tools can open up a whole new world of possibilities for pumpkin carving, allowing you to create truly unique and impressive designs.
Tool | Use | Safety Tips |
|---|---|---|
Rotary Tool (Dremel) | Intricate details, fine lines, shading | Wear safety glasses, use low speed initially |
Jigsaw | Cutting large sections, removing pumpkin lid | Secure pumpkin, use a sharp blade |
Power Drill | Creating holes for lighting or special effects | Use appropriate drill bit size, control speed |
Adding Special Effects: Lights, Smoke, and More
Want to really make your scary pumpkin stand out? Consider adding some special effects! Lighting is the most obvious choice, and there are countless options to choose from. You can use traditional candles for a flickering, spooky glow, or opt for LED lights for a brighter, more consistent illumination. Colored lights can also add a dramatic touch, casting an eerie green or purple hue on your creation.
But why stop there? You can also add other special effects, like dry ice for a smoky, bubbling cauldron effect, or even small speakers to play spooky sound effects. Get creative and think outside the box! The possibilities are endless, and the more unique and unexpected your effects, the more memorable your pumpkin will be.
- Lighting: Candles, LED lights, colored lights
- Smoke: Dry ice for a bubbling cauldron effect
- Sound: Spooky sound effects with small speakers
DIY Stencils and Templates: Your Secret Weapon for Good Pumpkin Carving Ideas Scary
DIY Stencils and Templates: Your Secret Weapon for Good Pumpkin Carving Ideas Scary
Unleashing Your Inner Artist: The Power of Stencils
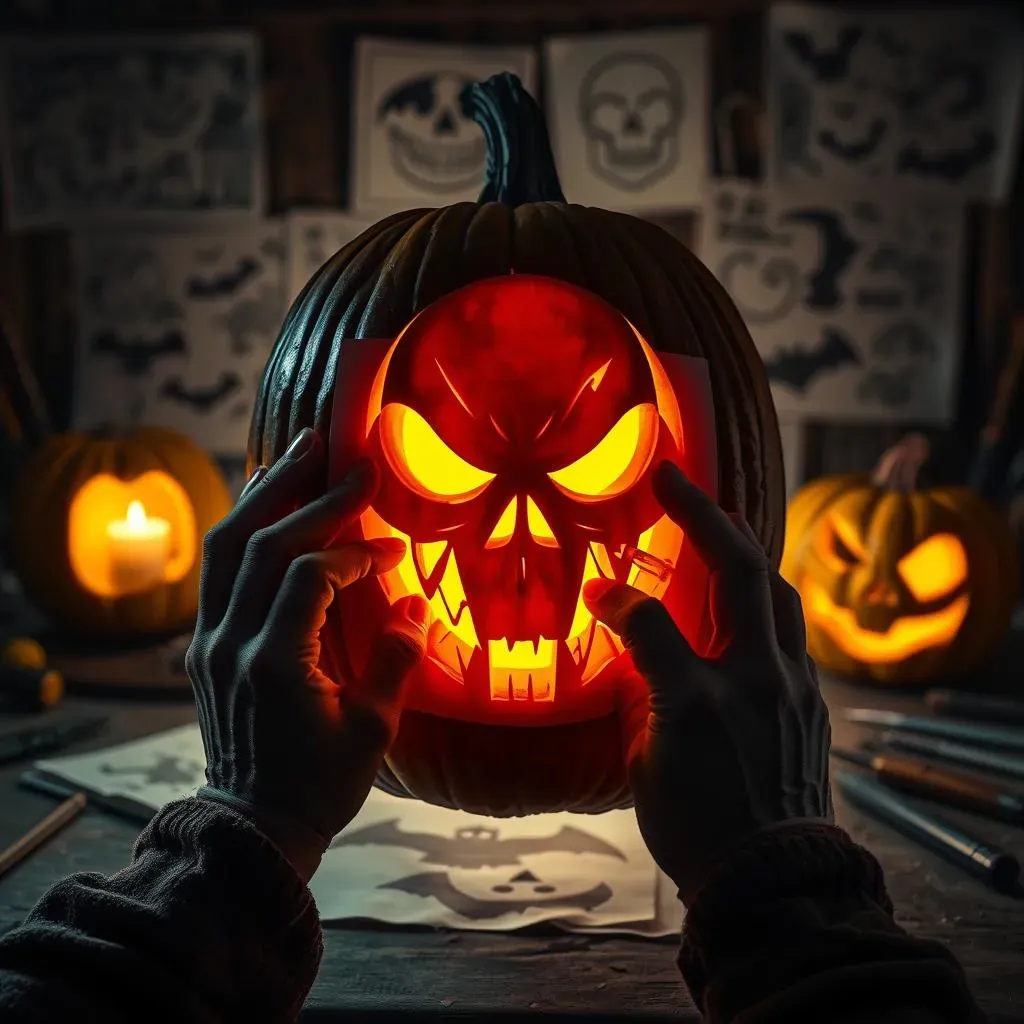
Let's face it, not everyone is a born artist. But that shouldn't stop you from creating a killer scary pumpkin! That's where DIY stencils and templates come in. They're like training wheels for pumpkin carving, providing a clear outline to follow and ensuring that even the most artistically challenged among us can create impressive designs. Think of them as your secret weapon for achieving pumpkin carving greatness.
The beauty of stencils is their versatility. You can find them online, in craft stores, or even create your own! From simple silhouettes to intricate portraits, the possibilities are endless. Plus, using a stencil allows you to focus on the carving technique itself, rather than worrying about getting the proportions or details just right. It's all about maximizing your scare factor with minimal artistic stress.
From Print to Pumpkin: A Step-by-Step Guide
So, you've got your stencil – now what? Here's a simple step-by-step guide to transferring your design onto your pumpkin: First, clean and dry the surface of your pumpkin. Then, tape the stencil securely in place, making sure it's smooth and wrinkle-free. Next, use a poking tool or thin marker to trace the outline of the stencil onto the pumpkin's surface. Remove the stencil and you'll have a clear guide to follow as you carve.
For more complex designs, consider using carbon paper to transfer the stencil. Simply place the carbon paper between the stencil and the pumpkin, trace the outline, and the design will be transferred onto the surface. And remember, patience is key! Take your time, follow the lines carefully, and don't be afraid to make small adjustments as you go. With a little practice, you'll be churning out scary pumpkin masterpieces in no time.
Step | Description | Tips |
|---|---|---|
1. Prepare Pumpkin | Clean and dry the surface. | Remove any dirt or debris. |
2. Attach Stencil | Tape the stencil securely in place. | Ensure it's smooth and wrinkle-free. |
3. Trace Design | Use a poking tool or marker to trace the outline. | Consider using carbon paper for complex designs. |
4. Carve | Carefully follow the lines. | Take your time and make small adjustments. |
Lighting and Display: Setting the Mood for Your Good Pumpkin Carving Ideas Scary Masterpiece
Lighting and Display: Setting the Mood for Your Good Pumpkin Carving Ideas Scary Masterpiece
The Power of Illumination: Choosing the Right Light Source
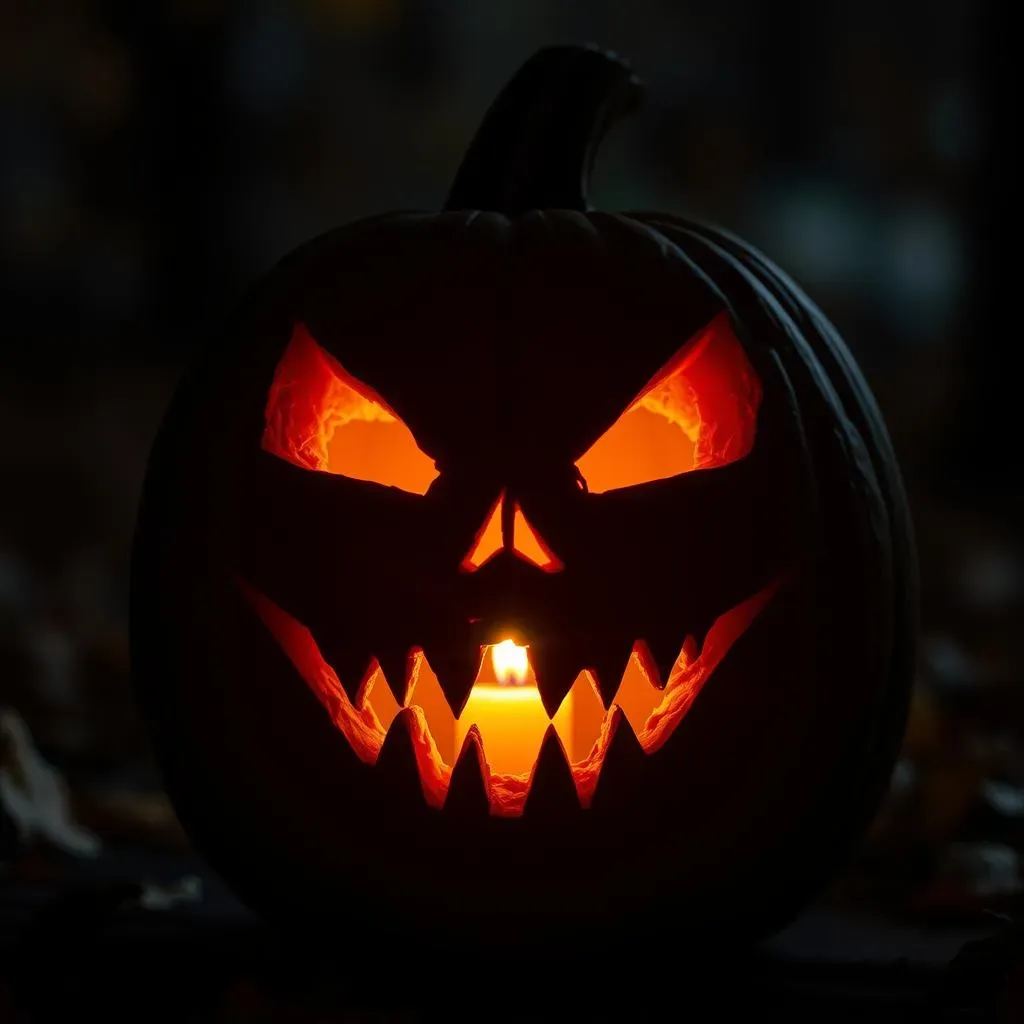
you've carved the most terrifying pumpkin the world has ever seen. But if you stick a dinky little tea light inside, you're doing it a disservice! The right lighting can make or break your scary pumpkin masterpiece. Think about it: light and shadow are what create depth, highlight the gruesome details, and set the overall mood. So, let's ditch the boring basics and explore some seriously spooky illumination options.
First, consider the classic candle. There's nothing quite like the flickering, dancing flame of a real candle to create an eerie ambiance. But be careful! Fire safety is paramount. Make sure your pumpkin is placed on a stable surface, away from flammable materials, and never leave a lit candle unattended. Alternatively, you can opt for battery-operated LED candles, which offer the same flickering effect without the fire hazard. They come in a variety of colors too, so you can really customize the mood.
Color is Key: Setting the Tone with Hues
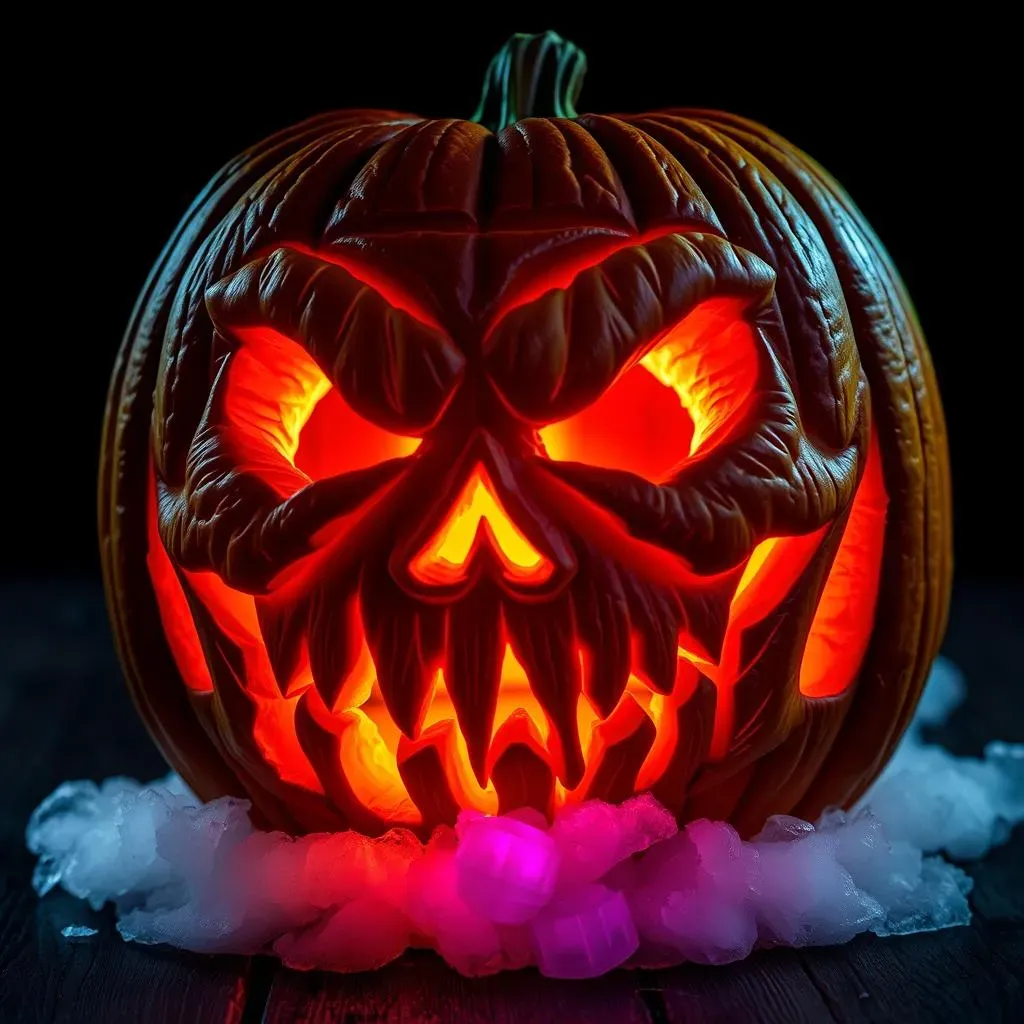
Don't underestimate the power of color! The hue of your light can dramatically alter the overall effect of your scary pumpkin carving. A traditional warm white light is always a safe bet, but if you really want to amp up the creep factor, consider using colored lights. Green is a classic choice for creating a spooky, otherworldly glow. Red can add a touch of menace and bloodlust. Purple can evoke a sense of mystery and magic. And blue can create a chilling, ghostly atmosphere.
Experiment with different colors to see what works best with your design. You can even use multiple colors to create a more complex and dynamic lighting effect. For example, try using a green light inside the pumpkin and a red light shining from below to create a truly terrifying visage. The possibilities are endless! Just remember to choose colors that complement your carving and enhance the overall scare factor.
Beyond the Porch: Creative Display Ideas
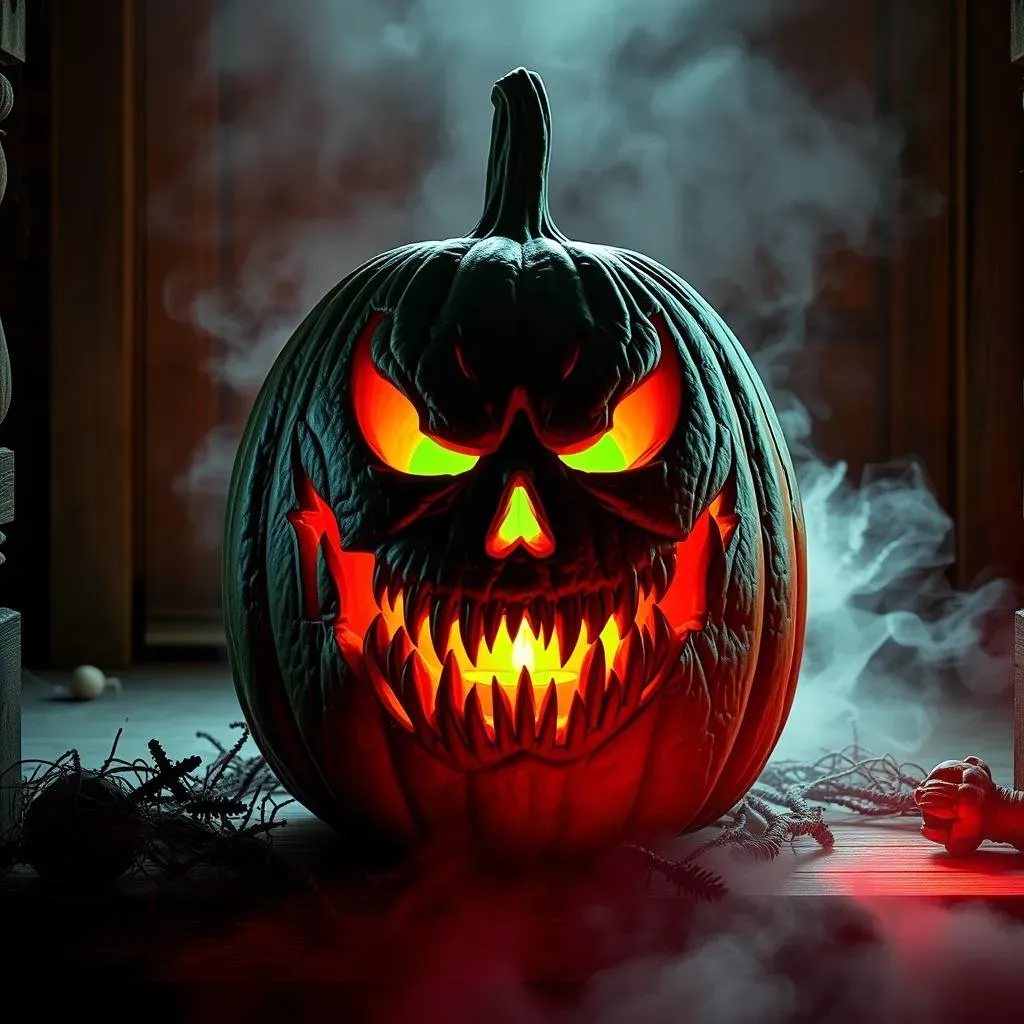
Your scary pumpkin deserves more than just a spot on the porch! Think outside the box and get creative with your display. Consider placing your pumpkin on a pedestal or stand to give it more prominence. Surround it with other Halloween decorations, like cobwebs, skeletons, and tombstones, to create a spooky scene. You can even use fog machines or strobe lights to add to the overall atmosphere.
Another cool idea is to create a themed display around your pumpkin carving. For example, if you've carved a Frankenstein's Monster pumpkin, you could create a mad scientist's laboratory scene, complete with beakers, test tubes, and bubbling potions. Or, if you've carved a witch pumpkin, you could create a witch's lair, complete with cauldrons, spell books, and broomsticks. The more creative and immersive your display, the more impactful your scary pumpkin will be.
- Pedestal or Stand: Elevate your pumpkin for prominence.
- Themed Scene: Create a backstory and setting.
- Halloween Props: Enhance the spookiness with cobwebs, skeletons, etc.
Unleash Your Inner Ghoul: Mastering Good Pumpkin Carving Ideas Scary
So, there you have it – a roadmap to creating truly terrifying pumpkin masterpieces. From understanding the enduring appeal of scary carvings to mastering advanced techniques and setting the perfect spooky ambiance, you're now equipped to transform ordinary pumpkins into vessels of Halloween fright. Whether you choose to resurrect classic horror icons, experiment with DIY stencils, or push the boundaries of pumpkin artistry with intricate details, remember that the most important ingredient is your imagination. Embrace the eerie, unleash your inner ghoul, and let your creativity run wild. After all, Halloween is the one night of the year when it's perfectly acceptable – even encouraged – to scare the living daylights out of your neighbors. Happy carving!