Table of Contents
Introduction
Carving pumpkins for Halloween is a classic ritual, right? You picture those perfect, glowing jack-o'-lanterns on porches, and think, "Yeah, I can do that." Then you get the pumpkin home, scoop out the slimy guts, and suddenly that simple face looks… intimidating. Maybe you’ve ended up with something that looks less like a spooky masterpiece and more like it lost a fight with a badger. We’ve all been there. The good news? Achieving *good easy pumpkin carving* doesn't require a fine arts degree or specialized tools only found in a woodworker's shop. Forget those intricate, multi-day projects you see online. This article cuts straight to the chase, showing you how to get impressive results without the headache. We'll walk through picking the right pumpkin, the simple tools that actually work (and probably already live in your kitchen), and share some genuinely achievable ideas that look fantastic. You'll also get practical tips to make your creation last longer than a couple of nights. Ready to ditch the frustration and actually enjoy creating something cool for your doorstep? Let's get started with good easy pumpkin carving.
Getting Started with Good Easy Pumpkin Carving
Getting Started with Good Easy Pumpkin Carving
Alright, so you've decided to tackle a pumpkin. Awesome. The first step in *good easy pumpkin carving* isn't just grabbing the biggest orange thing you see. It's about picking the right pumpkin for the job. Look for one with smooth skin – bumps and ridges might look cool, but they make cutting straight lines a nightmare. Give it a tap; you want a hollow sound, which usually means it's ripe and the walls aren't too thick. Check the stem too; a firm, attached stem means it's fresh and less likely to rot quickly. And honestly, don't go for a giant one if this is your first rodeo. A medium-sized pumpkin is way easier to handle and less likely to wobble around while you're trying to carve.
Simple Tools and Techniques for Easy Pumpkin Carving
Gathering Your Pumpkin Carving Arsenal (It's Not That Fancy)
Alright, let's talk gear. You don't need a twenty-piece professional carving kit that looks like something a brain surgeon would use. For *good easy pumpkin carving*, your kitchen probably holds most of the essentials. A sturdy, sharp knife is key for cutting the lid and maybe the main shapes. Think a chef's knife or a good utility knife – just be careful. For scooping out the guts and seeds, an ice cream scoop with a relatively sharp edge is a total game-changer. Seriously, it scrapes the sides clean way faster than those flimsy scoops that come in carving kits. A simple marker is perfect for drawing your design first. Don't skip this; drawing it out prevents those "oops, that line went too far" moments.
Making the Cut: Simple Carving Techniques
Once your design is drawn, it’s time to cut. Start with the lid. Cut at an angle, pointing the knife towards the center of the pumpkin. This creates a ledge for the lid to sit on, so it doesn't just fall inside. Make the hole big enough to get your hand and scoop in easily. When carving the face or design, use a smaller, sharper knife, like a paring knife. Don't try to saw through the thickest part of the pumpkin wall in one go. Use a gentle, back-and-forth motion, applying steady pressure. Follow your lines closely. If you mess up a little, it's a pumpkin, not a priceless sculpture; usually, you can trim it or just embrace the imperfection.
Essential Simple Carving Tools:
- Sharp Kitchen Knife (for lid)
- Paring Knife (for details)
- Sturdy Ice Cream Scoop (for gutting)
- Dry Erase Marker (for drawing design)
- Serrated Spoon or Specialty Scoop (optional, but helpful for scraping walls)
Finishing Touches and Cleanup
After the main cutting is done, scoop out all those stringy guts and seeds. Get the inside walls as clean and smooth as possible. This helps the light shine through better and might even help it last a bit longer. A serrated spoon or a dedicated pumpkin scooper works well here. For adding texture or shallow details without cutting all the way through, a potato peeler can be surprisingly effective. You can shave off the outer skin to create lighter areas. And if you want perfect circles or stars, metal cookie cutters work – just press them firmly into the pumpkin wall and then use a knife to cut along the impression, or sometimes you can just push the shape right through a thinner spot. Clean up your workspace, wipe down the pumpkin, and you're ready to illuminate your creation.
Creative Good Easy Pumpkin Carving Ideas
Creative Good Easy Pumpkin Carving Ideas
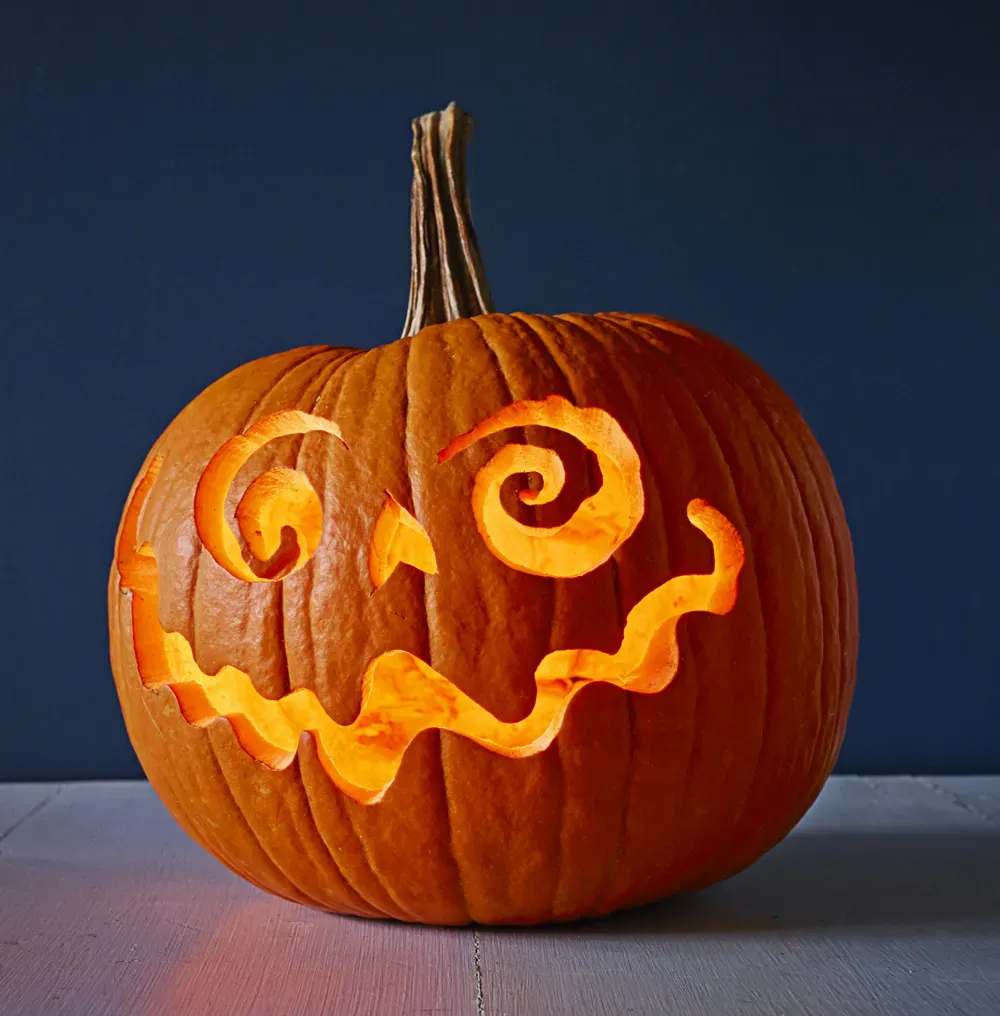
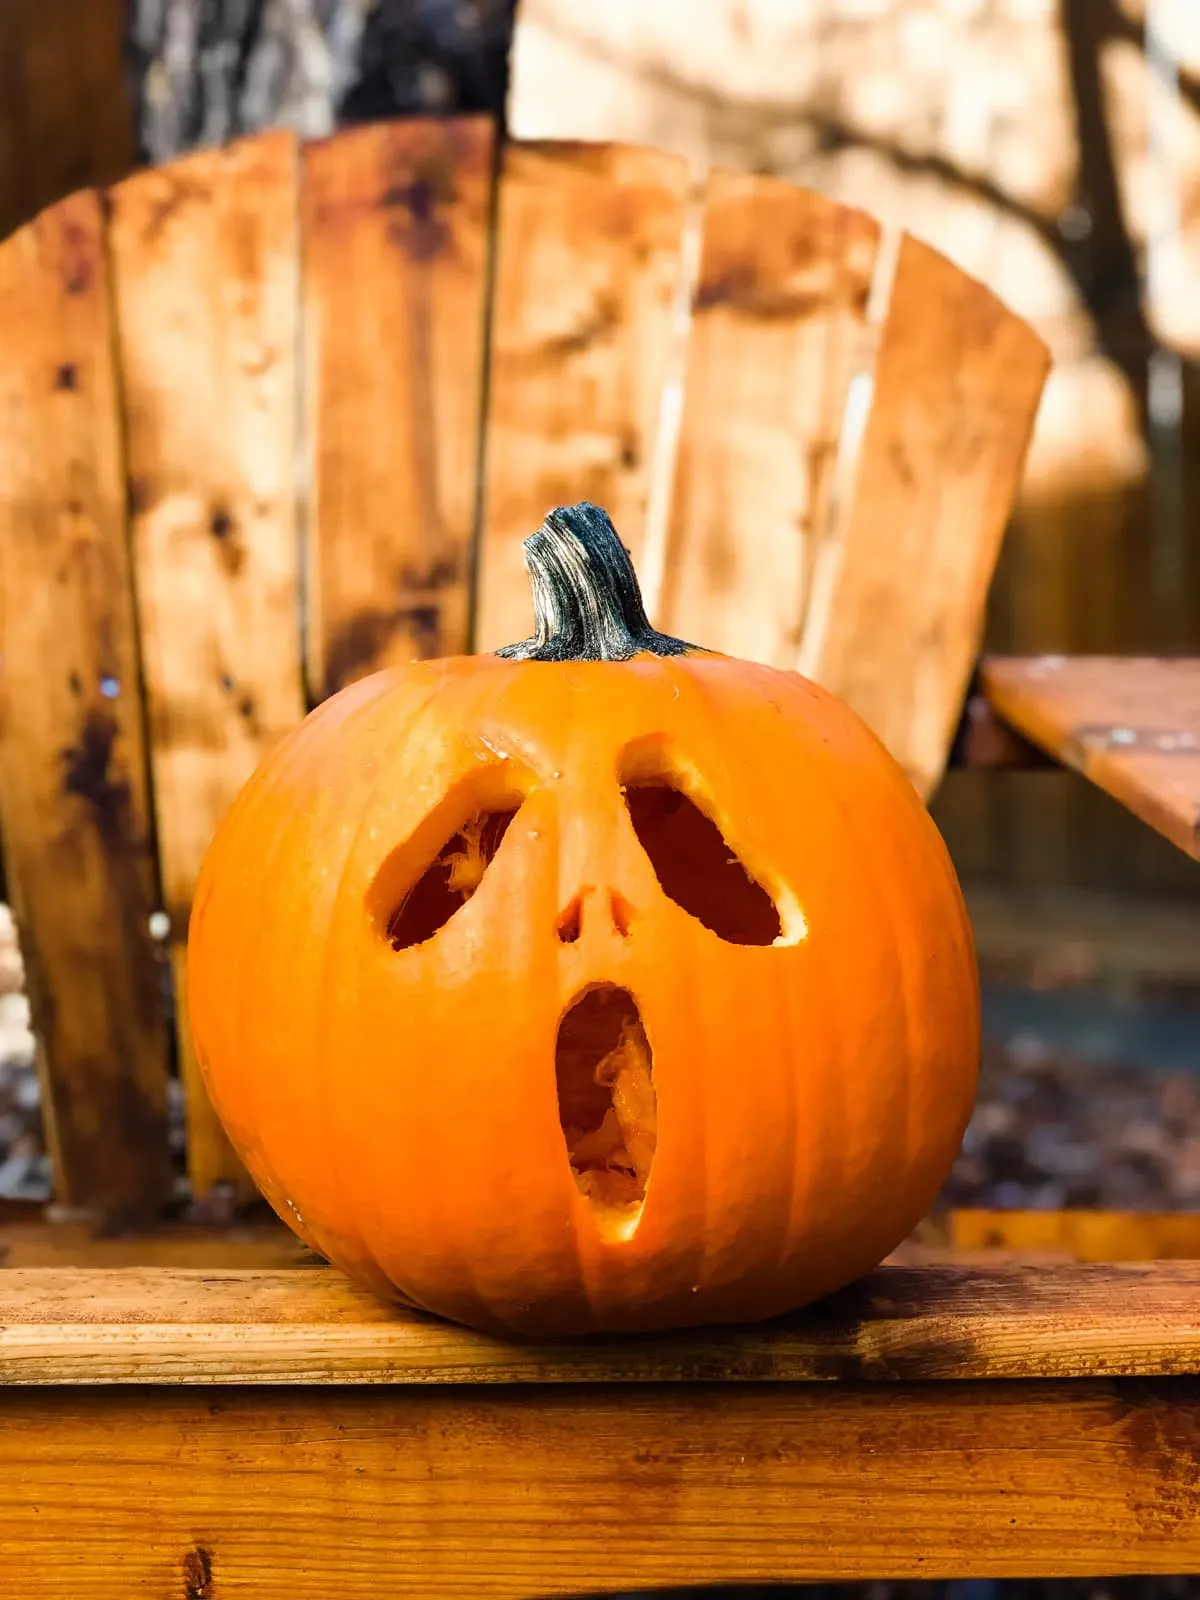
so you've got your pumpkin prepped and your basic tools ready. Now comes the fun part: deciding what the heck to carve. Forget those overly complicated designs you see on Pinterest that require a laser cutter and three years of art school. We're talking *good easy pumpkin carving* ideas that actually look cool without making you want to throw the pumpkin across the yard. Simple shapes work wonders. Think classic geometric patterns – triangles, squares, circles. You can arrange them in abstract ways or create simple faces. Negative space is your friend; sometimes just carving out the eyes and a jagged mouth is far more effective and way less work than trying to recreate the Mona Lisa. Don't be afraid to keep it basic; a well-executed simple design beats a messy complicated one any day.
Here are a few genuinely easy ideas to get you started:
- Classic Jack-o'-Lantern Face (Triangle eyes, jagged smile)
- Simple Geometric Patterns (Lines, dots, squares)
- Star or Moon Cutouts (Use cookie cutters!)
- Simple Silhouettes (Bat, cat, ghost shape)
- Initials or Simple Words (BOO, SPOOKY)
Keeping Your Easy Pumpkin Carving Looking Great
Keeping Your Easy Pumpkin Carving Looking Great
Alright, you've put in the effort, created something decent with *good easy pumpkin carving* techniques, and now you want it to last longer than just one spooky night before turning into a sad, moldy mess. The enemy here is dehydration and rot. One simple trick is to coat the cut edges with petroleum jelly. This helps seal in moisture and slow down drying. Another method involves giving your carved pumpkin a bath. Dunk the whole thing in a tub of cold water for a few hours, or even overnight, every couple of days. This rehydrates the pumpkin flesh. Some folks swear by spraying the inside and cut areas with a bleach solution (about one tablespoon of bleach per quart of water), claiming it kills mold spores. Just make sure it dries completely before adding a light source. Keeping it out of direct sunlight and away from heat sources also helps. A cool porch is better than a sunny windowsill.
Wrapping Up Your Good Easy Pumpkin Carving
So, there you have it. Good easy pumpkin carving isn't some mythical beast reserved for craft gurus. It's about ditching the overly complicated notions, grabbing some basic tools – perhaps even ones you already own – and picking a design that’s genuinely achievable. We covered the setup, the simple techniques, and a few ideas that won't make you want to throw the pumpkin across the yard. Keeping it looking decent for a while just takes a little basic care. The goal is a bit of seasonal fun and a decent-looking decoration, not a museum piece. Give it a shot. You might surprise yourself.